
Easy Ribbon Pillow
This content contains affiliate links or sponsored elements, read our Disclosure Policy.
This Easy Ribbon Pillow free PDF pattern and tutorial is a great first project. You can make a great-looking pillow that adds color and style to a room and takes just minutes to make.
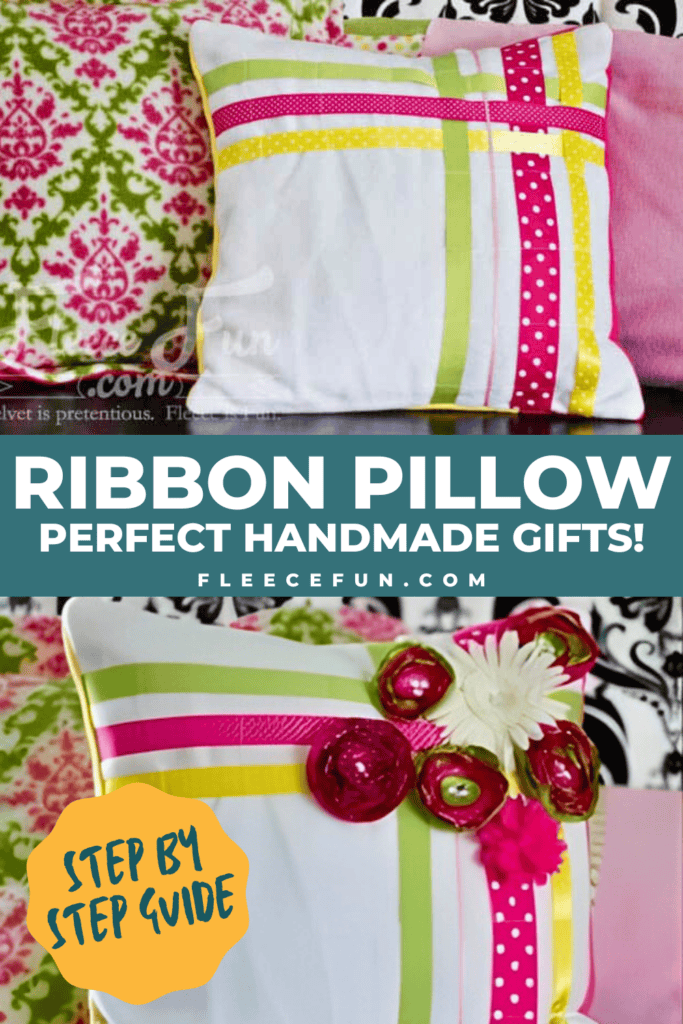
Sew the ribbons on as well in such a way that you can attach cute hair clips to them to display fun hair accessories.
YOU WILL NEED:
- 1/2 yard fleece (you could really use several different kinds of fabric for this pillow)
- Pillow form
- Thread
- Ribbon of various colors and widths
- Sewing Essentials (scissors, pins, etc.)
- Get the free pattern here.
Easy Ribbon Pillow Tutorial
Step 1 – Cut out the pattern

Print up the pattern (you can get assembly instructions here). Cut out one of each of pattern piece.
Step 2 – Lay out your design
Layout and pin the ribbon in the pattern or design you want. Keep in mind that if you want to be able to clip flowers to the pillow, you need to leave gaps in the ribbon.

Sew the ribbon onto the front. I sewed a line straight across all the ribbon every 4 inches or so—use your best judgment. If you aren’t planning on sticking flowers on the pillow, you can applique them to the front by running a zigzag stitch along each edge of the ribbon.
Step 3 – Turn under back edge
Turn under the edge of the top back piece one inch and sew using a straight stitch along the edge of the fabric. If you are using fleece, felt, or t-shirt knit, there is no need to do this to the bottom piece.

However, if you are using any other fabric, you will need to turn under the side closest to the center of the pillow 1/4 inch and sew close to the edge of the fabric.
Step 4 – Sew the pillow together
With the top of the ribbon pillow right-side facing up, lay the top back piece on top of the pillow, line up and pin, then lay the back bottom piece on the pillow and pin.

Now, using a 1/2-inch seam allowance, sew all the way around the pillow.
Step 5 – Final Steps
Trim the threads, trim the corners, and turn it right side out. Insert the pillow form. Tada! Now you have a great pillow.
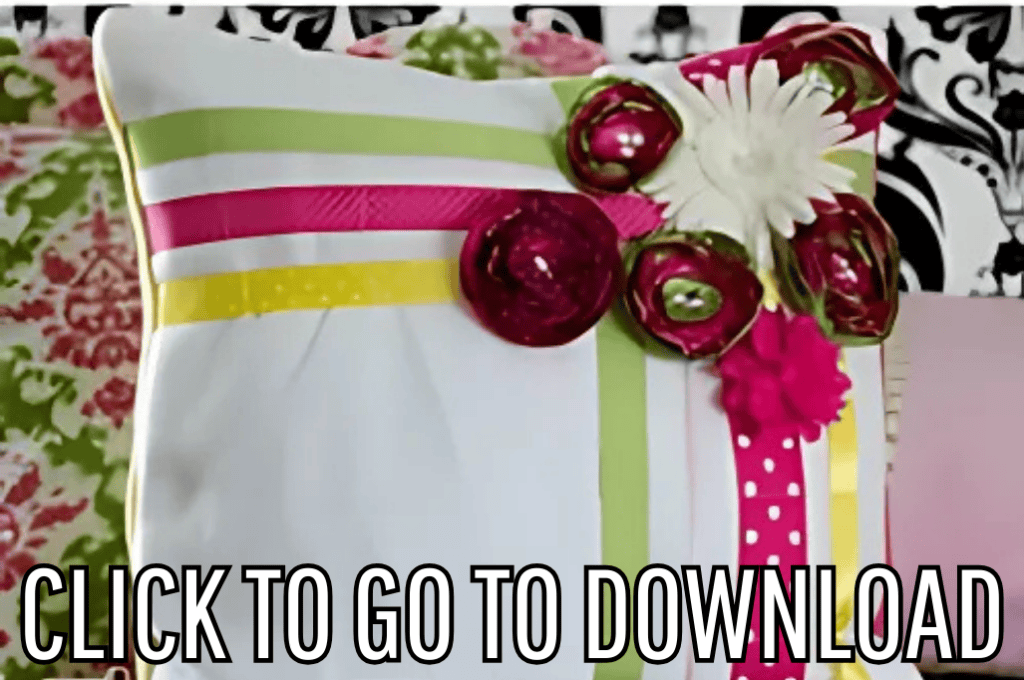
If you want to add flowers, you can do so now. For a tutorial on the satin flowers you can go here. For a fleece flower you can go here.

The great part about using an “envelope” pillow design is that it slides off easily for washing and can be changed out for the seasons or a room refresh.
Download the free Ribbon Pillow pattern below
You can get a free copy of Adobe reader here. By downloading you are agreeing to pattern terms of use. Click the picture below and fill up the form to download the .pdf !
Love this Ribbon Pillow? See More Pillow Tutorials
- All Americana Stars Pillow
- Valentine’s Day Fleece Pillow Slipcover
- Seeing Stars Pillow
- Heart Pillow
- Chenille Heart Pillow
- Pinwheel Quilt Block Pillowcase
- Easy Block Pillow
- Faux Fur Pillow
- Lego Brick Pillow
- Ruched Pillow

me gustaria a aprender coser