
How to make a Fascinator
This content contains affiliate links or sponsored elements, read our Disclosure Policy.
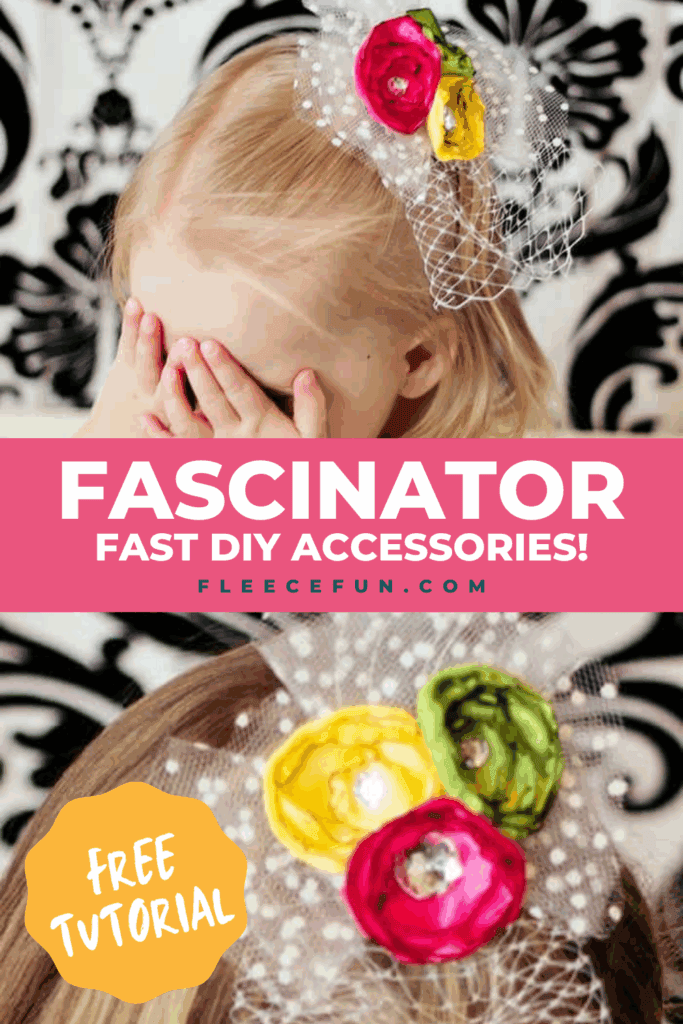
You can learn how to make fascinator with this free pattern and tutorial. This fun fast fascinator is great for pictures and weddings. This is a good “basic formula” or jumping off point for a dramatic hair piece. This combination would also look good mounted on a mini top hat or mini pirate hat.
YOU WILL NEED:
- The Free Satin Flower Hairclip pattern (available here)
- Felt (scrap will do)
- Tulle (I used a little bit off a roll, but 1/4 off a bolt will work)
- Satin (scraps or 1/8 yard)
- Buttons or jewels for flower centers
- Candle
- Millinery lace – also known as Russian Lace or netting (1/8 to 1/4 yard)
- Feathers (optional)
- Clip or barrette for backing
- Glue gun and glue sticks
- Paper plate
- Pen
how to make a fascinator step-by-step tutorial:
Step 1 – make the flowers
We’ll be using a pattern from another tutorial of mine – the no sew satin hair clip. Using the flower pattern sizes 1- 3 I made three small flowers.

I cut out 9 circles total and made three flowers. You can get the pattern and see the video tutorial on this page. Once you’re made the three small flowers set those aside and we’ll begin to build the fascinator.
Step 2 – make the base of the fascinator

Taking pattern circle 3 trace onto felt and cut out.

This will serve as the base onto which we will glue everything.
Step 3 – add tulle circle

Cut out three tulle circle roughly six inches in diameter (it doesn’t need to be a perfect circle).

Then take one tulle circle and fold in half, then fold in half again. It should look like a quarter of a circle. Then take your glue gun and squirt a large bead of glue onto the paper plate.
Note
Do not use Styrofoam for this!

Dip the pointed end of the tulle circle into the hot glue bead and then place onto the felt base. Repeat 2 more times with the remaining tulle circles to complete the fascinator.

You can see the placement I used in the picture.
Step 4 – add feathers and millinery lace

Place the feathers where you would like them.

Then scrunch the lace and place where you would like it – but don’t glue it yet (its impossible to glue without using the method in the next step.
Step 5 – add the satin flowers to the fascinator

Placing a bead of glue on the back of the satin flowers, place them on top of the base and the millenary lace, gluing the flower and the lace down. Glue down all the flowers in a desired arrangement.
Step 6 – add the backing

If necessary trim down the back (or felt base) so it won’t show through the tulle. Cut out a small circle of felt (I used pre-packaged small circles) and place it in between the prongs of the clip. Glue the circle and the clip to the back side of the fascinator.

You’ve completed the how to make a fascinator tutorial!
More Flower Projects:
love this fascinator? see More Girl Patterns:
Free Girls Skirt Patterns:
- The Simple Pencil Skirt
- The Circle Skirt (no math needed!)
- The Fleece Ruffle Skirt
- The Sweater Upcycle skirt
- The Pleated Skirt
- The Fun and Frilly Skirt
- See all of FleeceFun’s No Sew Projects!
