Origami Fabric Basket tutorial
This content contains affiliate links or sponsored elements, read our Disclosure Policy.
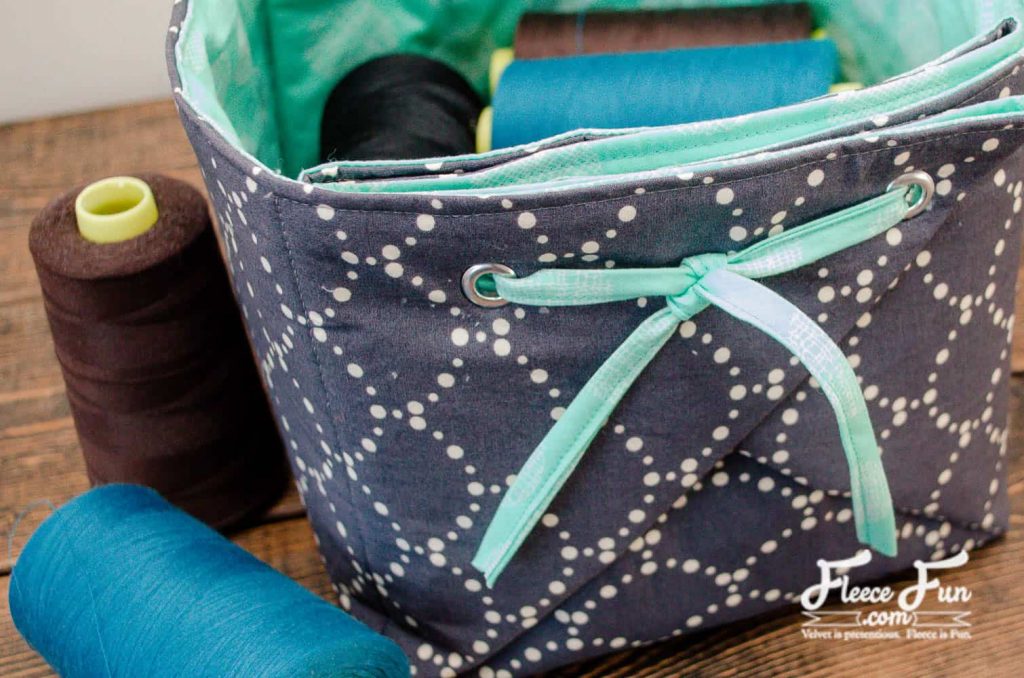
This Oragami basket tutorial is perfect for keeping your organized while letting you add your own flare and style to your room! I love it when organizing and decorating my sewing space happen at the same time. Recently I sewed up this sweet little fabric box to keep my serger thread in. This box comes together quite quickly, since the layers are sewn together flat and then folded like origami to create a box. The box is held together by a ribbon (I used some bias tape I made from the leftover fabric) threaded through grommets, but you can also stitch some buttonholes if you prefer. The box can be collapsed and stored flat when it is not in use.
Materials
3/4 yard quilting cotton for outer fabric
3/4 yard quilting cotton lining fabric
3/4 yard medium weight interfacing
1/4 yard fusible fleece OR quilting batting
1 yard ribbon or bias tape
4-8 1/2″ grommets (optional – you can sew buttonholes instead)
Sewing Essentials (pins, scissors, etc.)
Cut
22″ square EACH of outer fabric, lining fabric, and interfacing
5 – 7″ squares of fusible fleece
Apply interfacing to the wrong side of the outer fabric. Fuse the squares of fusible fleece to the wrong side as shown below. There is a 1/2″ seam allowance around the outside perimeter that won’t have any fusible fleece. If you are using quilt batting, adhere it to the fabric with some spray adhesive.
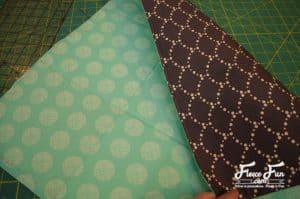
Pin the outer fabric square to the lining fabric square, right sides together. Stitch around the outside with a 1/2″ seam allowance, leaving a 4″ opening on one of the sides for turning.
Clip the corners.
Turn right side out through the opening you left in the previous step and give it a good press.
Topstitch around the outside edge with a 3/8″ seam allowance. You will be topstitching the opening closed at the same time.
Divide the square into 1/3’s, each 7″ apart. Use a ruler to make a straight line. These lines will line up with the edges of the fusible fleece/batting inside. You can feel these edges through the fabric to guide you as well.
Stitch over these lines. These will be the fold lines for your basket.
Fold the square diagonally, with the lining fabric inside.
Fold the point to the next stitching line and pin/clip in place.
Repeat with the other side. One side of the basket is now folded in place.
Repeat the last two steps for the other side of the basket.
Mark a point approximately 1″ from the top and side edges.
Apply a grommet at this mark.
My grommets were not very long, so I was only able to go through half the layers. If your grommets have long posts you can go through all the layers at once. If you are doing buttonholes instead, stitch them now.
Feed a ribbon through the grommets/buttonholes and tie. If you are using bias tape (I made mine from the same fabric as the lining) simply sew along the long edge before using.
Hint: It is easy to customize this basket to any size you’d like. Take your desired finished height/depth/width (above it is 7″), multiply by 3 (21″) and add 1″ from seam allowance (22″).
More Organizer patterns:
- Binder Pouch (Great Scrap Buster!)
- Craft Room Hanging Organizer
- Origami Basket Tutorial
- Sewing Machine Mat
- Cricut Maker Cover
- How to make a Pin Cushion


