St. Patrick’s Day Clover Button Art Tutorial
This content contains affiliate links or sponsored elements, read our Disclosure Policy.
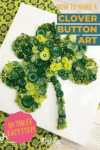


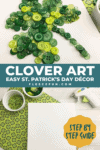
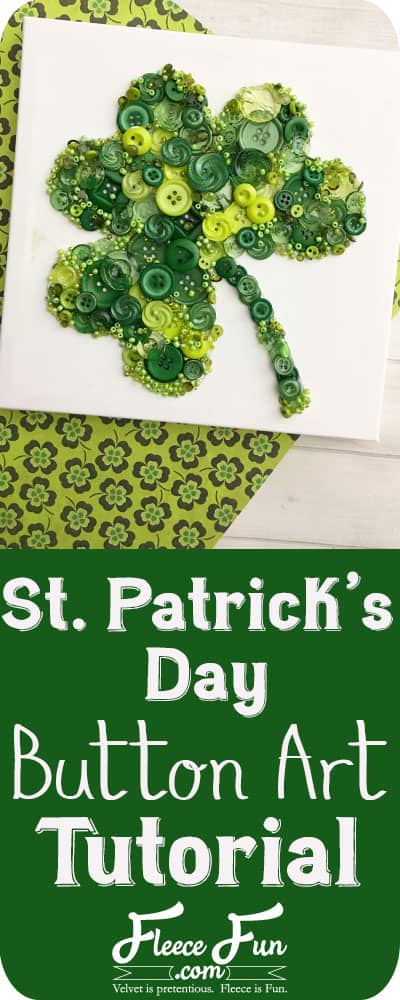
This fun and easy to make St. Patrick’s day clover button art is cute! With just a few items you can make clover that is the classic symbol of the day. The Buttons and beads give it a fun dimension too.

YOU WILL NEED:
- 8×8″ stretched canvas
- Mix of green buttons and tiny beads
- Hot glue gun/glue sticks
- Scissors
- Scrap paper
- Pencil

St. Patrick’s Day Button Clover Art Tutorial
Step 1 – Cut and Trace the Clover Pattern
Cut out 3 pieces of paper 4″ x 4″, fold in half, and cut out a heart on the folded line, making sure to cut from edge to edge so that your hearts is about 4″ x 4″.
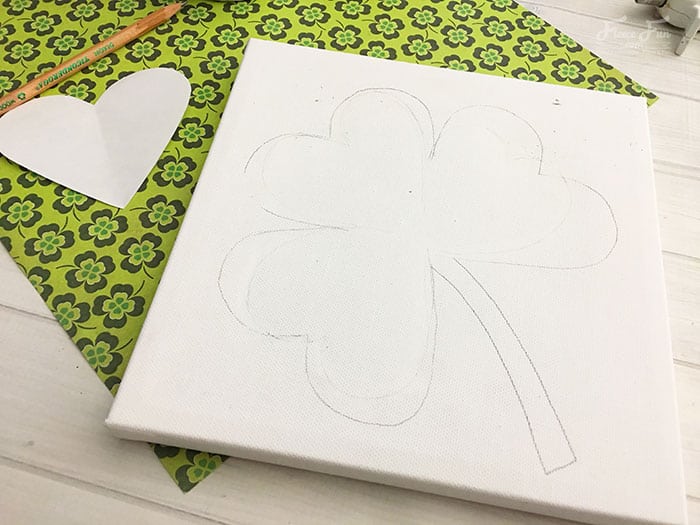
Arrange your hearts onto your canvas so that they make a clover, trace the outside edges, and hand draw the bottom stem of the clover.
Step 2 – Start Gluing the Buttons

Start carefully gluing your largest green buttons onto the St. Patrick’s Day Clover art, do not go outside your pencil line.

Then start filling in your smaller areas with your smaller buttons and begin layering them on top of your large buttons to make sure there are no open spaces.

Step 3 – add Beads and Display Your St. Patrick’s Day Clover Button art
Now carefully fill in your empty spaces and outlines with your hot glue a little at a time and top with your tiny beads.
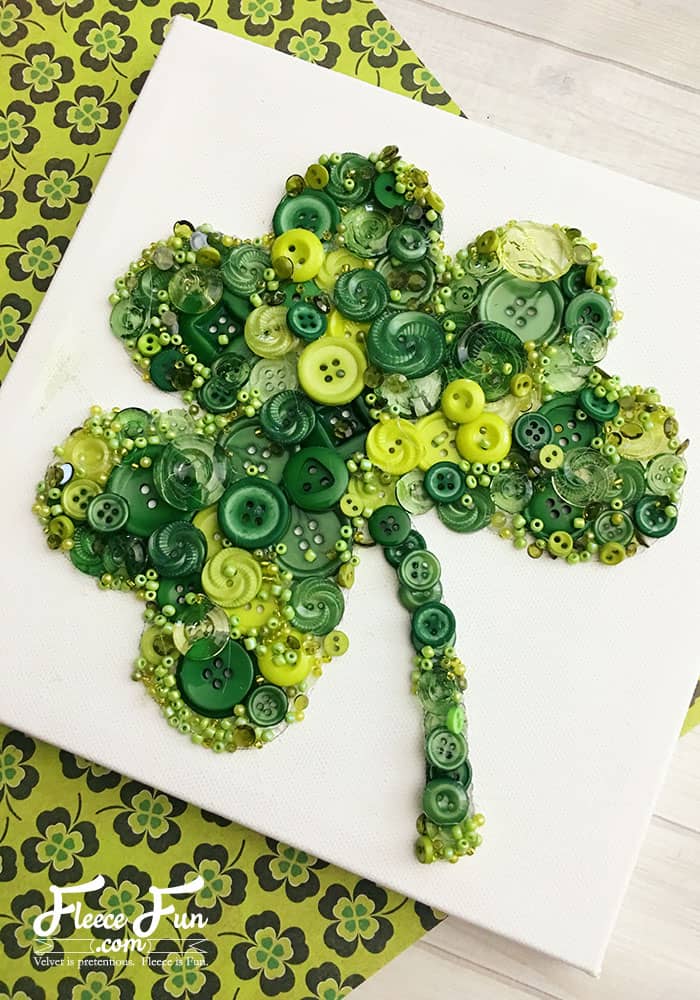
Let your clover dry completely, shake off any excess beads and display.
See More of Our Saint Patrick’s Day Crafts
- DIY Nursery Wall Hanging: Lovely Rainbow with Cloud
- St. Patrick’s Day Decor: Easy Upcycle Book Craft
- DIY St. Patrick’s Day Decor: Easy Ombre Shadow Box
- Easy Leprechaun Hat Decor
- St. Patrick’s Day Printable Box (Free)
- Free St. Patrick’s Day Printable: One Lucky Coin
- Chic Shamrock Hair Clip
- All of my Holiday Projects: Saint Patrick’s Day