Seeing Stars Pillow
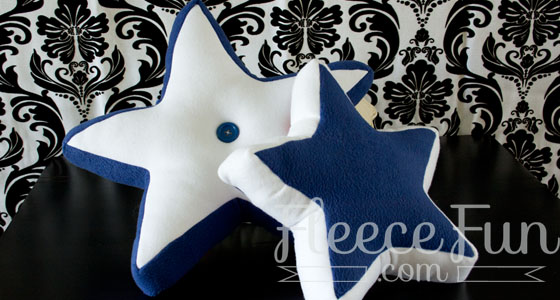
You can make a great looking star shaped pillow that adds color and style to a room and takes minutes to make.
For the Pillow
1/2 t0 2/3 yard fleece (you could really use several different kinds of fabric for this pillow)
stuffing (batting for fill)
1 package of cording (optional)
button (optional)
needle and thread
Sewing Essentials (pins, scissors, etc.)
Sewing Machine
Download the Pattern Here, tutorial below:
Video tutorial here, written directions below:
Seeing Stars Pillow Tutorial
1 – Cut out the pattern
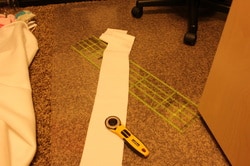
In addition to the pattern you will need to cut a 3.5 by 78 inch long strip (you will need to sew a couple pieces together for the large star. A 3.5 by 64 strip for the medium pillow and 3.5 by 48 for the small).
2 – Begin to sew
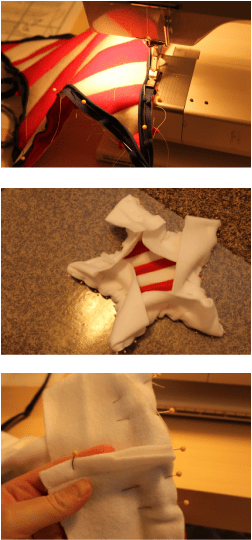
Sew the ends of the strip together. Then sew around the star.
Tip: while you can sew one continuous line around the star – I recommend sewing from point to point rather than trying to turn at the top of each point. So basically you will sew 6 lines instead on long continuous one.
3- Pin and sew back of the star
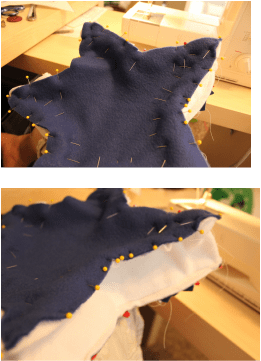
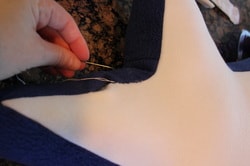
4 – Final Steps



Thank you. I will use the pattern for a manual art at the Vacation Bible School program.