
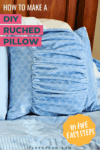
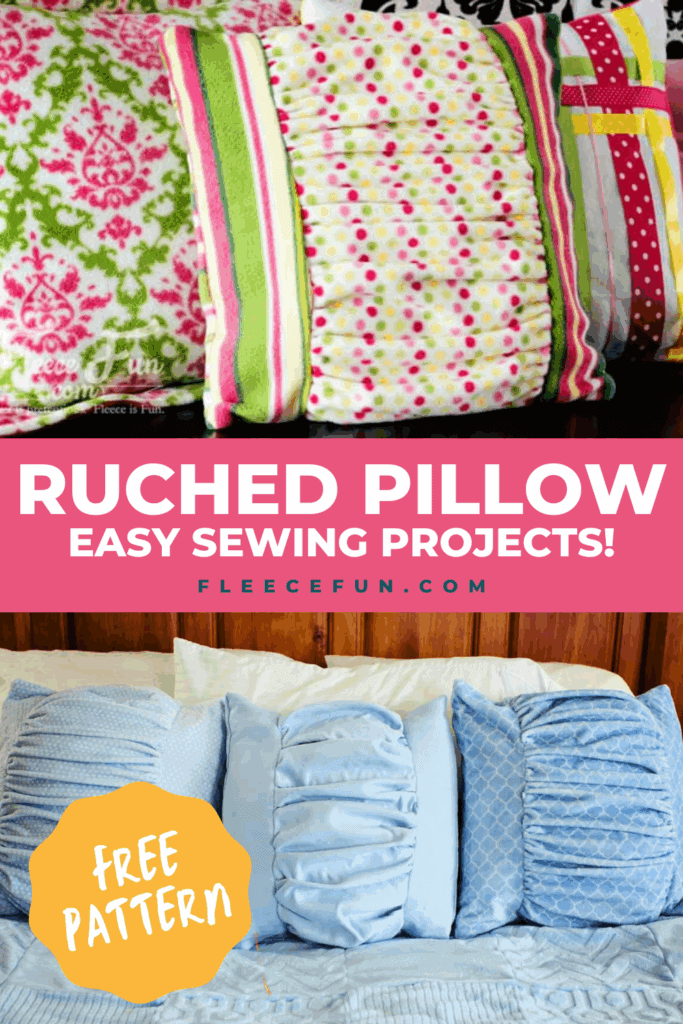
Ruched Pillow Tutorial
This content contains affiliate links or sponsored elements, read our Disclosure Policy.
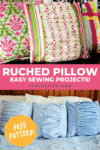


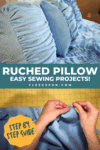
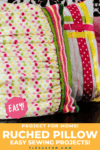


This ruched pillow tutorial is a good beginner project. You can make a great-looking pillow that adds color and style to a room and takes just minutes to make. This is also a great first sewing project.
Hate The Ads?
This pattern with video and printable instructions is available in the Makers Studio. The Maker’s Studio is an ad free experience, no video ads, no forms, no zip files, just creating.

YOU WILL NEED:
- 1/2 yard fleece (you could really use several different kinds of fabric for this pillow)
- Pillow form (I have just been using old throw pillows from around the house)
- Thread
- Sewing Essentials (pins, scissors, etc.)
- Sewing Machine
- Get the free pattern here.
Ruched Pillow Video tutorial

Ruched Pillow Tutorial
step 1 – Cut out the pattern

Print out the ruched pillow pattern (you can get assembly instructions here). Cut out one of each pattern piece.
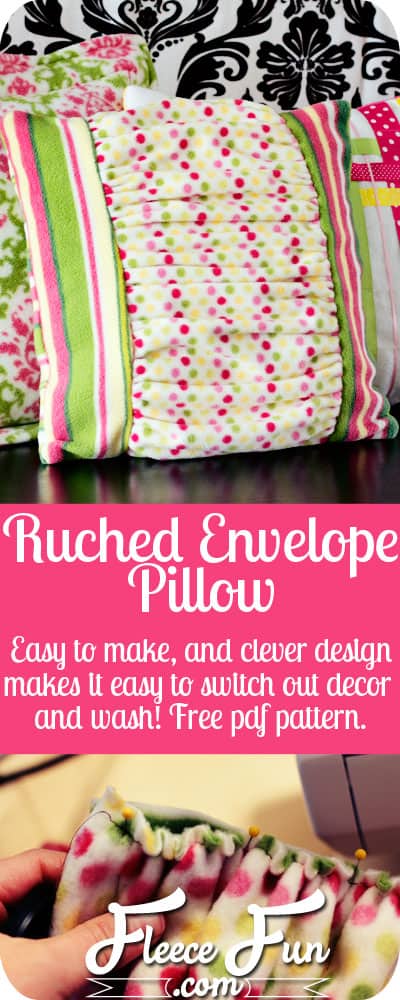
step 2 – Begin to gather and sew
Ruching is just a fancy way of saying a ruffle that has been gathered on both sides. On the longest pattern piece you cut out, sew a basting stitch all the way down each side.

Gather each side to the length of the side pieces, and pin.
Using a 0.5″ seam allowance, sew each side of the gathered piece, making the front of the ruched pillow.
step 3 – Turn under back edge
Turn under the edge of the top back piece one inch and sew using a straight stitch along the edge of the fabric. If you are using fleece, felt, or t-shirt knit, there is no need to do this to the bottom piece.

However, if you are using any other fabric, you will need to turn under the side closest to the center of the pillow 1/4 inch and sew close to the edge of the fabric.
step 4 – Sew the pillow together
With the top of the pillow right side facing up, lay the top back piece on top of the pillow, line up and pin, then lay back bottom piece on pillow, pin.

Now using a 1/2 seam allowance sew all the way around the pillow.
step 5 – finish the ruched pillow
Trim threads and corners, then turn right side out. Insert the pillow form. Ta-da! Now you have a great pillow.
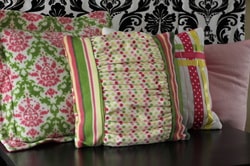
The great part about using an “envelope” pillow design is that it slides off easily for washing and can be changed out for the seasons or a room refresh.
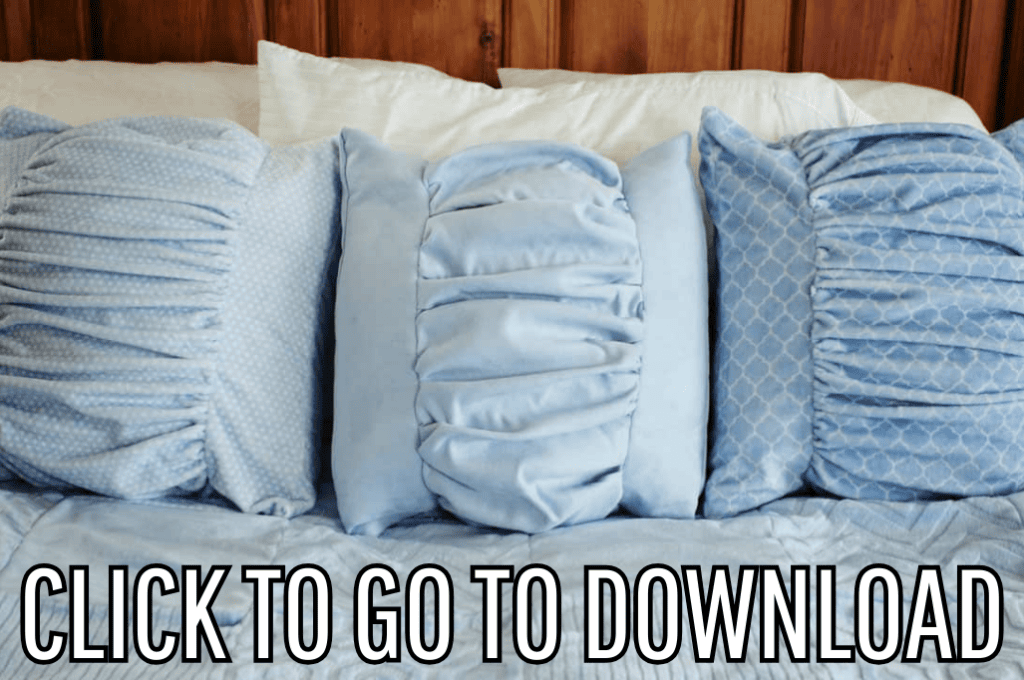
Download the free ruched pillow pattern here
You can get a free copy of Adobe reader here. By downloading you are agreeing to pattern terms of use. Click the picture below and fill up the form to download the .pdf !
More Pillow Tutorials!
- All Americana Stars Pillow
- Valentine’s Day Fleece Pillow Slipcover
- Seeing Stars Pillow
- Cozy Christmas Tall Tree Pillow
- Heart Pillow
- Chenille Heart Pillow
- Pinwheel Quilt Block Pillowcase
- Easy Block Pillow
- Easy Ribbon Pillow
- Faux Fur Pillow
- Lego Brick Pillow
Hey there, was hoping you could possibly help me understand better how you did the ruffle pillow? I’ve never done anything with the ruffle effect, and was hoping you could possibly do a video on this technique to help better understand how you did that step. I would highly appreciate it!! 🙂
Thanks, and you have wonderful videos and tutorials on here. Thanks for sharing such great projects with all of us. 🙂
Hi CJ,
I would love to get around to making a video for this pattern. But I have to be honest it won’t be in the near future as I have several other videos in the que right now. Feel free to email me and I will see if I can clarify a step for you.
– Angel
Hello, I love your fleece fun site. thanks for all the great stuff you post.
However, I have made your ruched pillow 3 times now and I keep having the same problem in the back. It is too loose. I think maybe there is a flaw in the pattern. The gap is driving me crazy and I am not sure how it can be fixed.
🙁
HI JJ,
Try making the back pieces wider so the envelope is tighter – I think that should fix it.