
Baby Tag Blanket Tutorial Easy Handmade Shower Gift
This content contains affiliate links or sponsored elements, read our Disclosure Policy.
Easy Sewing Project: This Baby Tag Blanket Tutorial is easy and had step by step instructions to walk you through it. Also there is a video tutorial to help you visualize it.
You can make a cute ribbon baby tag blanket using cuddle fleece! This easy, step-by-step tutorial will show you how you can make one of these fun blankets.
Hate The Ads?
This pattern with video and printable instructions is available in the Makers Studio. The Maker’s Studio is an ad free experience, no video ads, no forms, no zip files, just creating.

YOU WILL NEED:
- Remaining cuddle strips from kit (unfortunately, this exact kit is no longer available, however a similar one is here.)
- 1/3 of cuddle fleece (or remaining from scraps can also use satin scrap)
- Stretch needle
- Walking foot
- Rotary cutter, ruler and mat
- Ribbons ½ yard of six varieties
- Sewing Essentials (pins, scissors, etc.)
- Sewing Machine
Disclaimer: This is a paid for sponsorship by Shannon Fabrics.
Baby Tag Blanket Video tutorial

Baby Tag Blanket Tutorial
Step 1 – Cut the elements for the tag blanket
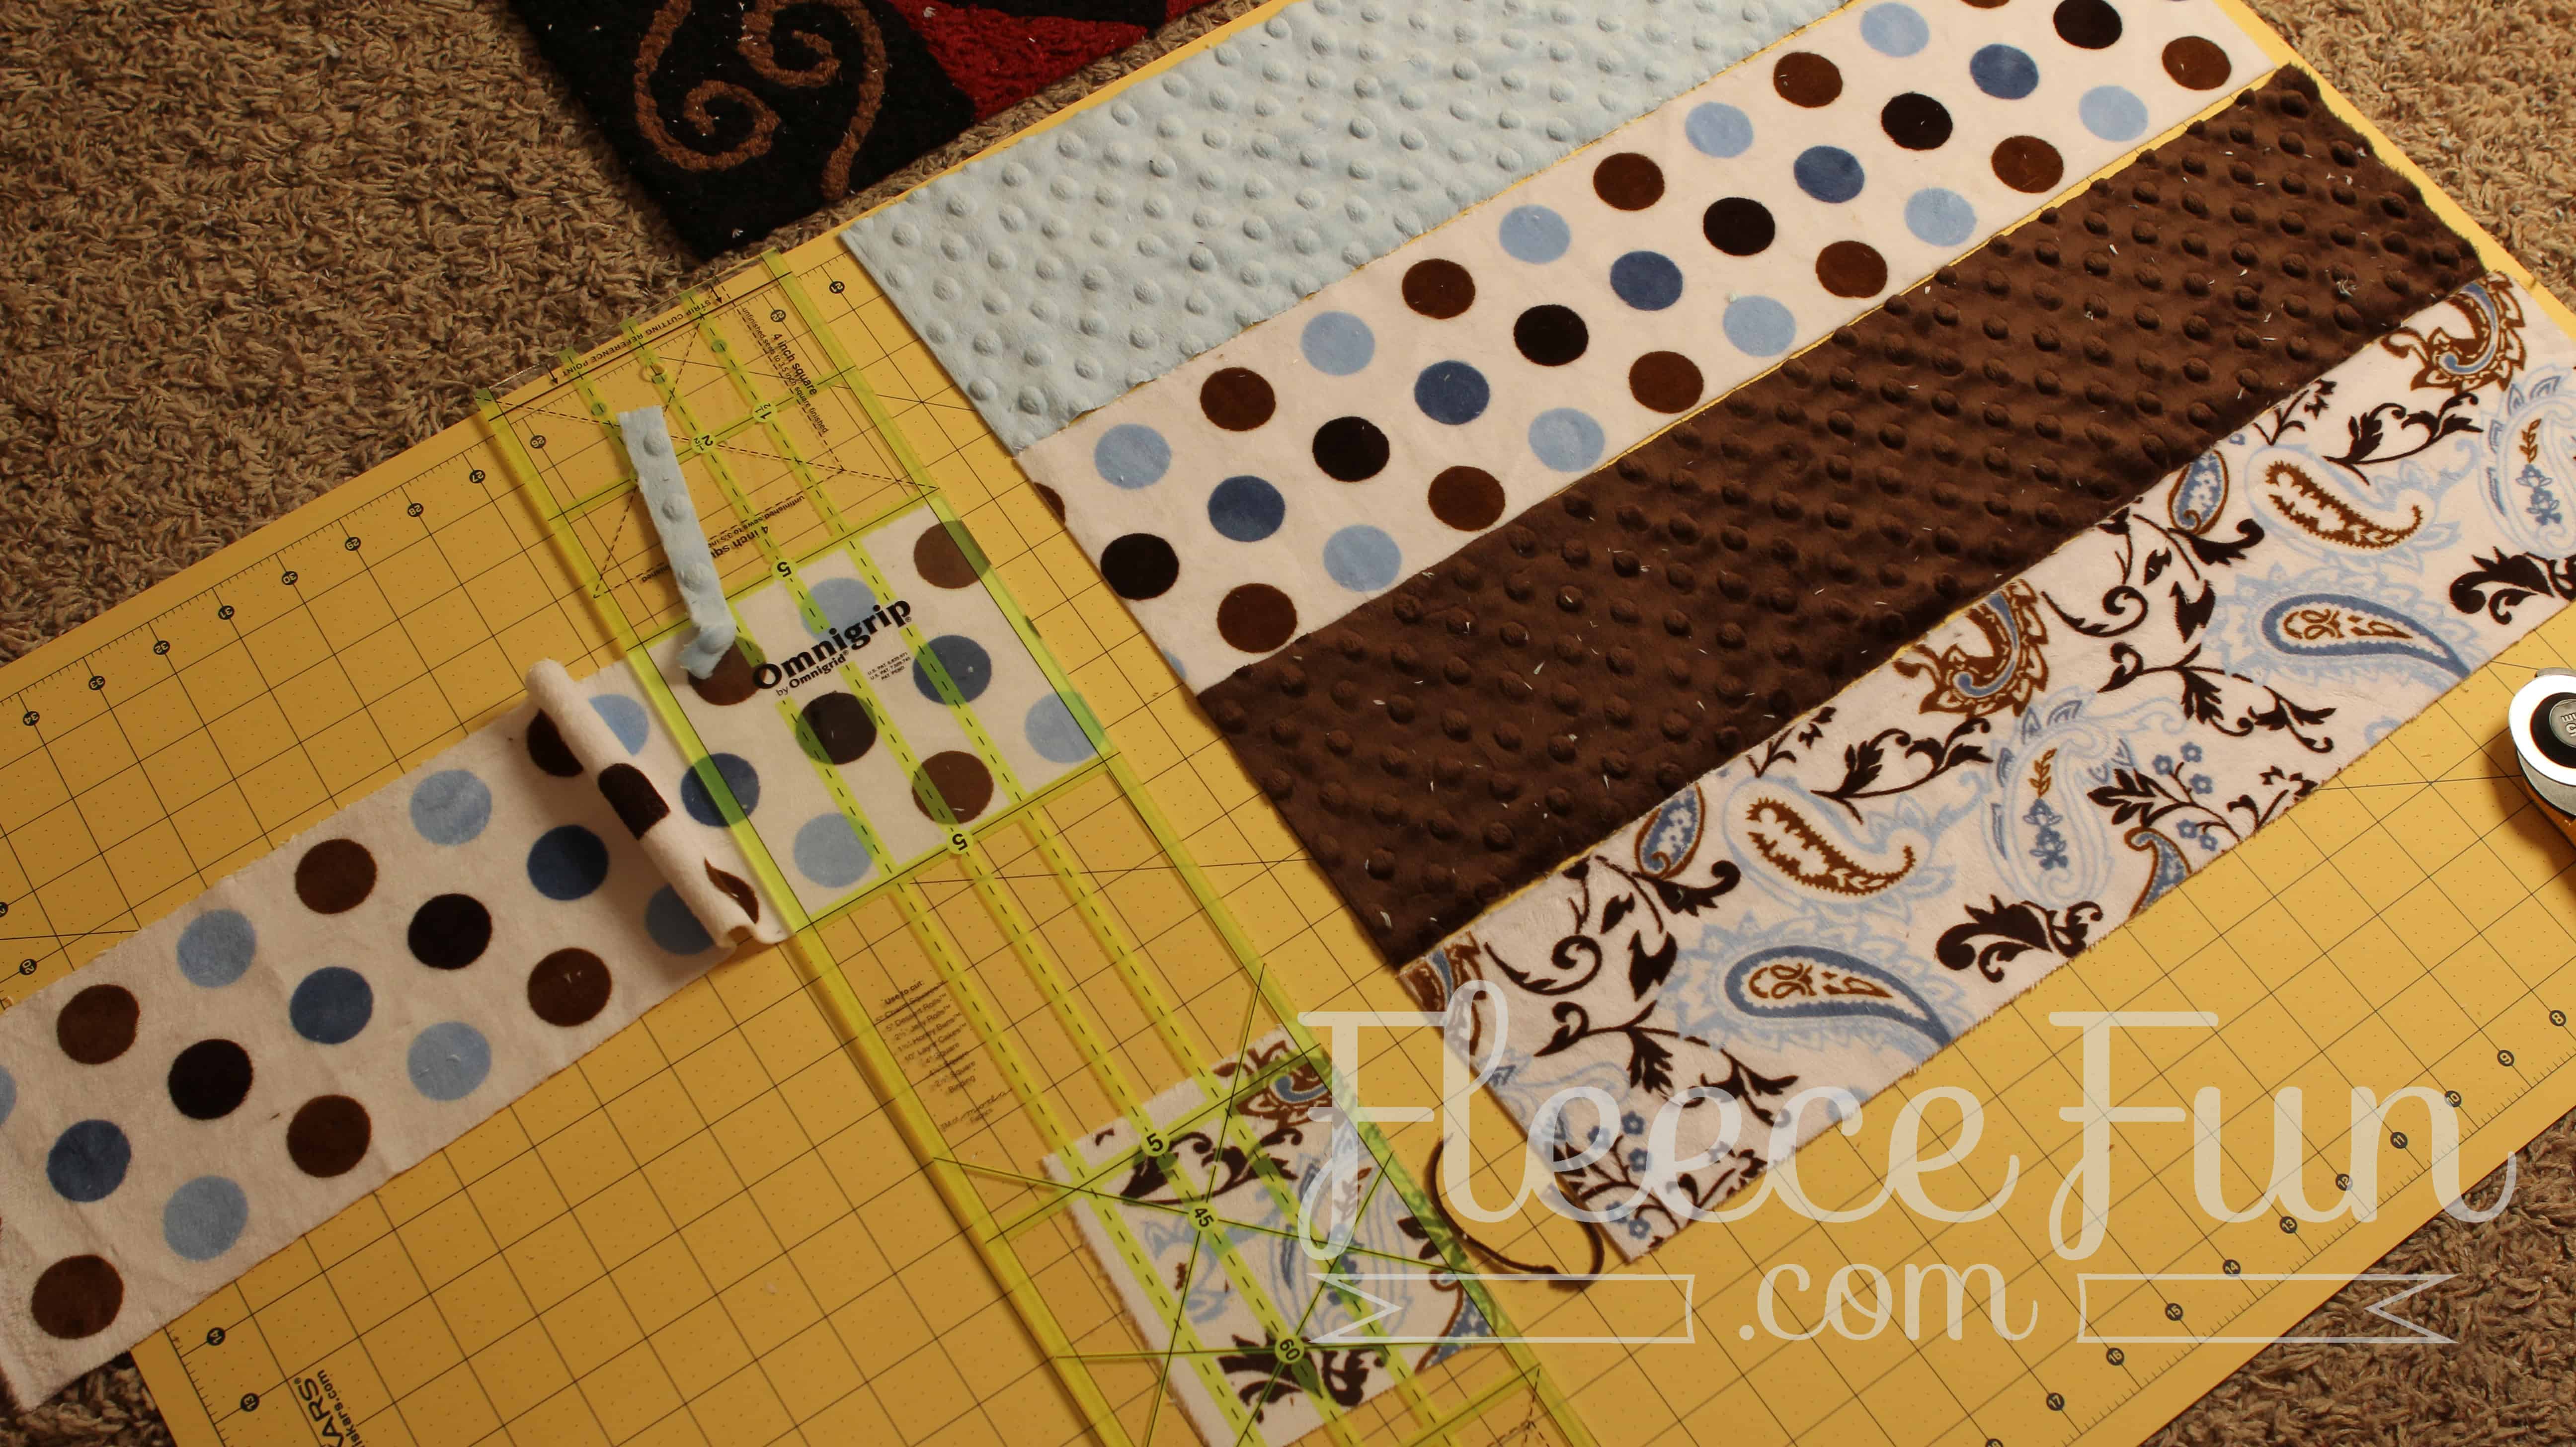
Taking the remaining strips from the cuddle strip kit, cut them to length. In the example, I cut four strips to 19 inches in length. Be sure to save your scraps for future projects.
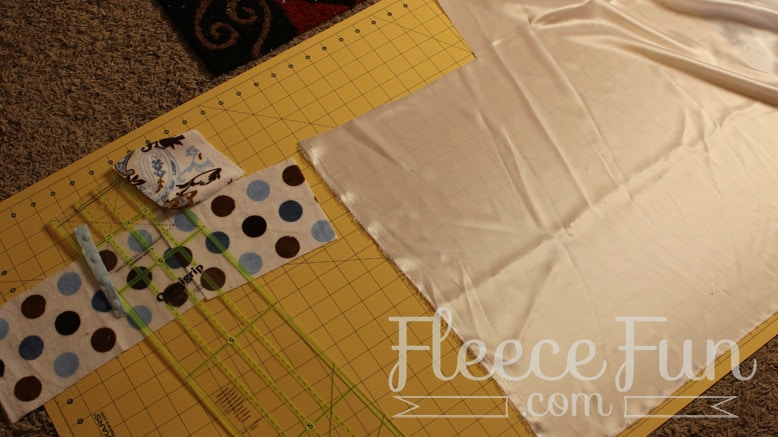
Cut the backing either from cuddle fabric or satin to match the front (taking into account a half-inch seam allowance between the strips). So, for a back of 19-inch strips, it would be 19 inches by 17 inches.
Cut ribbons for the tags or taggies to four inches in length, and set them aside.
Step 2 – Assemble the front of the blanket
Assemble the front for your baby tag blanket.
Sew the strips together using a half-inch seam allowance.
Since cuddle fleece can stretch unevenly when sewn, even out the front edges and cut the strips to the same width.
Loop the ribbons in half before attaching them to the blanket.
Since the ribbons will be tugged on a lot, we’re going to make them extra sturdy and sew them on before attaching the back. Fold the ribbons in half and pin them onto the edge of the cuddle fabric, with the tops facing inward.
Sew it on using a half-inch seam allowance.
Step 3 – Add the back to the blanket
With the right sides together and the ribbons sandwiched in-between, add the backing to the baby tag blanket.
(either cuddle fabric or satin)
and sew around with a halfinch seam allowance
with a three inch gap for turning.
Turn right-side out.
Sew the gap shut.
Then, with a half-inch seam allowance, sew around the blanket using a serpentine or other decorative stitch all the way around to set the blanket.
And that’s it! Your Baby Tag Blanket is finished!
You Might like these Baby Clothing and Accessories:
- How to Make a Baby T-Shirt Tutorial (Free Pattern)
- Baby Knit Sundress Tutorial (Free Pattern)
- Baby Hat with Chin Strap (Free Pattern)
- Baby Burp Cloth Free Pattern and Tutorial
- Waterproof Diaper Changing Mat Tutorial
- How to Make a Child Cape or Car Seat Poncho (Free Pattern)
- Easy Crochet Edge for Baby Blanket
- Free Diaper Bag Tutorial
- 7 Tips for a Perfect Printable Fabric Transfer
Adorable Baby Projects!:
- Muslin Baby Bib Pattern and Tutorial
- Ladybug Softie
- Stretchy Baby Car Seat Cover Pattern (Free)
- Softie Book Baby Toy Tutorial
- How to Make a Softie Baby Block
- Fun Felt Guitar Softie Toy (Free Pattern)
More fun tutorials You Might Like!
- Make a Leather Journal – Handmade Gift DIY
- Easy Lavender Lemon Salt Body Scrub
- Easy Sleep Mask Tutorial – Free Pattern
- Make Holiday Homemade Lotion
- Homemade Body Cream Recipe – Handmade Gift Idea
- Make Holiday Foot Scrub – Handmade Gift Idea
- Easy Sweet Homemade Lip Gloss
- Holiday Foaming Soap Tutorial – Handmade Gift Idea
This crinkle bunny toy is cute and perfect for baby – you can check it out on Sew What Alicia.