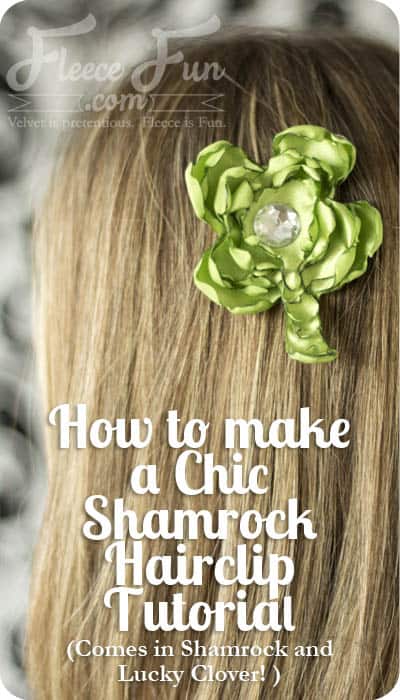
Chic Shamrock Hair Clip for St. Patrick’s Day
This content contains affiliate links or sponsored elements, read our Disclosure Policy.


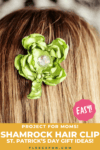
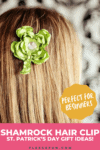

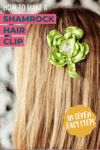

A cute and chic take on a shamrock – and lucky too! This chic shamrock hair clip is perfect for St. Patrick’s day. It’s also a nice way to add some green to make sure you are pinch proof!

YOU WILL NEED:
- 1/8 yard green satin
- Gem or button for center
- Clip or pin backing
- Candle and lighter
- Hot glue gun
- Needle and thread
- Pen
- Few inches of ribbon
- Adult supervision (this project is NOT for kids)
- Get the free pattern here.
Chic Shamrock Hair Clip for St. Patrick’s Day Tutorial
Step 1 – Gather Your Materials
Print up the pattern (you can get assembly instructions here – but there is not a need for this pattern.)
Because you’ll be tracing the pattern pieces printing on cardstock works best.
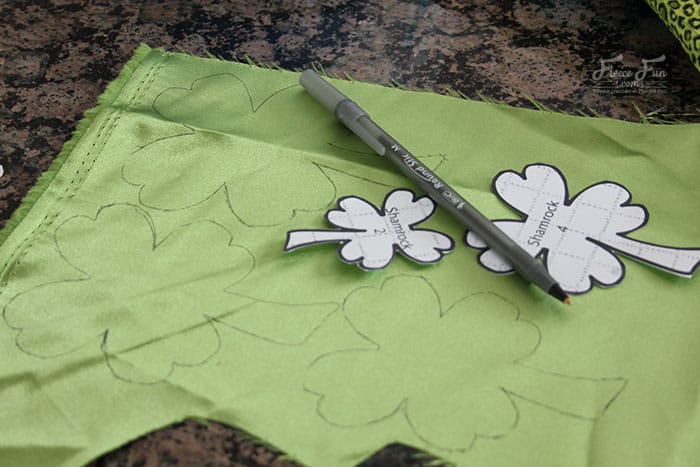
Step 2 – Cut Out the Fabric for Your shamrock hair clip
Trace the shamrock or clover pattern pieces onto the satin fabric – there is no need to use a washable marking pen – a regular pen will work nicely.
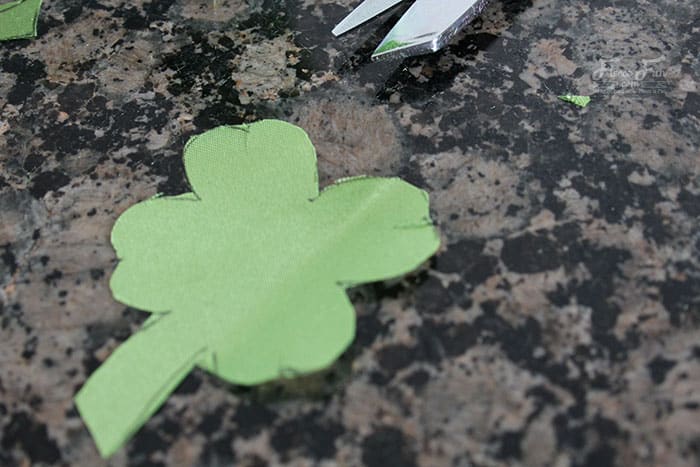
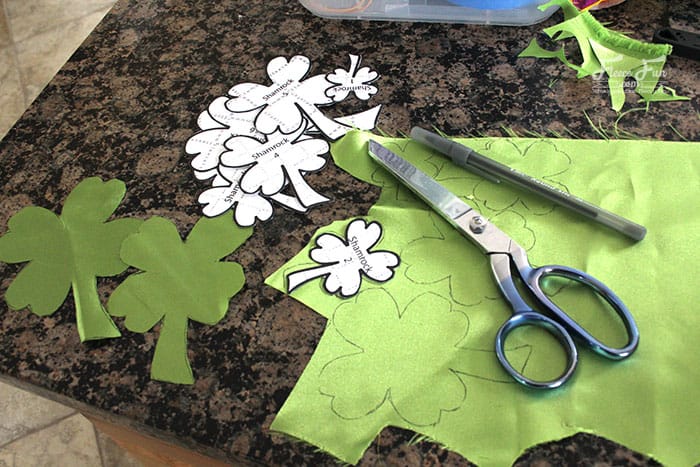
Cut out the shamrock pieces. Snip a short slit into the leaves of each piece.
note
If you want a smaller clip, start with a lower number template piece (for example 4), if you want a larger clip use a higher number (like 6).
Step 3 – Heat-Singe the Edges
This step should be done by an adult – and cautiously.
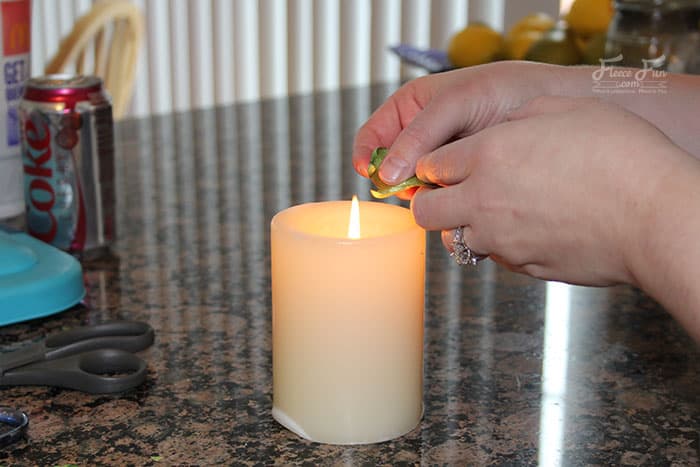
Light the candle. Holding the edges of the shamrock pieces neat the flame – carefully singe the edges taking care not to light the fabric on fire or burn yourself. Take your time with this step – you may want to try this on a practice piece before attempting it on your cutout shamrocks.
Step 4 – nest the shamrock hair clip pieces
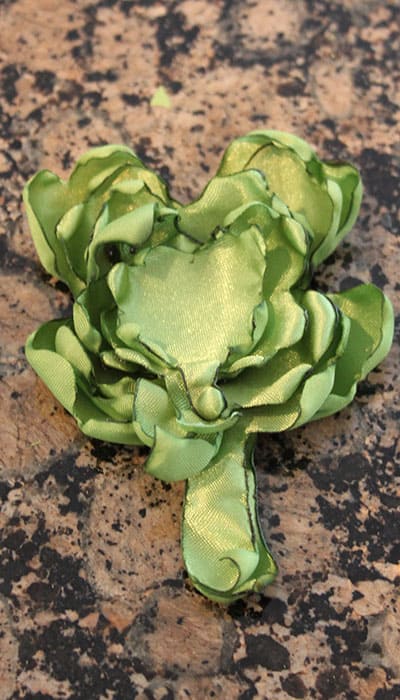
Nest the shamrocks into each other – depending on how you singed the edges you might need to take eliminate one of the pieces to make it fit properly.
Step 5 – sew or glue for a Durable Shamrock Clip
Now that you have the pieces places how you like them sew a few stitches into the center or you can glue each piece to each other.
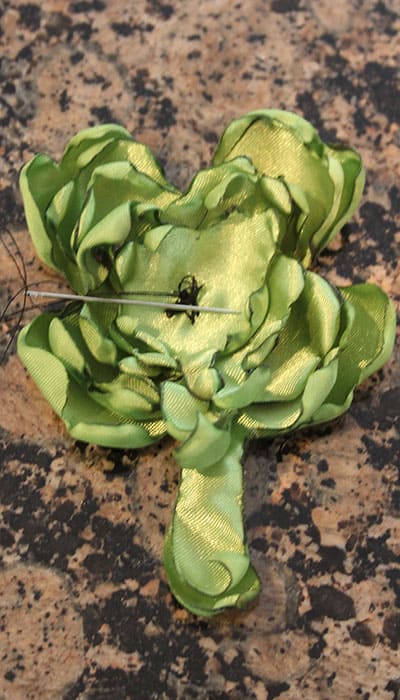
I like to use a combination of both – I sew the center and then glue the stem sections so it lies nicely.
Step 6 – Add bling
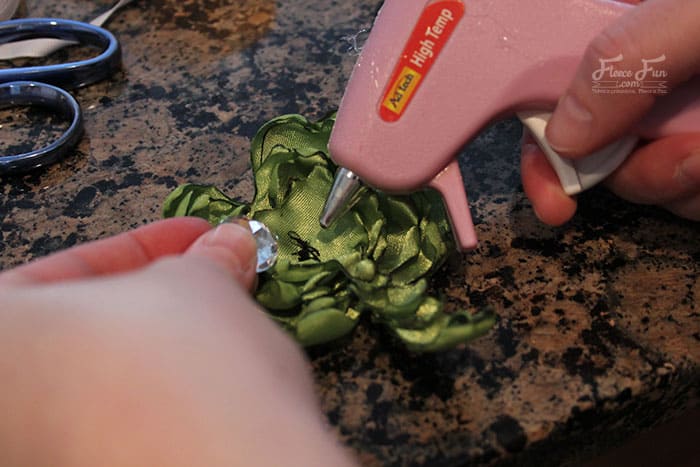
Cover up the stitches by gluing a jewel or button into the center of the shamrock
Step 7 – Attach the Hair Clip Backing to Complete Your Accessory
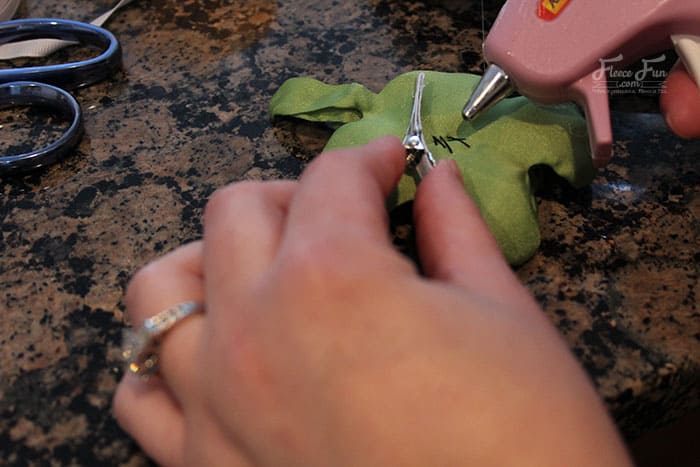
Glue a clip or pin back in to the back of your shamrock hair clip. You can cover part or the entire clip with ribbon using the glue gun.

Now you have a chic shamrock hair clip.
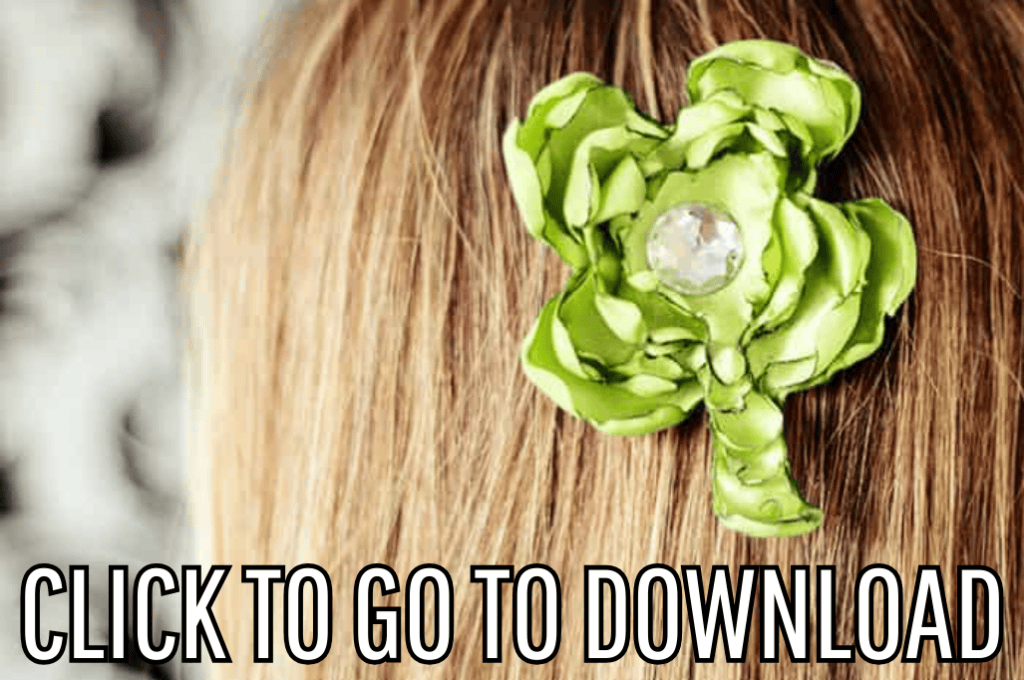
Download the Free Pattern for This Chic Shamrock Hair Clip
You can get a free copy of Adobe reader here. Click the picture below and fill up the form to download the pattern. By downloading you are agreeing to pattern terms of use.
See More of Our Saint Patrick’s Day Crafts
- DIY Nursery Wall Hanging: Lovely Rainbow with Cloud
- St. Patrick’s Day Decor: Easy Upcycle Book Craft
- DIY St. Patrick’s Day Decor: Easy Ombre Shadow Box
- Easy Leprechaun Hat Decor
- St. Patrick’s Day Clover Button Art Tutorial
- St. Patrick’s Day Printable Box (Free)
- Free St. Patrick’s Day Printable: One Lucky Coin
- All of my Holiday Projects: Saint Patrick’s Day