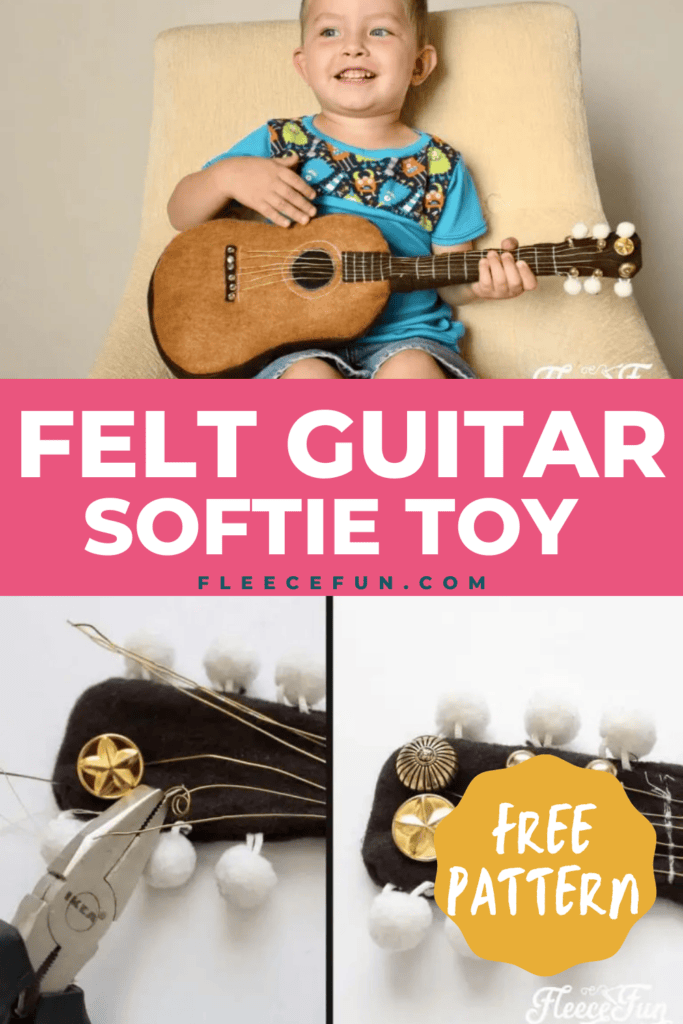
Fun Felt Guitar Softie Toy (Free Pattern)
This content contains affiliate links or sponsored elements, read our Disclosure Policy.


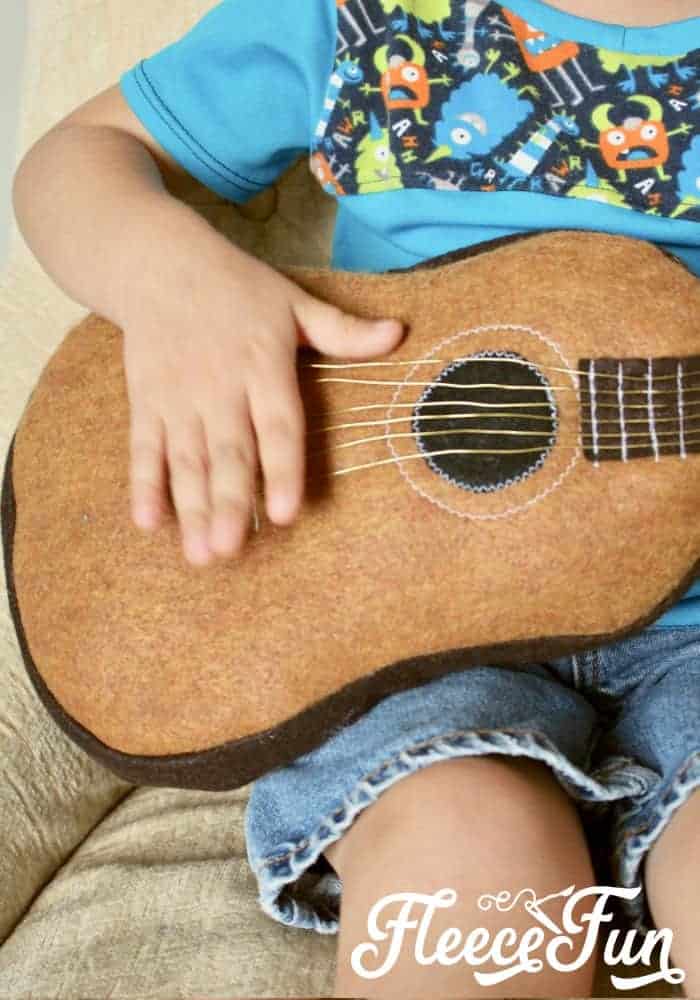
Free sewing pattern: This Fun Felt Guitar Softie Toy is the perfect addition to your little one’s toy collection. With a vintage look, this free softie toy pattern make a perfect handmade gift. Easy to follow step by step pictures and instructions.
Hello! I am Sunni and I’m so excited to be posting here from Made for Little Gents. I have three little guys that I sew and create for. While I usually create clothing for them, I love the opportunity to make toys as well. We are very musically oriented in our home – I play the piano and fiddle, and my husband plays the piano and guitar, and we hope each of our boys will pick up at least one instrument as well.
One of the best ways to encourage a hobby is to create toys related to that hobby, and that’s what I’ve got for you today! I’m happy to share this free tutorial and pattern for a felt play guitar softie toy with you.
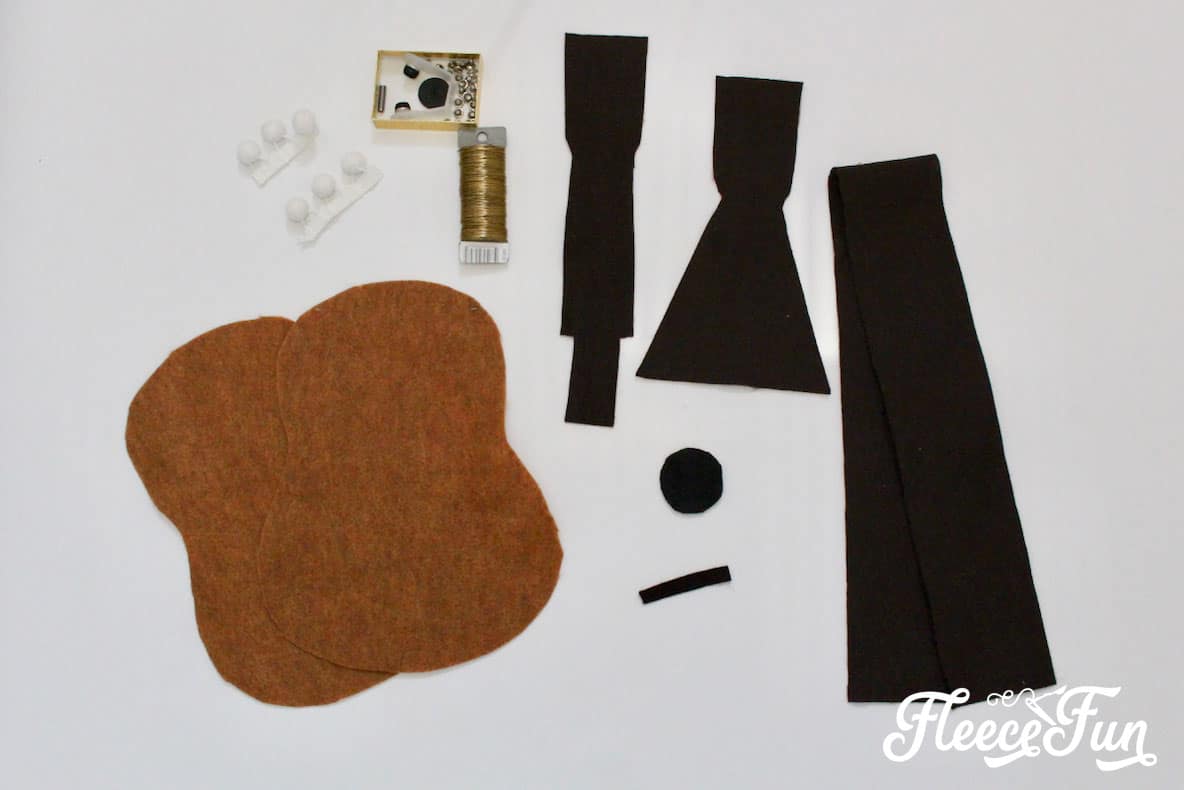
YOU WILL NEED:
- Felt for body, neck, sides, and bridge
- Felt for soundhole
- Wire for strings (mine is 22 gauge)
- 6 pom-poms for tuning pegs
- String pegs – 6 rivets and rivet tool
- 6 buttons for pegheads (not pictured)
- Poly-fil batting
- Coordinating thread
- Standard sewing supplies (sewing machine, pins, marking pens, needle, etc)
- Get the free pattern here.
Felt Guitar Softie Toy Tutorial
Step 1 – Cut the Felt Guitar Pattern Pieces
First, cut out all the pattern pieces from your felt and cut the wire into six 17-inch pieces. Take one of the body pieces and place the bridge, sound hole, and neck pieces where they are marked in the pattern.
Hint: a glue stick works great here! You can be as creative as you want with decorative stitches to help hold it all together! I chose a simple zig-zag around the sound hole and didn’t do anything fancy with the bridge.
Step 2 – Attach the Rivets and Guitar Strings
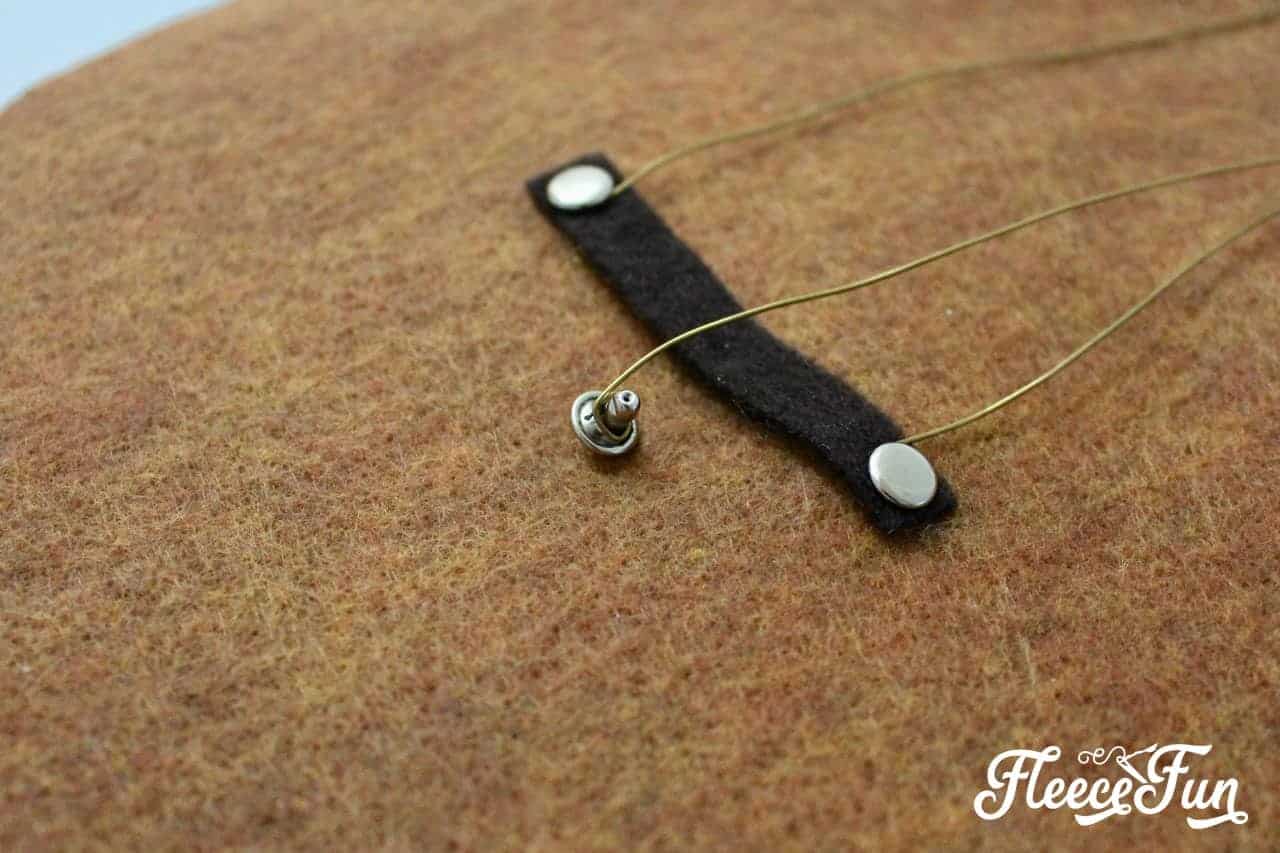
Attach each of the rivets, spaced evenly across the bridge, by following the instructions provided with your rivet tool. Before attaching the top part to the bottom part, wrap the end of one of the wires around the rivet pin so it stays in place when it is attached.
Step 3 – Sew the Strings and Frets
Right above the bridge (as shown in the picture), space out the strings evenly and stitch vertically over the strings, keeping them in place. Backstitch to reinforce the stitches and have a stronger-looking line.
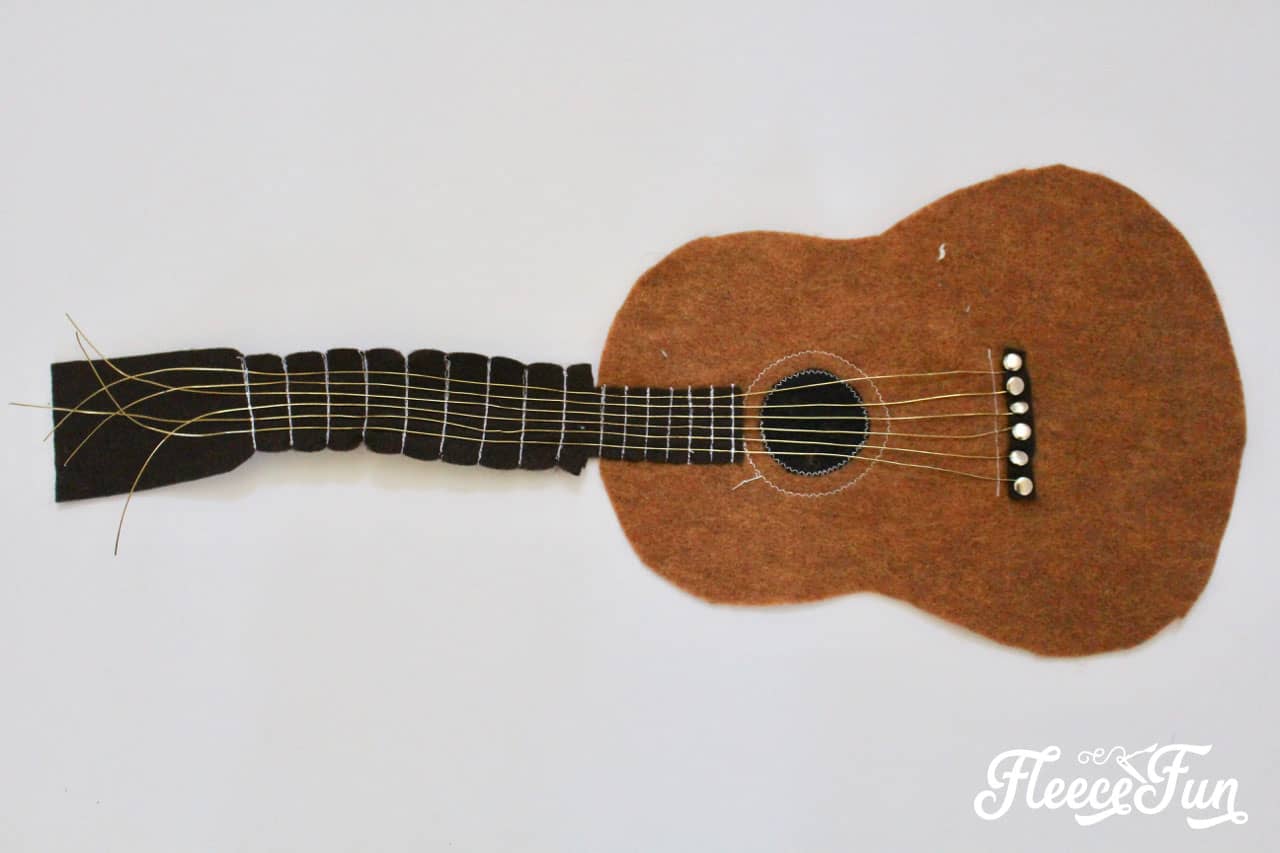
Repeat this for each of the frets along the neck of the guitar. The lines on the body are spaced 3/8″ apart, and the lines on the neck are 5/8″ apart.
Step 4 – Add Pom-Poms to the Felt Guitar Softie Toy Headstock
It’s time to stitch the pom-poms onto the headstock of the guitar. First, bend back the wires so you have room to sew. (Don’t worry about them getting bent. They will, and we’ll fix them. Just trust me here!) Now, I used white pom-pom trim that had rows of pom-poms connected by tiny cords to a wider fabric.
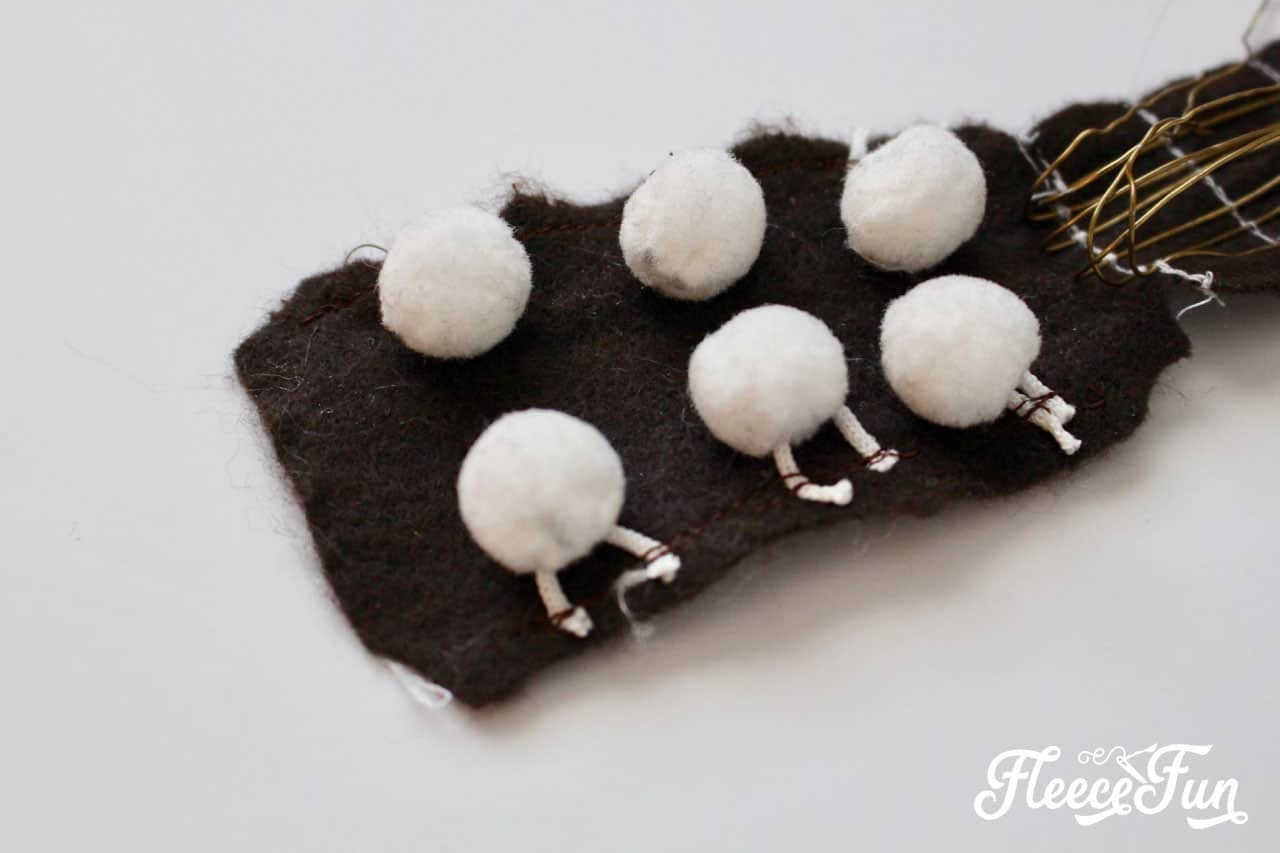
I cut off the excess fabric and just sewed the cords on, as you can see in the picture. You could also use freestanding pom-poms and just thread string through them to sew onto the headstock.
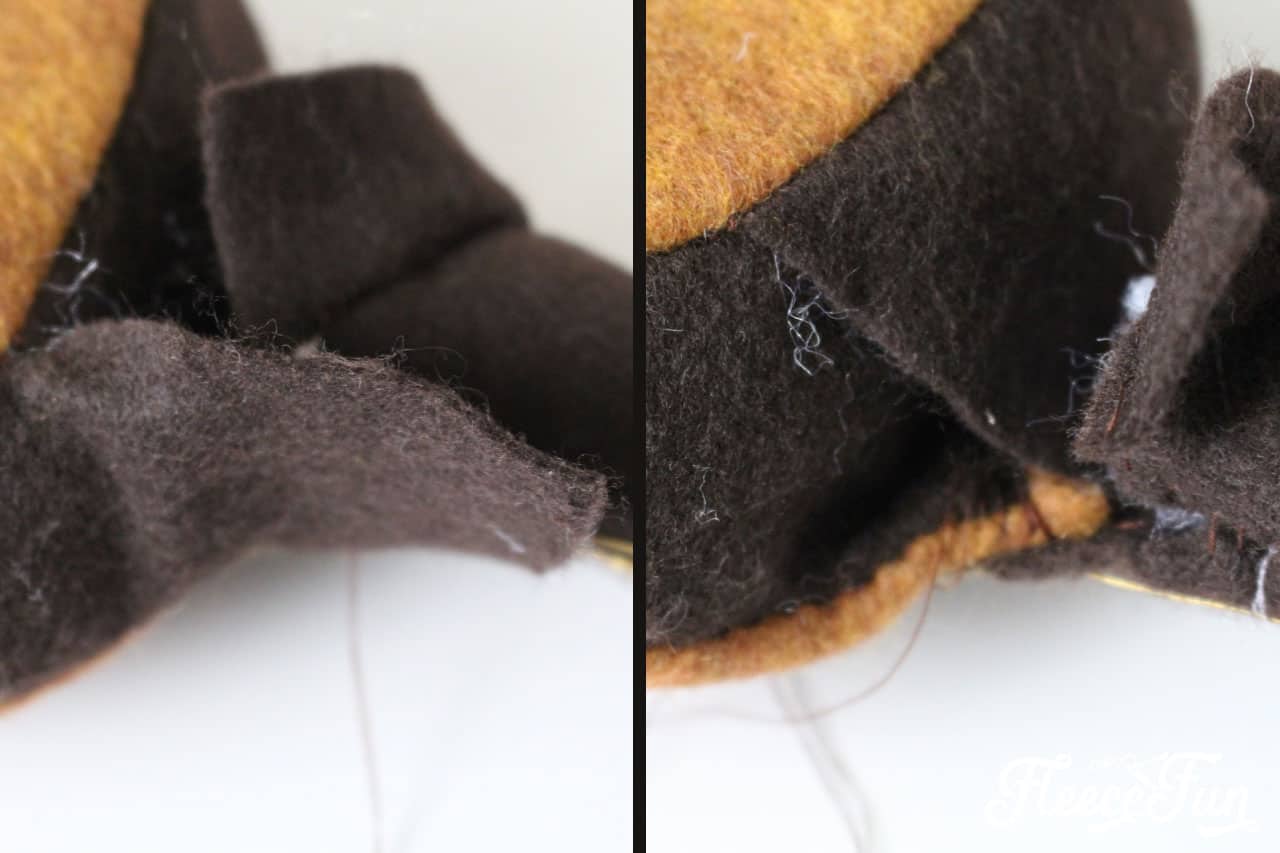
Step 5 – Sew the Neck Pieces Together
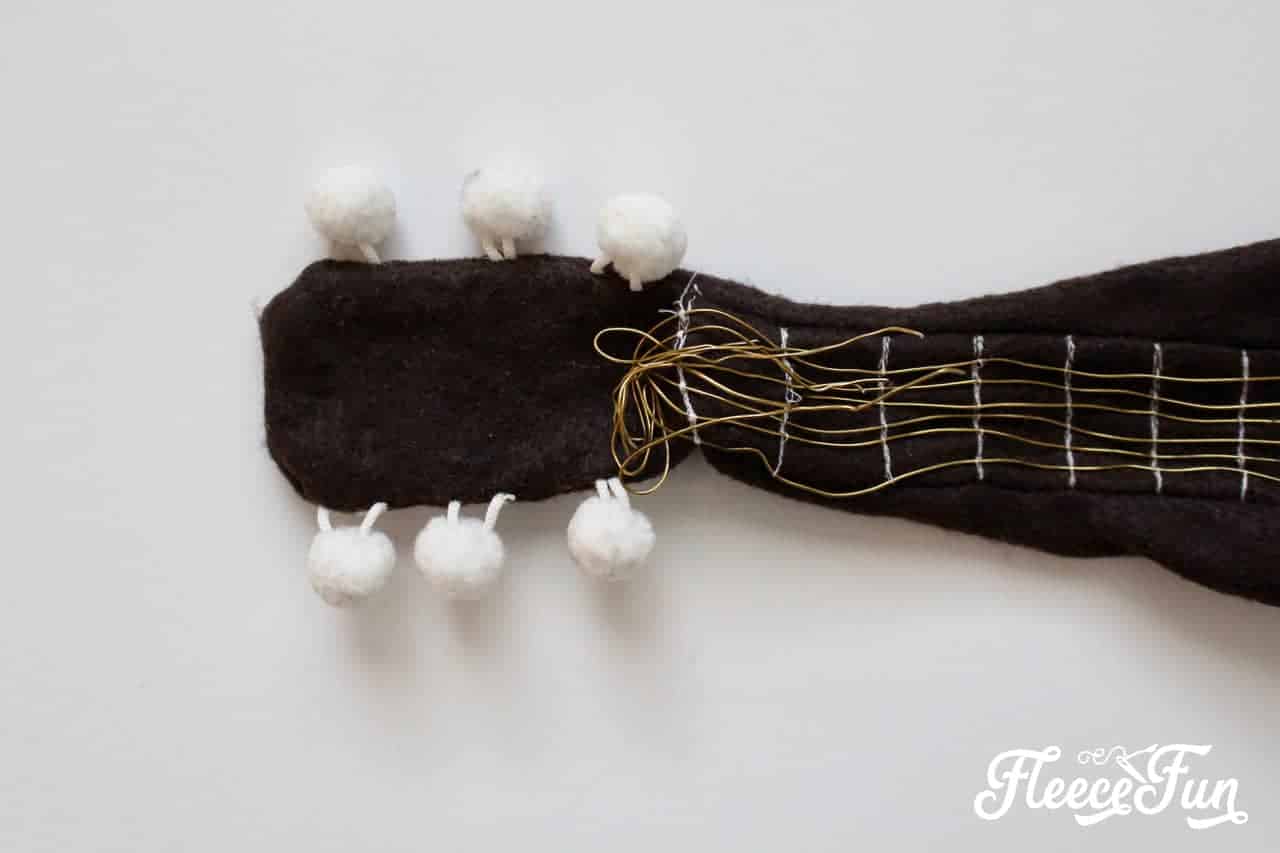
Now place the back of the neck onto the top, with right sides facing, and sew around, using a ¼” seam allowance (use this everywhere unless stated otherwise). Turn it inside out, and you should have a beautiful mess, something like the photo above.
Step 6 – Scrunch the Neck Fabric

This is important: Don’t cry! We’re going to smooth it out. Scrunch all of the fabric below the top fretboard like this:
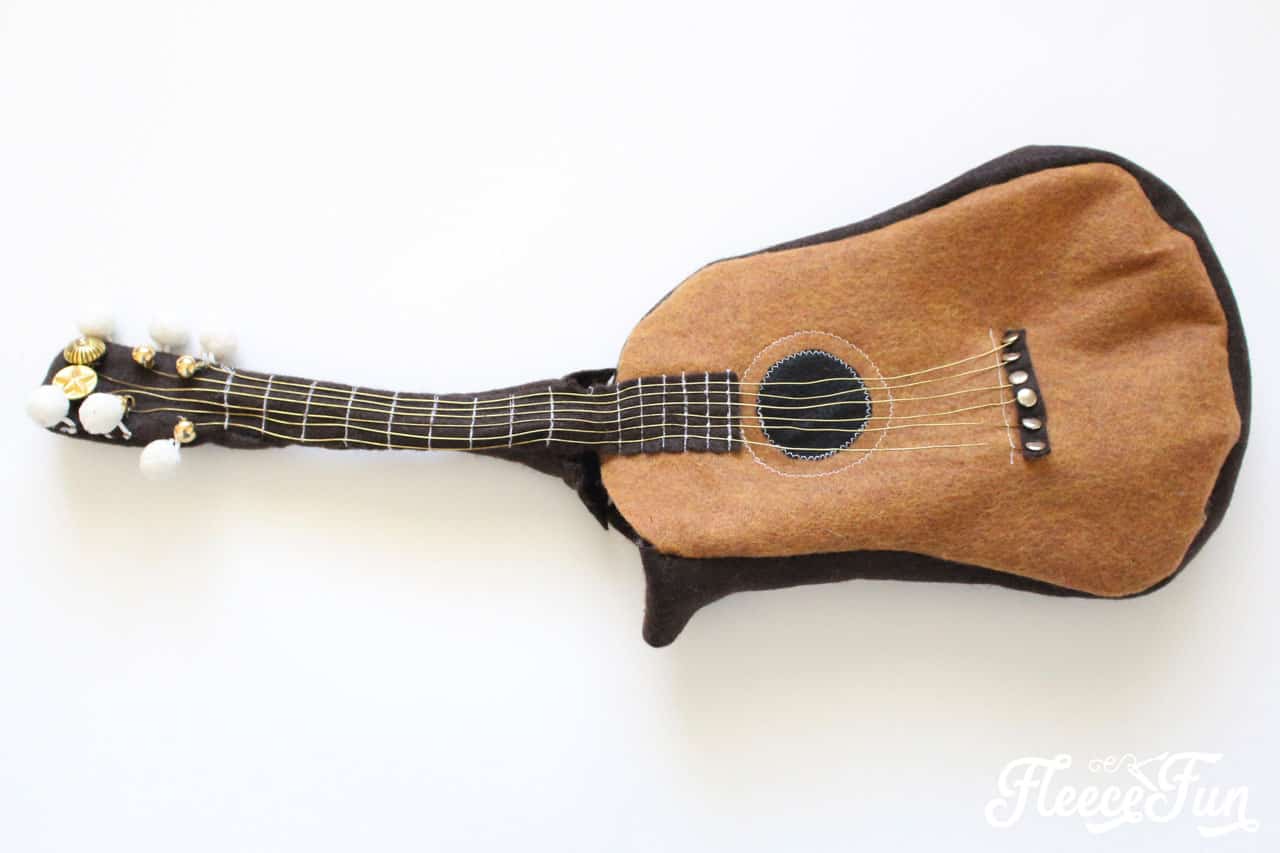
Step 7 – Smooth the Guitar Strings
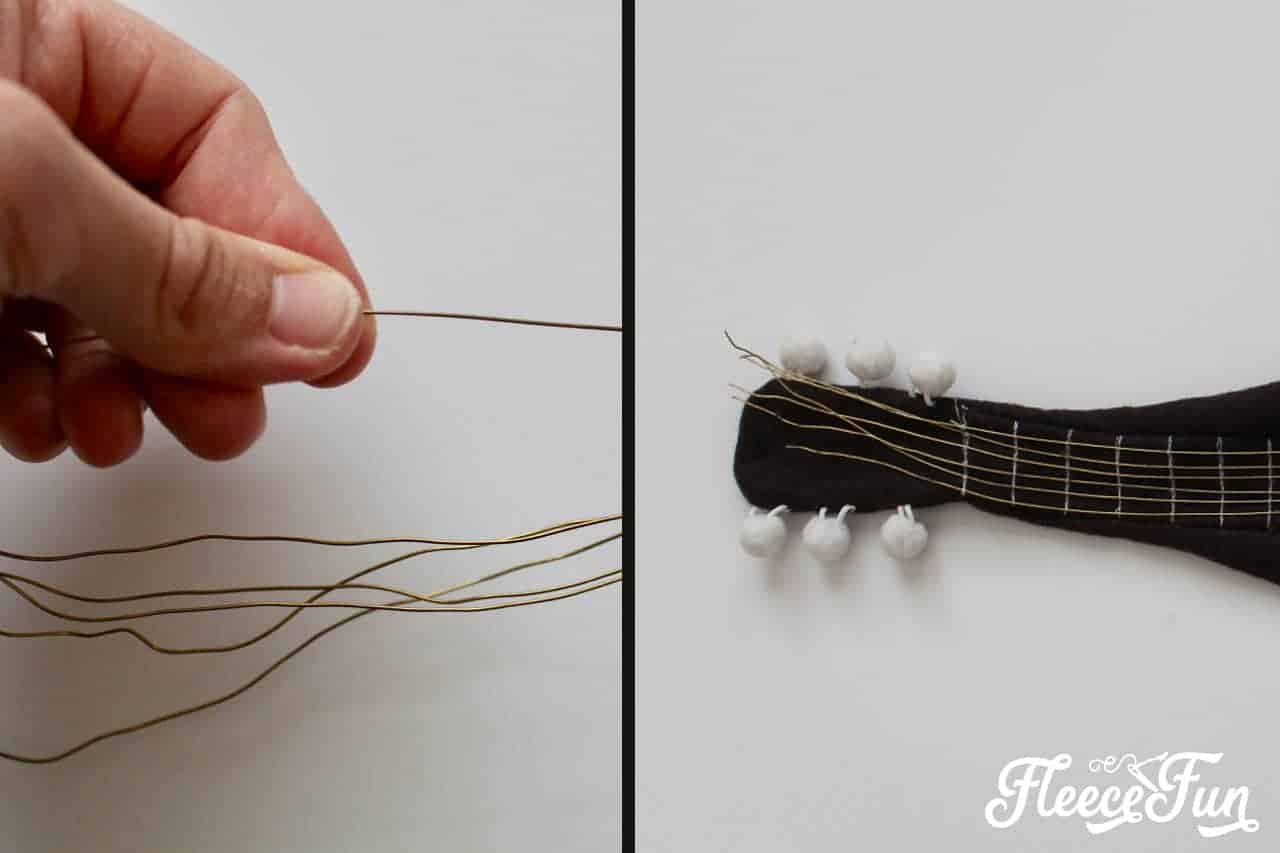
Now, one by one, smooth out the strings by squeezing them between your fingers and sliding your fingers along them over and over again until they become smooth once again. Phew, doesn’t that look better?
Step 8 – Sew the Buttons onto the Felt Guitar Softie Toy Headstock
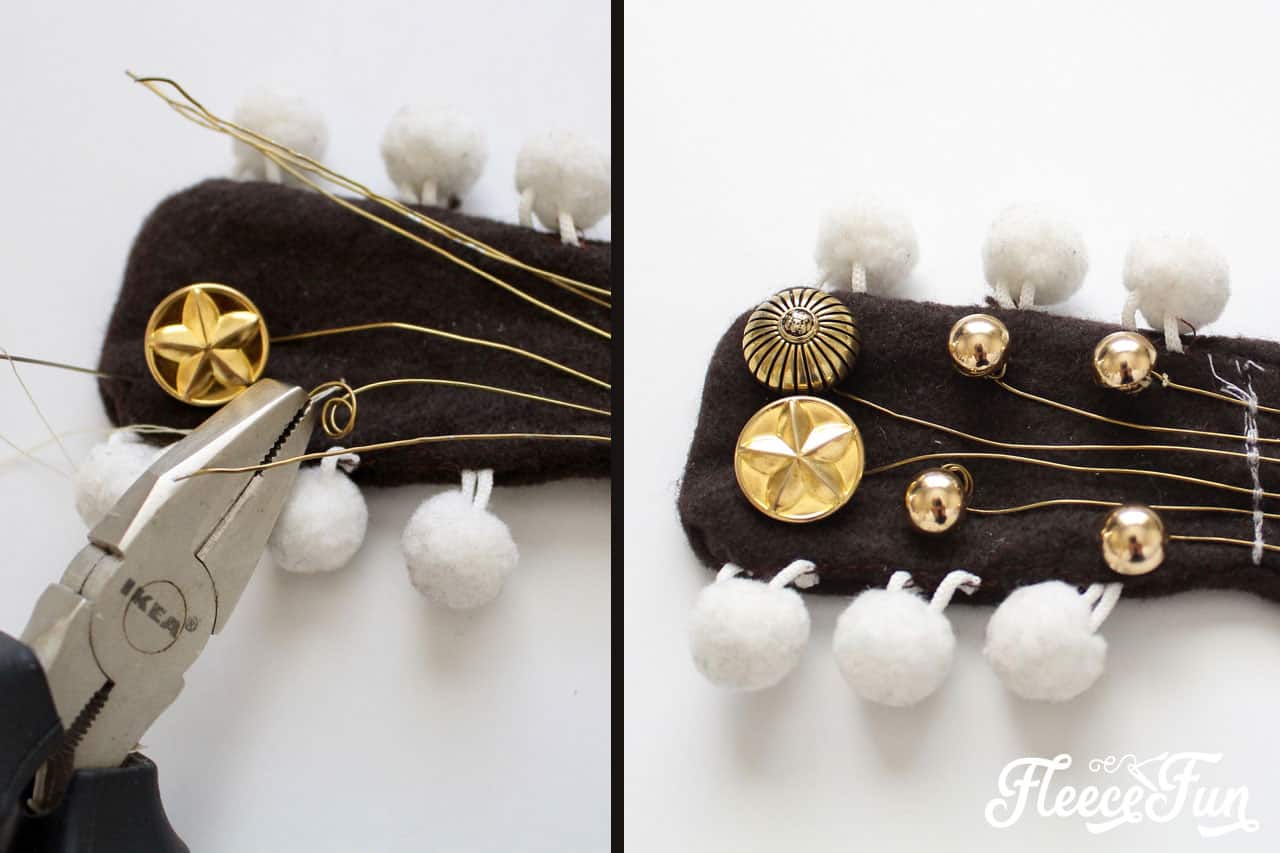
Hand stitch both the peghead buttons and the wires underneath to the headstock. Sew the wires by looping the tops of them around and attaching them to the fabric as if the loop were a buttonhole, and then place the buttons on top. Place the buttons like this:
Step 9 – Sew the Guitar Body
Time for the body! Attach the guitar side strip to the top of the guitar body, starting at the marked location on the pattern. Sew all the way around, leaving a 3-inch gap. Repeat this step with the back of the guitar. You will have about an inch of overlapping side-strip fabric. Flip it right side out.
Step 10 – Stuff and Finish the Guitar
Fill the guitar neck and body with batting. Hand-stitch the gap in the body near the neck closed, placing the extra side-strip fabric inside and stitching it in place. Finally, hand-sew the neck of the guitar to the body.
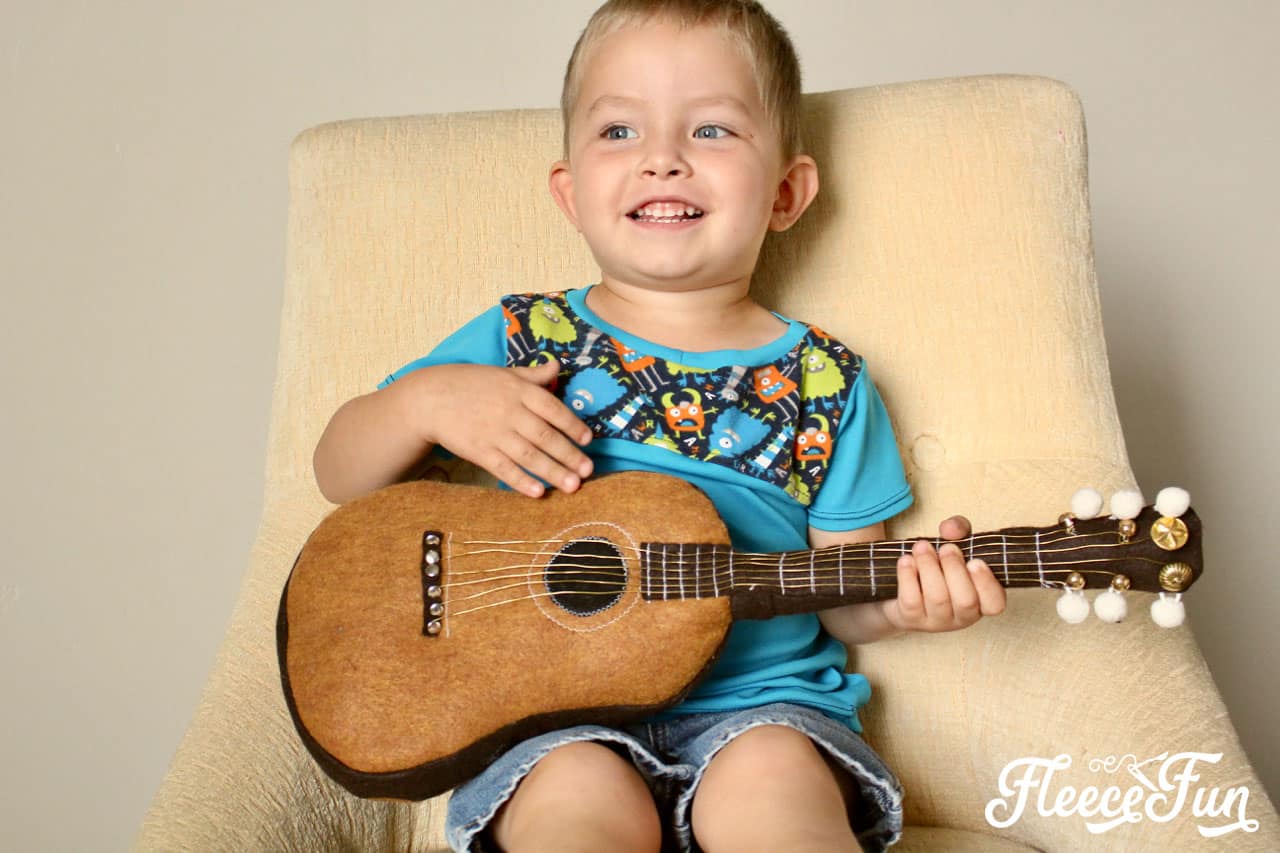
Congratulations! You have completed your Fun Felt Guitar Softie Toy. Now hand it to your child and let them practice playing the guitar, just like Daddy!
GET THE FREE Felt Guitar Softie Toy SEWING PATTERN BELOW:
I only approve of Adobe reader. By downloading you are agreeing to pattern terms of use. Fill out the form to have it delivered to your inbox.

I hope you have enjoyed this tutorial for the felt guitar!
Love this Felt Guitar Softie Toy? See moreFun Baby Softies and Toy Tutorials
- Monster Softie Pattern (Free)
- Ladybug Softie
- Sunshine Softie – Free Baby Toy Sewing Pattern
- ABC Baby Blocks Free Pattern and Tutorial
- Softie Book Baby Toy Tutorial
- How to Make a Softie Baby Block
- Easy Block Pillow Tutorial
- Monster Finger Puppets Tutorial
- Pumpkin Finger Puppet Tutorial
- Toddler Bean Bags – Handmade Gift Idea by Chrissy from Muse Morning
- Fleece Eggs and Fleece Basket Pattern
- Kawaii Candy Corn Softie
- Reindeer Softie
- My Little Pony Inspired Stick Ponies
- DIY Nursery Wall Hanging – Lovely Rainbow with Cloud
More Adorable Baby Projects!
- Muslin Baby Bib Pattern and Tutorial
- Stretchy Baby Car Seat Cover Pattern (Free)
- Baby Hat with Chin Strap (Free Pattern)
- How to Make a Baby Busy Tag Blanket