How to Make Giant Buttons for Wall Decor
This content contains affiliate links or sponsored elements, read our Disclosure Policy.
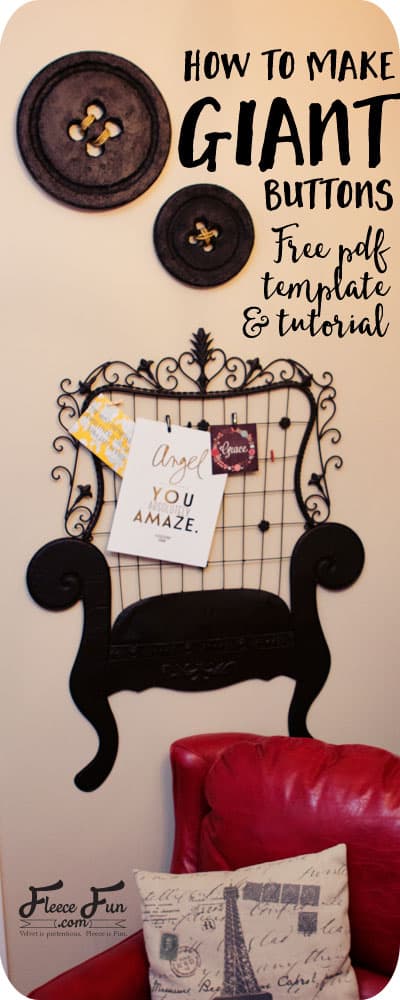
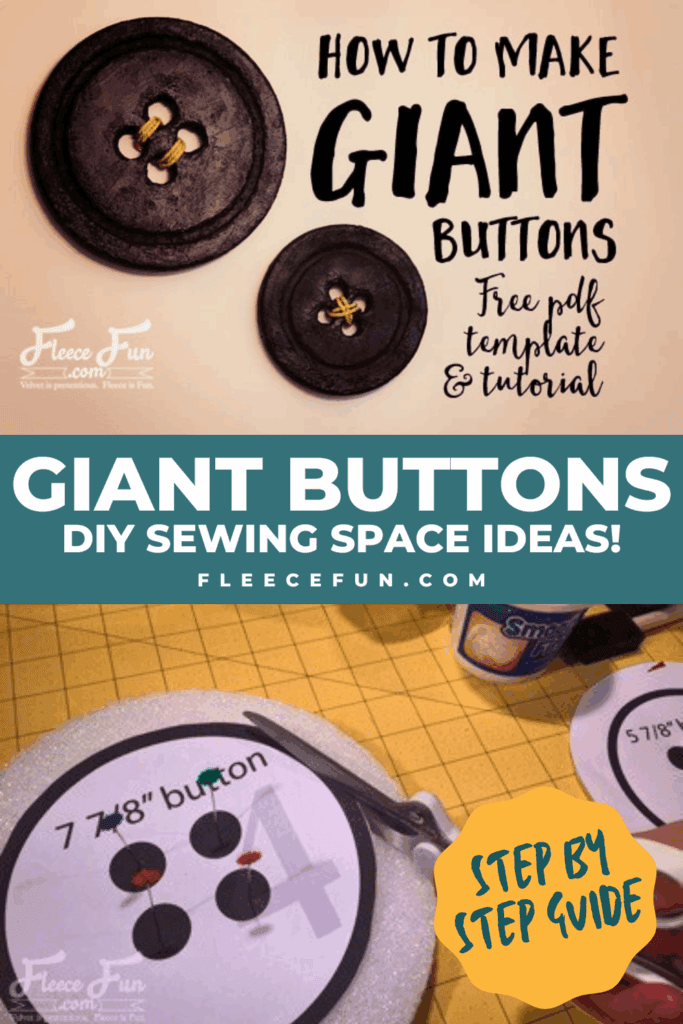
Today I’m going to show you how to make these Giant Buttons for Wall Décor – that perfect for a craft room or sewing space! I’ve also made it really easy for you to with my handy dandy templates that fit multiple sizes of of FloraCraft® Make It: Fun® Foam Discs.
This is a sponsored post for FloraCraft®. Compensation has been given, but the thoughts and opinions are my own.
We like things that are not to scale. We like super tiny cute things, and we like giant things.
YOU WILL NEED:
- FloraCraft® Make It: Fun® Foam Discs
- FloraCraft® Make It: Fun® Foam Cutter
- FloraCraft® Smooth Finish
- Paint
- Paintbrush
- Scissors
- Pins
- Exacto knife
- Cording or yarn for the “string” if desired
- Get the free pattern here.
- You can find more foam craft ideas at Make It: Fun Crafts – here.
How to Make Giant Buttons for Wall Decor Tutorial:
Step 1 – Assemble the templates and center on disc

You will need to assemble the template. For instructions on how to assemble the pattern click here.

Cut out the circles and match them up to the discs you want. Pin the template into place once you have the template centered.
Step 2 – Make the first groove

Cut the template down to the exterior of the black line.

Then using your foam cutter score around the outside of the template – making a circle. Only cut down about a quarter of an inch – do not cut all the way through the foam.
Step 3 – Make the second score

Now cut down to the other side of the black line.

Score around the foam disc again.
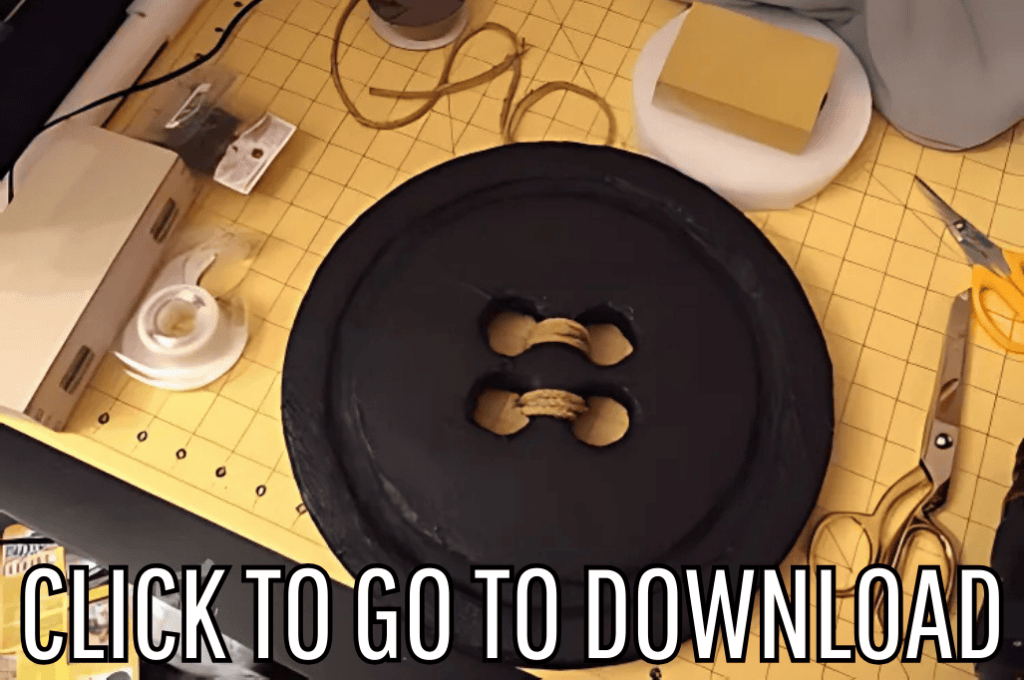
Step 4 – Cut out the holes for the giant buttons

Move the pins to another part of the template.

Using exacto knife cut out the holes. Then using the FloraCraft® Make It: Fun® Foam Cutter, cut out the holes.
Quick Tip
Punch a hole in the middle of the circle and then cut it out from there.
Step 5 – Give it some shape

You can either just leave it with two grooved lines or you dig out the area between the two lines to give it more dimension. You can also sandpaper the edges to give the button a more rounded look.
Step 6 – Lose the foam look

I love the Smooth finish because it makes it look like it’s not foam.

Cover the giant button with the finish and let if dry overnight.
Step 7 – Paint and finish the Giant Buttons Wall Décor

Finish off by painting and adding cording or yarn if desired. There are so many sizes of FloraCraft® Make It: Fun® Foam Discs you could make a whole collage!
You’re finished wit the Giant Buttons for Wall Décor Tutorial.
Download the Giant Buttons for Wall Décor Pattern Below:
You can get a free copy of Adobe reader here. By downloading you are agreeing to pattern terms of use. Click the picture below and fill up the form to download the .pdf!
More tutorials for Organizers!
- Origami Fabric Basket Tutorial
- DIY Sewing Room Décor
- IKEA Fabric Stool
- How to Make a Binder Pouch Tutorial
- Ribbon Book Mark
- Sewing Machine Mat Tutorial
- Craft Room Hanging Organizer Tutorial
- How to Make a Giant Pegboard for Your Craft Room
- Cricut Maker Cover Tutorial
- How to Make a Pin Cushion Tutorial (Bracelet Style)
- Cute Trash Can DIY Craft Room Decor
- Tips on How to Paint Stripes on Walls
- Painting a Chalkboard Wall – 5 Things to Know
- See all of our Organizer Tutorials
Love these Giant Buttons for Wall Décor? see more Decor Ideas!
- Craft Closet Organization: The Ultimate Guide
- Sewing Room Ideas: My Studio Makeover (Part 1 of the Makeover Series)
- How to Choose Colors for Your Sewing Studio (Part 2 of the Makeover Series)
- Sewing Room Ideas: How to Pick Furniture (Part 3 of the Makeover Series)
- Cute Craft Room Decor Ideas (Part 4 of the Makeover Series)
- Craft Room Ideas: Makeover Final Reveal (Part 5 of the Makeover Series)
- Honest Craft Room Tour!
- See all Studio Space and Decor Tutorials!