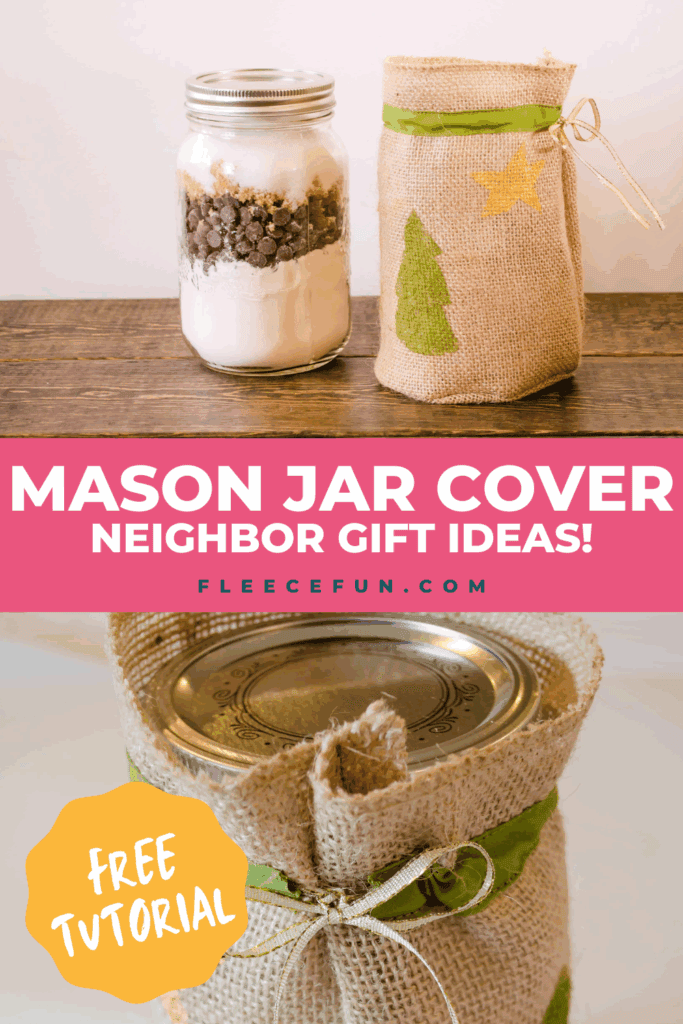
Neighbor gift idea Mason Jar Cover
This content contains affiliate links or sponsored elements, read our Disclosure Policy.
Fill this Mason jar with any number of treats, or mixes and cover it with this wonderful Holiday themed burlap cover for an extra Handmade touch. If you’re looking for a killer hot cocoa recipe to fill the jar with you can get that here.
YOU WILL NEED:
- Burlap
- Single fold bias tape
- Gold ribbon
- Acrylic paint
- Freezer paper
- Sewing Essentials (scissors, pins, etc.)
Mason Jar Cover Tutorial
Step 1 – Trace the Jar Base
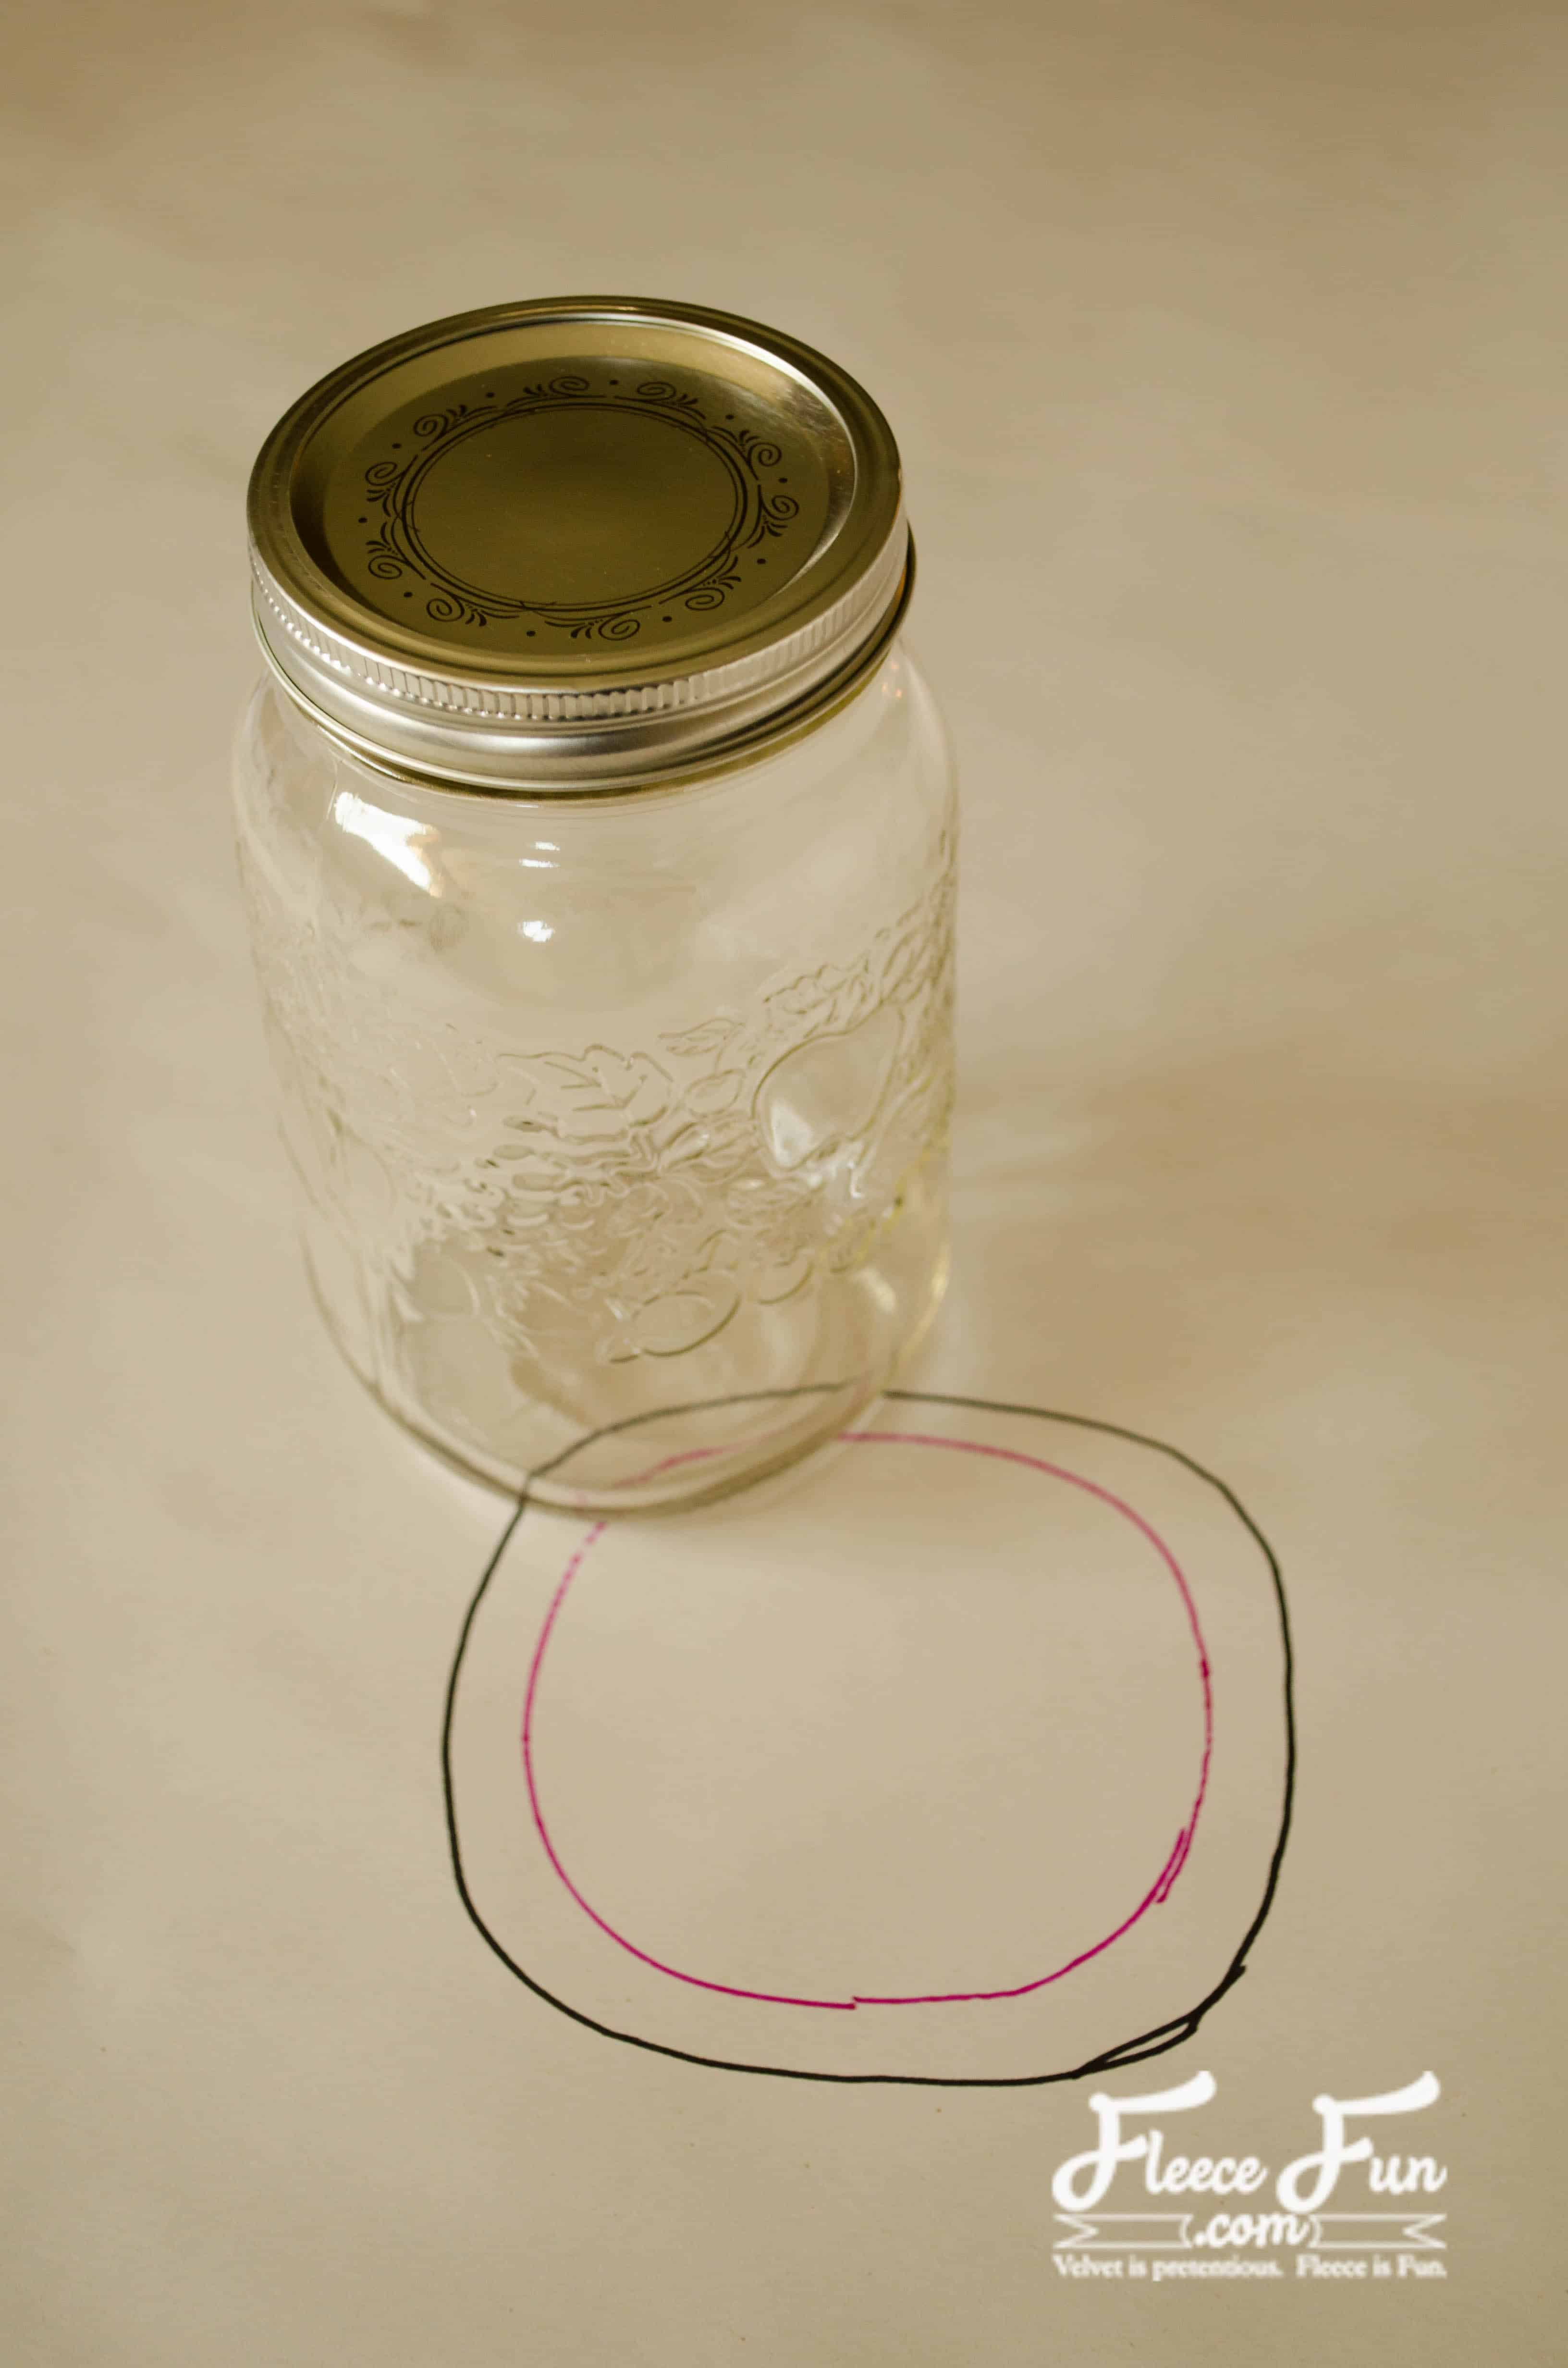
Trace the bottom of your Mason jar. Add 1/2″ to the outside for seam allowance. Cut it out of burlap.
Step 2 – Measure and Cut the Burlap for Your Mason Jar Cover
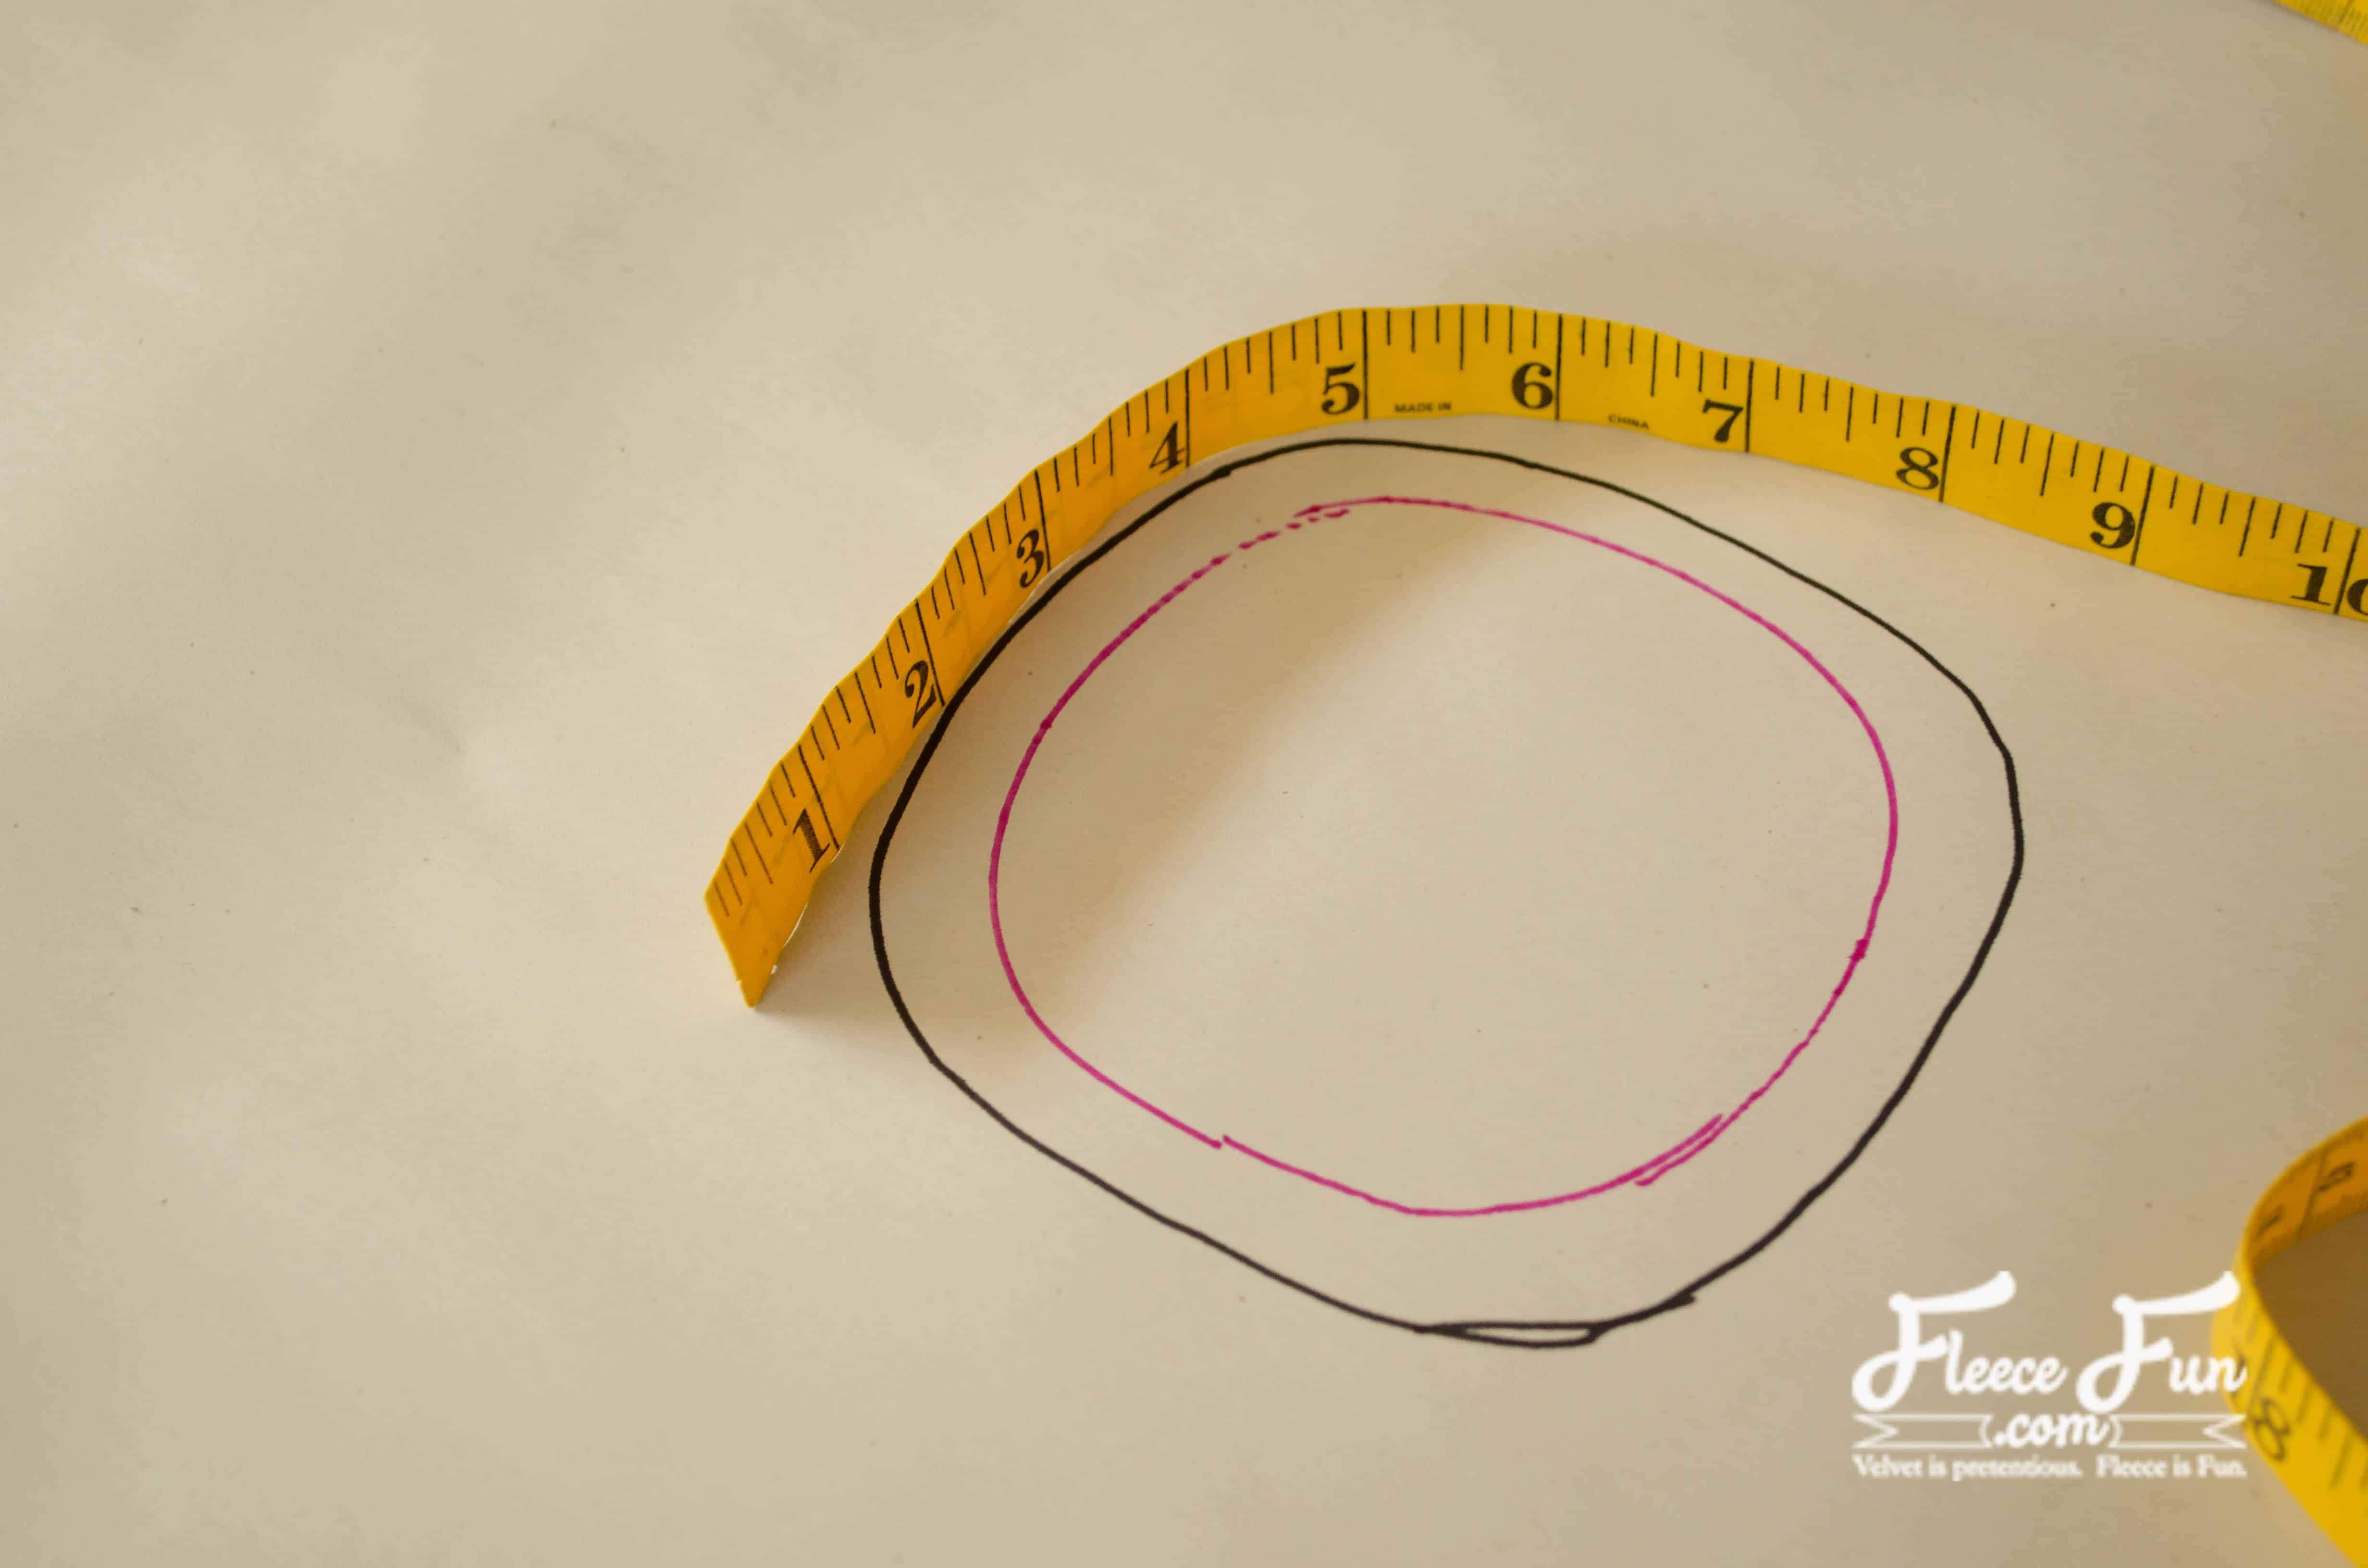
Use a flexible tape measure to measure the INSIDE line. Add 1″. This will be the width of the rectangle. Measure the height of the jar. Add 1/2″. This is the height of your rectangle. For my Bernardin wide-mouth jar, my rectangle is 14.5″ x 7″. Cut a rectangle of this size from burlap.
Step 3 – Create the Holiday Stencil for Your Mason Jar Cover
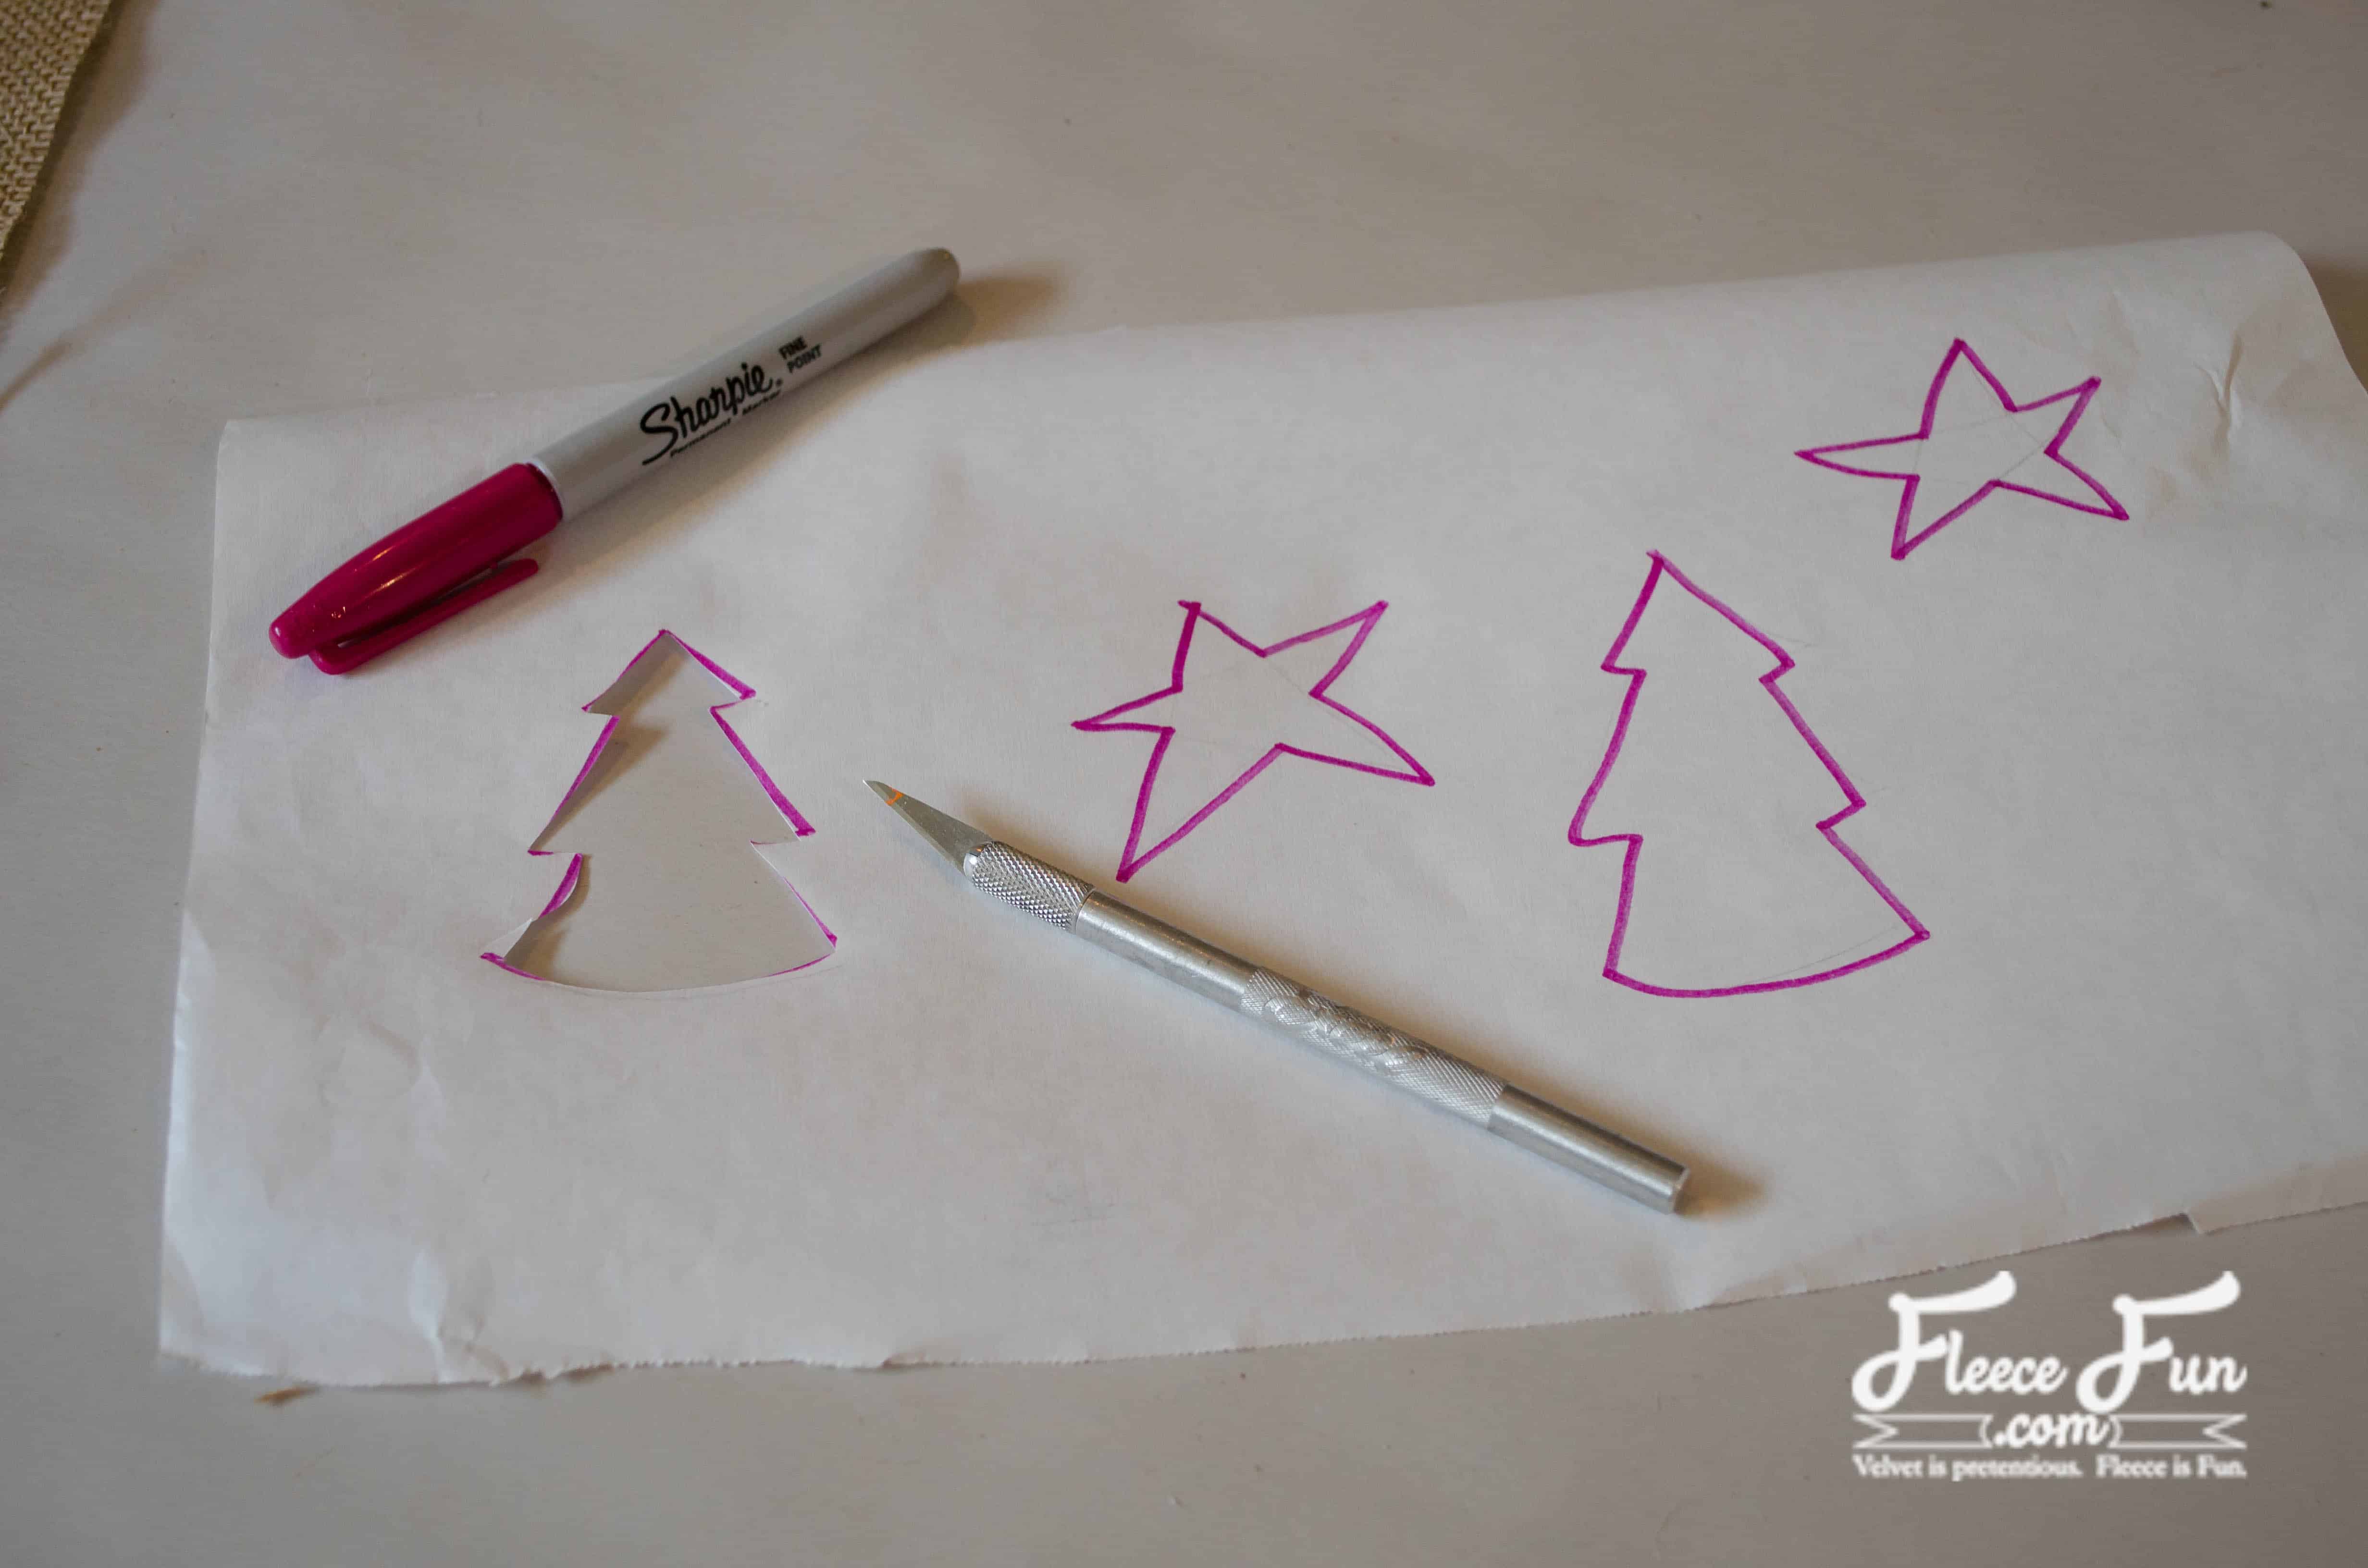
Cut a piece of freezer paper the same size as the burlap rectangle. Draw holiday themed motifs (I did trees and stars) and cut them out with a craft knife. Remember, you a making a stencil, so cut out the part you want painted.
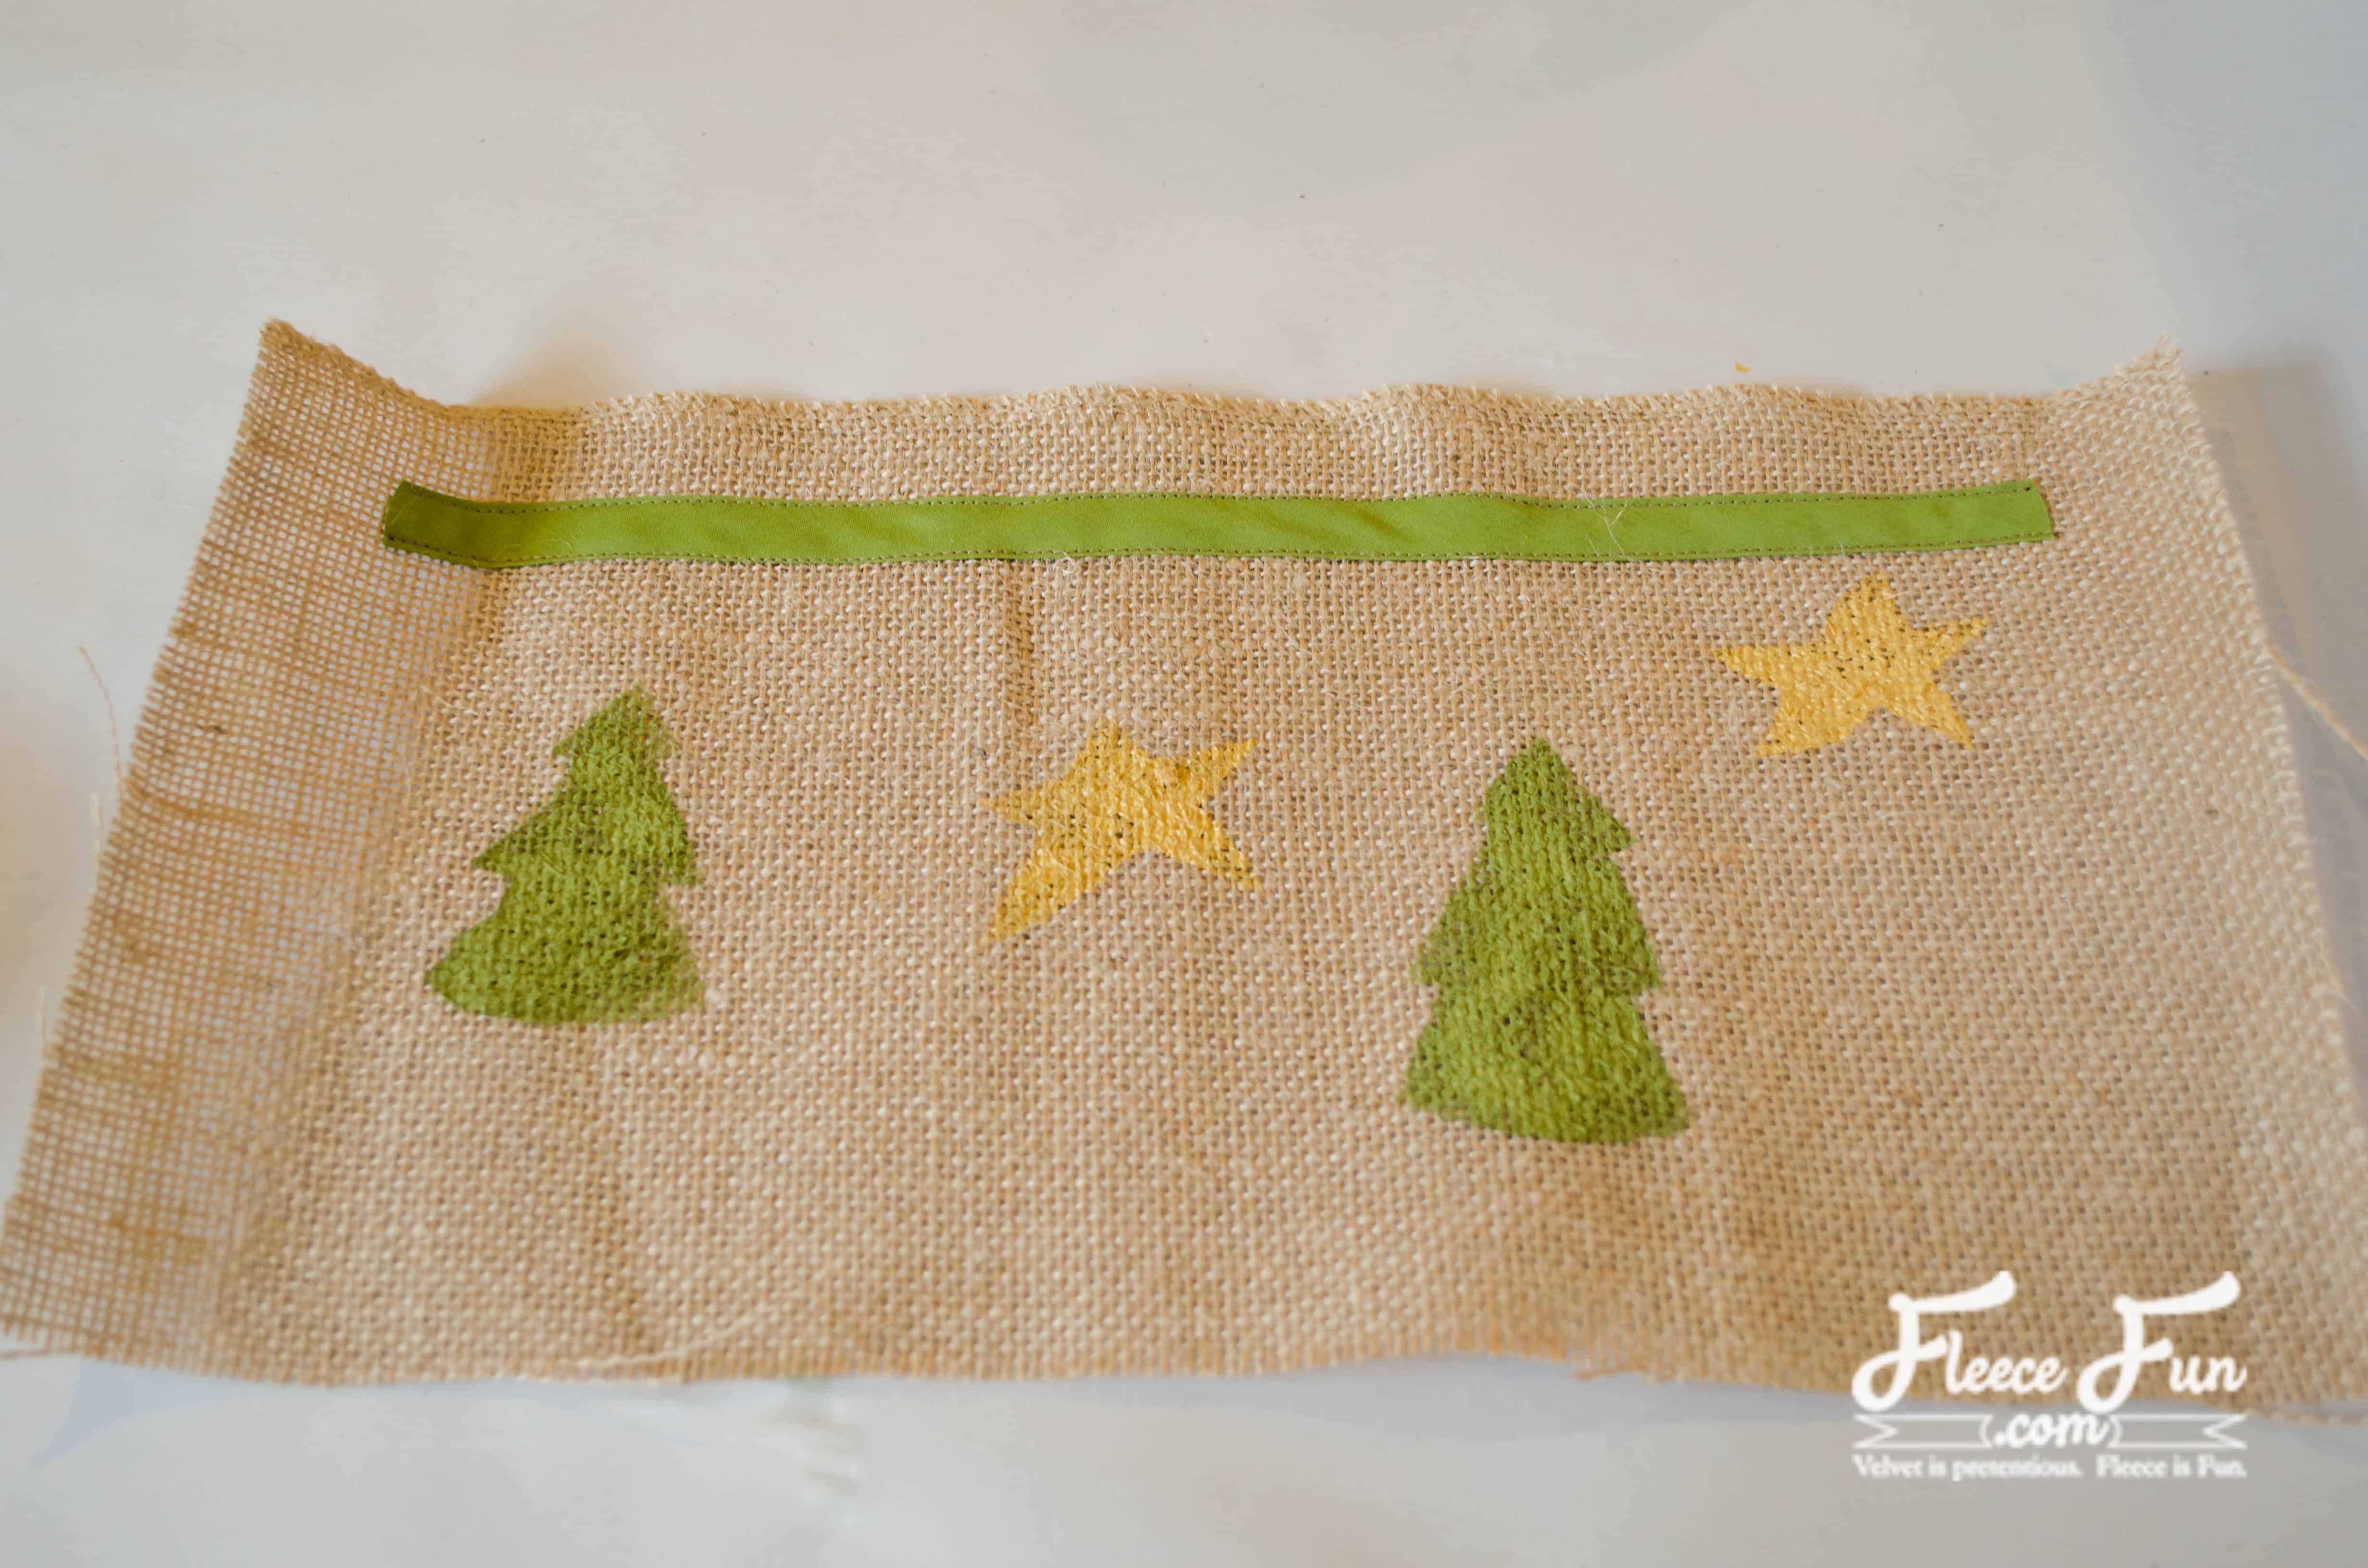
Step 4 – Iron and Paint the Design

Iron the shiny side of the freezer paper to the burlap. Paint. Let it dry and remove freezer paper.
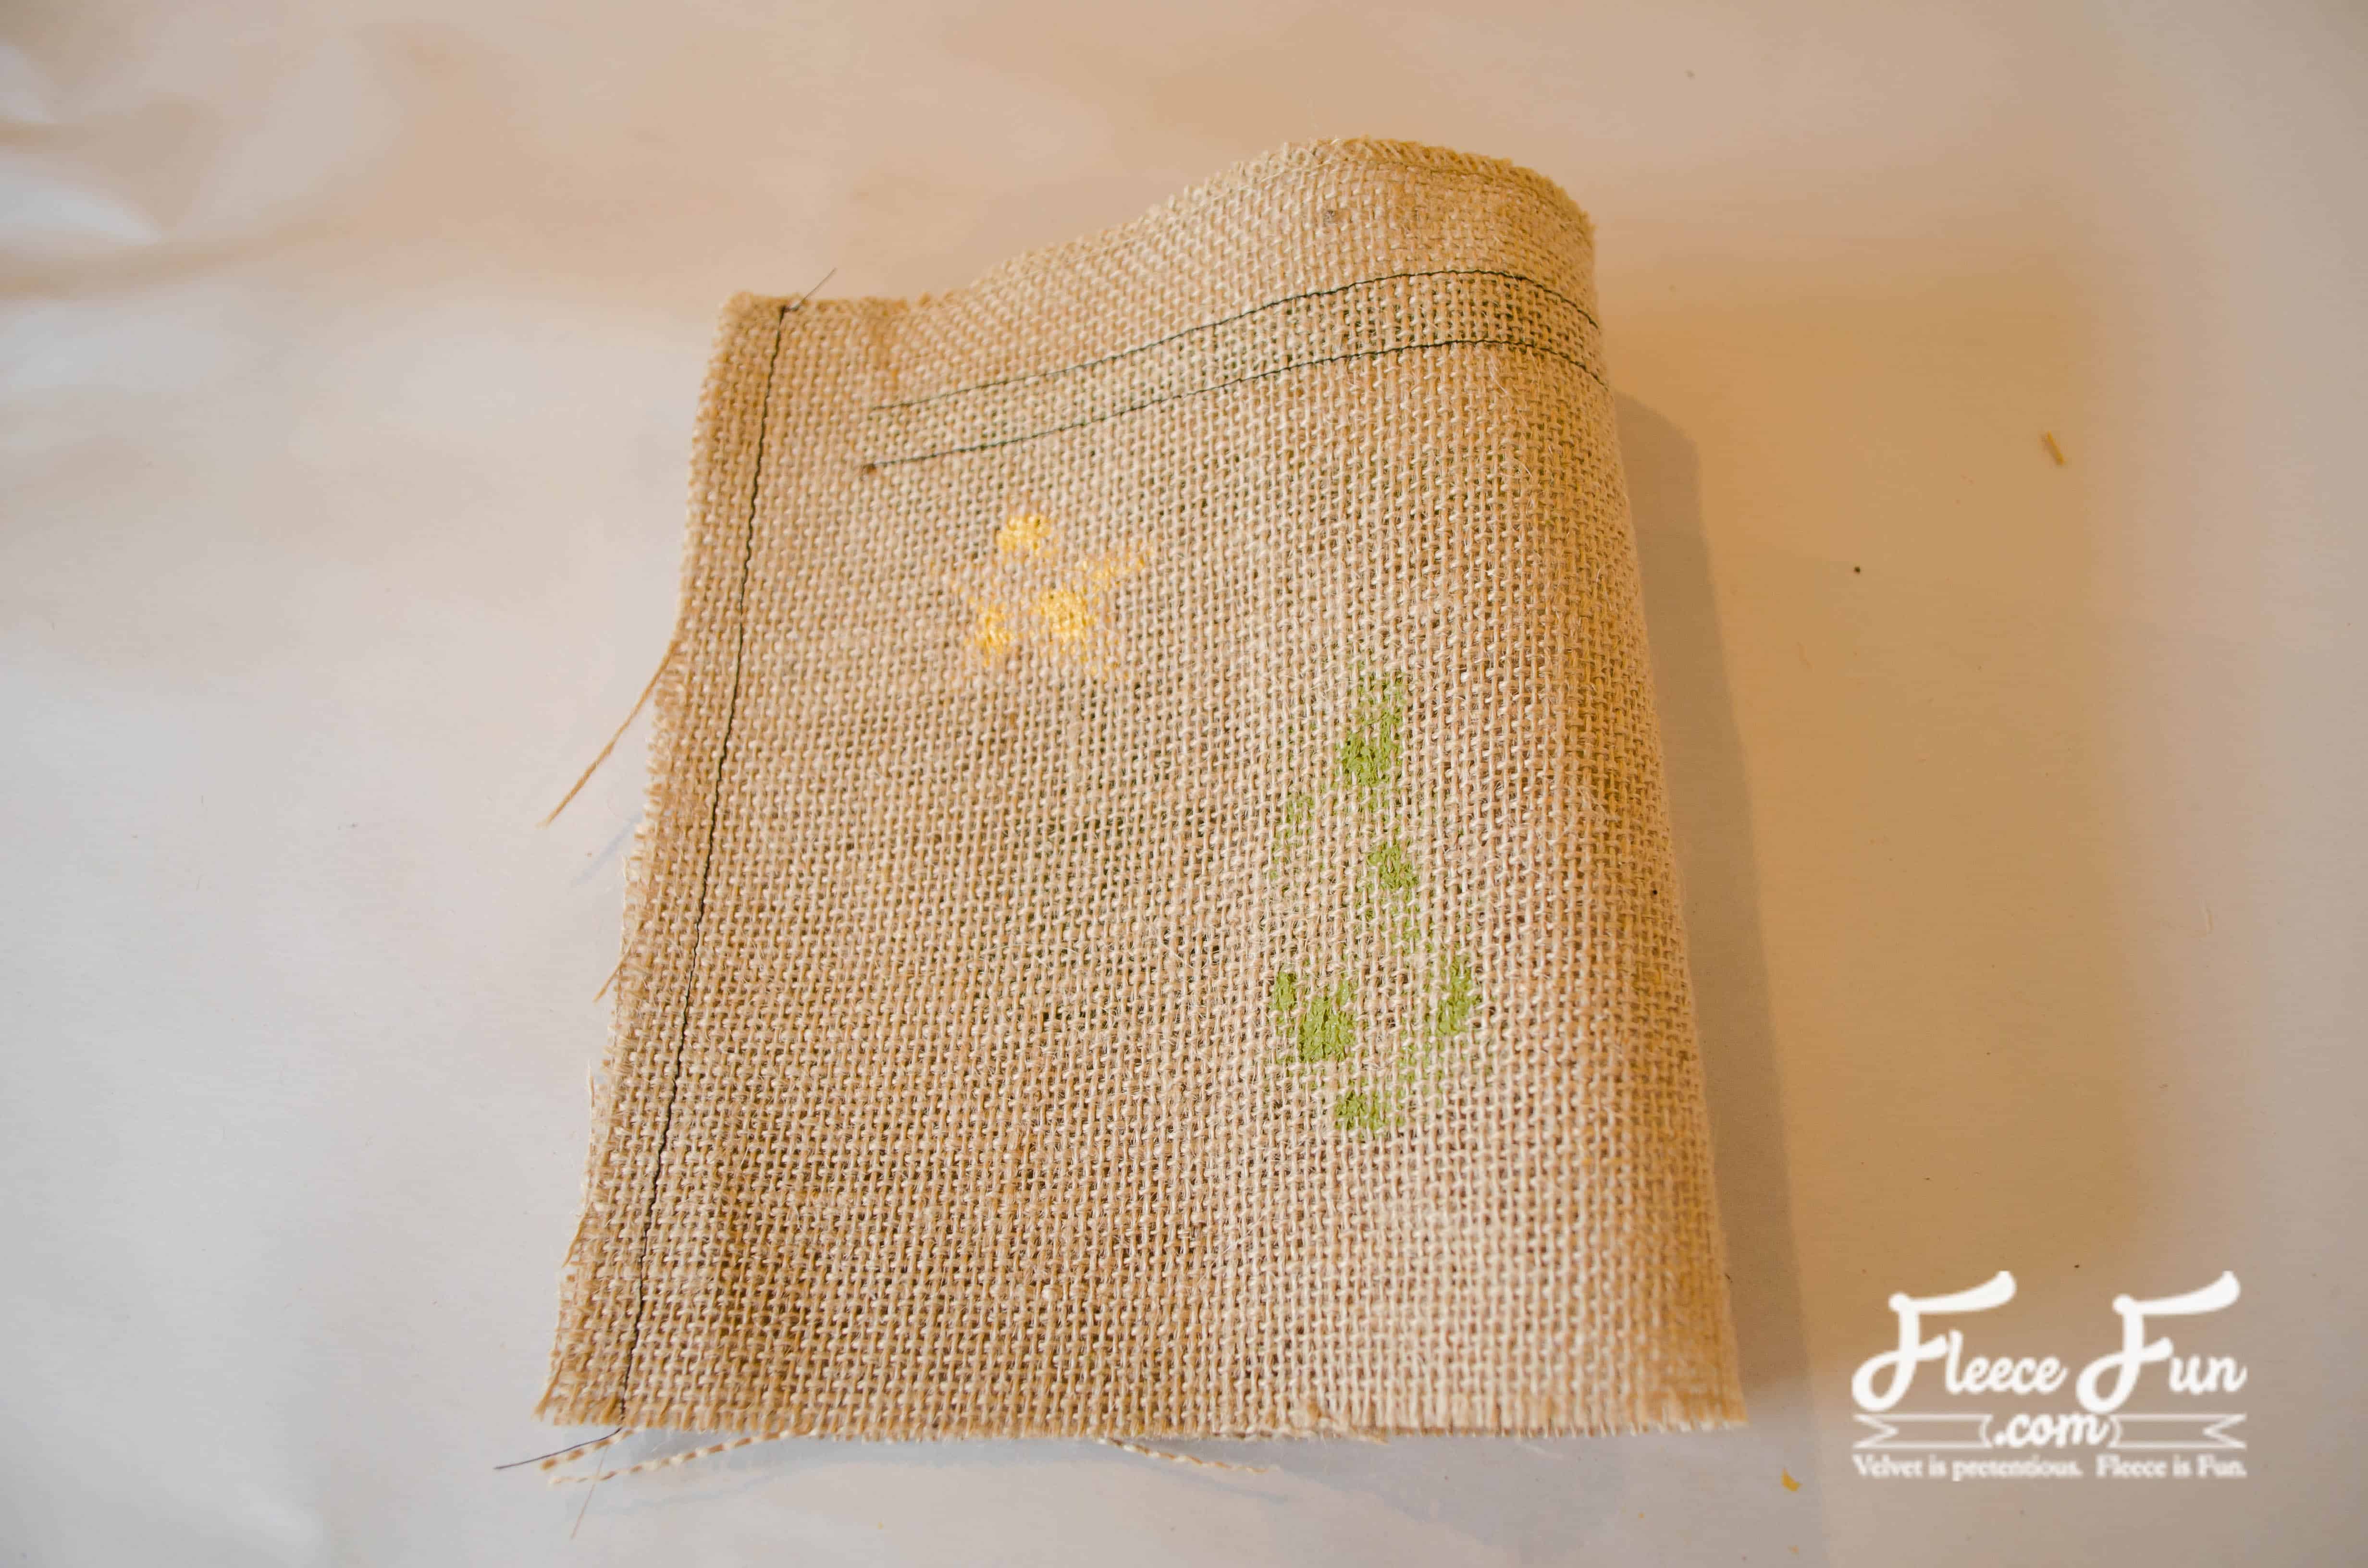
Step 5 – Sew the Bias Tape for the Mason Jar Cover
Cut a piece of single fold bias tape 2″ shorter than the rectangle. Sew the two long ends close to the folded edge.
Step 6 – Sew the Side Seam
With right sides together, sew the two short edges of the burlap rectangle together.
Step 7 – Attach the Base to the Side Panel
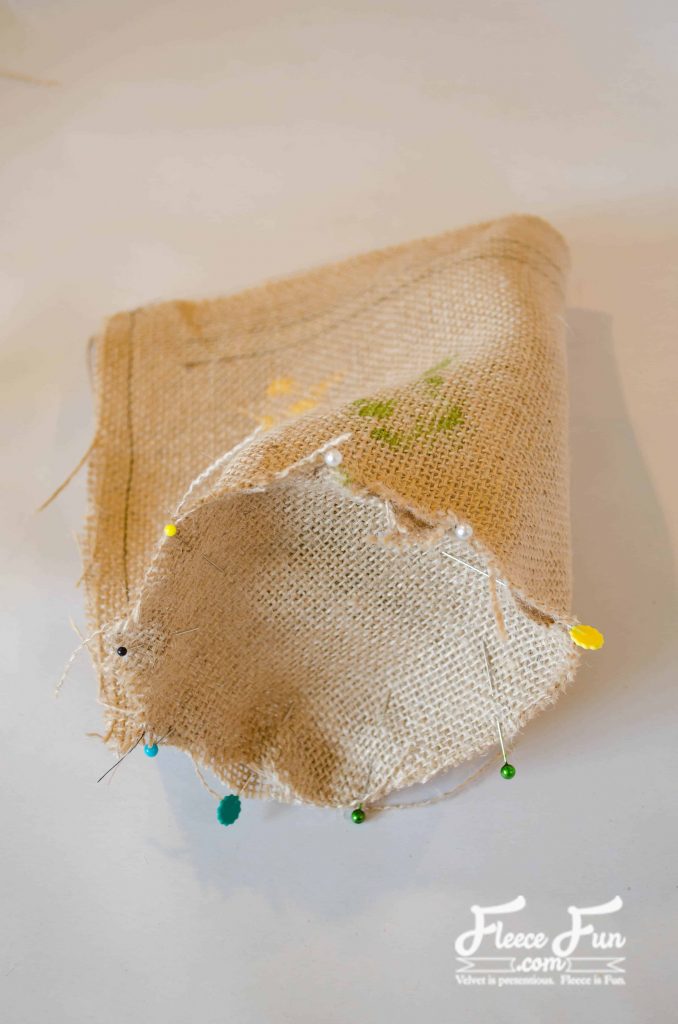
Pin and stitch the base to the bottom edge of the rectangle.
Step 8 – Finish Your Mason Jar Cover
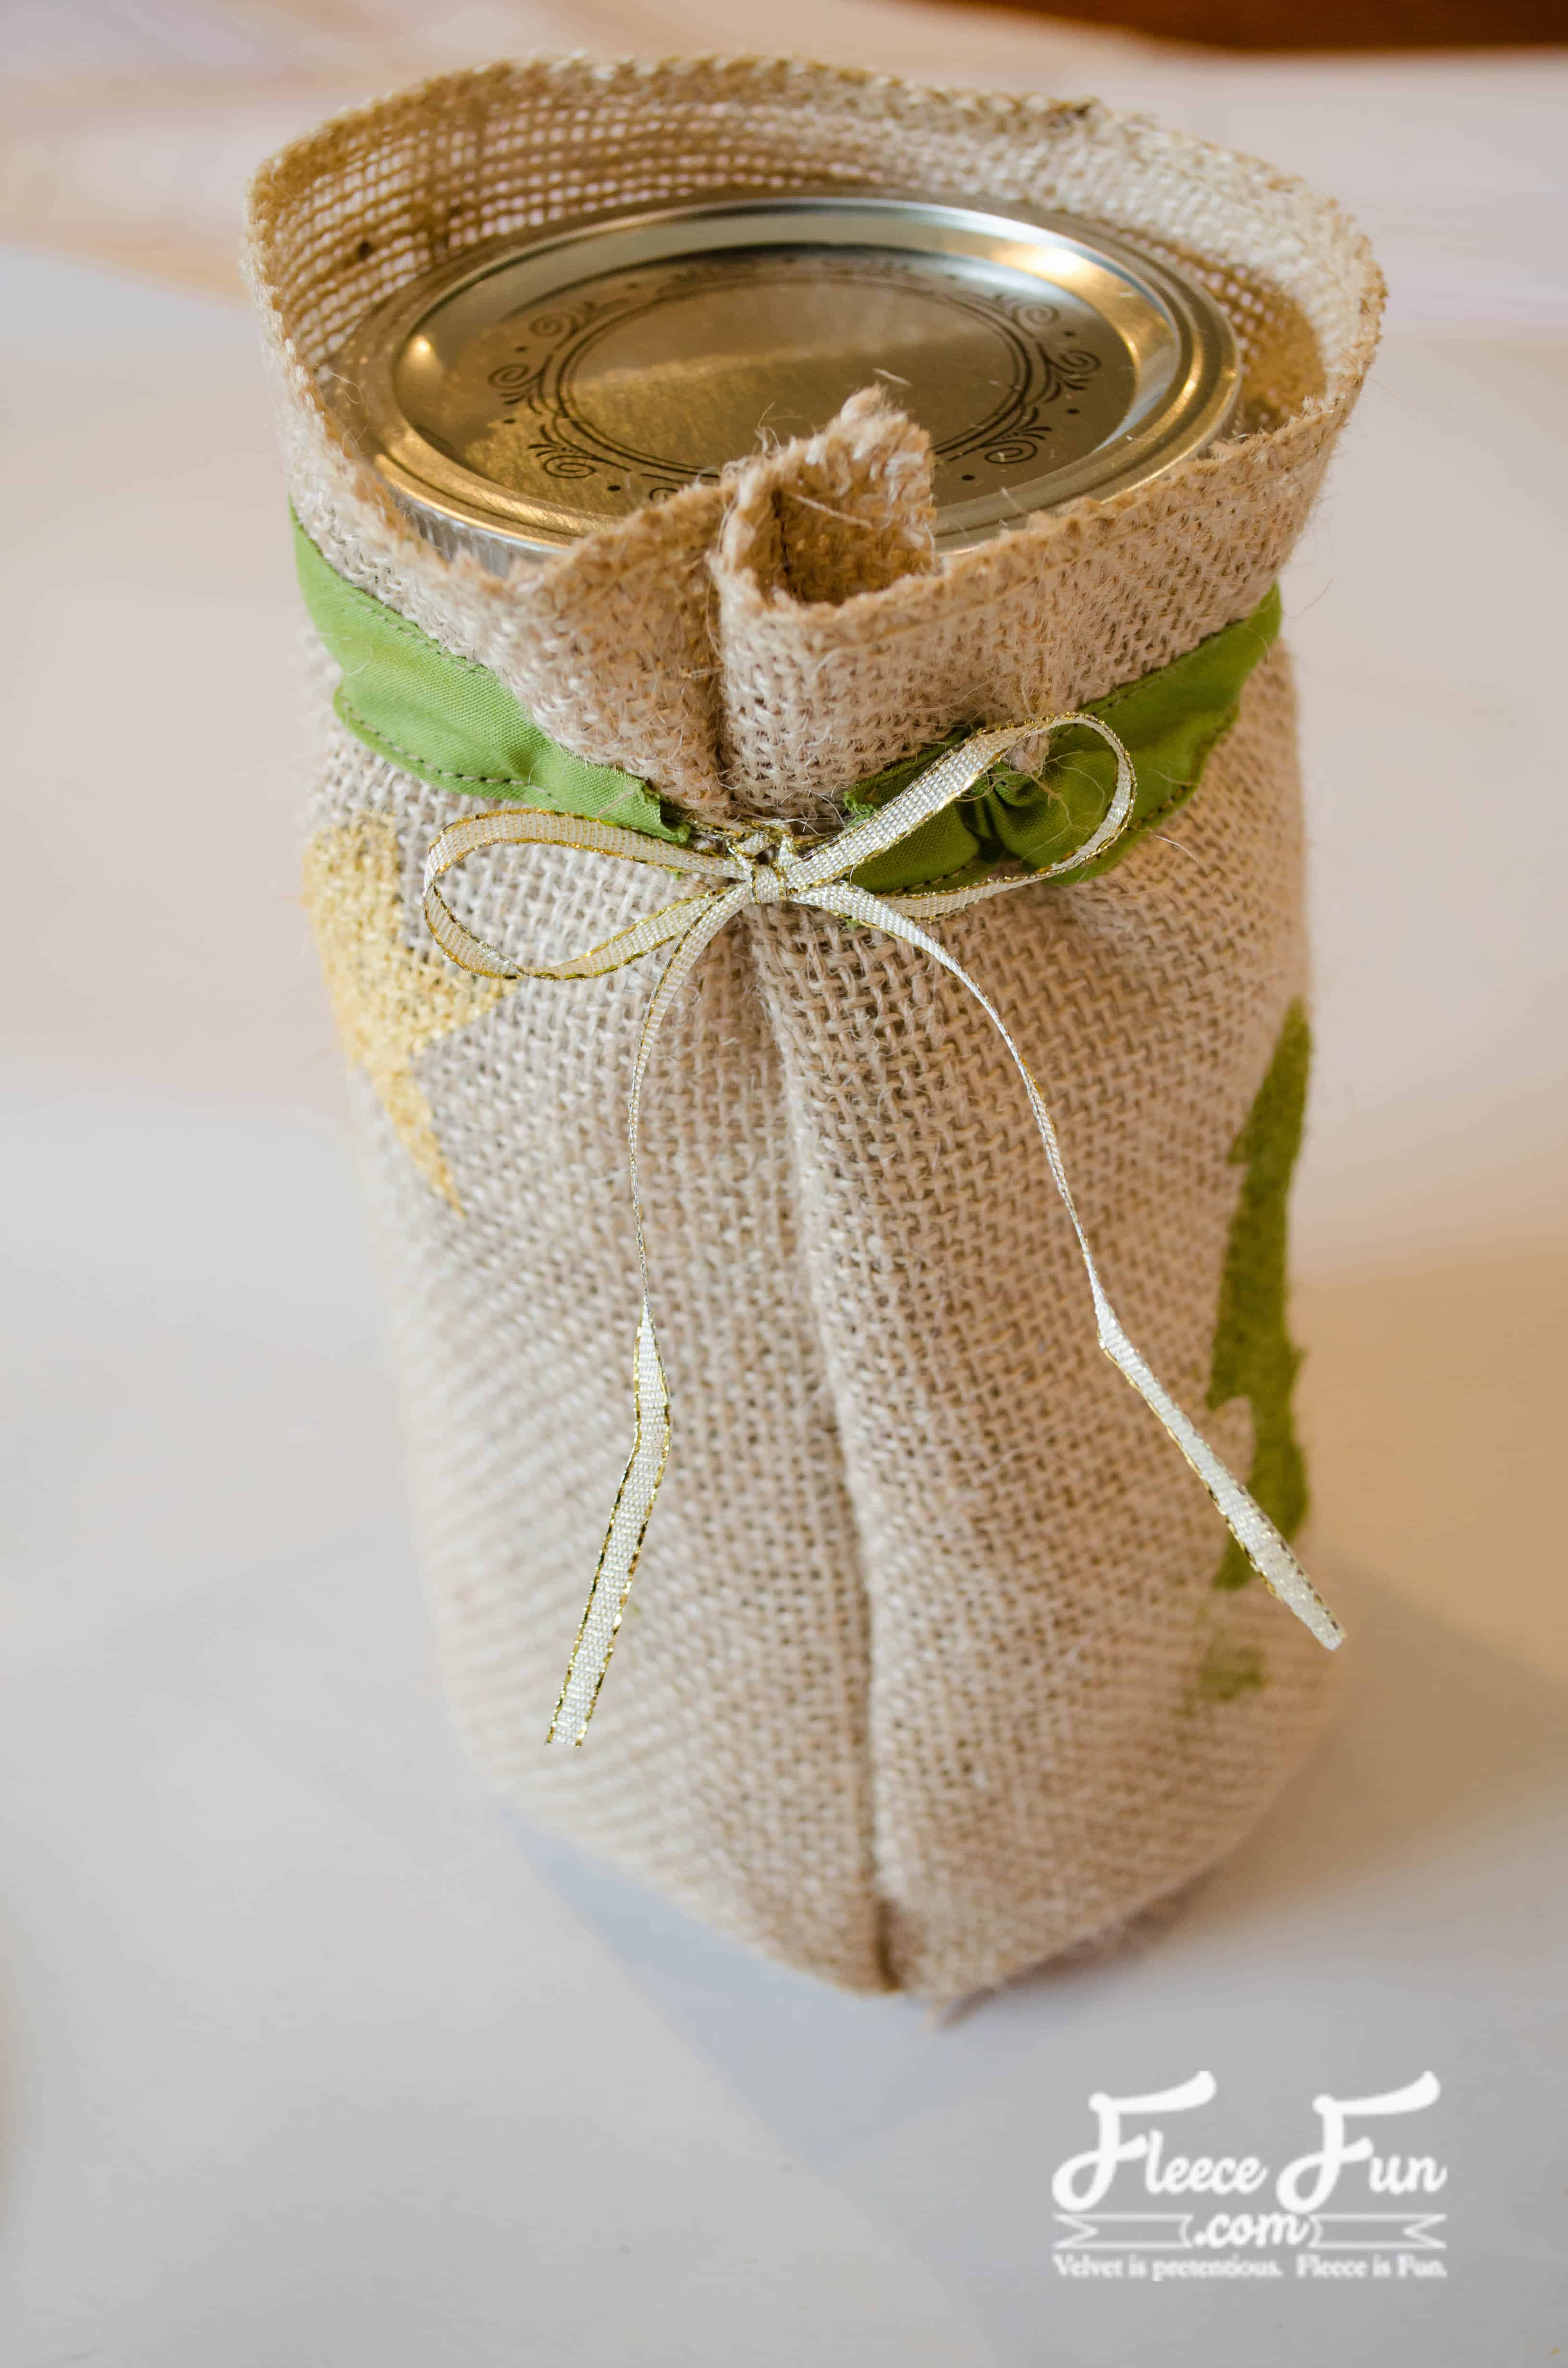
Use a safety pin to insert the gold ribbon and tie a bow.
Fill the jar with your favorite treat, and you have a perfect gift!
Discover More Christmas Crafts You’ll Like:
- DIY Christmas Earrings – Inexpensive Homemade Gift Idea
- How to Spray Paint a Pre-Lit Christmas Tree
- Christmas Advent Calendar DIY Tutorial
- Homemade Christmas Tags
- 6 Half Ways to Engage Kids this Christmas
- 5 Tips for Outdoor Christmas Decorating
- Santa Hat – How To
- DIY Santa Hat Headband (Free Pattern and SVG Files)
Explore More Christmas Projects You’ll Love:
- Holiday Spa Set Tutorial – Handmade Gift Ideas
- Christmas Stocking – How To
- No-Sew Christmas Stocking Patterns
- Make Holiday Bath Bombs – Handmade Gift Idea
- Christmas Tree Pillow
- Christmas Terrarium DIY with Cricut Maker
- Quilted Christmas Table Runner Tutorial
- How to Make a High Heel Christmas Stocking
- More Christmas Ideas!