
Reindeer Softie Tutorial (free pattern)
This content contains affiliate links or sponsored elements, read our Disclosure Policy.
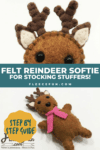
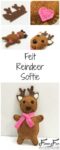

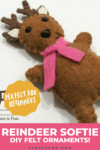

Today’s guest post is my Alicia with Felt With Love Designs, she’s sharing this adorable Reindeer Softie Tutorial that is too perfect for the holidays. Her felt creations are so fun and worth checking out. This Reindeer softie makes for a cute stocking stuffer or gift.
Hi everyone! I’m Alicia from Felt With Love Designs.
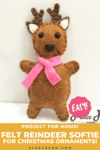
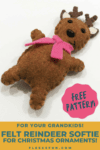
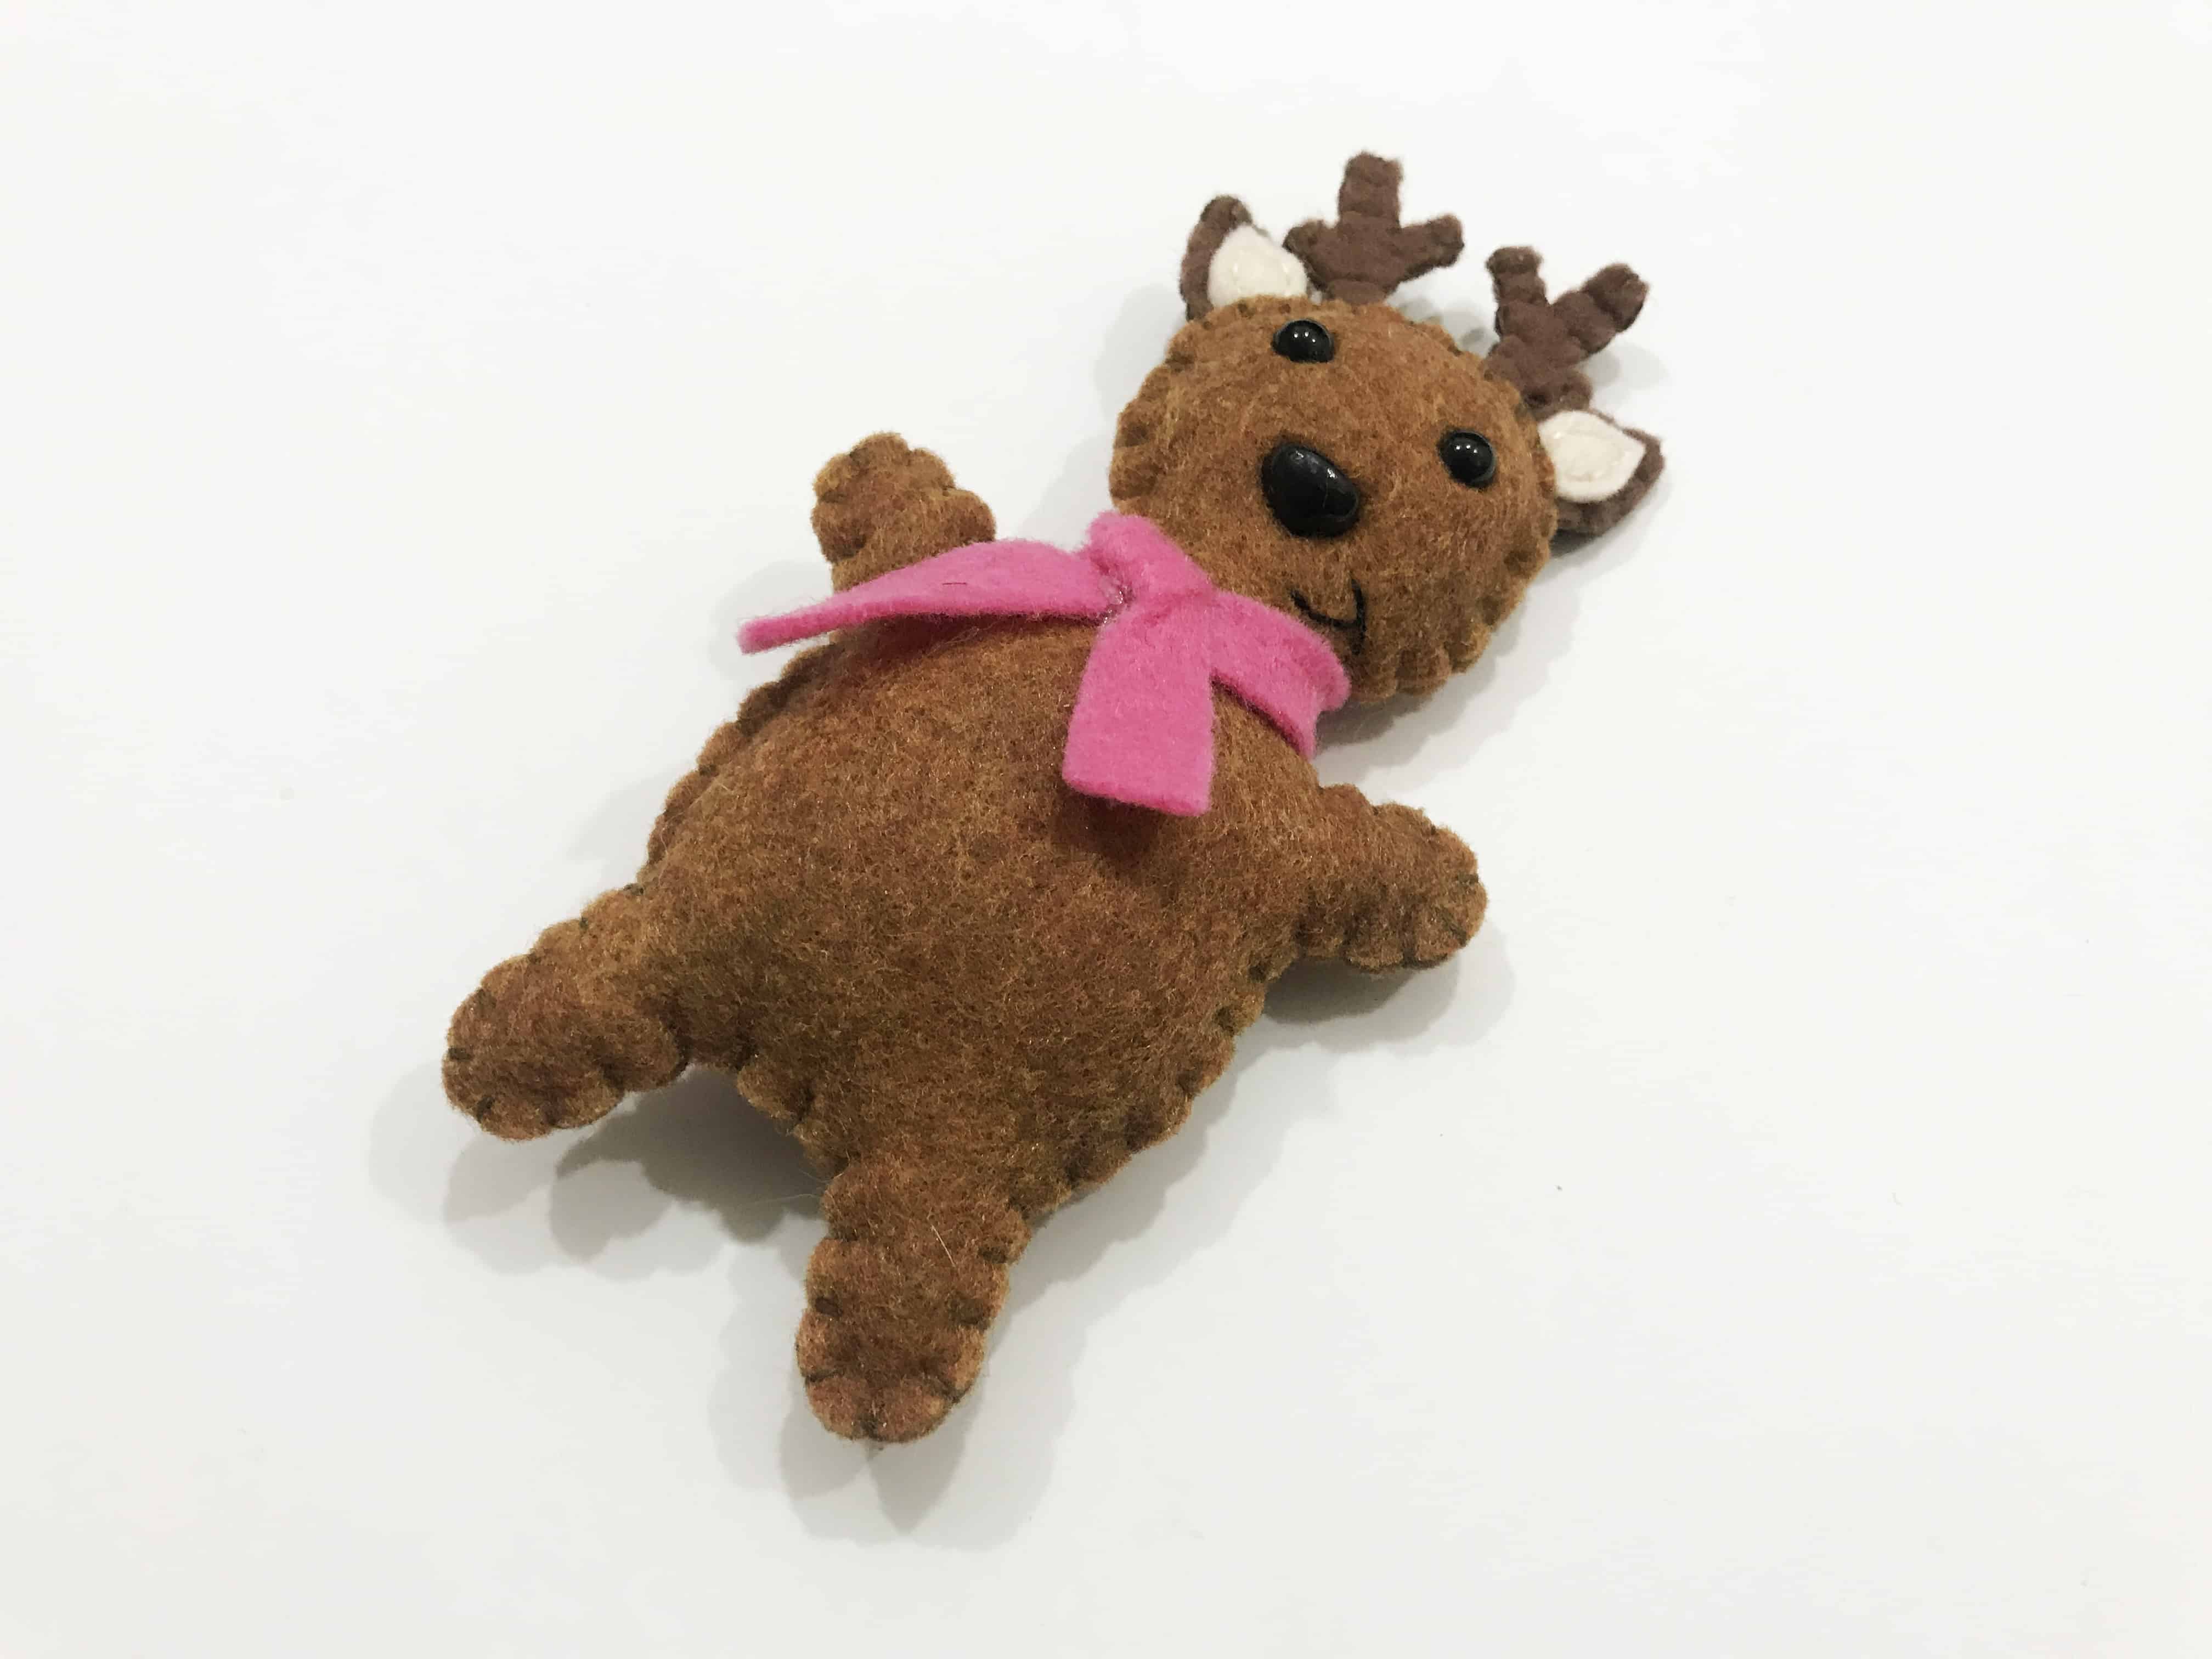
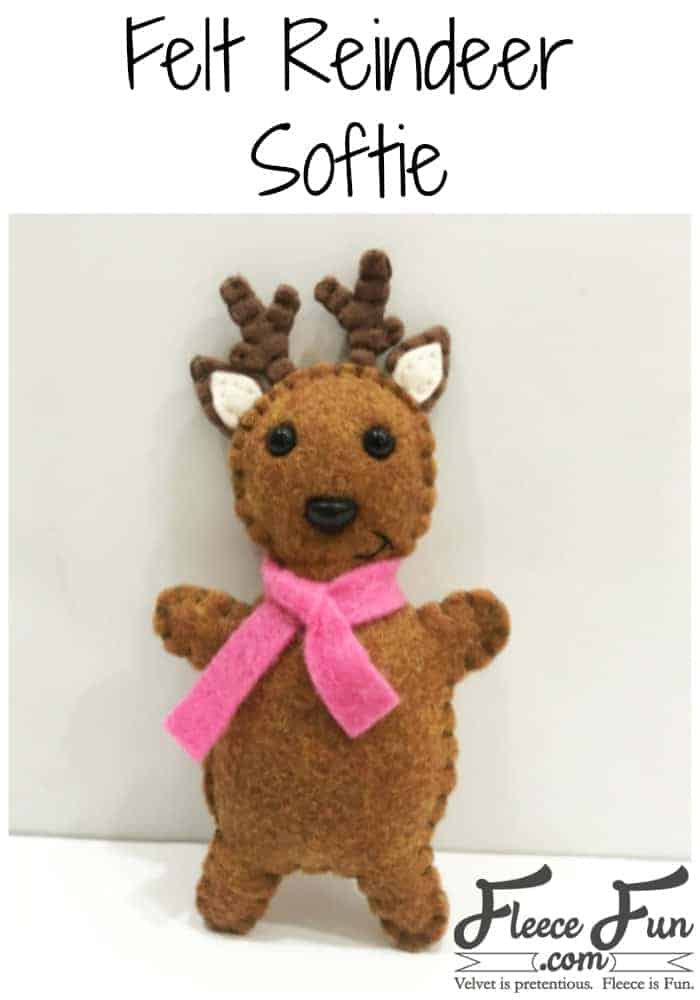
Today, I am sharing a tutorial and free pattern for creating a miniature reindeer softie. Last year, I designed a snowman softie to make for my daughter’s friends for Christmas and she, so politely, informed me that my snowman is cute but a reindeer would be better.
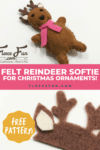
This little reindeer makes an awesome stocking stuffer or you can add a loop of ribbon and turn it into an ornament for the tree! Grab the free pattern for the matching snowman softie to make the set!
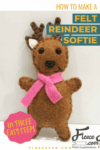
This reindeer softie is an excellent confident beginner project!
To make your own reindeer softie,
YOU WILL NEED:
- scraps of felt (brown, dark brown, cream, pink)
- a small amount of stuffing
- safety eyes
- hand sewing needle
- thread
- scissors
- sewing machine
- Freezer paper (Optional – if you’ve never used freezer paper before. It’s especially great for cutting small, detailed pieces!)
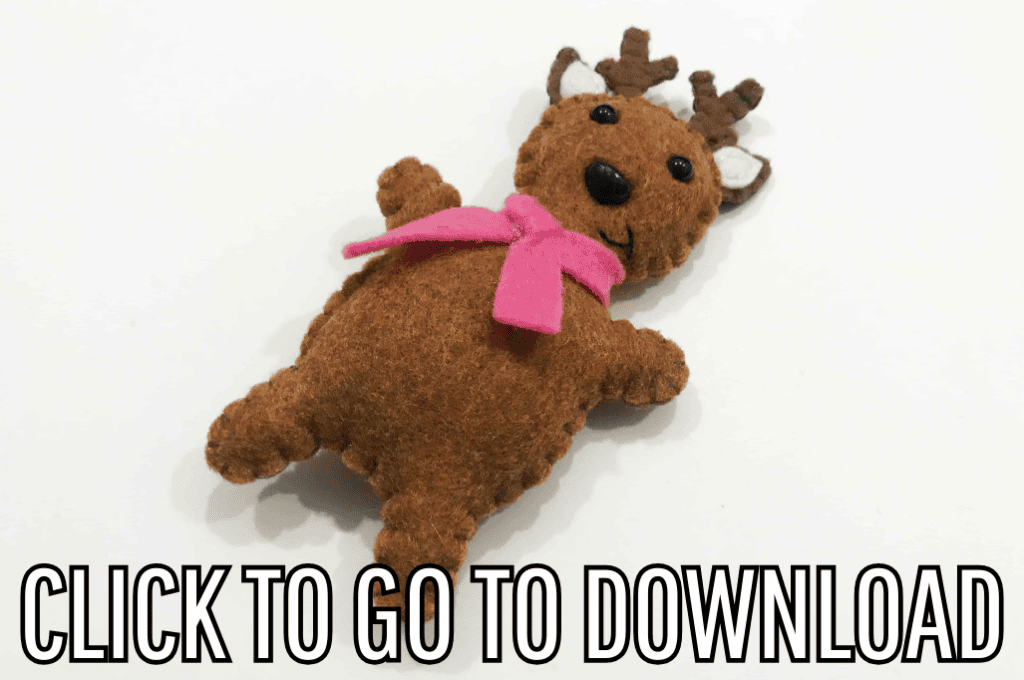
- Get the free pattern here.
Reindeer Softie Tutorial:

Step 1 – sew the head pieces
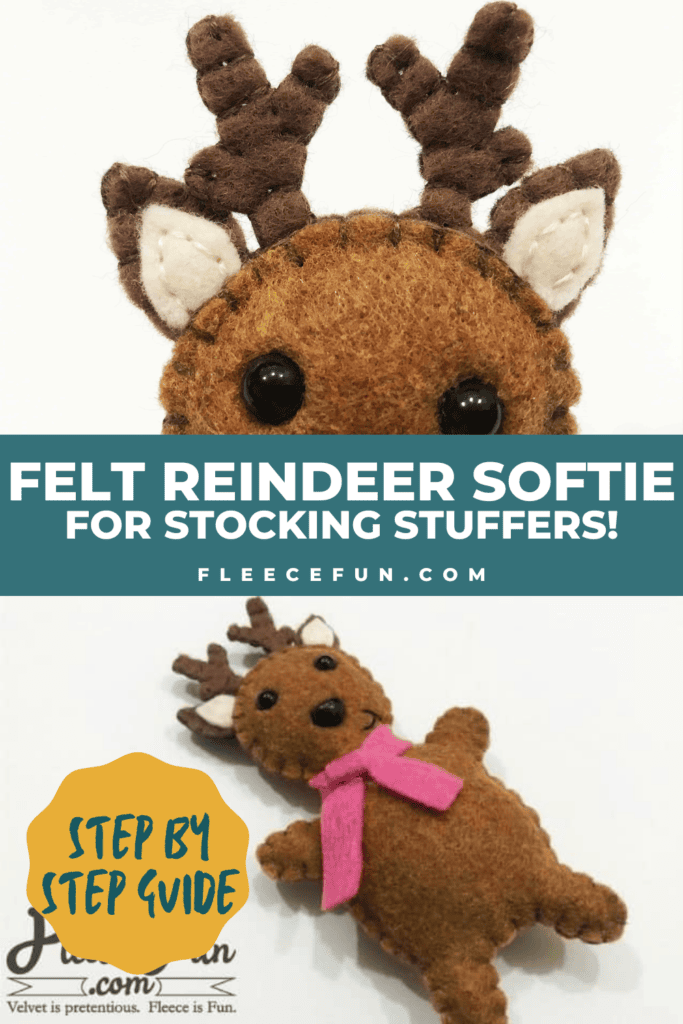
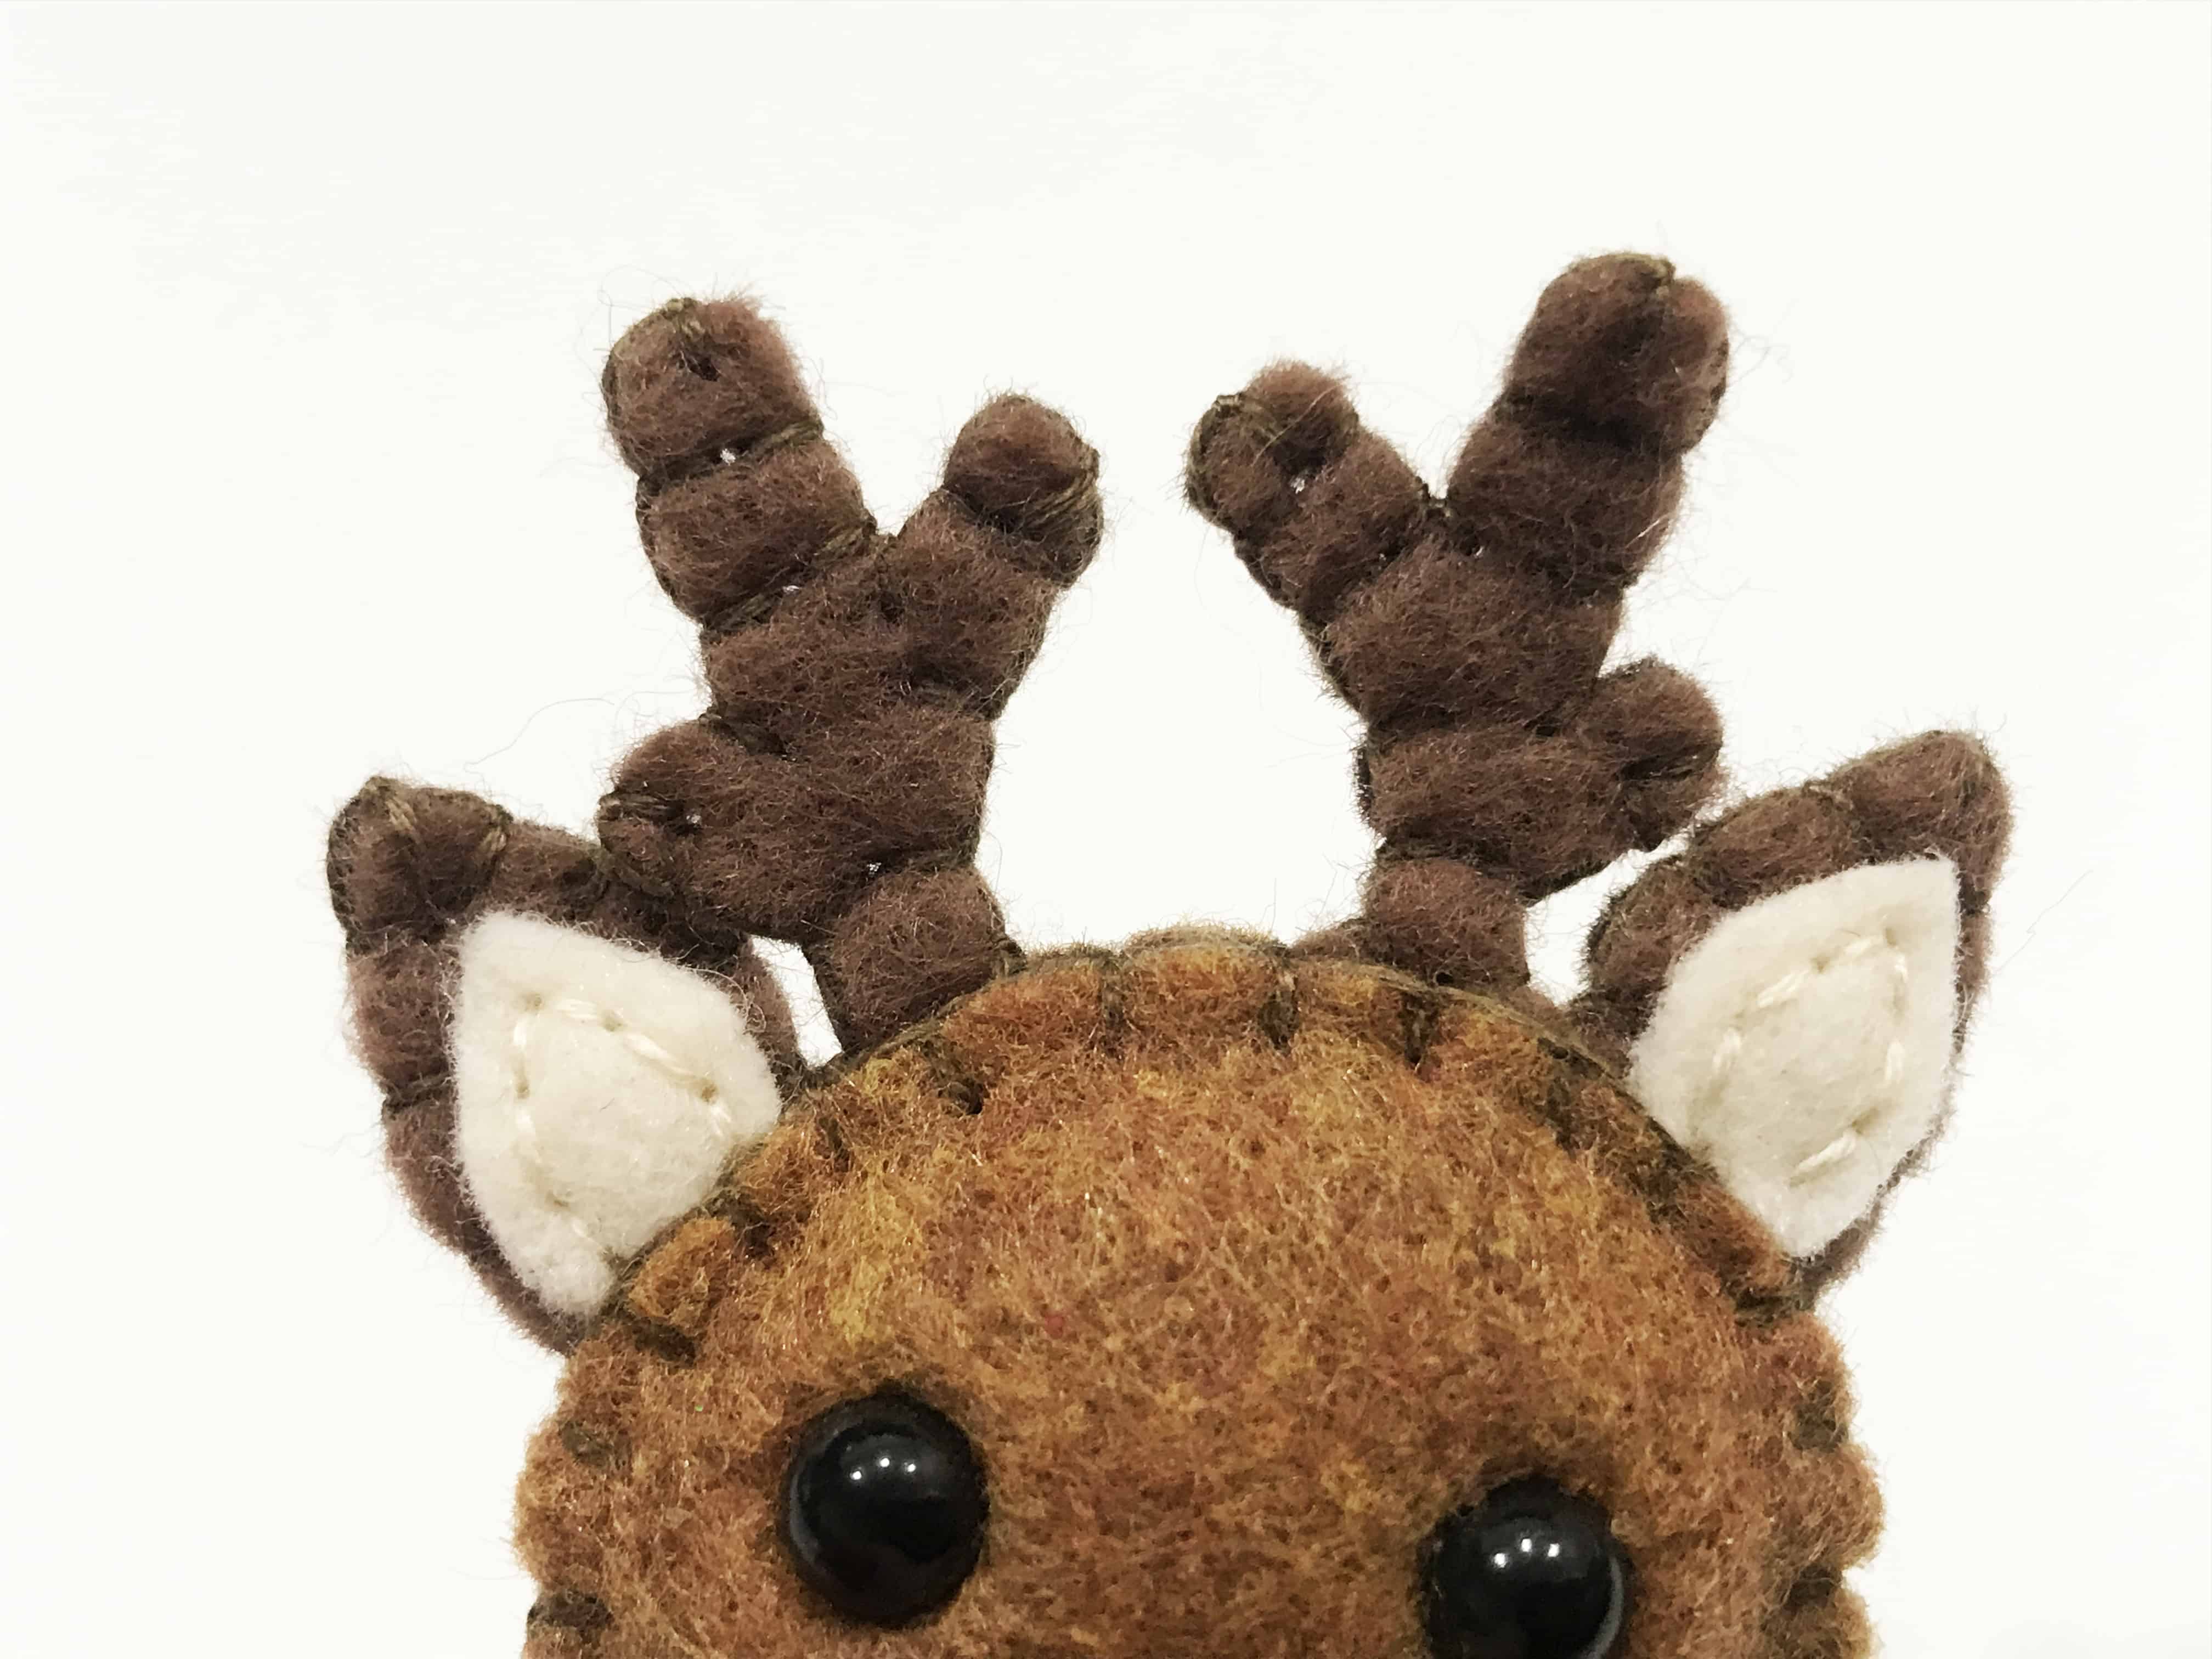
Sew your reindeer softie. First, sew the inner ear pieces on either ear of the antler/ear head piece.
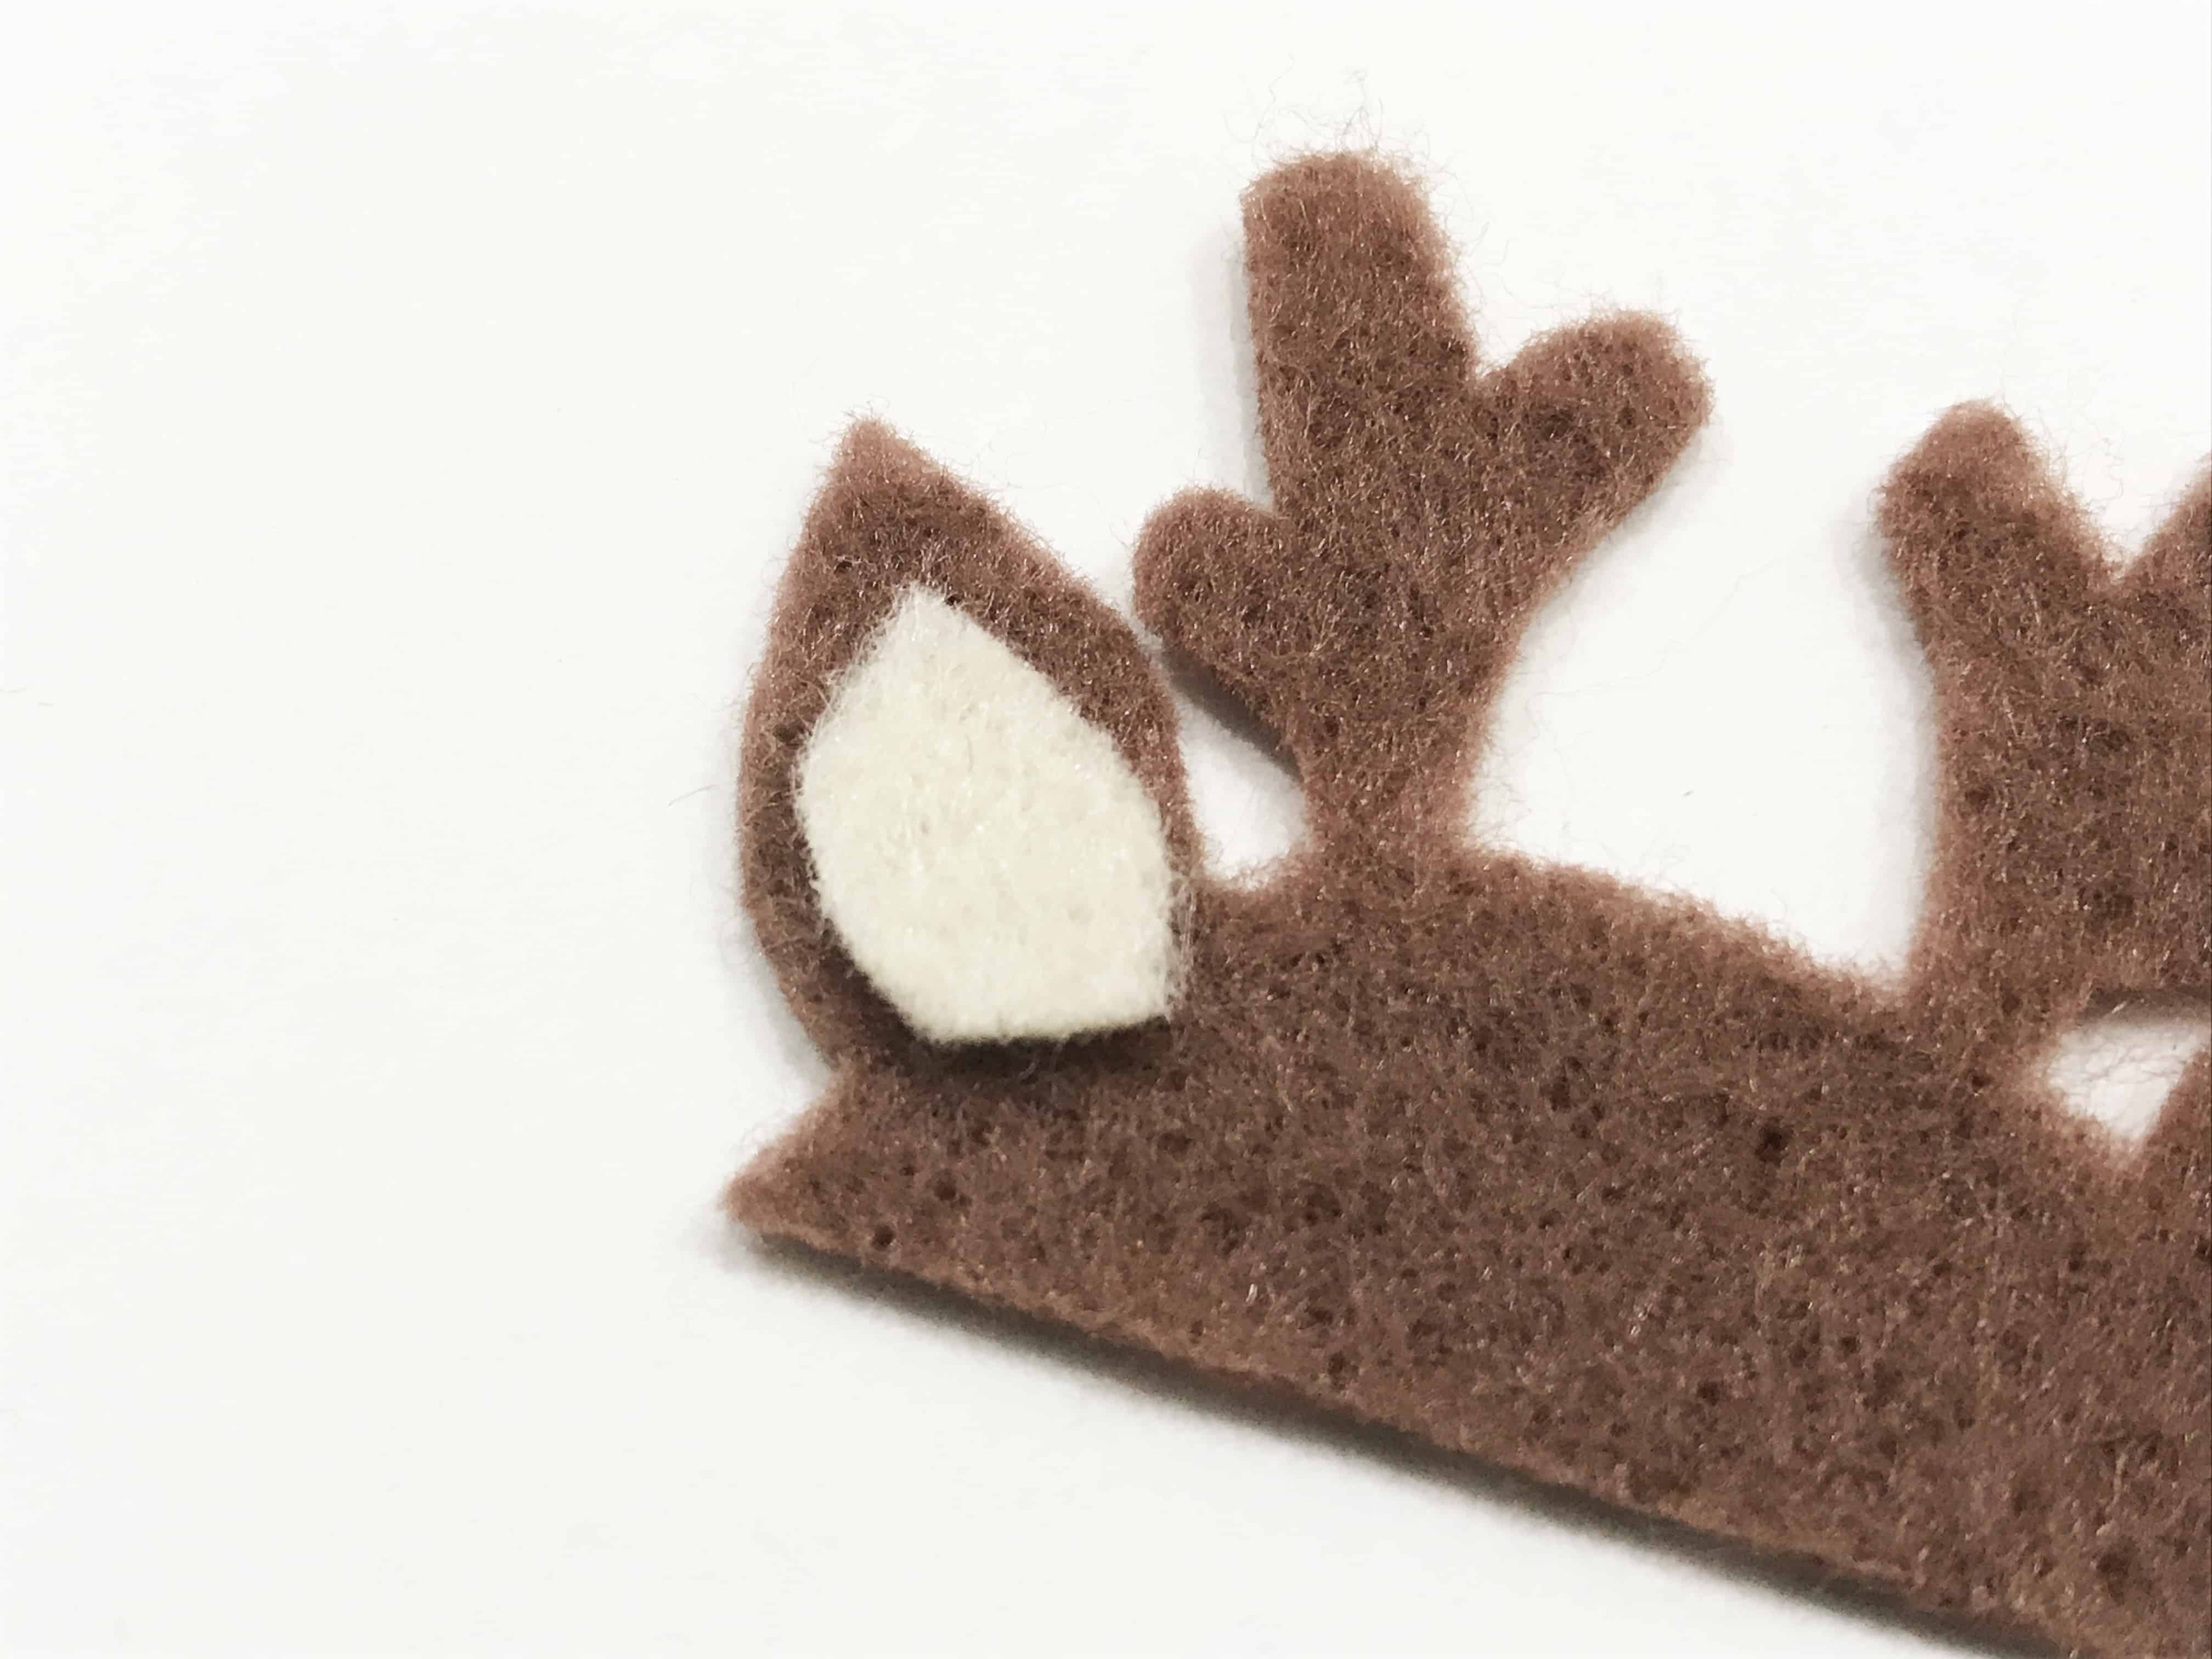
Sew the head piece from step 1 to the other head piece, using a blanket stitch. It’s not necessary to sew along the flat bottom part as it will be hidden inside the reindeer’s head.
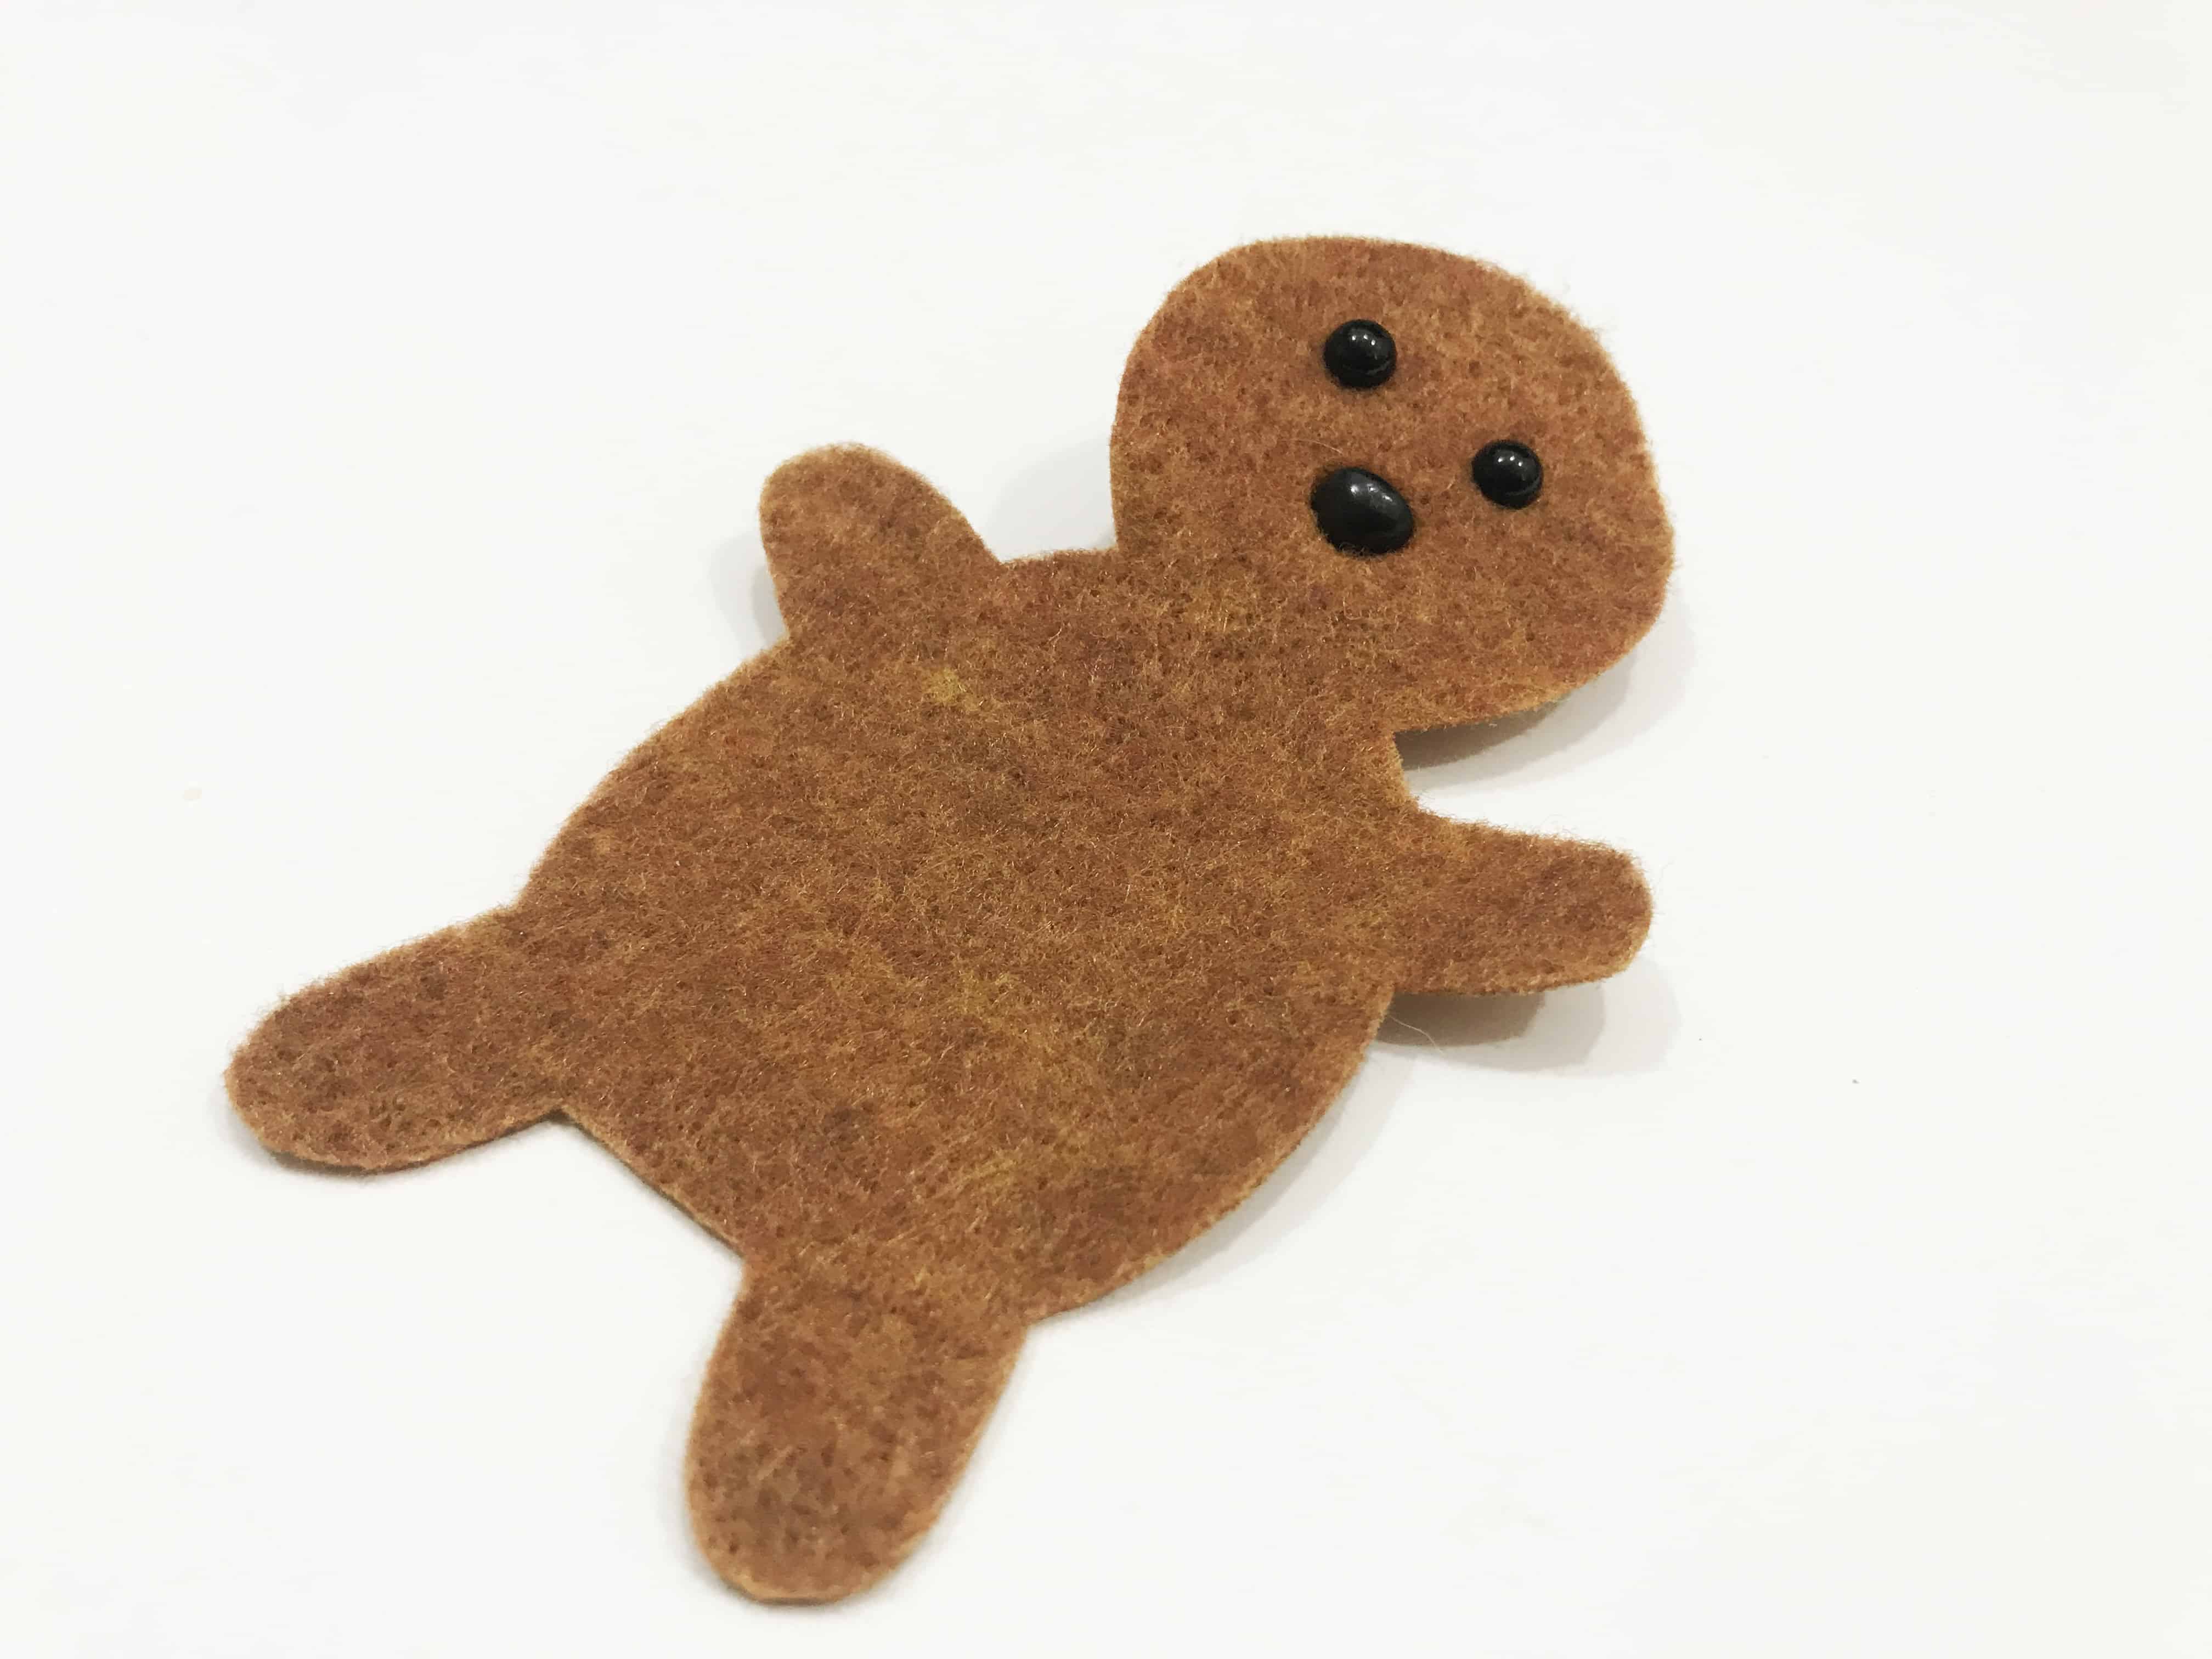
Add two safety eyes and a nose, centered on the face of one of the body pieces.
Embroider a smile below the nose.
Step 2 – sew the felt reindeer body
Sew the heart on the second reindeer body piece.
Line up the embellished front of the reindeer with the back of the reindeer, wrong sides together, and sandwich the antler/ear head piece between the layers, centered above the eyes on the reindeer’s head.
Starting at the bottom right, sew all the way around the reindeer. Take extra care to be sure to secure the antler/head piece in the stitching. Leave the bottom of the open.
Lightly stuff the reindeer and sew the bottom closed.
Step 3 – add the scarf and complete the reindeer softie
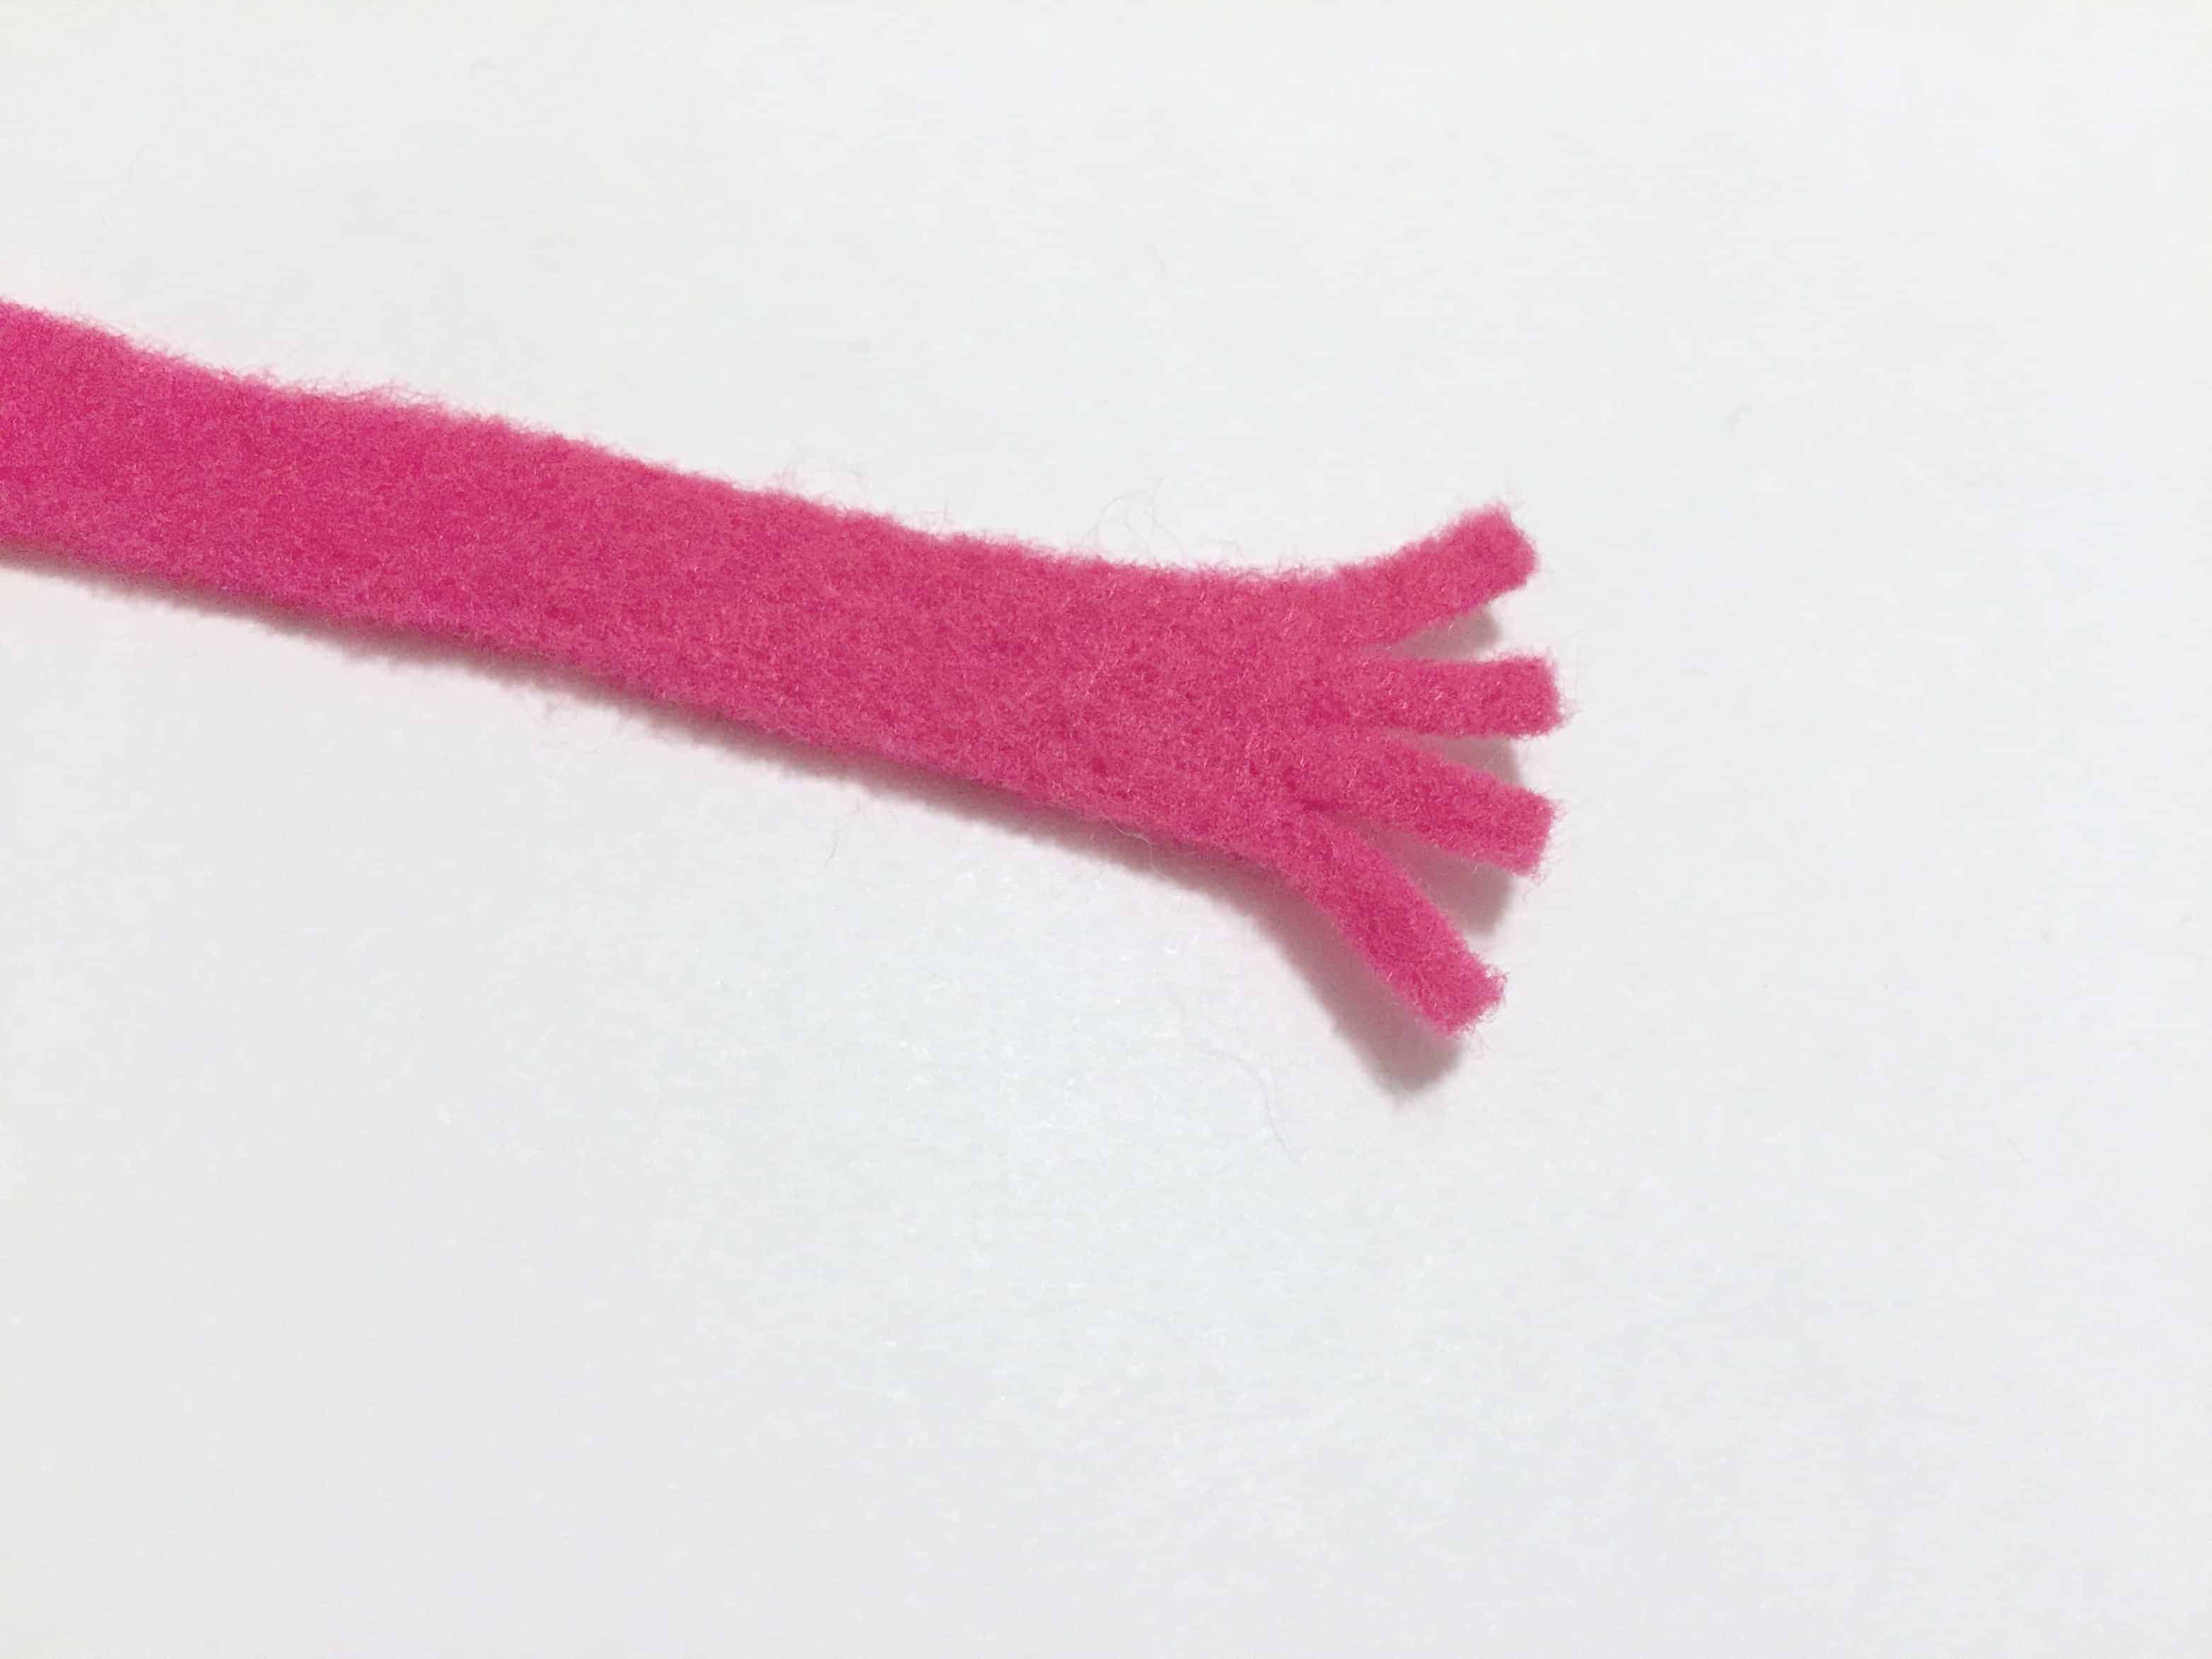
Cut a few 1/4″ long slits in both ends of the scarf piece
Wrap the scarf around the reindeer’s neck and gently tie in front.
Quick Tip
Optional: sew a couple hidden stitches (or use a dab of glue) to secure the scarf in place
You finished the Reindeer Softie Tutorial.
The finished reindeer measures about 5.5 inches tall and about 2.5 inches wide.
If you enjoyed this pattern, be sure to stop by Felt With Love Designs and check out some of our other patterns. Our 3D Felt Puzzle Animals, Puzzle Dinosaurs, or our recently released playmat pattern make awesome Christmas gifts too!
Get the Free Reindeer Softie Sewing Pattern Below:
You can get a free copy of Adobe reader here. By downloading you are agreeing to pattern terms of use. Click the picture and fill up the form to download the free pattern .pdf !
Fun Baby Softies and Toy Tutorials:
- Monster Softie Pattern (Free)
- Ladybug Softie
- Sunshine Softie – Free Baby Toy Sewing Pattern
- ABC Baby Blocks Free Pattern and Tutorial
- Softie Book Baby Toy Tutorial
- How to Make a Softie Baby Block
- Fun Felt Guitar Softie Toy (Free Pattern)
- Easy Block Pillow Tutorial
- Monster Finger Puppets Tutorial
- Toddler Bean Bags – Handmade Gift Idea by Chrissy from Muse Morning
- Fleece Eggs and Fleece Basket Pattern
- My Little Pony Inspired Stick Ponies
- DIY Nursery Wall Hanging – Lovely Rainbow with Cloud
More Adorable Baby Projects!:
- Free Baby Burp Cloth Pattern
- Easy Baby Burp Cloth Tutorial
- Traditional Basic Fleece Baby Car Seat Cover or Tent Tutorial (DIY)
- 7 Tips for a Perfect Printable Fabric Transfer
