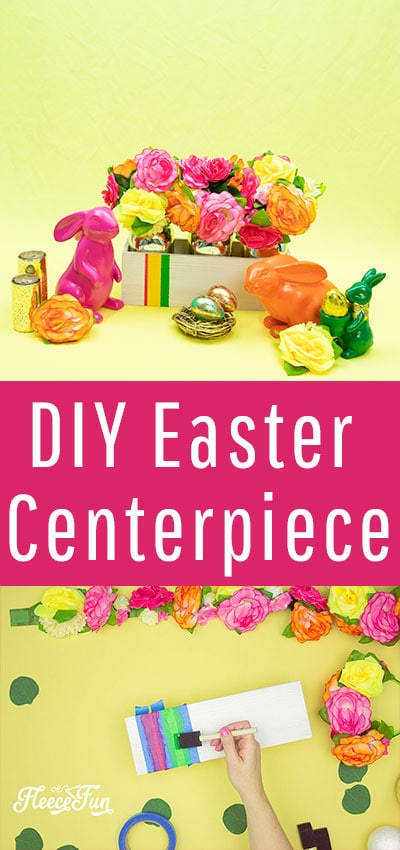
Easter Centerpiece DIY – Bright and Fun!
This content contains affiliate links or sponsored elements, read our Disclosure Policy.
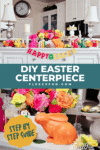
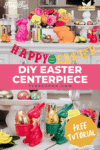

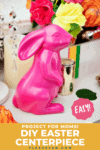

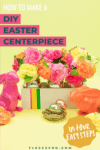

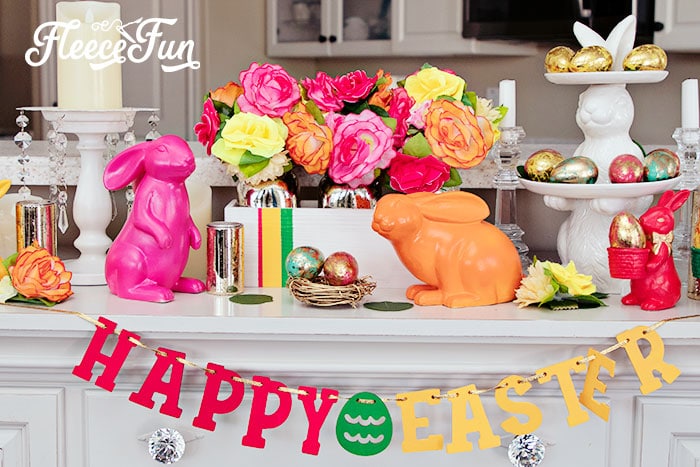
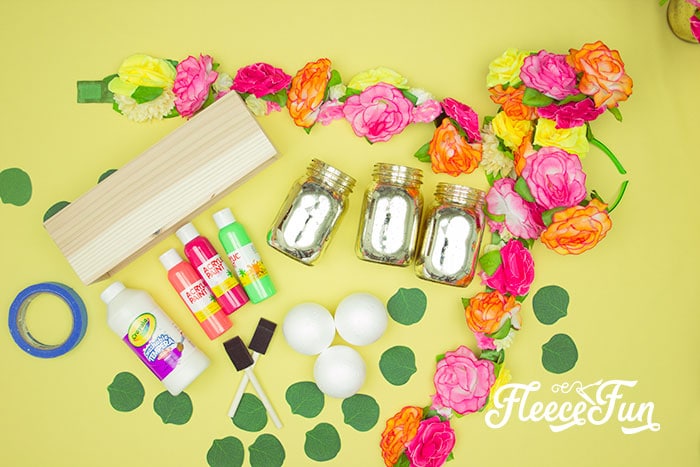
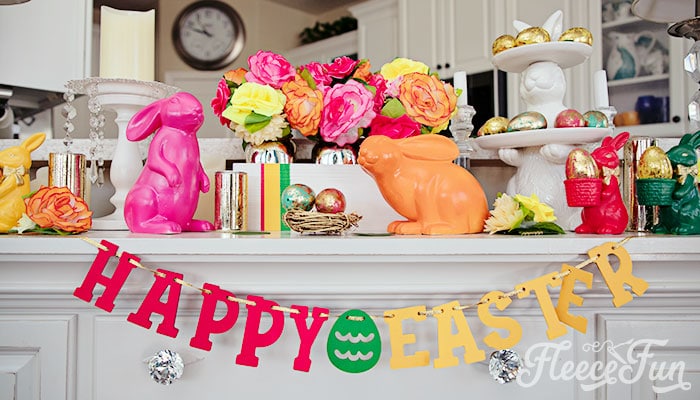
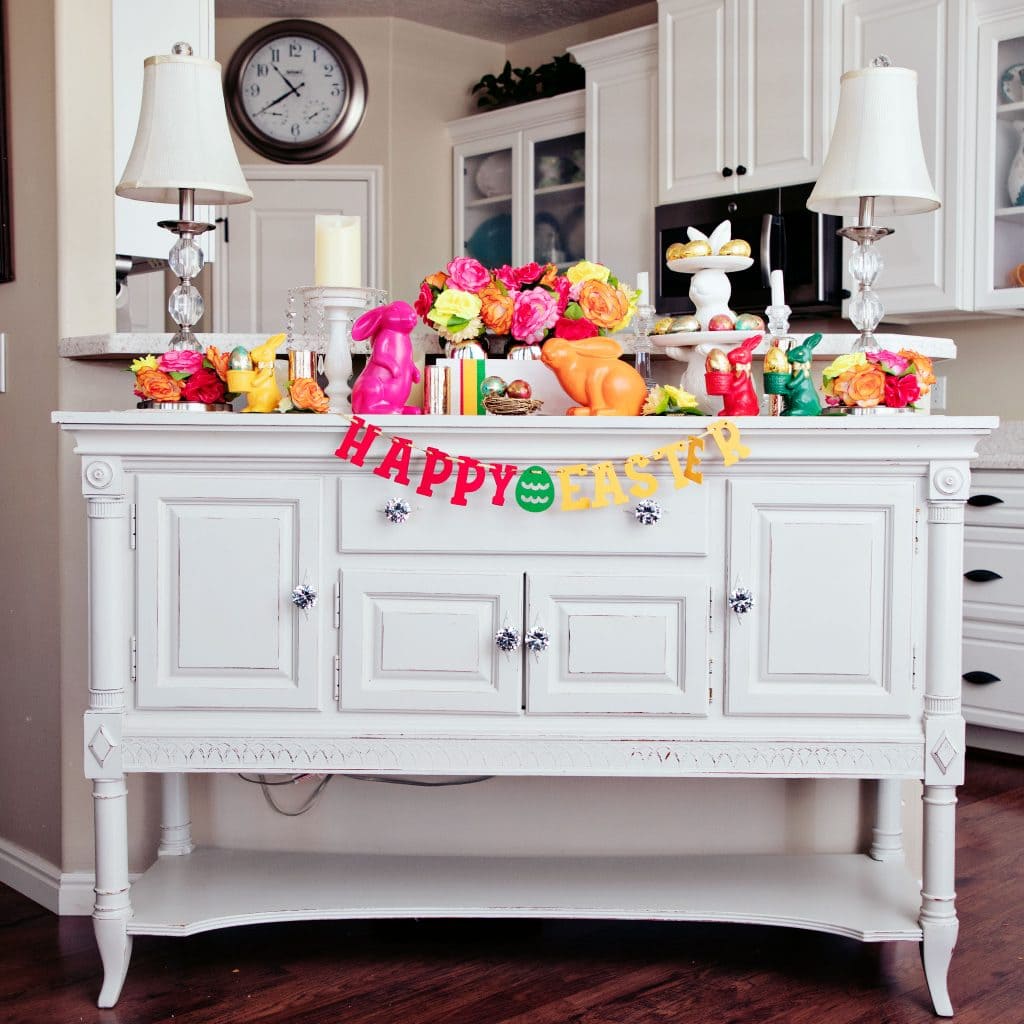
This Easter Centerpiece DIY has bright and fun colors to make it stand this spring season! With a few simple materials you can make this cute centerpiece that will also work. I love the combination of white, gold, pinks, oranges and yellows that make up this arrangement. It comes together quickly.

Be sure to check out the after the DIY for links to some of the other fun things I used to complete my Easter Display!
Materials were provided to me at no cost by Oriental Trading Company – but the project and ideas are my own.
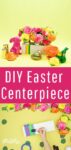
YOU WILL NEED:
- 3 Gold Mercury Mason Jars
- Flowers
- 3 3″ inch foam balls
- 1 wood planter’s box
- White paint, pink, yellow and green
- Foam Brush
- Glue Gun and Glue Sticks
- Pins
- Painter’s tape or masking tape
Easter Centerpiece DIY Instructions
Step 1 – Paint the Box for the Centerpiece
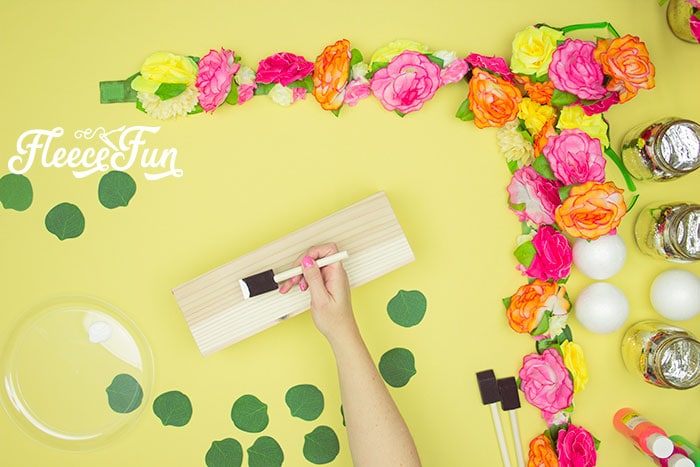
Paint the exterior and the interior of the box.
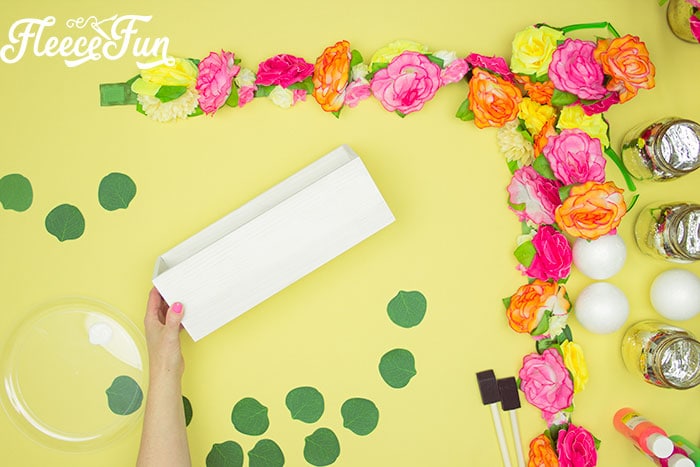
Set the box aside. to dry
Step 2 – Make the Flower Mason Jars
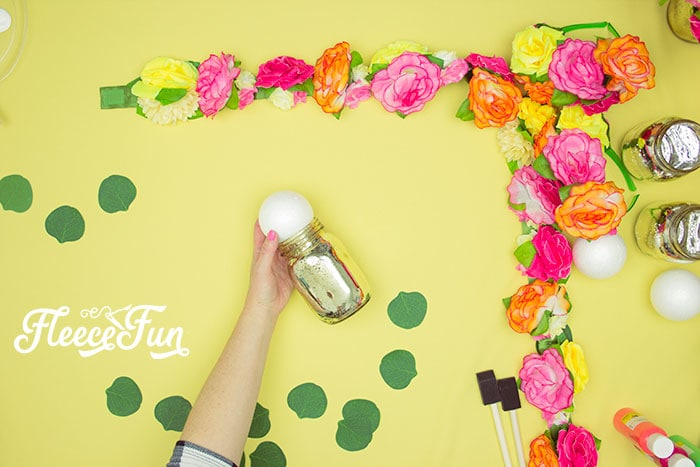
Glue a foam ball into the top of the mason jar to make it sturdy.
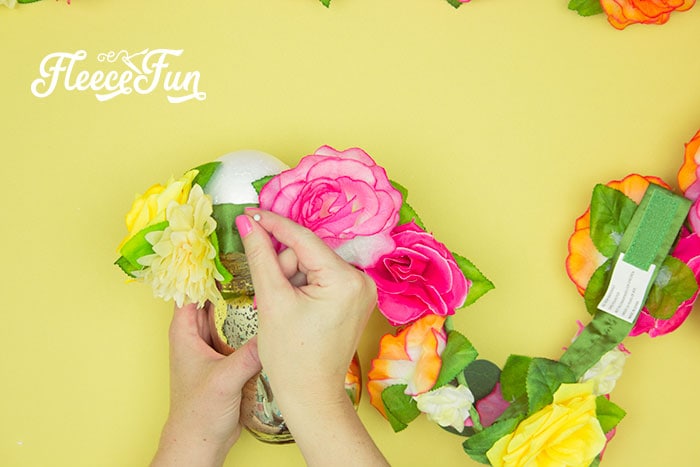
Take the flowers and pin them into position into the foam ball.
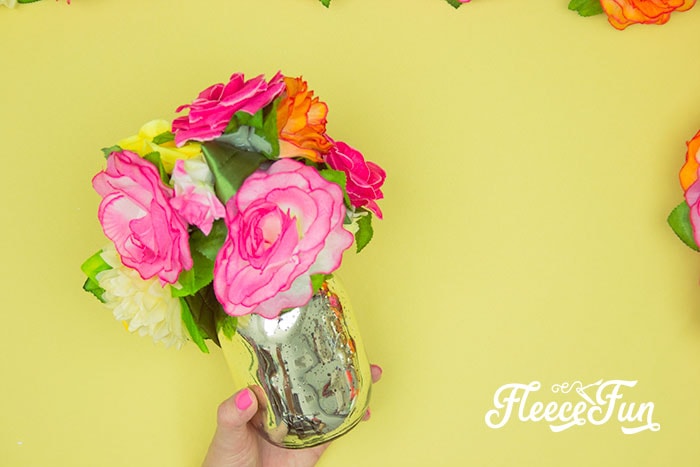
Do it until the ball is completely covered.
Step 3 – Paint the stripes onto the Easter Centerpiece DIY
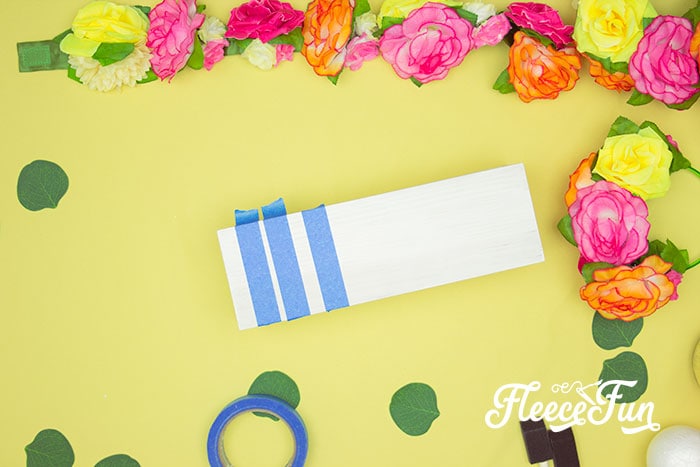
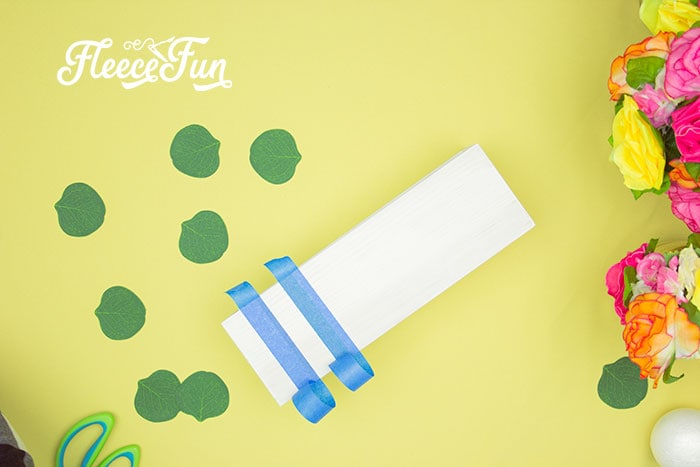
Tape off the box to make the stripes.
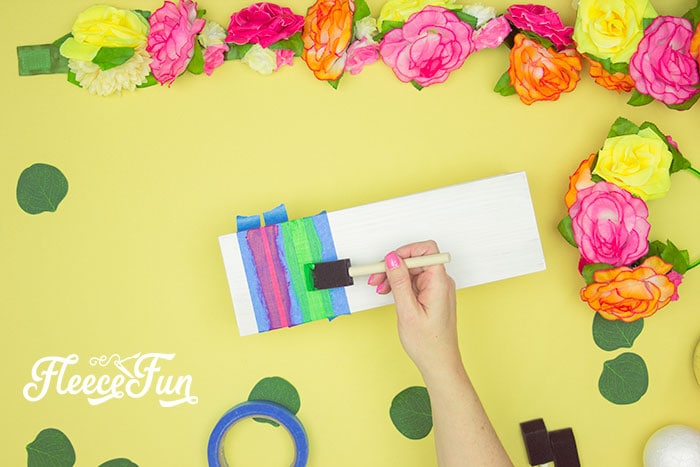
Paint a couple of stripes in different colors.
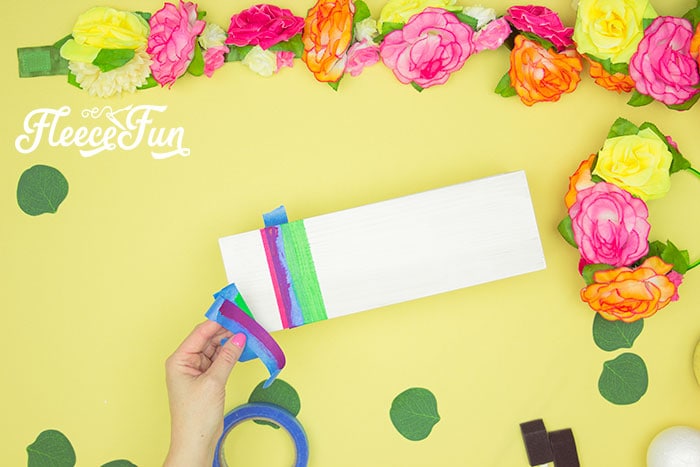
Remove the tape and allow to dry.
Tape off over the color to paint the final stripe.
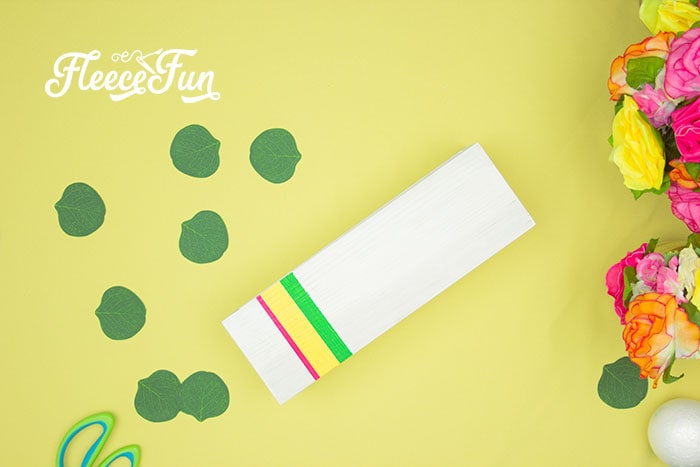
Paint is and remove the tape. Allow it to dry.
Step 4 – Put some foam in the bottom
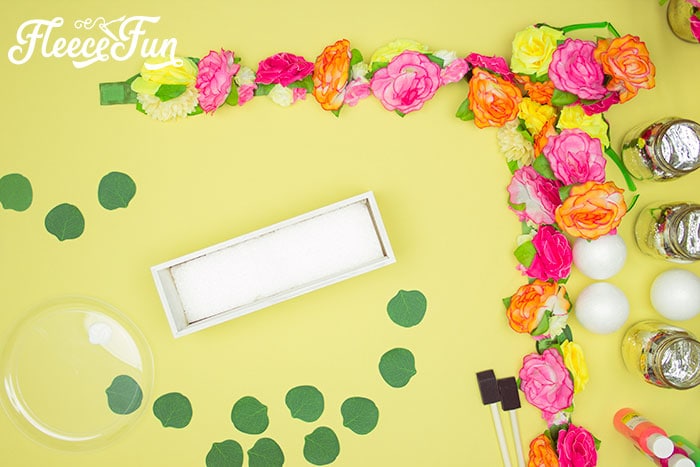
Using the packaging that the jars came in cut a rectangle to fit into the bottom of the wood box so the jars can sit taller.
Place the jars in the box and enjoy your Easter Centerpiece!
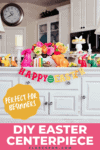
More Ideas from this Easter Centerpiece DIY:
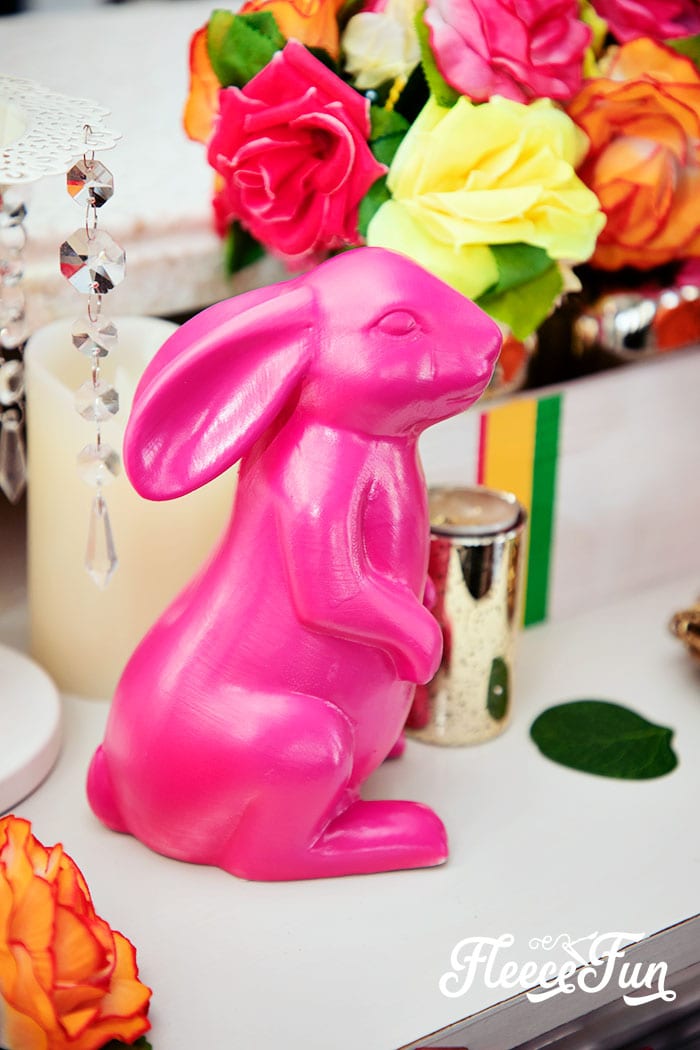
I painted these large rabbits
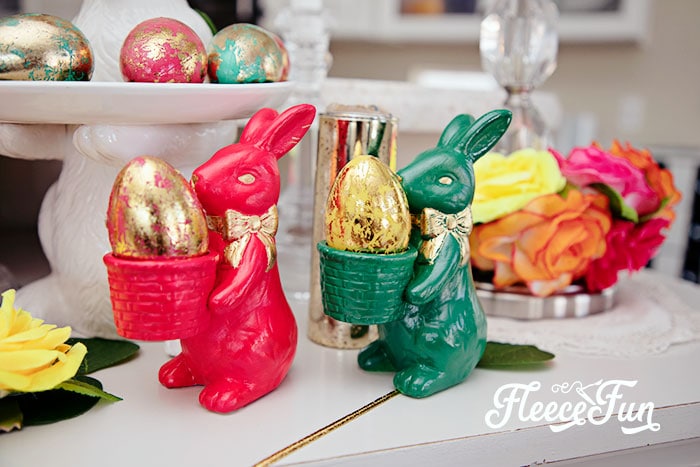
and these smaller rabbits to match my color scheme
This Happy Easter banner is wood and again I painted it to match my color scheme

This nest I painted gold for the eggs to sit in.

I love this cute tiered rabbit try to balance out my display and these fun gold leaf eggs matched my look.
More Fun Easter Crafts
- How to Make a Bunny and Egg Banner for Easter
- Easter Egg Button Decor Craft Tutorial
- Free Easter Banner Printable Craft Tutorial
- Free Easter Printable
- Printable Pinwheels for Spring
- Fleece Eggs and Fleece Basket Pattern
- No-Sew Fleece Chrysanthemum Flower
- More Easter Holiday Projects