
Little bit of Luxury gift card holder tutorial
This content contains affiliate links or sponsored elements, read our Disclosure Policy.
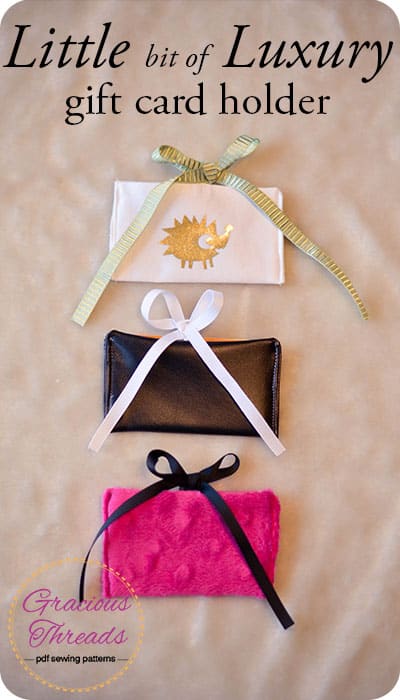
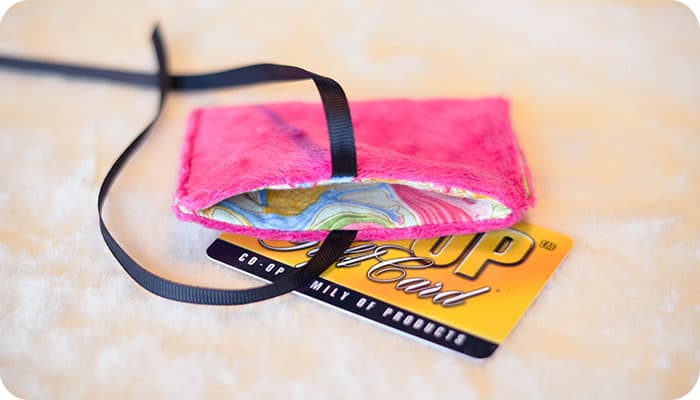
Everyone love a little luxury and this gift card holder is a great way to share the feeling without breaking the bank! Whether it is a best friend needing a pick me up, or a birthday, teacher, or Christmas gift, this luxe gift card holder is a perfect way to personalize a gift card.
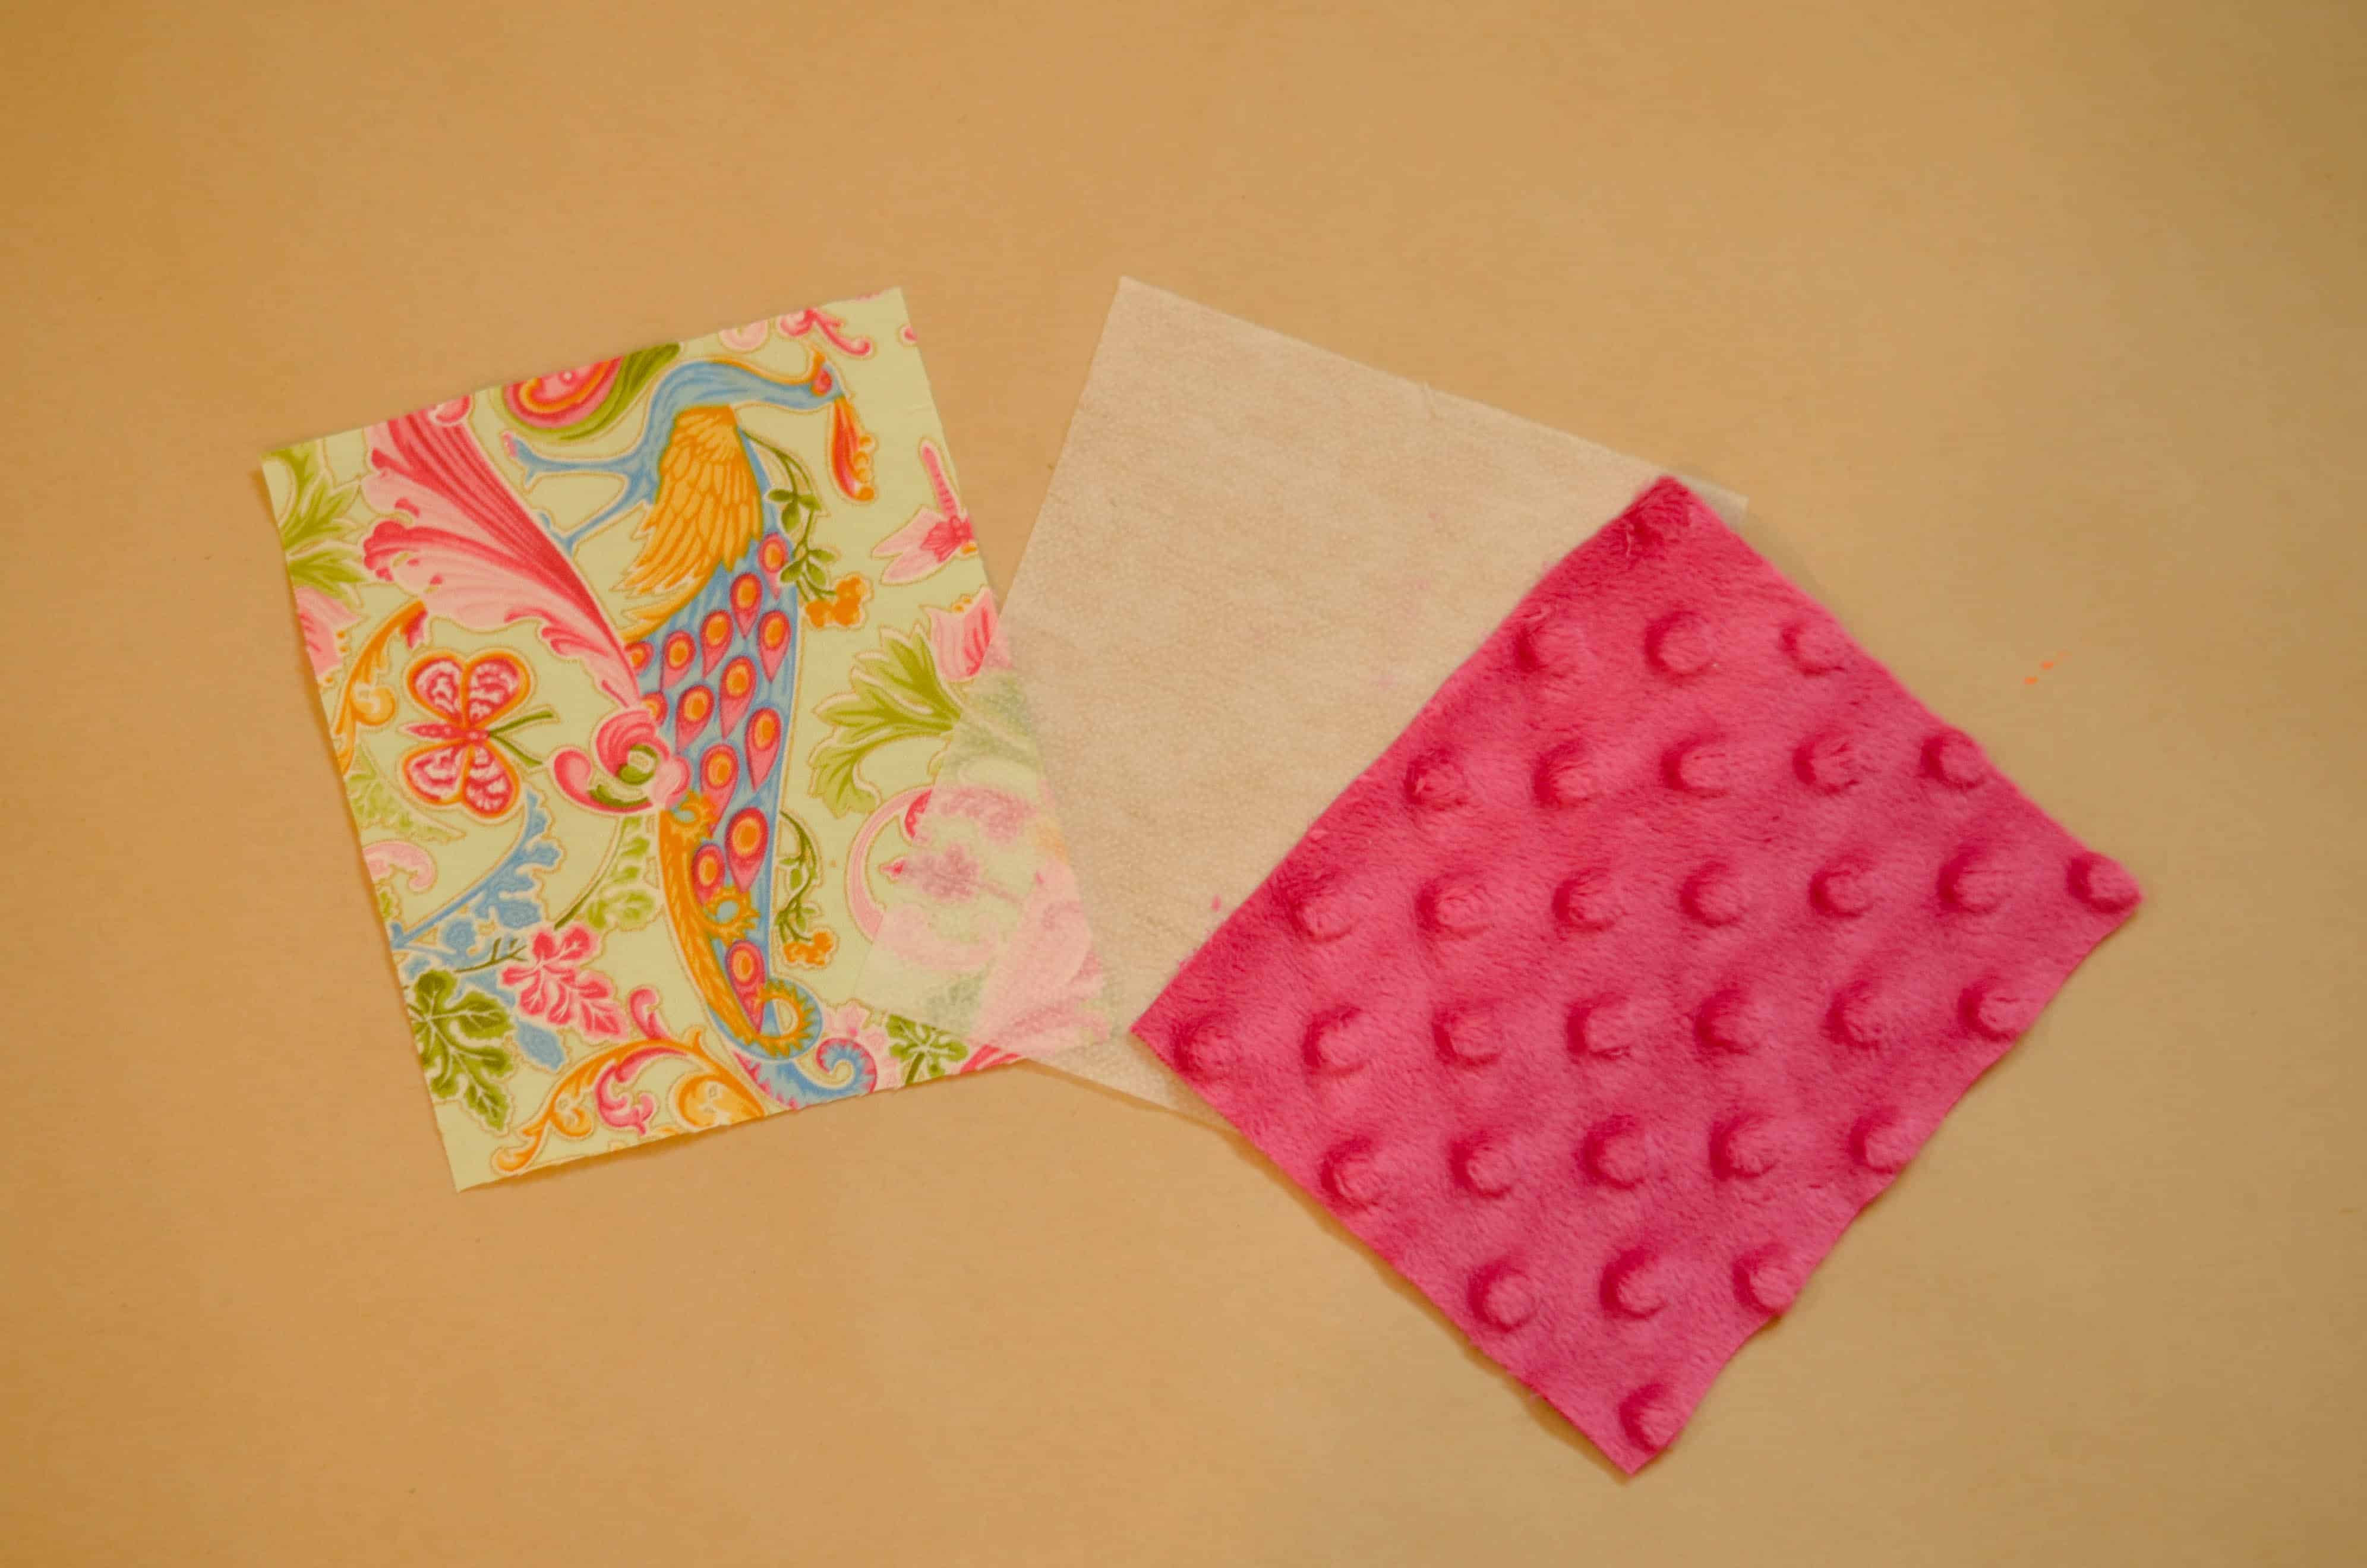
For this project you will need:
5″ X 4 1/4″ outer fabric
5″ X 4 1/4″ inner fabric
5″ X 4 1/4″ interfacing – you can skip this if your outer fabric is sturdy
16″ ribbon cut into 2 equal pieces
1. Fuse interfacing to wrong side of outer fabric. If you are using minky, or any fabric that melts, use a press cloth between your iron and the fabric – an old sheet works great!
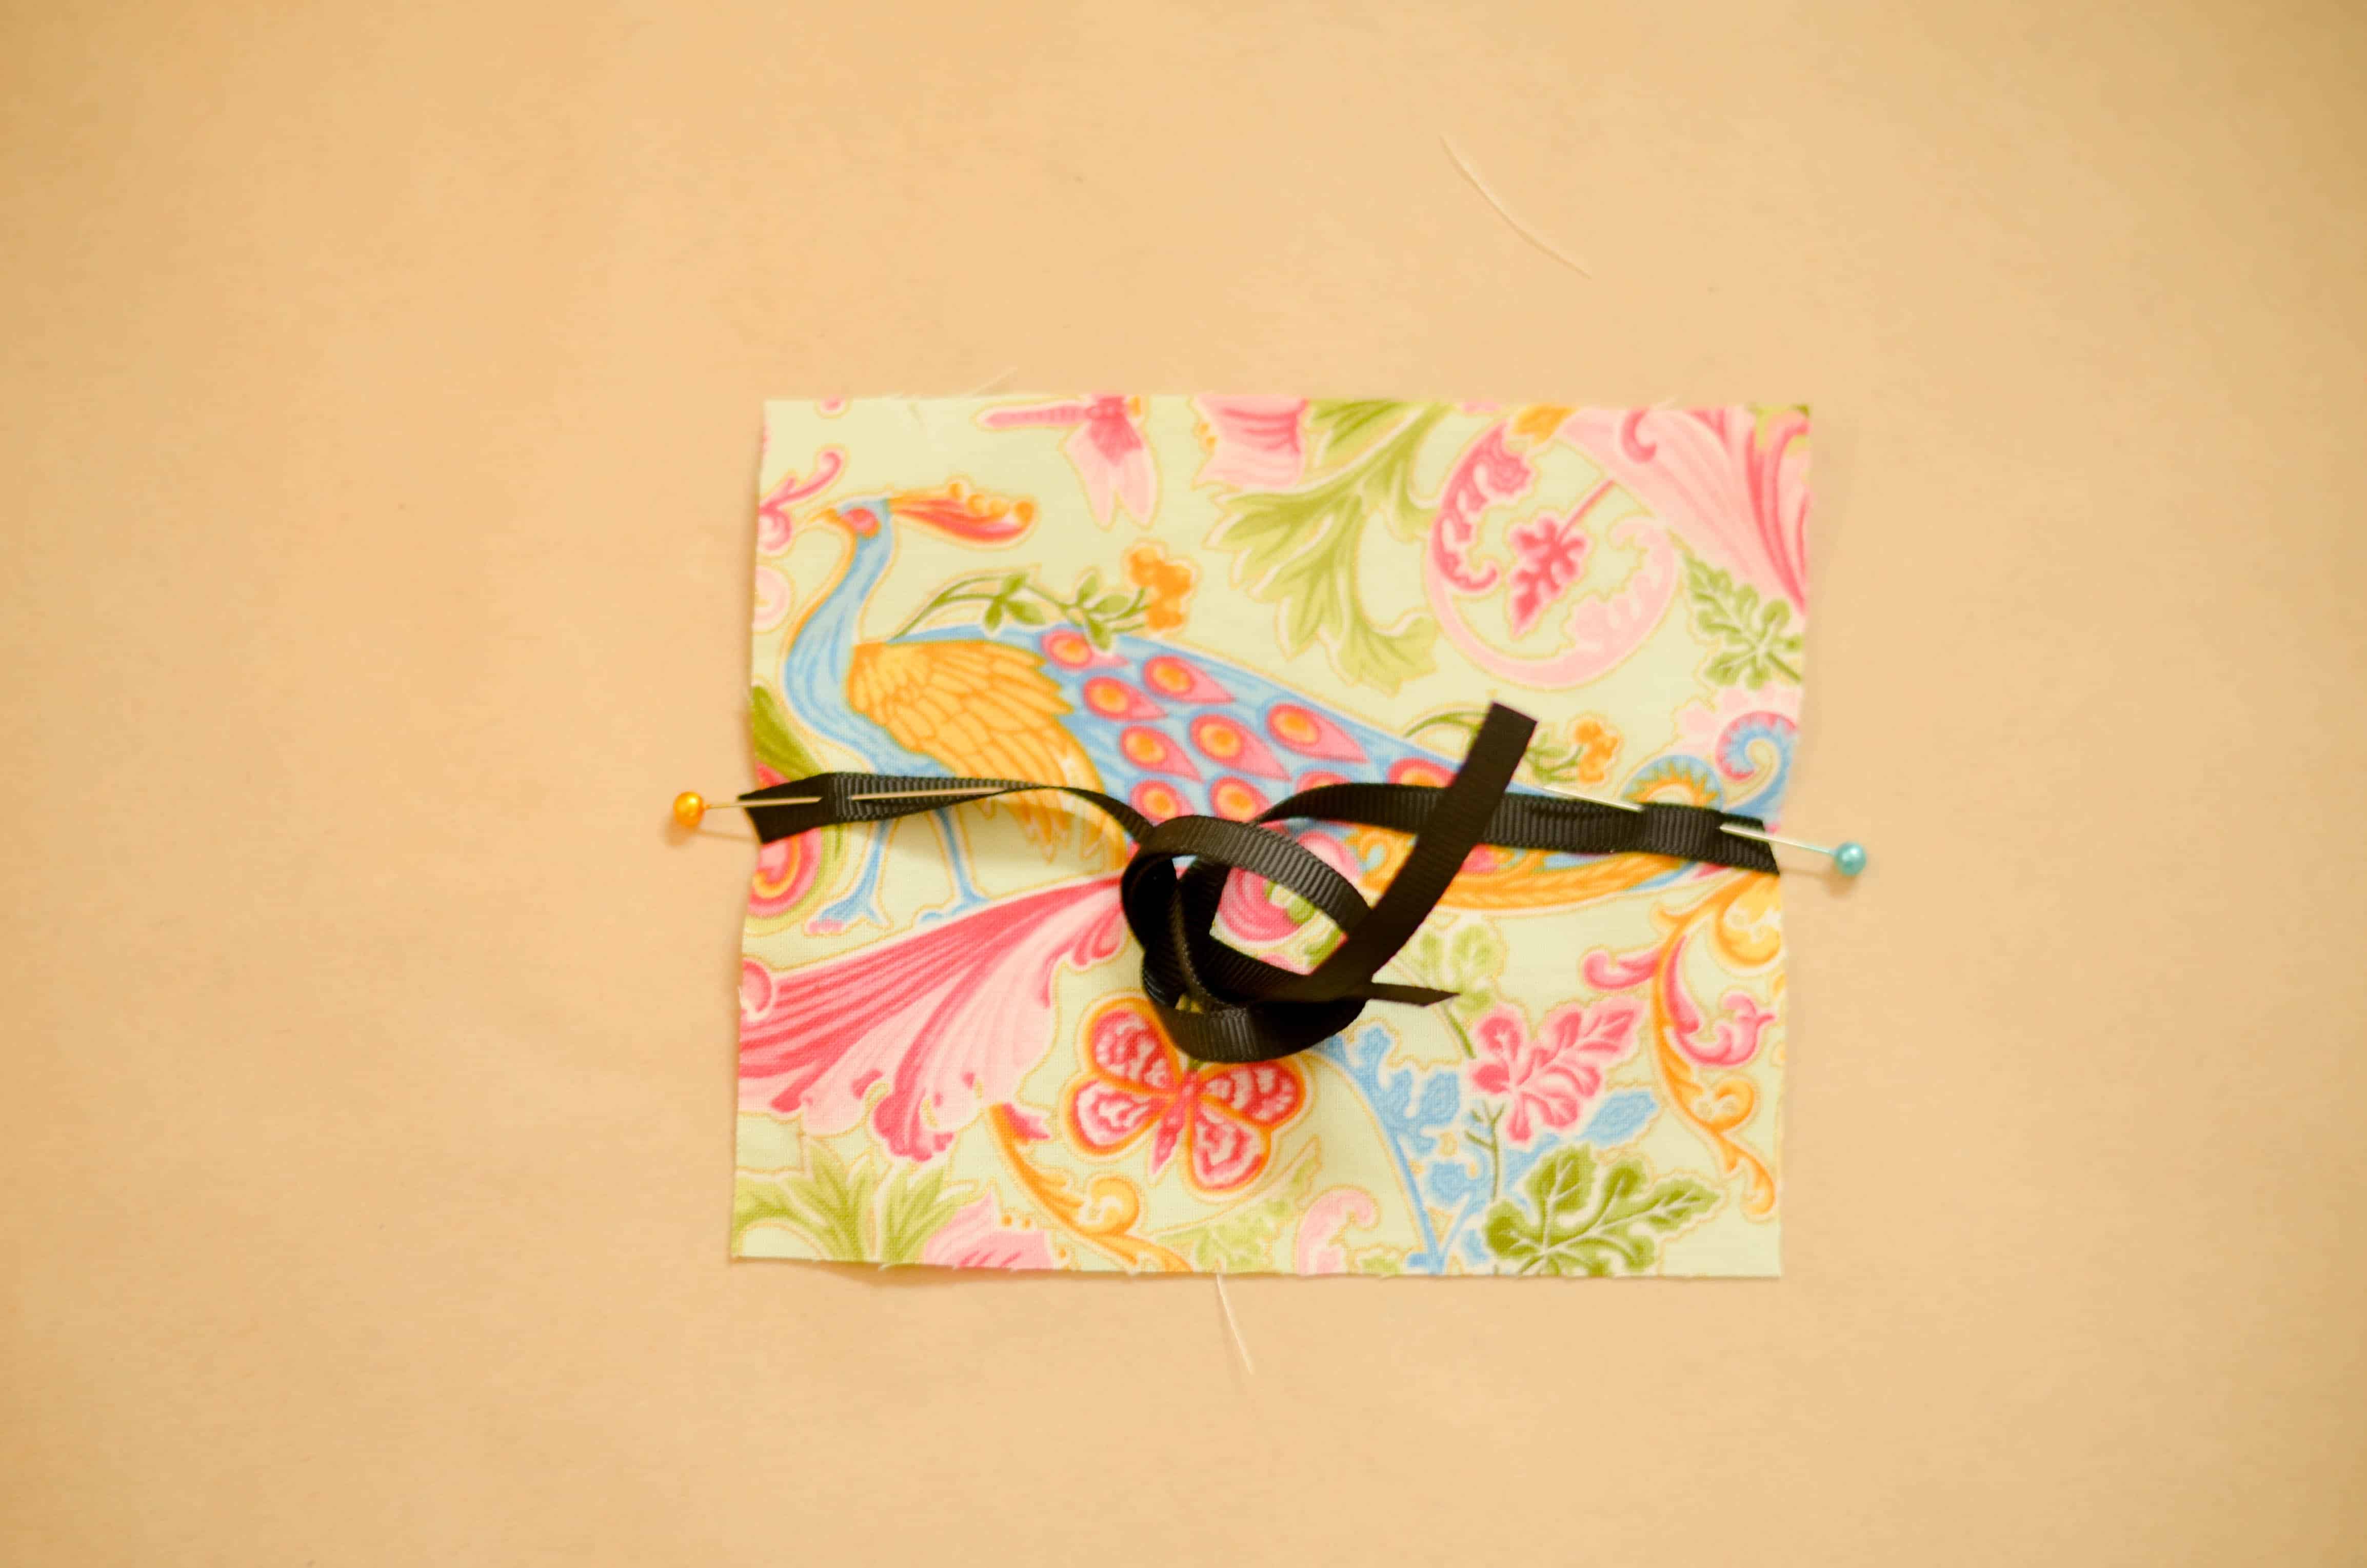
2. Pin ends of ribbon to middle of shorter side on right side of lining. I tied the ribbon loosely in a knot to keep it out of the way for the next step.
3. Place outer fabric, right side down, and pin around the edges, making sure the ribbon is tucked inside.
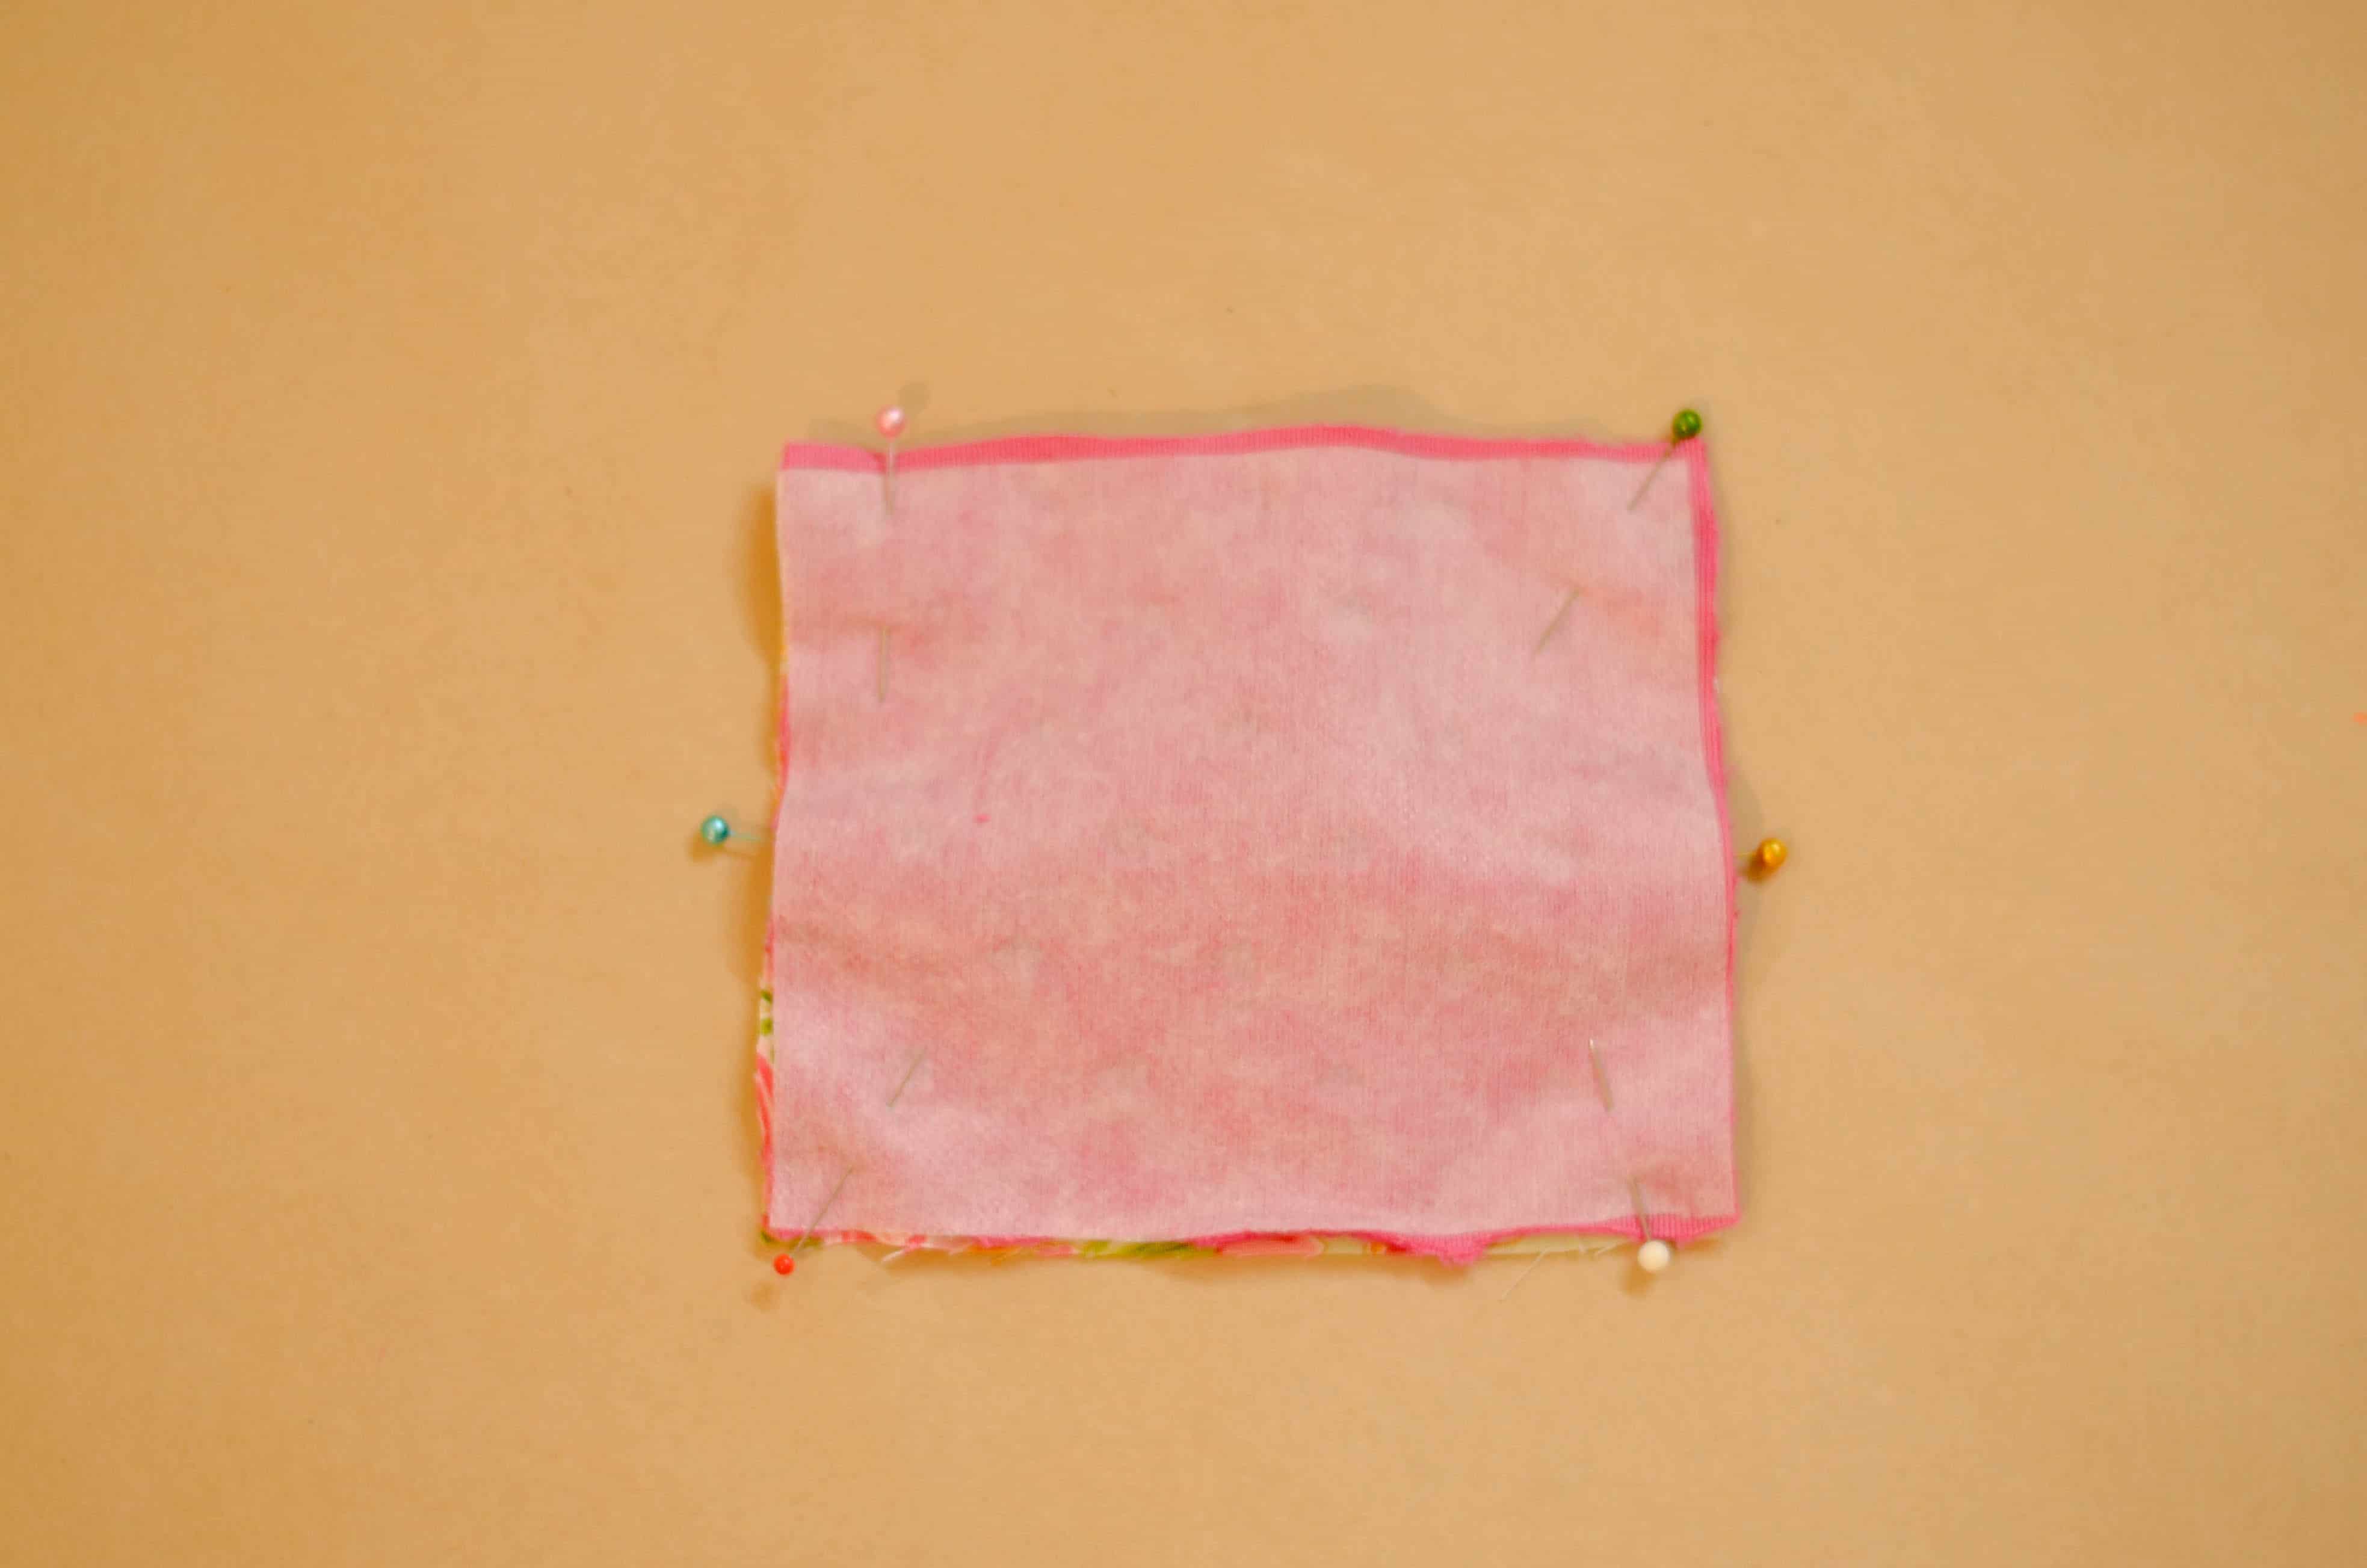
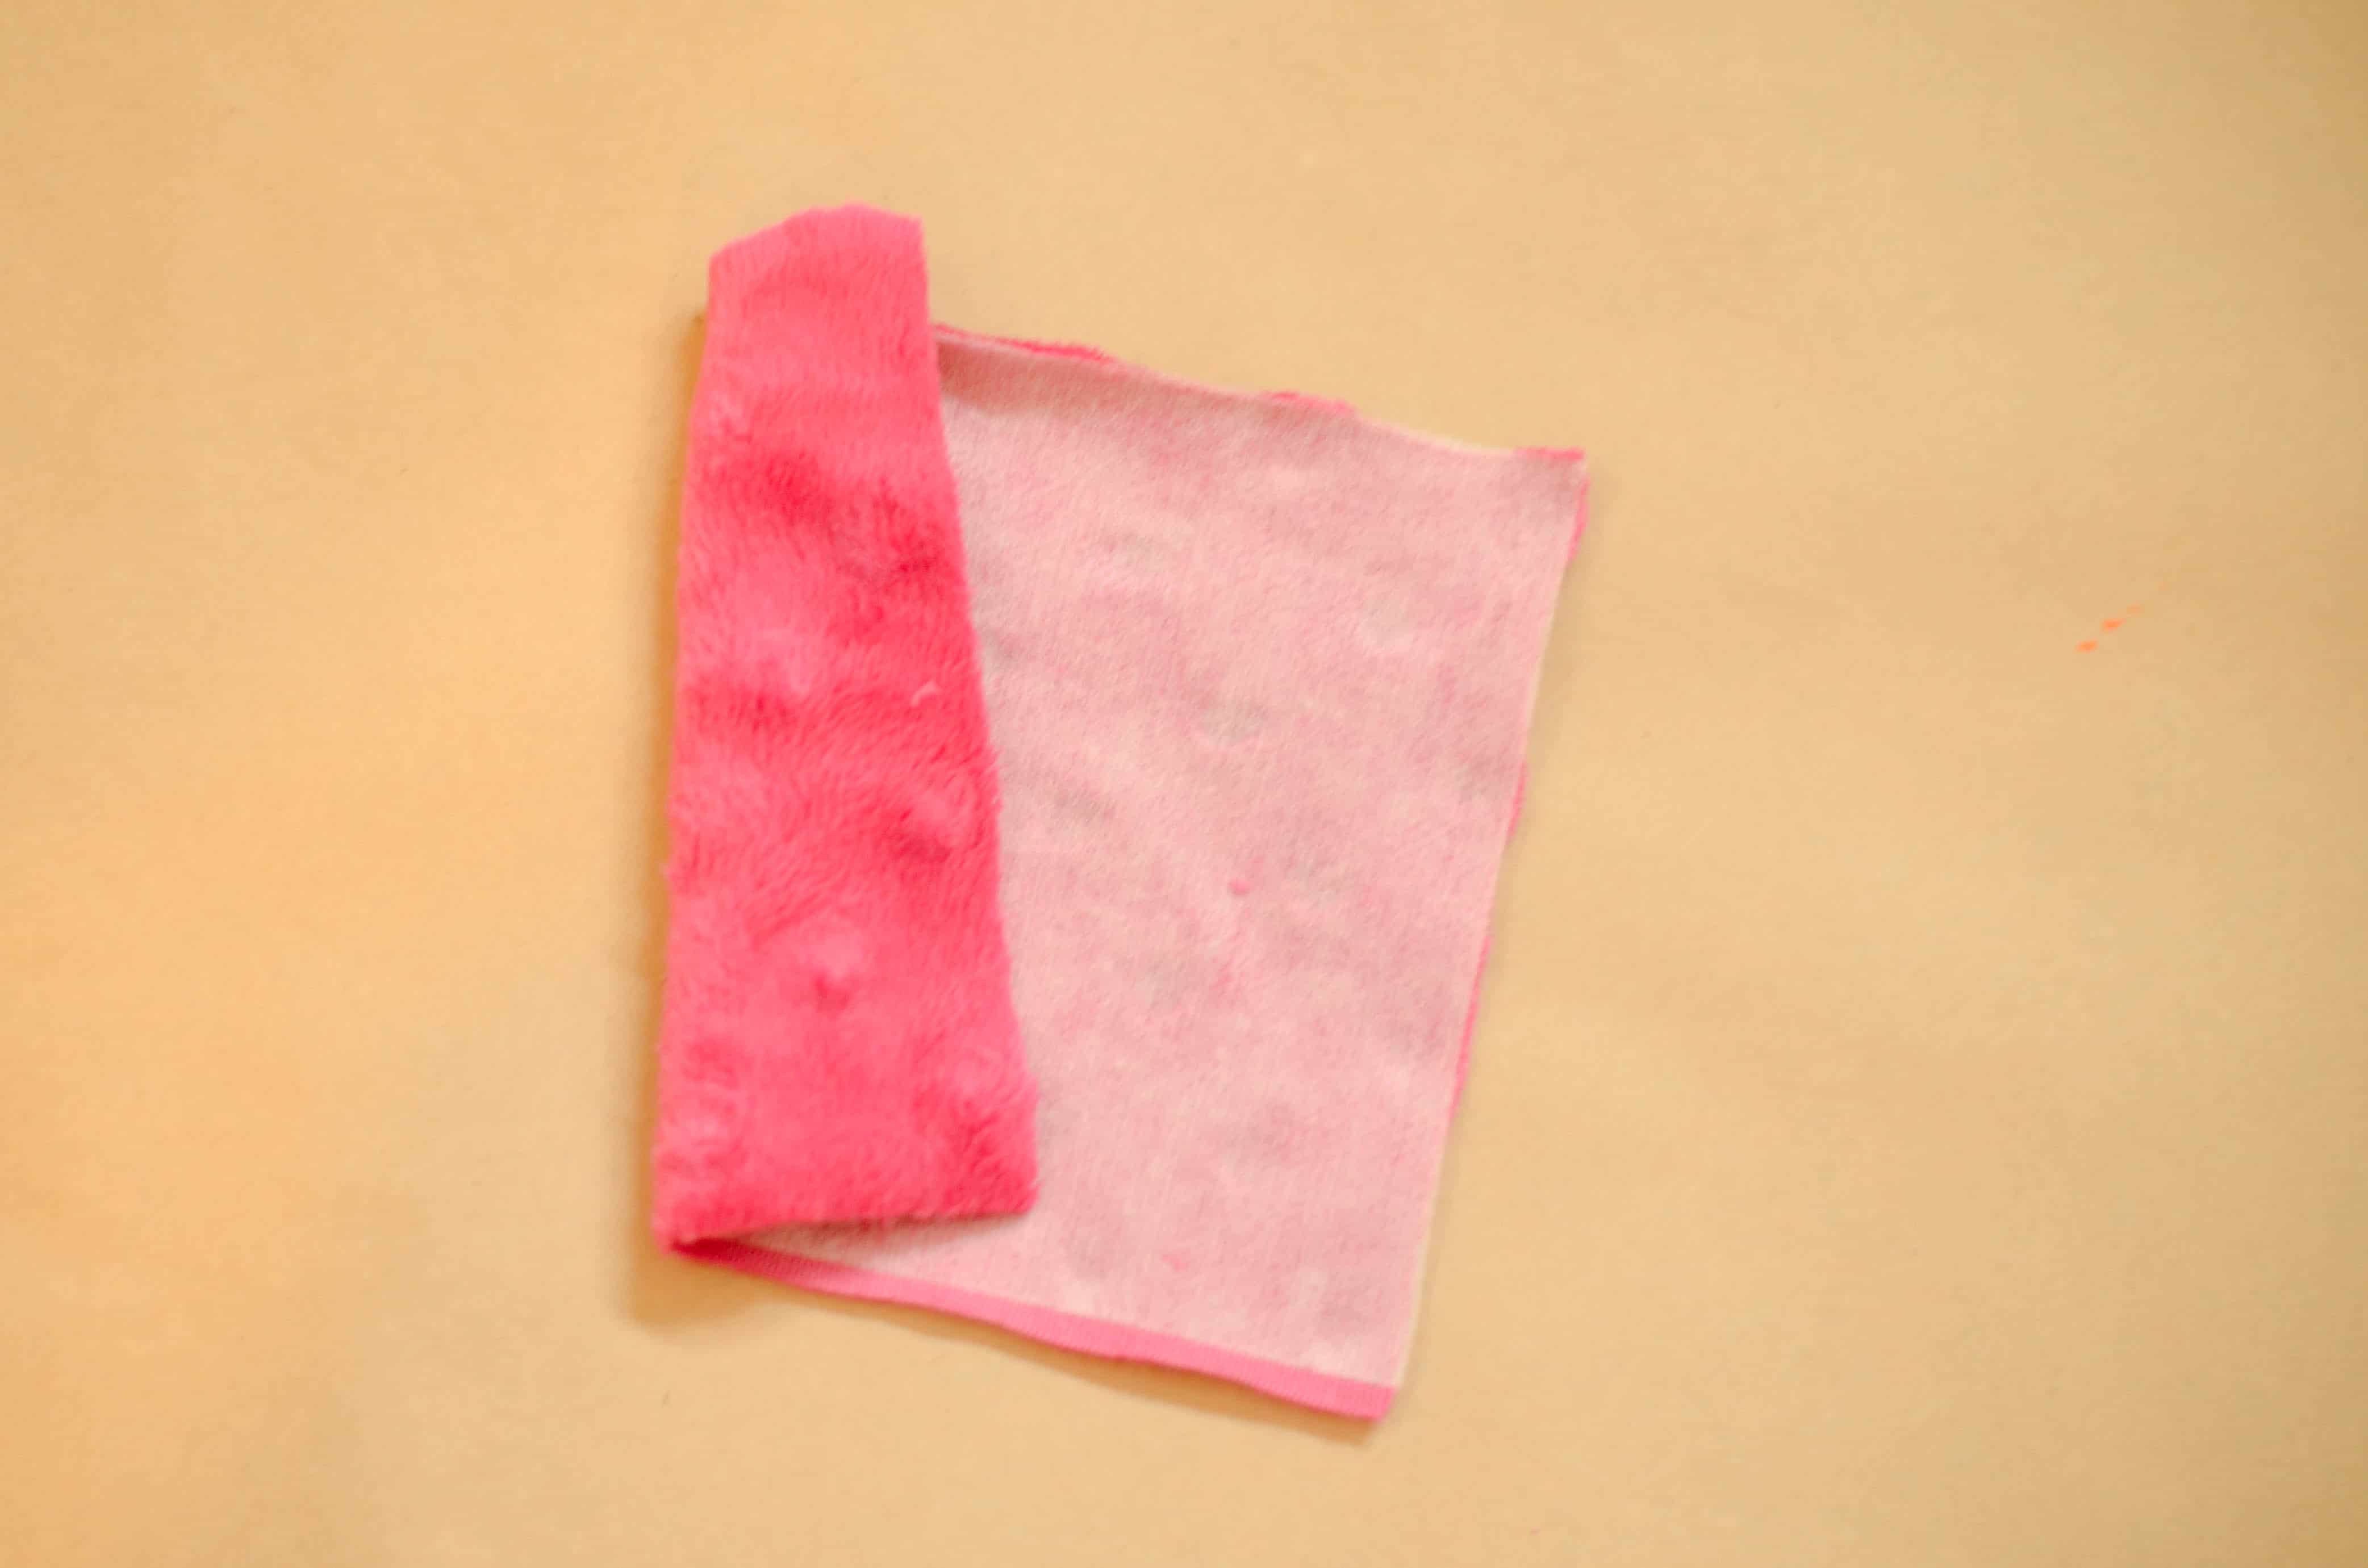
4. Using a 1/4″ seam allowance, stitch around the edge, leaving a 2″ gap for turning on the long (non ribbon) edge. Clip the corners.
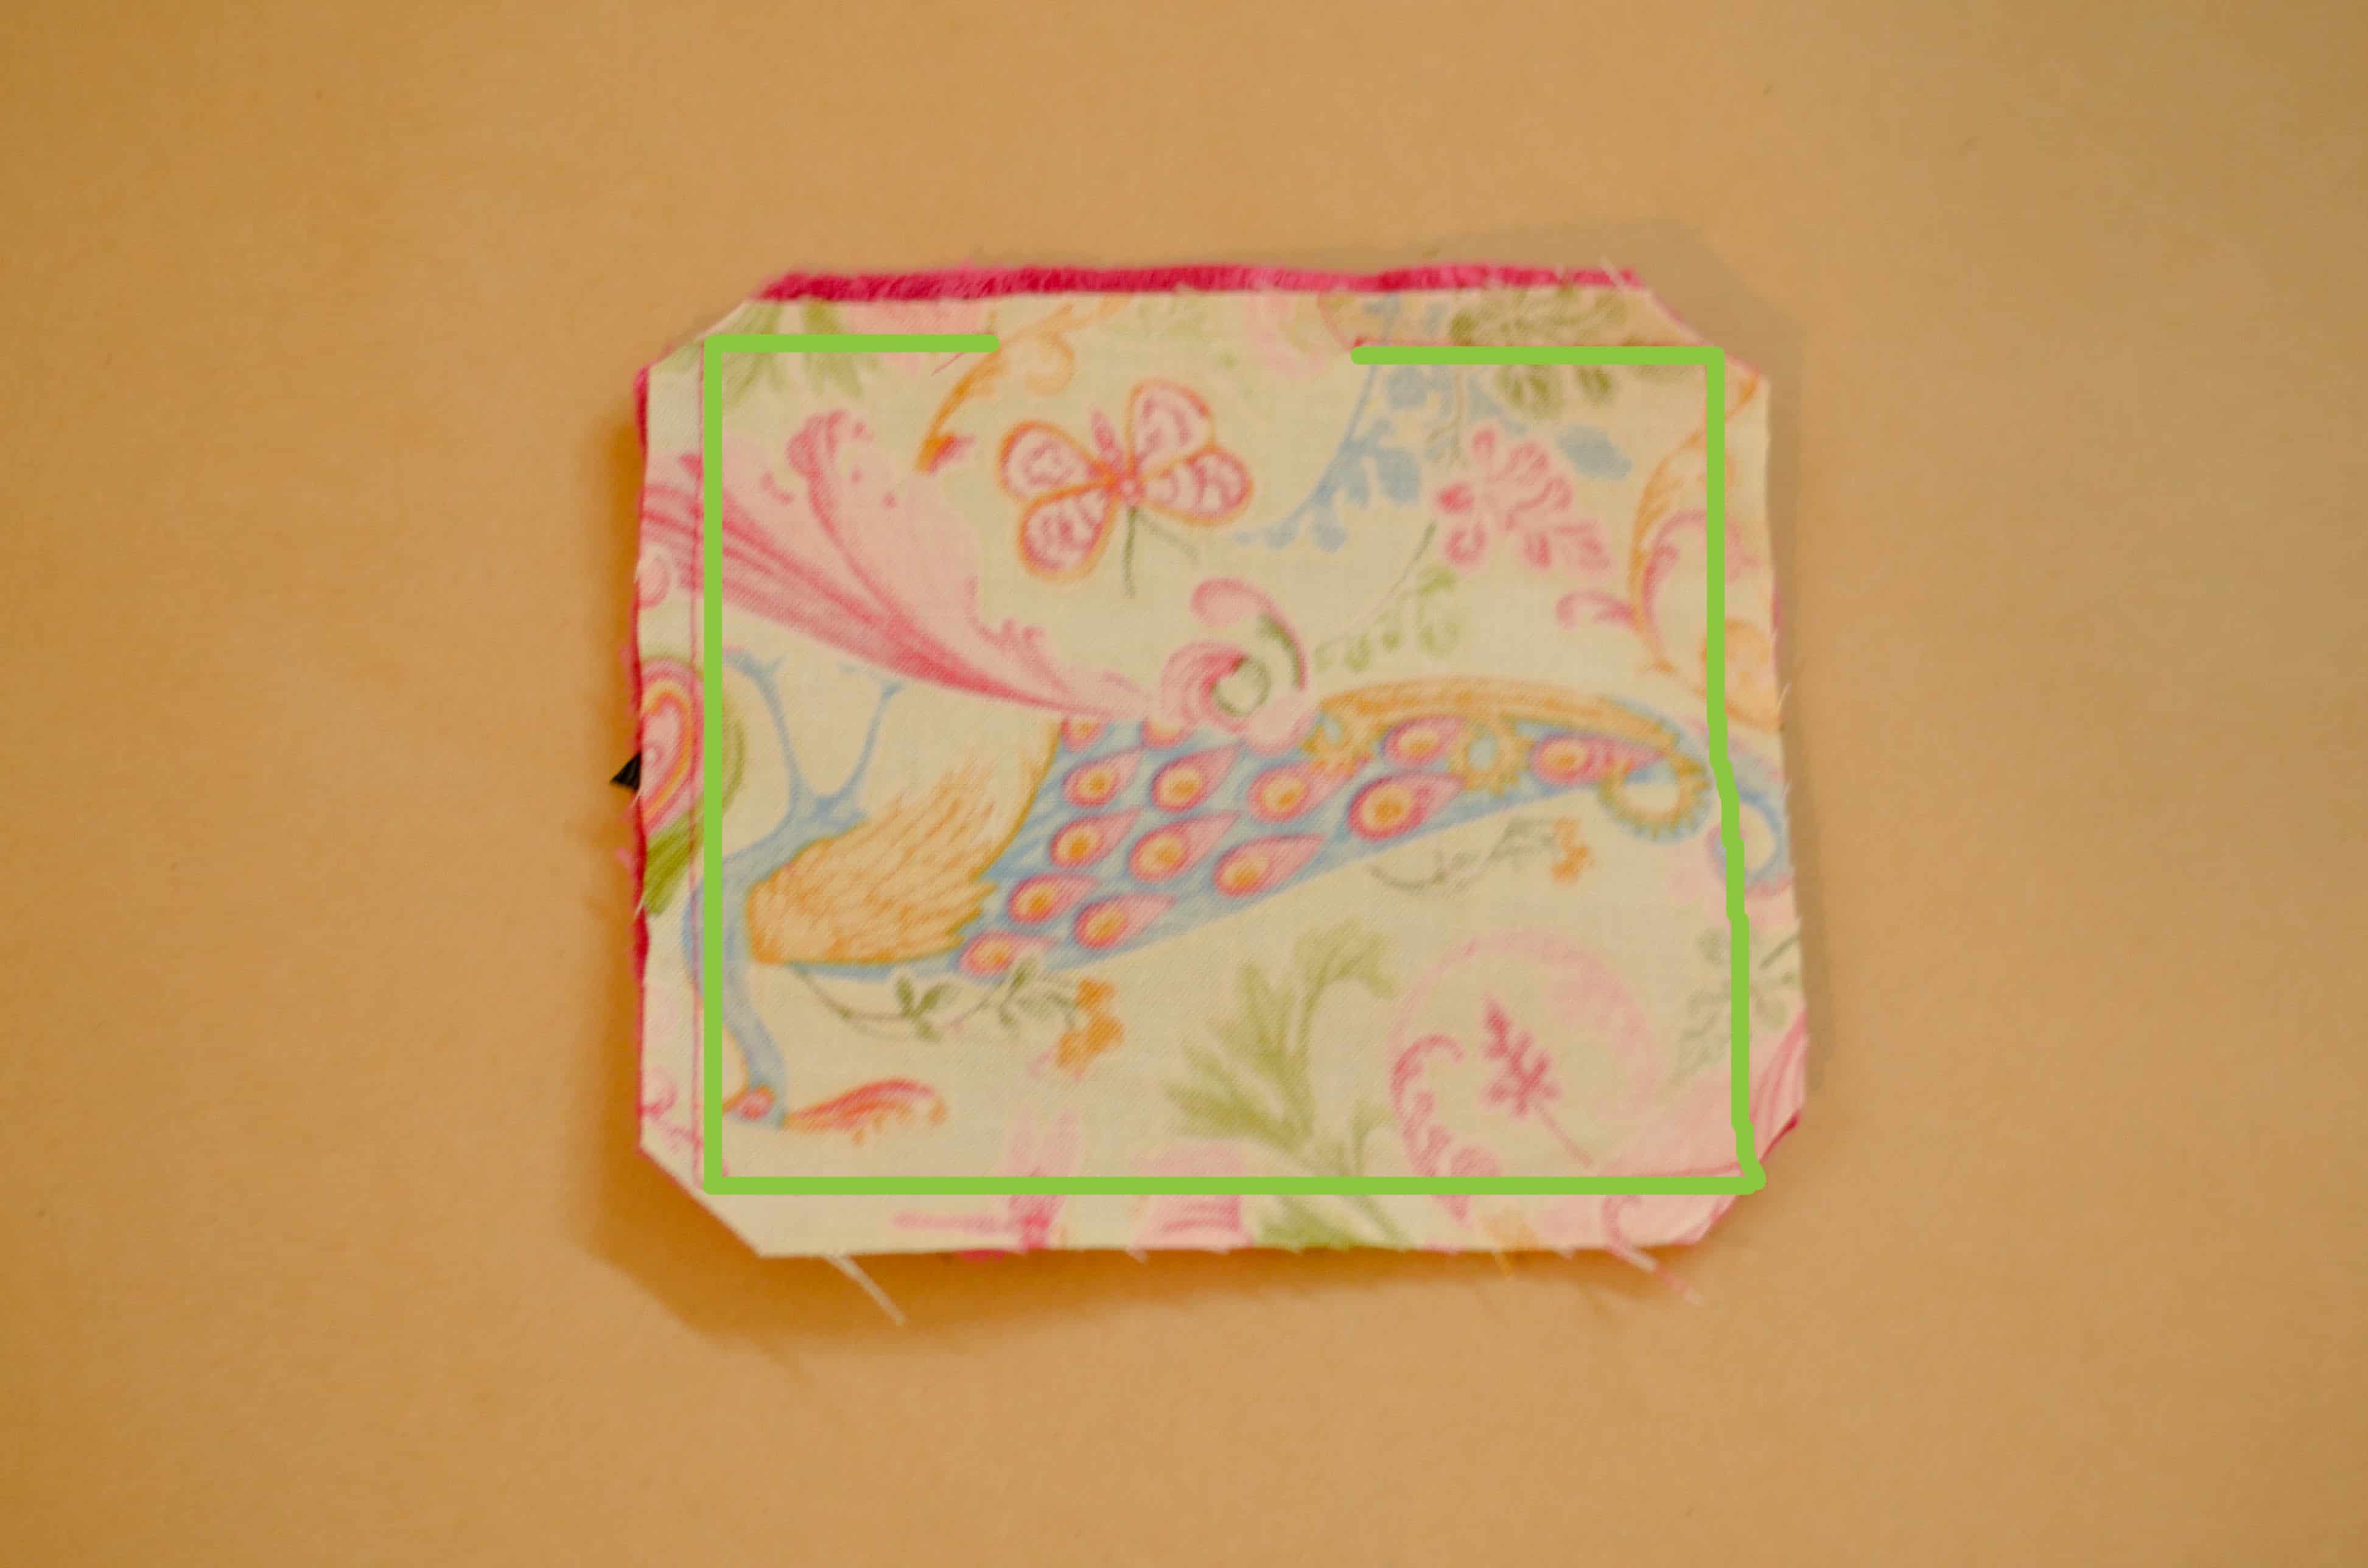
5. Turn right sides out through opening and push out corners with a blunt object. Fold in half so that ribbon edges meet. Sew both short sides, closing up opening for turning at the same time.
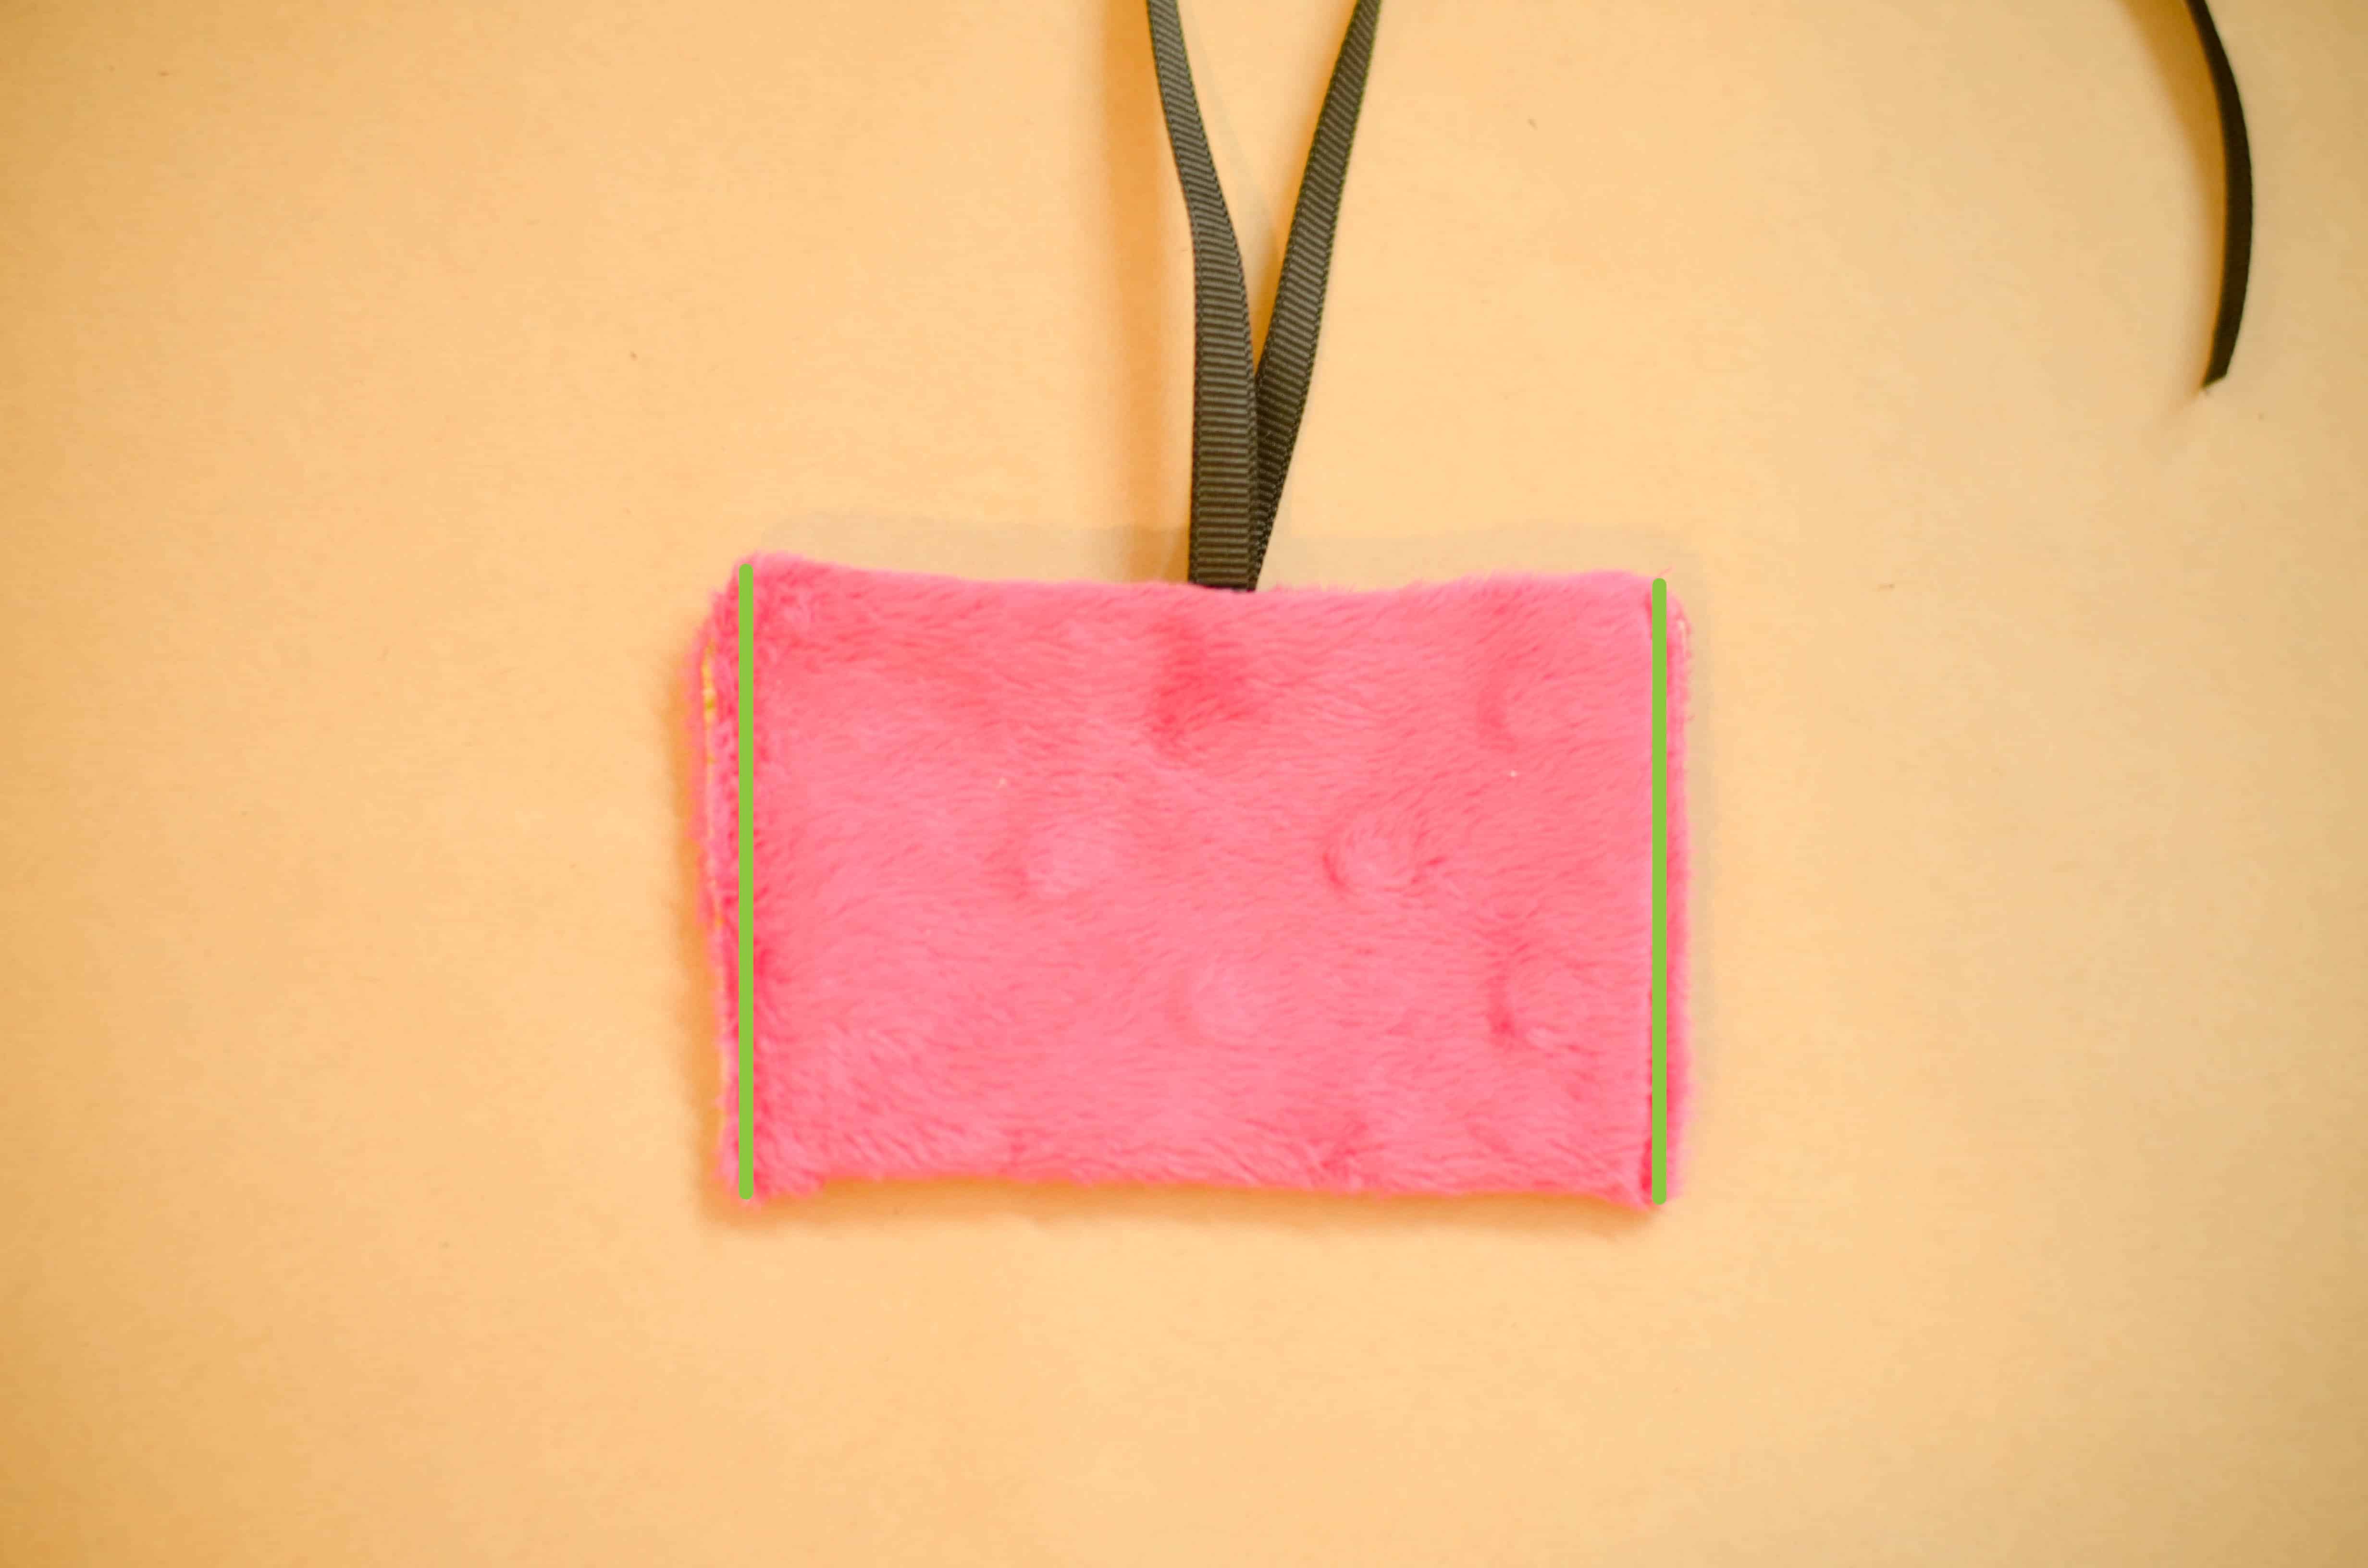
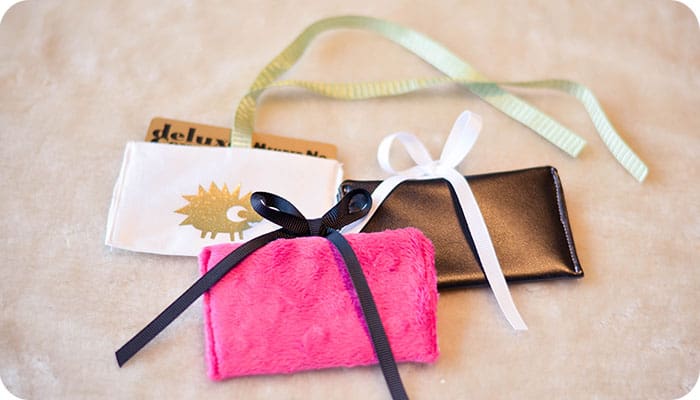
The pink gift card holder is minky dot with a quilting cotton lining. The black is faux leather, and the white is real silk (yes, the real deal, left over from another project!). The gold hedgehog is an iron on transfer, purchased at L’Oiseau Fabrics.
If you liked this tutorial, be sure to come over to Gracious Threads, where I have many more sewing patterns and tutorials!
More Handmade Gifts You Might Like!
- Make a Leather Journal – Handmade Gift DIY
- Easy Sleep Mask Tutorial
- Sewing Machine Hoop Art
- Rice Heating Bag
- Fitted Face Mask DIY
- Easy Lavender Lemon Salt Body Scrub
- Make Holiday Homemade Lotion
- Homemade Body Cream Recipe – Handmade Gift Idea
- Make Holiday Foot Scrub – Handmade Gift Idea
- Easy Sweet Homemade Lip Gloss
- Holiday Foaming Soap Tutorial – Handmade Gift Idea