
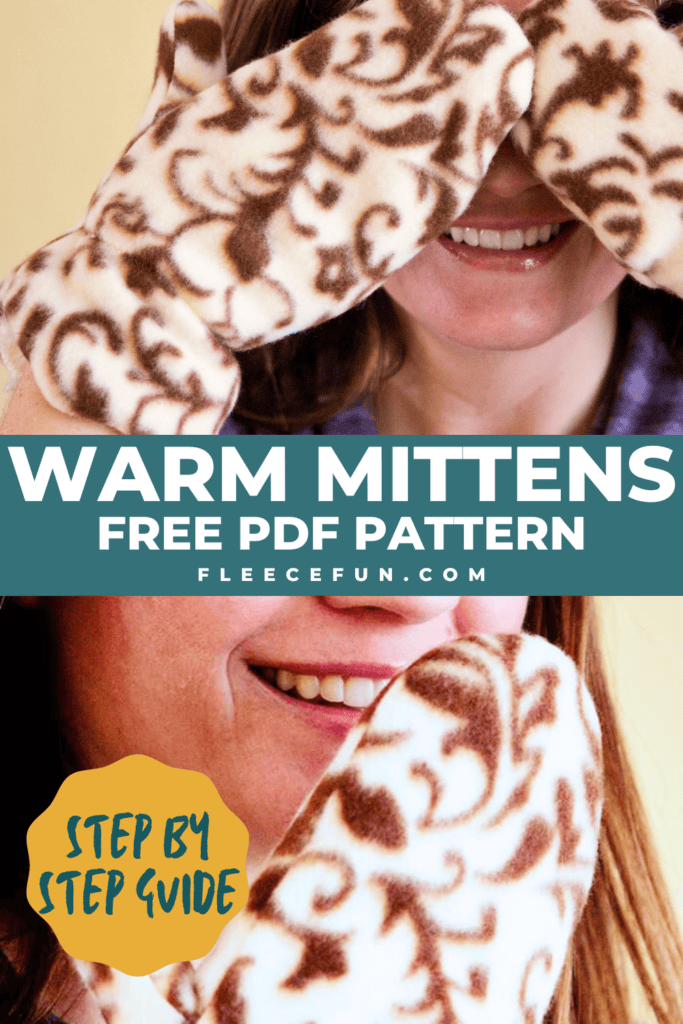
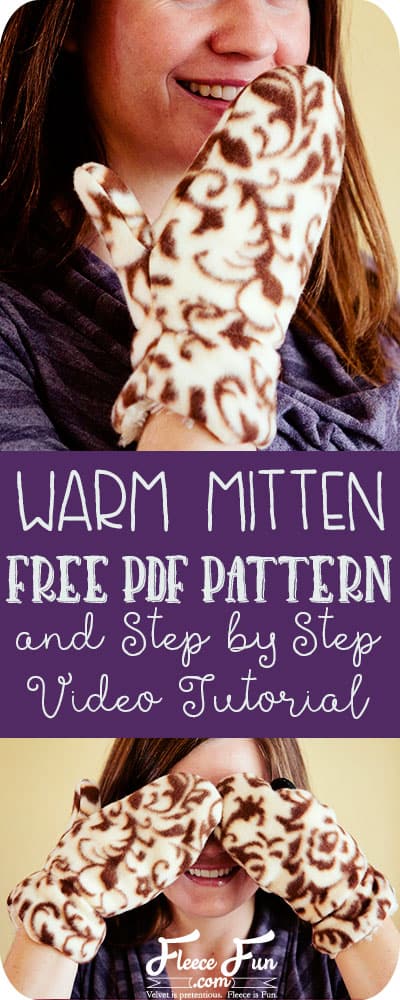
Free Mitten Pattern for Fleece and step by step tutorial
This content contains affiliate links or sponsored elements, read our Disclosure Policy.


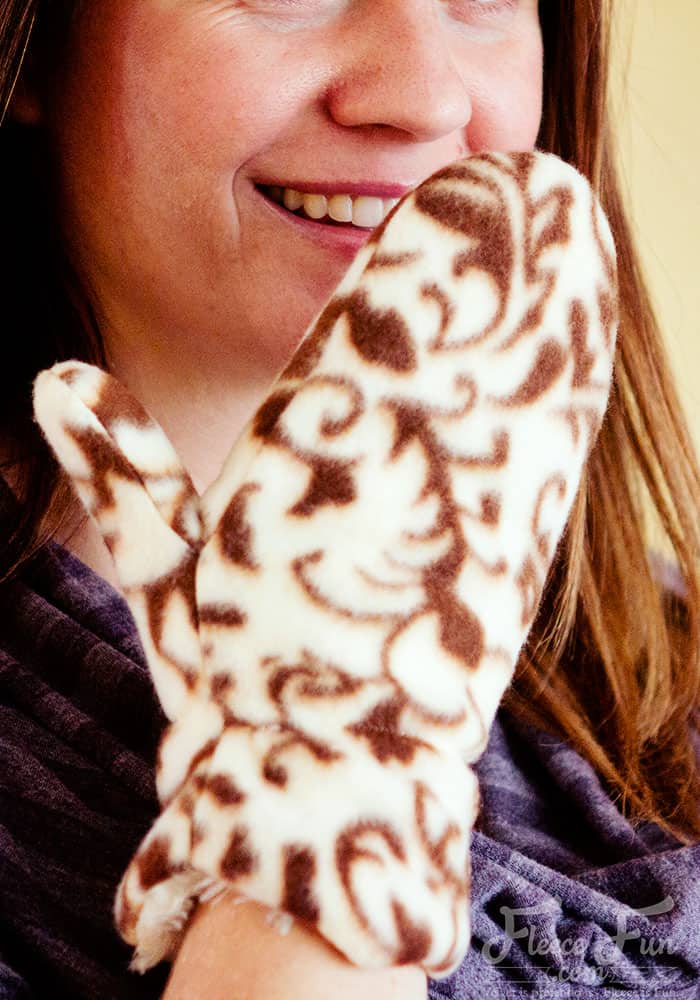
You can use this free mitten pattern for fleece to keep your hands warm in winter! Double lined for extra warmth.
YOU WILL NEED:
- 1/3 yard fleece, for mittens and lining (in the example I used different cloth in the lining)
- Thread

- Sewing Essentials (scissors, pins, etc.)
- .25 inch elastic, approx. 8- 12 inches.
- Fleece Fun’s Free pattern (available by filling out the form here)
Child Large – Approx 9 -11 years
Medium – Approx 6-9 years
Child small – Approx 4-6 years
Woman (fits most women)
Woman large (if store gloves tend to run small on you)
Man (fits most men)
Man Large (huge hands – hard to find gloves for)
free mitten pattern Video tutorial:

Free Mitten Pattern Tutorial:
Step 1 – Assemble and cut out the free mitten pattern
You can find instructions on how to assemble the pattern here.
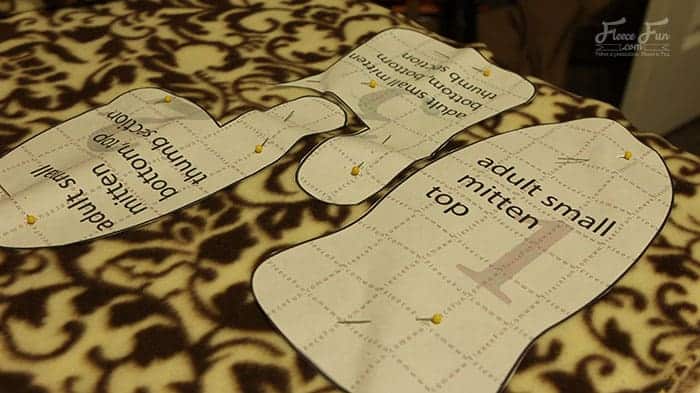
Cut out the pattern pieces for the mitten. On folded fabric cut out two of each pattern piece for the exterior
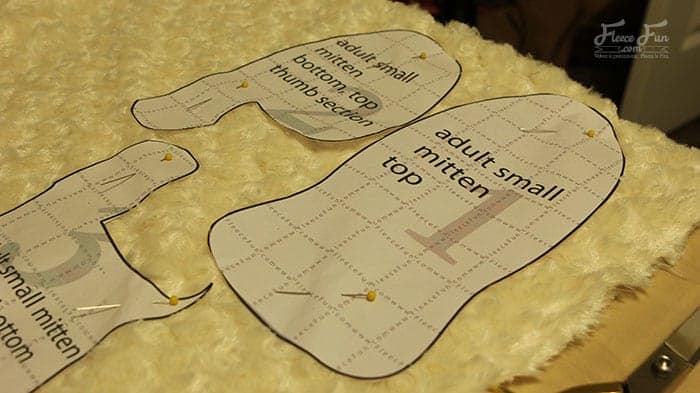
On folded fabric cut out two of each pattern piece for the lining. In the example I used a soft cuddle fur for the lining.
NOTE
This mitten has a lining so it’s like making 4 mittens.
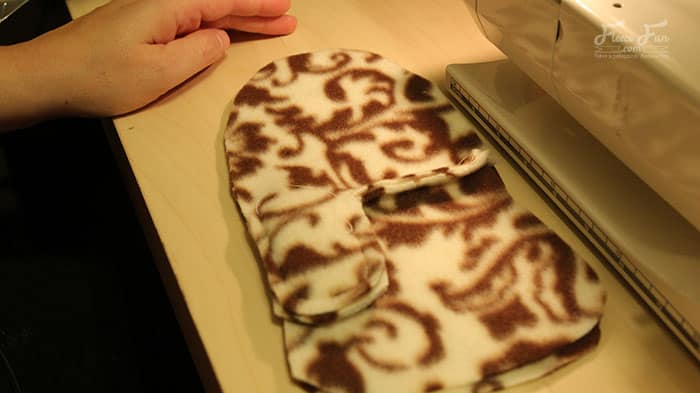
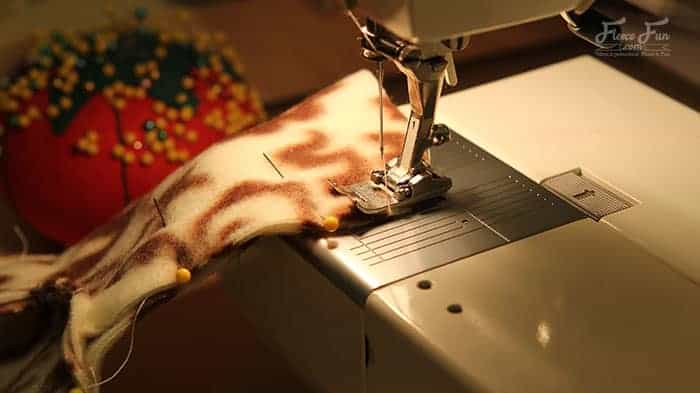
Step 2 – How to Sew the Pieces Together

Assemble the inside (the part that touches the palm, with the thumb.)

With right sides together, Sew a seam using a .5 inch seam allowance from the bottom of the thumb all the way around to make it a complete half of the mitten. Repeat 3 more times for the exterior and linings
NOTE
You can slightly vary the size of the mitten for a better fit by changing the seam allowance to .25 of an inch to make it bigger.
Step 3 – Add Elastic to your free mitten pattern

I confess I did this step wrong – so the pictures are wrong, but I’m going to make sure that you do it right! Take the exterior pieces ( there will be 4 total – two exterior two thumb halves) For the elastic I wrapped it around my wrist and pulled it to a comfortable tightness, and that’s how I got my measurement.
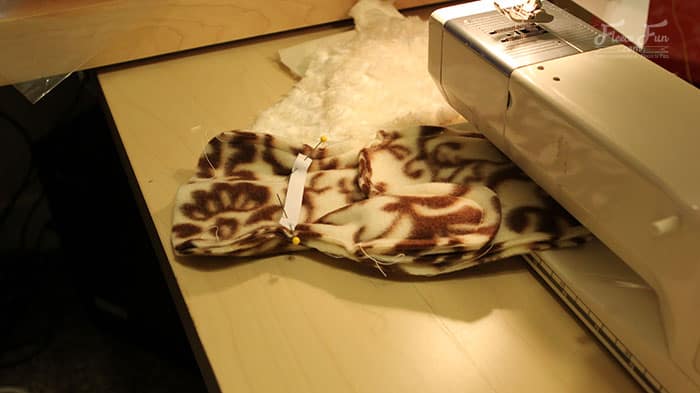
Cut two lengths – one for each wrist, then cut each length in half. Using a zig zag stitch sew a length of elastic in the indentation on the mitten. You will need to stretch the elastic to fit the width of the mitten, this will cause the mitten to fit better.
NOTE
We are only doing this on the exterior pieces. I did this step of the free mitten pattern after I sewed the two halves together and doing it before is a lot easier!
The lining doesn’t have elastic to make a “buffer” against it and make the mitten more comfortable.
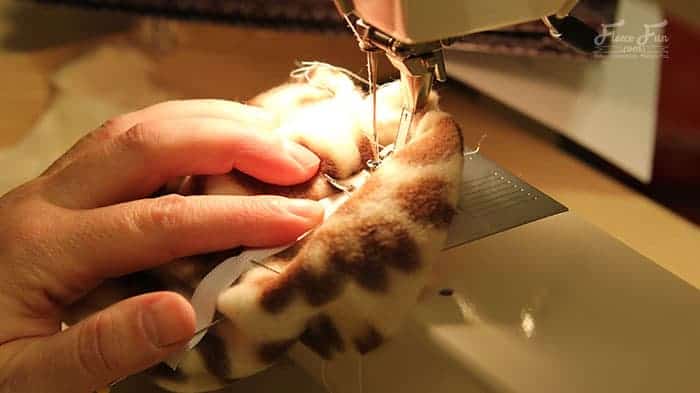
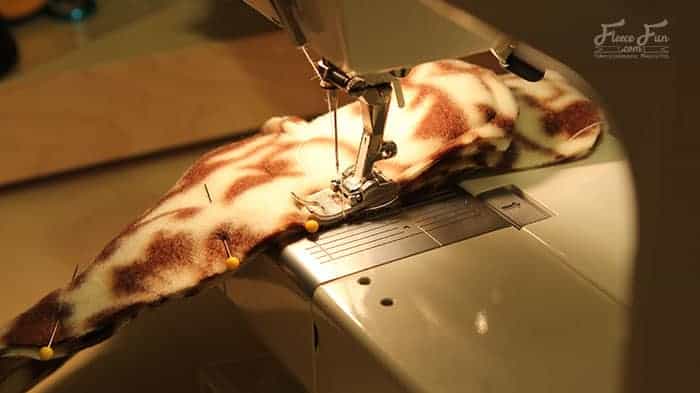
Step 4 – Sew the Front and Back of the Mitten Together
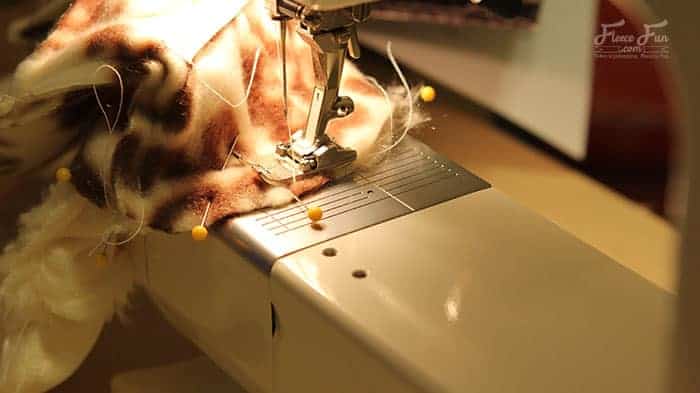
Match up all your mittens and pin the front to the back , with right sides together. Sew all the way around using a .5 inch seam allowance.
NOTE
There is a trick then it comes to sewing around the thumb. Sew from the bottom until you get to the base of the thumb ( with the thumb flipped up) finish the seam.
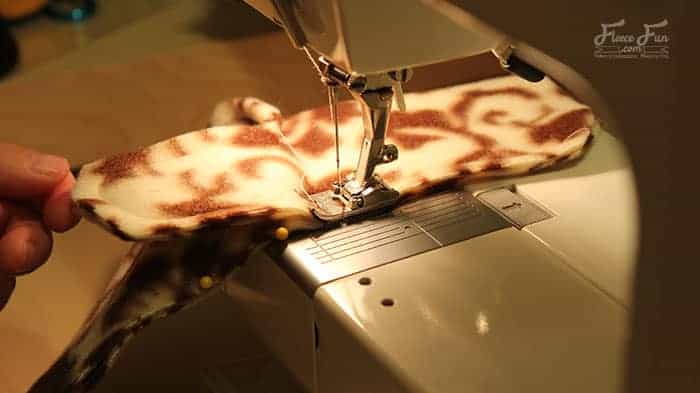
Then flip the thumb so it’s toward the bottom of the glove and begin the seam again.
This will make the seam cleaner and you won’t catch the thumb in the seam. Repeat 3 more times with the other exterior and glove linings.
NOTE
Again, you can slightly vary the size of the mitten for a better fit by changing the seam allowance to .25 of an inch.
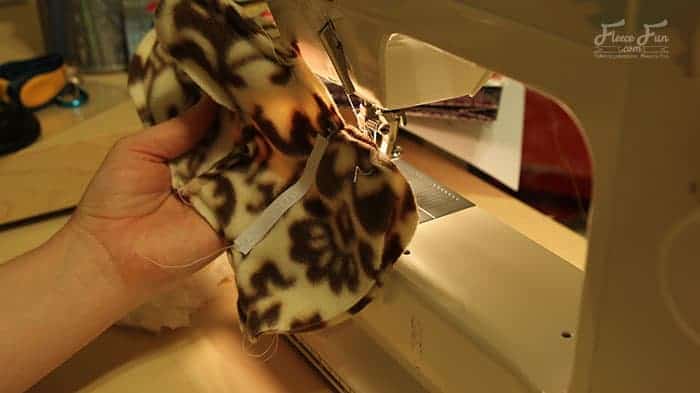
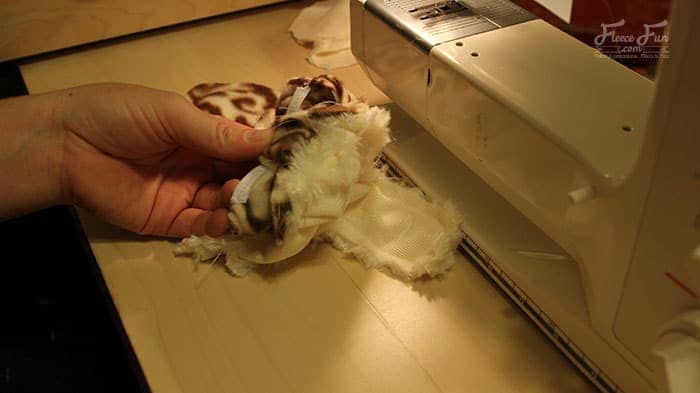
Step 5 – Bring the lining and the exterior of the mitten pattern together.
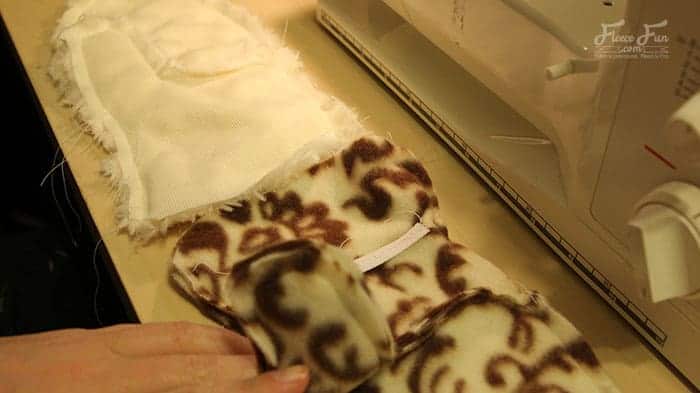
Trim the and snip the curves at the thumb so the mitten will lay nicely With the exterior and the lining of the mitten inside out, pin the bottom right sides together making sure that is a 1.5 – 2 inch gap for turning. Sew together using a .5 inch seam allowance – leaving the gap for turning in the free mitten pattern.
NOTE
Make sure that the thumbs are on the same side ( in the picture both of the thumbs are on the left) this is important! You don’t want a left inside a right!
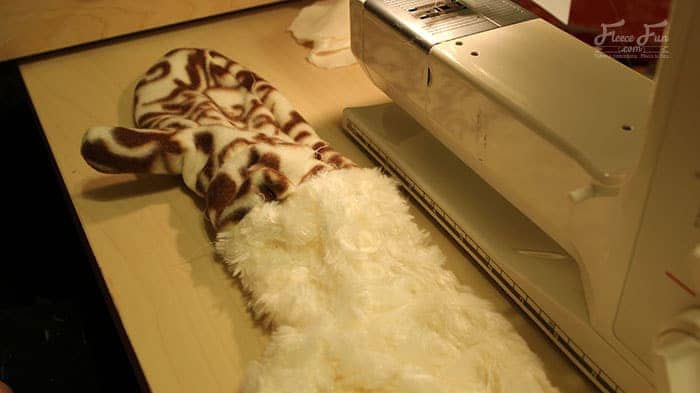
Step 6 – Finish Sewing Your Winter Mittens
Turn the mitten right side out. Then “stuff” the lining back into the mitten exterior. Hand sew the turning gap shut, trim thread and you’re finished with the free mitten pattern for fleece!
Download Your Free Mitten Pattern Below:
You can get a free copy of Adobe reader here– it is the ONLY reader I recommend. By filling out the form and downloading you are agreeing to pattern terms of use. Can’t see the form? Try here.

More Fleece Sewing Projects:
- Hooded Fleece Blanket
- Women’s Fleece Vest
- Scraper Mitts
- Bow Ear Warmer Headband
- Headband with Ear Flaps
- Fleece Scarf with Pockets
- Red Riding Hood Cape
- Washable Duster
- Easy Fleece Blanket
- Quick Sew Hobo
- Child’s Fleece Robe
- Child’s Fleece Pants
- Fleece Vest Tummies and Tails
- Fleece Vest Monster Legs
- Children’s Boutique Style Pants
- Fleece Ribbon Throw
- Fast Fleece Tie
More Fleece Projects!
- Basic Hat with Horns
- Basic Hat with Bear Ears
- Fleece Unicorn Hat
- Fleece Frog Hat
- Simple Fleece Slouchy Beanie
- Basic Hat with Ribbon
- Fun Facts about Fleece
Is there a link to the adult size pattern? I saw two child smalls and a child medium. Thanks! By the way, great pattern!
Amy
I’d love to make the adult ones – is there a pattern available? Love your site!
Thanks!
Denise
Diane,
Coming this Monday – wanted to tweak the pattern to make it perfect!
This is a really good idea, but can you make a video so then i can see it step by step. Thank you for the great pattern.
Hi Nicole,
A video is on the docket, but I confess I have several that I need to finish editing before I get to this one.
the size childs large mitten pattern is listed as the medium do you have the childs large
Anxiously awaiting the adult sized mitten patterns!
Making these today. I’m SO excited!
tried to “cheat” and just attached the elastic to one side and also just attached to the seams… its not as cute nor as snug around the wrist I dont advise. Guess I’ll have to make another pair! 😉
Thanks so much for these patterns. I would also like the adult mitten pattern. Thanks again!!!
thanks so much for your generosity, these are GREAT lined mittens …. love them !
Thank you for the early Christmas gift. My fleece stash will be
much smaller by Christmas now thanks to you! You are sew kind
to care sew much.
Lisa
Awesome!!
Going to make these NOW!!
*Thank you*, SO much!!
Pat T.
in mitten-country Michigan
I made the child’s small for my 3 year old yesterday and found that they run long and narrow. I had to use less than the 0.5″ allowance on the thumb because that made the thumb too skinny (I had to redo that part). I should’ve used less than 0.5″ allowance on the body too because they are narrow. Just letting you know – otherwise the pattern was super cute and fairly easy to make!
I agree I was not sure if my 3 and 5 year old should be a small or medium, I made both and the thumb was too small and it was with .25 seam….I used a thick liner which did not help. I will remake them with a large or modify so that the glove is fatter and the thumb are fatter since the length is ok.
Thank you! I made the men’s large pair today to adapt & make buggy mitts! Worked a treat!
I should add that I didn’t do the half inch seam allowance, I only did half a centimetre. This worked out just right.
Thank you! I’ve made three pair in the past week or so 🙂 love them!
Just made a pair of fleece mittens with a flannel liner. Repurposed a thrift store flannel sheet that was plaid with a snowflake pattern. Turned out great! Can’t wait to take a walk outside now in the cold Minnesota winter and try them out. Thanks for this pattern that you shared. Wonderful to have all the different sizes too. It will be fun to try many different combinations and make lots to give to family, friends, and charities.
Is there going to be a pattern for adults, specifically women? I would love to make a pair of these for this winter!
Sorry…..just got the adult patterns to print…they are there and I’m anxious to get sewing. Thank you so much fo rthe pattern!
I am having trouble seeing how the pieces are sewn together.
I need more detail. What steps specifically are you having trouble with?
Would an old wool coat work for the outside part of the mitten? It’s fairly thin.
Yes that would work fine! Good thinking. =)
How would you make the mitten have 2 fingers? (a bit like and alien hand) because I am making a basic monster costume.
Hi Sienna,
What I would do is print up another pattern, cut off the thumb and past it to a complete mitten pattern to make it have 3 fingers.
– Angel
wouldn’t you have to flip one set over..I’m thinking it would make two right hands?
Since it’s cut on folded fabric you get 1 that right and a mirror image that is left.
– Angel
forgot to ask…do your have a pattern for the less than 2 yr old child? My grandchild is just old enough that she will want thumbs in her mittens this winter, yet not old enough for these patterns. Thanks…I enjoyed your site.
I’m sorry I don’t at this time… but that’s a really good idea!
Would love to see a video tutorial for these mittens, I hope you’ll make one. Thank you
I teach a grade 10 fashion class. The current project is to make a hoodie, and as these things go, some of my students are finished while others have barely started.
May I have permission to make copies of this pattern to give to my students? They’ve requested a small project that would use their scraps of leftover fleece… And this looks fun!.
Thanks,
Kim Gillard, Lacombe Composite High School, Alberta Canada
Hi, I teach a grade 10 Fashion course in Lacombe, Alberta. Some of my students are well ahead of their classmates, and would very much like to make mittens with their leftover fleece from their hoodies. May I have permission to print a class set of your pattern? (18 copies).
Thanks,
Kim Gillard
Lacombe Composite HS
Yes! You are welcome to make copies for your students. 🙂
Thanks! My kids are enjoying these, and finding the directions really user-friendly.
I want to make mittens and hats for the children at the Winabego Indian reservation but I don’t have any children to measure for wrist and head size. Could you help me out?
ok. i have looked at your patterns, which are all adorable, but i cannot print any. has anybody else approached your with this problem? i know ppl had issues opening your patterns, this is not the case with me. however printing does’t work at all. i can print other documents of different applications and websites, just not your patterns. argh. a bit frustrated since i would love to get started and sew two sets for my twin boys. thanks for your help.
I think this is a browser issue. Have you tried loadingit in another browser ( like Google chrome)?
The instructions say use a .5 inch seam allowance. Is that correct? Seems like the thumb would be too small even for my 18 month old. Especially with a double layer.
I’ve used a .5 inch a and .25 inch seam allowance on this pattern. It’s a matter of preference. If you think the mitten won’t work, then use a .25 inch seam allowance ( with mittens it’s better to have too much room, than too little) I will make a note of this in the instructions. Thanks!
– Angel
Would these mittens work to be reversible? I’d like to do two different patterns of fleece and make reversible mittens.
Please let me know if theres any alterations i could make to make this work.
thanks!
Hi Jenean,
I think I answered your question on the Facebook page, but for anyone else who might be wondering:
You can make the pattern reversible, the only modification would be to put elastic on both the lining and the outer mitten.
– Angel
Re: Other reader’s comment about sewing for people whose hands you can’t measure.
* First of all, thank you SO much Angel, for this generous and intelligent project. It has made a difference for me! I can make great gifts for so little now!
* Second, I’d like to pass on how I managed to make this pattern without the hand and wrist of the one I am sewing for, (after measuring a few wrists to get a ballpark idea of size…)
* I made the inner and outer mittens with different seam allowances so that the inner mitten turns out slightly smaller (e.g. larger seam allowance; I was not consistent but still it helped to do this on the inner side of the mitten, from the tip of the thumb to the inner wrist).
* The lining affects fit so much. So, to allow the wearer the choice of lining the mitten or not (we live in a relatively warm coastal city)… I never connected the inner and outer mittens. I finished them off separately so that I still have 4 mittens: two that are smaller and lack elastic. I turned the inner mitten’s wrist edge up more than the outer mitten’s edge to hide the lining a bit. This way, if the mitten is too tight, the wearer can still use it unlined, or line it with a $5 cotton mini-glove. If my mitten is too loose, then they can still wear the liner with a bit of elastic tacked and hand-stitched onto the inside (not fun to add, but easier than restitching the whole mitt).
* Still, if fit is not an issue, I prefer using both layers of mitten together as shown by Angel, which incredibly warm and comfortable. I also expect that connecting the two layers of mitten would add warmth by trapping air between the two layers more effectively. So, if we find that my lined mitten does fit well, I’ll hand-stitch the two layers together.
Thanks again! You are an angel!
Mitch,
Thank you so much for the information – I really appreciate your input!
– Angel
Love your patterns with so many diff sizes….thank you so much. I was wondering if you think it would be ok to use this same pattern using old sweaters..wool ? If not do you have a pattern for those? Thank you again and happy holidys!!!!
You could use and old sweater, but you will need to ?finish off the sweater seams with something ( like fray check) so it won’t unravel.
I was thinking the wool sweaters that you wash and they shrink and get tightly woven. Have seen instructions on these mittens too but i love you patterns and directions. So very clear . Thank you agian for all your hard work and shating it. 🙂 happy holidays -Kathy
Hey! i was so excited to find your tutorial and pattern. I need to make mittens for myself and my daughter but I downloaded the patterns and it says that their are errors and they won’t open. I would really love to use these patterns, but I might have to resort to tracing our hands if these don’t work!
Try using a different internet browser or dumping your cache. The files are there and working properly. =)
Thank you so much! So excited to find your free patterns! I am going to make them for the homeless people in our area. They look like they would be very warm if I line them with a fake fur. Also going to make scarves and hats for them. Bless you!
I made up the child medium and adult mens and like the pattern. I did make some changes and recommendations for the pattern. Check out my blog post on it: http://arianabauer.blogspot.com/2014/01/emergency-project-cold-weather_7.html
Thanks so much! This is just what I needed!
So it is January and the weather is relentlessly cold. My granddaughter lost and grew out of all her mittens and the stores (5 of them yesterday) have none. So I cut out a pattern I made. Well, my granddaughter now has a lovely set of oven mitts! Your pattern it turns out was much better. Nice job and Thanks!
Hello, and Greetings from the UK
Thank you for the pattern which I will most definitely try. However, is it possible to make these mittens with another layer of fleece for the lining and also with sherpa fleece because I can’t find cuddle fleece.
Lovely site. Bookmarked.
With blessings.
Cee Jay.
Hello Cee Jay in the UK ( would love to visit you by the way!)
I confess I haven’t worked with sherpa fleece ( I have some just have gotten to playing with it yet). It depends on the thickness. So I am sorry I cannot definitively answer your question. 🙁
I hope you’ll find the fabric you need.
– Angel
I really like your “mistake”. That is actually so helpful, because it is the sort of thing I do all the time, and your tutorial is gave us a “heads up”. So, do not take the so called mistake part out of your tutorial. It really is helpful so I can avoid doing the same thing. I am planning to make these for my 96 year old mother whose hands are cold all the time. I want to make some for indoor use, without the lining. Should I use a childs large instead of the women’s?
If her hands are tiny I would use a child size. =)
I just made the mittens, and I need to tweak them, 1/4 inch seam is better for me than 1/2 inch. This pattern is easier to use than the one I bought from Simplicity. So, thank you!!! Your video is great.
I just made the lining part for a pair of mittens my grandmother knitted. I used a half inch seam which made the thumb a little bit on the narrow side, but it fit inside the knitted mittens perfectly. I folded over the edge and hand sewed it inside the cuff. The pattern was super easy to follow and I plan to make a bunch more since my grandma made mittens for all 7 (adult) granddaughters and her 4 daughters.
I LOVE this tutorial! I know I’m late to the party, but just came acosrs this and can’t wait to try it. I’m TOTALLY not understanding the corners. I’ve read and read and read it over and over, and it’s not coming to me. Can you maybe help me out? These are just adorable!
Help me understand your question – what corners? 😉
Hello,
I’ve been on a search for store purchased mittens that actually work. No luck so far. These mittens look great. I’m going to layer mine with a few more things: Wool Sweater (exterior), Baby Diaper Pants Material (waterproofing), Oven Mitten Material (insulation), Fleece/Flannel (liner). I tried a prototype last night. Didn’t work so well due to space reduction…and talent…or lack thereof the sewer. Will try again tonight. I’ll get there. Very exciting!
DG
My 97 year old mother needs mittens, lots of them, even though we live in San Francisco. Her fingers don’t work and her hands are cold, and the caregivers put various creams on her hands for her arthritis. So the mittens are needed all the time. Your pattern is wonderful, but I had to stop with my mitten project for her because my own hand stopped working due to really bad thumb tendonitis. I want to tell people there is a a wonderful person on Etsy who makes mittens, and I needed very thin ones and she made them special for me. It was worth it to have her sew them for me. If anyone wants to know her website, just let me know. Carol
Angel, Thank you so much for the mitten pattern. I had just a little problem (child’s small) getting those curves on the thumb sections to match up. Is there a reason why this seam is curved at the outside (away from the thumb)? It would be a lot easier to sew if it was straight across. Also, if you sew just the first section of the top and bottom together (below the thumb as in your tip) before you apply the elastic, you can put in the elastic in one piece instead or 2 small ones. Stretching across the opened seam allowances. I agree with most of the posters that a 1/4″ SA works better – easier to get around the curves too!
I subsequently found that I had printed the pdf without unchecking the “fit to page”. Just about 1/4″ difference!
Just made the fleeced lined mittens and love them. With wind chill temps of 35 below these will come in handy! Thanks for the pattern!
Great patterns – have made several pairs of mittens for kids in our public schools. Thanks Carol
I’ve tried getting the mittens patterns and the pattern envelope just takes me to holiday projects. Help! Would love to make these to take to one of our local missions.
The links are under the “download” at the end of the post in plain text. They are all working.
I love these mittens! I have made them as gifts for many friends – they all love them, too! I even get friends of friends ordering them from me. I use a heavy fleece for the outside and MICRO FLEECE (think baby clothes) for the inside – works great. Nice and warm! I’ve also used old men’s sweaters for the back of the hand and fleece for the palm. Men like this style a lot! The mittens are great for people that like to walk outside in the winter, especially dog walkers. You can hardly find mittens to buy anymore.
Thanks so much for the best pattern on the internet!
Awesome tutorial! Thank you so much.
My adult son is brain injured and paralyzed in his hands. He asked for mittens because he could not open his hand for gloves. In addition, he could not pull them on. So I put a zipper in the mittens. Trial and error, I put the wide tooth zipper on the thumb side of the mitten. Works great! I would love to post a picture for other persons needing adaptive mittens.
Just finished your fleece vest. Like it. Now I would like to make something simple for my girlfriend, with material I have left over. I have quite a bit.
By the way, aty thit this point in your program the screen is jumping, and has been for quite some time. Challenging to say the least.
Excellent instructions.
thank you for the mitten pattern. im a FCS teacher and we can’t wait to make them is class.
Wonderful pattern — love how you make it seem easy.
Thank you for this pattern and I especially appreciate the video tutorial, which I watched several times. I did make a misjudgement though when I made the adult woman mittens… Measure and be sure! Apparently I am above average with a size 8 hand and am actually considered a large woman!! I did cut my mittens too small, but adjusted the seam allowance to the edge of the fabric. I can use these mittens in certain circumstances, but I will make myself a new pair in the larger size. Thanks again for providing these patterns and video!
Can’t wait to make the mittens
Thank you! I like how the thumb is sewn in, much better than other patterns.
i am excited to get started with this template
Thank you for this pattern and tutorial. Over the last several years, I have made dozens of these mittens for our seasonal mitten tree (donations go to the local women’s shelter and veterans group). I’ve been able to use scraps from other sewing projects which was a great! All my family also have pairs and still use them. easy to follow and a great pattern to get creative with mix and match pieces. Thanks!