
Back to School Bus Banner SVG Pattern
This content contains affiliate links or sponsored elements, read our Disclosure Policy.
There’s a particular kind of nostalgia that hits the second August rolls around — the smell of new school supplies, the sound of a bus rumbling down the street, that mix of excitement and a tiny bit of sadness that summer’s winding down. I wanted to capture that feeling in something you could actually hang up, something that says “we’re ready for this” without being over the top. That’s how this back to school bus banner came to be.
It’s a felt and vinyl banner featuring a sweet little school bus and bold letters spelling out “Back to School,” and it’s designed to be a genuine annual staple — the kind of decoration you pull out every year right alongside the pencil case shopping. It also happens to make one of the loveliest handmade teacher gifts I’ve come up with in a long time.
The full pattern and SVG files for this one live inside the Maker’s Studio — that’s where I keep all my best stuff. If you’re already a member, you know exactly where to find it. Come join me if you’re not in yet — I’d love to have you.
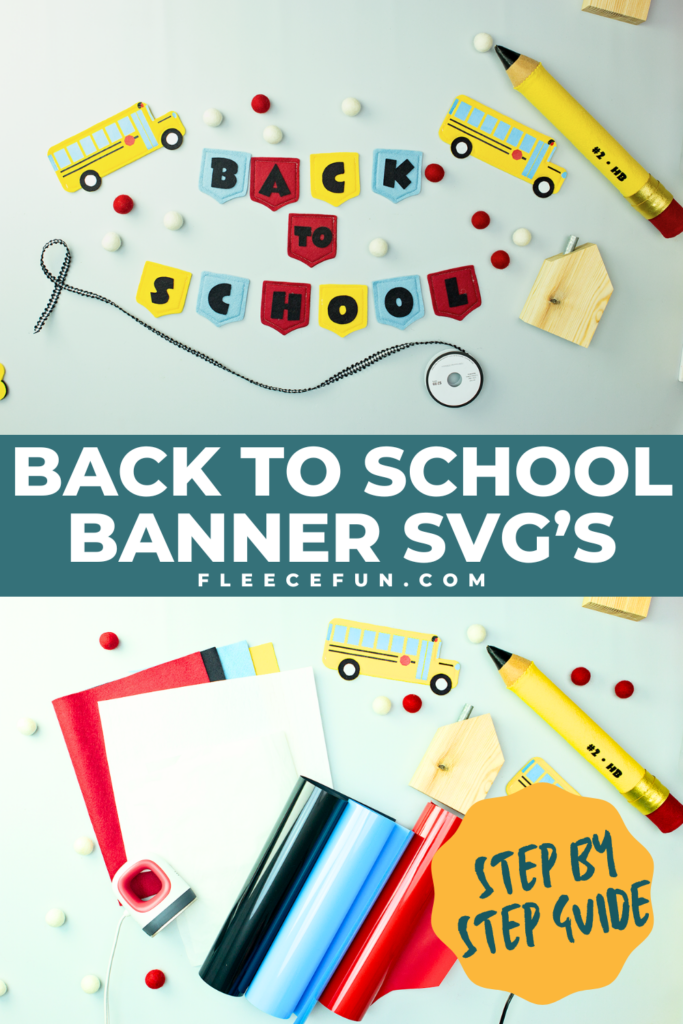
A Banner Worth Bringing Out Every Year
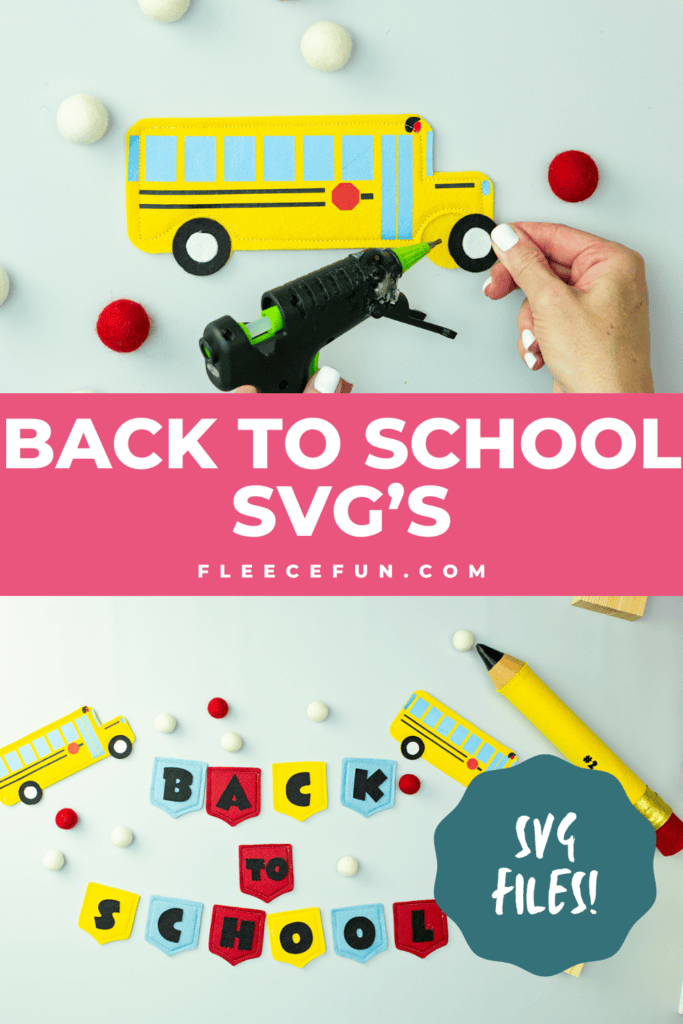
Picture a cheerful yellow felt school bus, complete with black wheels, a red stop sign, and blue windows, all done in crisp iron-on vinyl so the details really pop. String it up alongside felt banner letters spelling out “Back to School” in classic red, yellow, and blue, and you’ve got a decoration that instantly makes a space feel ready for the first day. Hang it over a mantel for a first-day-of-school photo backdrop, drape it across a doorway, or prop it on a shelf where it’ll catch everyone’s eye on their way out the door in the morning.
And because it’s made from felt and quality vinyl rather than paper, this isn’t a one-and-done decoration. It’s sturdy enough to fold up, tuck away in a bin, and bring back out year after year — getting a little more sentimental each time you unpack it.
I think that’s what I love most about a felt decoration over a paper one. Paper banners get tossed at the end of the season without a second thought. A felt one earns a permanent spot in your holiday and seasonal storage, right alongside the ornaments and the Halloween decor — something you genuinely look forward to unpacking again next year.

What You’ll Need
This is a cut-and-craft project that leans on a cutting machine to get those crisp, clean shapes, paired with some simple hand and machine sewing to bring it all together.
What you’ll need:
- Yellow felt (about a 12×17 sheet) plus 12×12 sheets of black, blue, and red felt
- Ultra firm stabilizer/fusible interfacing (about a third of a yard)
- Iron-on heat transfer vinyl in black, red, and blue
- A Cricut or other cutting machine, plus a fabric grip mat and light grip mat
- A small iron and mini ironing mat
- Glue gun and glue sticks
- Sewing machine (optional, depending on your finishing choice)
- Weeding tools and parchment paper for layering vinyl
- The Back to School Banner SVG file from the Maker’s Studio
If felt and iron-on aren’t your preferred materials, this design translates well to cardstock and paper crafting too — it’s really about the shapes and layout, so use whatever medium you love working in most.
I’d also recommend keeping a small bin of school-themed felt scraps on hand once you make this one. Between the bus, the banner letters, and any little extras you might want to add, there’s almost always a leftover piece just the right size for a matching bookmark or a bag tag for a backpack.
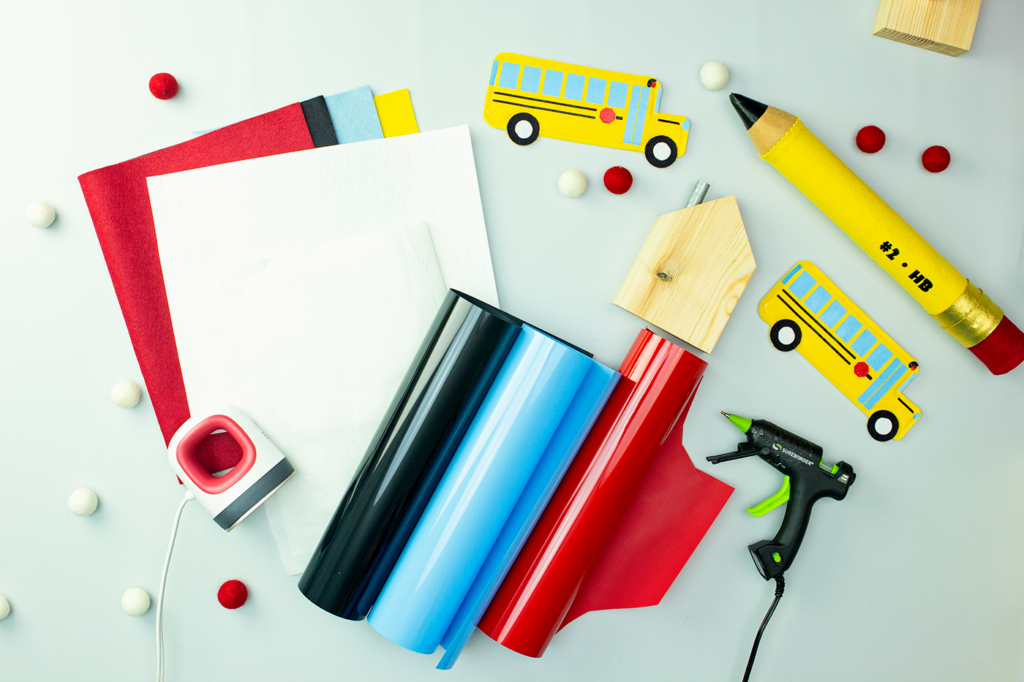
How This Project Comes Together
Step 1: Cut Out Your Pieces
This project starts with a whole lot of cutting — the bus front and back, wheels, circles, hangers, and every single banner piece and letter, layered across yellow, red, blue, and black felt, plus the coordinating vinyl shapes for the windows, stop sign, and headlight. It’s the kind of prep work that feels like a lot up front, but once everything’s cut and sorted into little piles by color, the rest of the project moves quickly and smoothly.
One thing to keep in mind here: when you’re cutting your vinyl, be sure to mirror the image first, just like you would for any iron-on project. It’s an easy step to forget in the middle of a big cutting session, so I always like to call it out early.
For the price of a single pattern you can have access to 100’s of tutorials!
Click below to learn all about the maker’s studio!
Step 2: Add the Vinyl Details to the Bus
This is where the bus really comes to life. The windows, headlight, stop sign, and detail lines all get ironed onto the felt bus front in careful layers, each one covered with parchment paper to protect it from the direct heat of the iron. There’s a specific order that makes this go smoothly — working from the background details forward — and once the last piece is pressed into place, that plain yellow felt shape suddenly reads unmistakably as a school bus.
Step 3: Finish and Assemble the Bus
With the front fully decorated, the piece gets backed with interfacing for structure, then joined with the plain back piece — either glued or topstitched together, whichever finish you prefer. The wheels get their own little assembly with iron-on circles, then get glued into place, and a couple of felt hangers go on the back so the bus is ready to be threaded onto ribbon later.
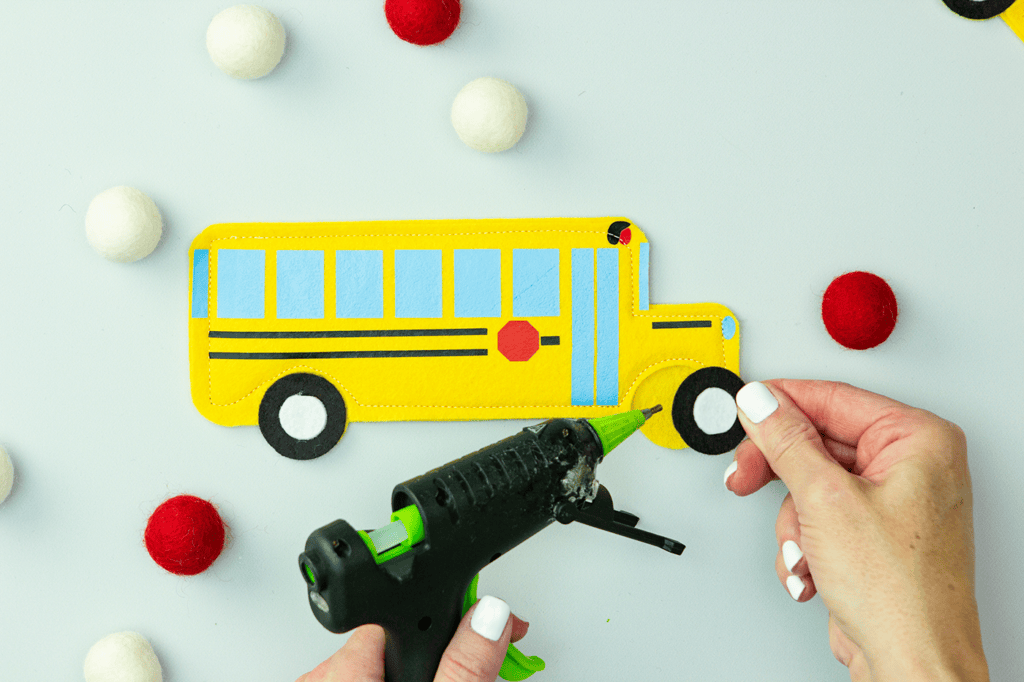
Step 4: Build the Banner Letters
Each letter of “Back to School” gets its own felt banner piece — two layers of felt sandwiching a piece of interfacing for body, topstitched or glued together, with the black felt letter glued right in the center. Watching all those individual letters line up in a row is honestly one of my favorite parts of this whole project — that’s the moment it stops being a pile of felt pieces and starts looking like an actual sentence hanging on your wall.
If you’d rather skip the topstitching altogether, gluing the front and back banner pieces together works just as well and holds up surprisingly sturdy. It’s a nice option if you want to knock this project out in an evening without setting up the sewing machine at all.

Step 5: String It All Together
The final step is all about finishing touches. You’ve got a few options here depending on how you want to hang everything — glue it directly to ribbon, add felt hangers like you did for the bus, or snip small slits in the corners to slide ribbon through. Get your letters in order, thread everything onto your ribbon alongside the bus, and your banner is ready to hang. The bus piece is sturdy enough to stand on its own too, so don’t feel locked into using it only as part of the full banner — it’s lovely tucked into a wreath or perched on a tiered tray all on its own.
Ready to make this? The full Back to School Banner SVG file — with all the pieces and step-by-step instructions — is inside the Maker’s Studio. Come sew with me.
Hate The Ads?
This pattern with video, SVG Files and printable instructions is available in the Makers Studio. The Maker’s Studio is an ad free experience, no video ads, no forms, no zip files, just creating.
A Handmade Gift Teachers Actually Keep
This project has a life beyond just banner decor, and it’s one of my favorite things about it. That little school bus piece, made on its own, is a genuinely sweet teacher gift — something a teacher can prop on their desk or clip to a bulletin board, made with actual care instead of picked up at the last minute from a drugstore shelf. I’ve also seen this design shrunk down for keychains or bag tags, and blown up bigger for a classroom door display. However you use it, it carries that handmade warmth that a store-bought decoration just can’t match.
I’ve also had members make a version of just the bus, mounted on a canvas, as a keepsake gift for a child’s very first day of kindergarten — something to hang in their room long after summer’s over. Attach a little tag with the school year written on it, and it becomes something you can look back on years later, right alongside those first-day photos.

Why I Love Making These Seasonal Pieces
There’s something about a first-day-of-school banner that gets me every single year. Kids grow up so fast, and these little seasonal traditions — the banner, the photo by the door, the first-day outfit — end up being some of the things we remember most clearly later. Making this one myself, cutting each letter and pressing each little vinyl detail into place, made the whole ritual feel even more special. I hope it does the same for you.
I also love that this project bridges two crafting worlds I adore — traditional sewing and cutting machine work. If you’re someone who’s more comfortable with a Cricut than a sewing machine, this is a great project to ease into a little hand or machine sewing, since so much of the construction can lean on gluing if you’d rather skip the stitching altogether.
If you’ve been on the fence about joining the Maker’s Studio, this pattern is a great reason to take the leap. Inside you’ll find the Back to School Banner SVG plus a whole library of other exclusive designs I’ve made just for members — patterns you won’t find anywhere else on the site. I’d love to see what you make with it. Come join me.
