
DIY Sewing Room Décor (Free files)
This content contains affiliate links or sponsored elements, read our Disclosure Policy.
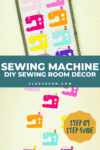
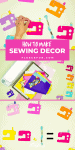
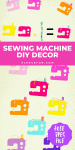
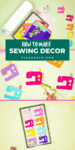
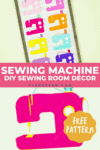

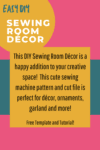
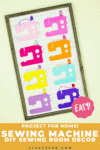

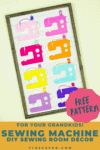
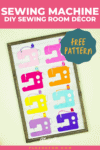
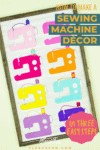
This DIY Sewing Room Décor is a happy addition to your creative space! This cute sewing machine pattern and cut file is perfect for décor, ornaments, garland and more! With a few simple materials you can make this decoration for your sewing studio or a friend! I’m providing you with a PDF plus a JPEG if you want to cut it out using a Cricut.

Are you tired of looking at the same old boring walls in your sewing room? Ready to add a touch of creativity and personality to your space? Look no further! In this blog post, we will show you how to transform your sewing room with an adorable DIY décor project that will have all your friends asking “where did you get that?”. Get ready to unleash your inner designer and breathe new life into your favorite crafting space. Let’s get started on creating a room that inspires both style and productivity!
Hate The Ads?
This pattern with video, SVG Files and printable instructions is available in the Makers Studio. The Maker’s Studio is an ad free experience, no video ads, no forms, no zip files, just creating.
YOU WILL NEED:
- Felt in the colors your desire
- Embroidery floss
- Cardstock
- Glue Gun and Glue sticks
- Wood blank (optional – it’s what I used)
- Cricut Maker
- FabricGrip Mat
- Rotary Blade
- Get the free PDF/JPEG here.

DIY Sewing Room Décor (Free files) Instructions:
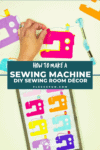
Step 1 – Cut out the Sewing Machine Elements
Gather your materials.
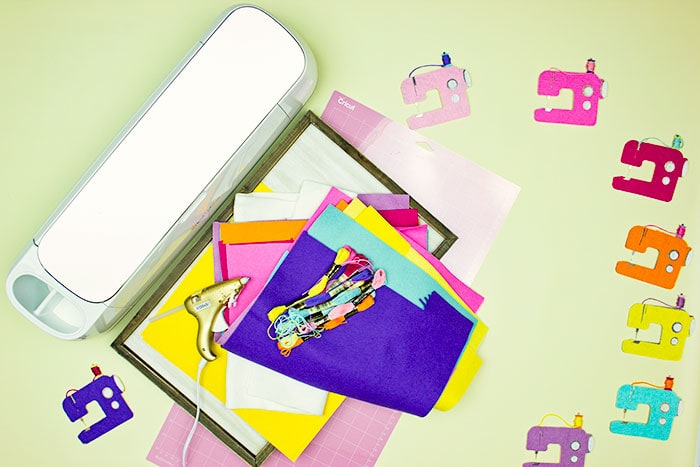
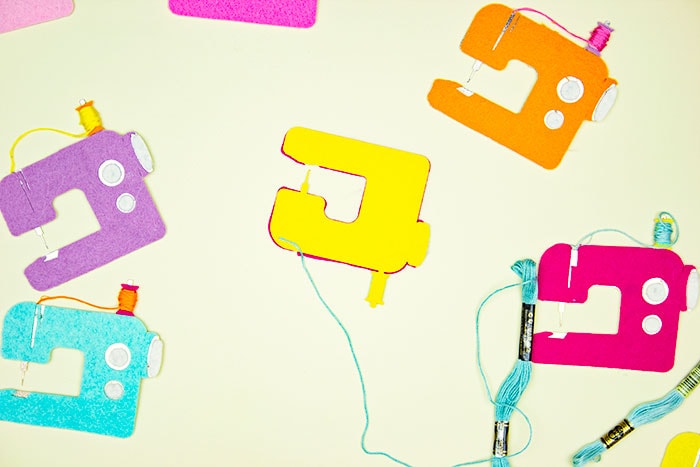
Each sewing machine is made up of a few layers. We need to cut out the elements of each one.
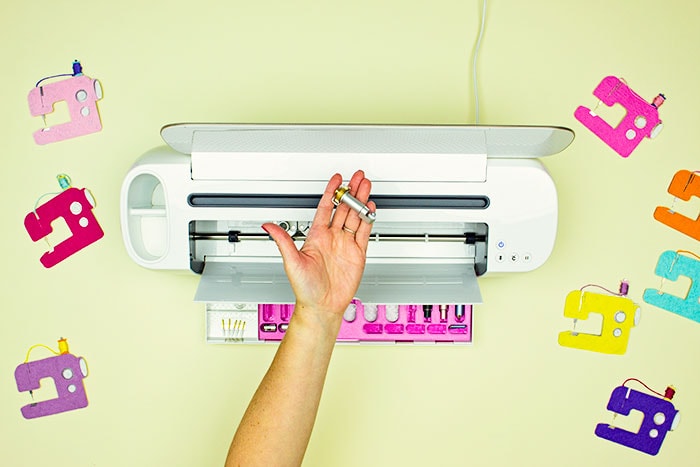
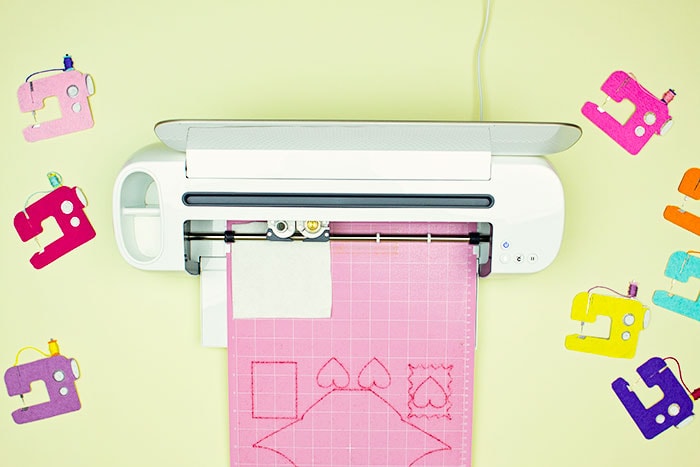
If using a Cricut Maker switch to the rotary blade.
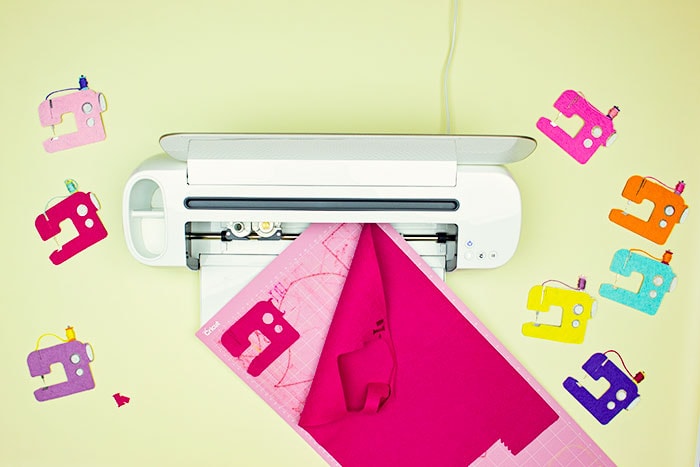
From felt, cut out the machine body, spool and “thread”.
note
I cut several different colors so I could mix and match the elements.
From contrasting color of felt cut out the “knobs” to the sewing machine décor.
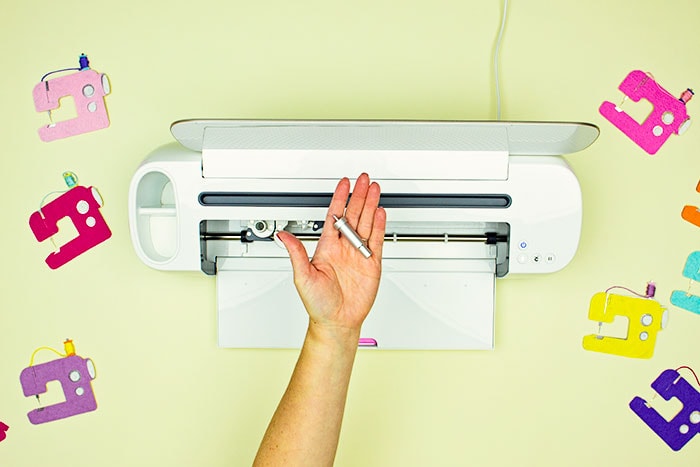
Switch to the fine point blade.
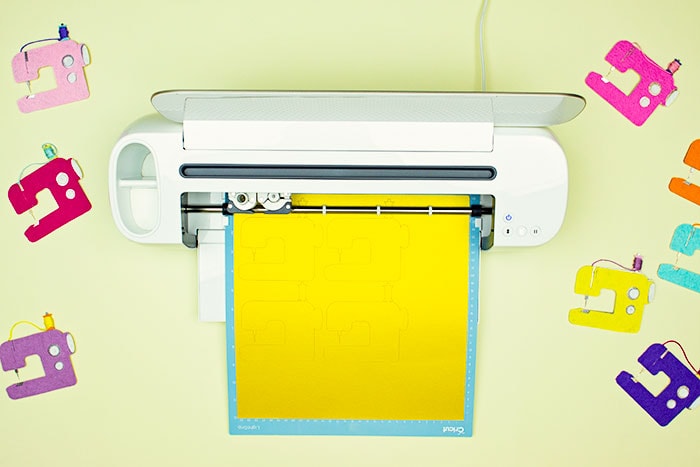
From cardstock cut out the sewing machine base. Now that all of the DIY Sewing Room Décor elements are cut out it’s time to assemble the sewing machine!
Step 2 – Assemble the DIY Sewing Room Décor
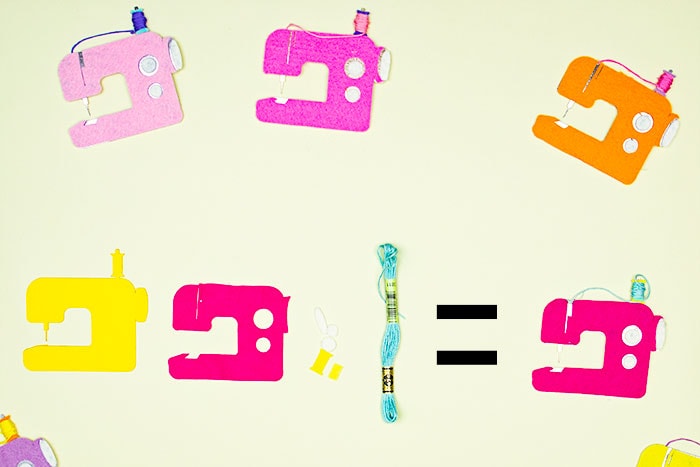
Each machine is made up these elements: Cardstock base, felt machine body, felt knobs, spool, “thread” rectangle, and embroidery floss.
Begin by gluing the felt body to the sewing machine base.
Next glue the knobs into place. Note how there is space around each front knob, and how the side knob has space on the left side.
Now using the base outline as a guide, add the spool, and the “thread” rectangle.
note
The floss should match the color of this square to help it look like a full spool of thread.
Glue one end of the thread to the top of the machine where the tension plates would be. Then wrap the other end around the spool taking care that it’s not too tight so it doesn’t bend or warp the decoration.
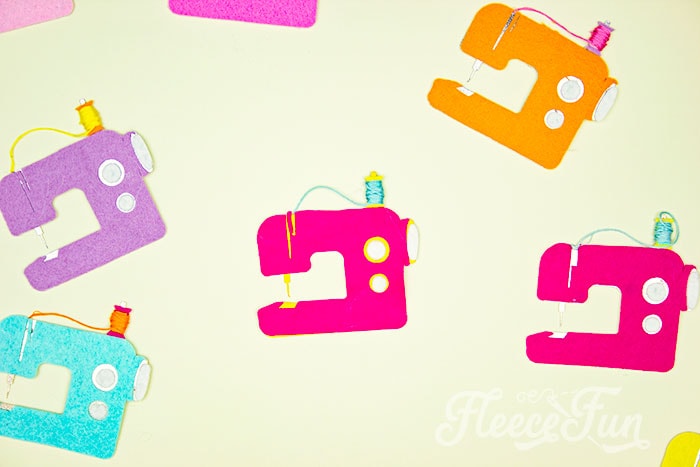
Glue the other end of the embroidery floss to the back of the spool. To complete the Sewing Room décor. At this point it’s ready to be used!
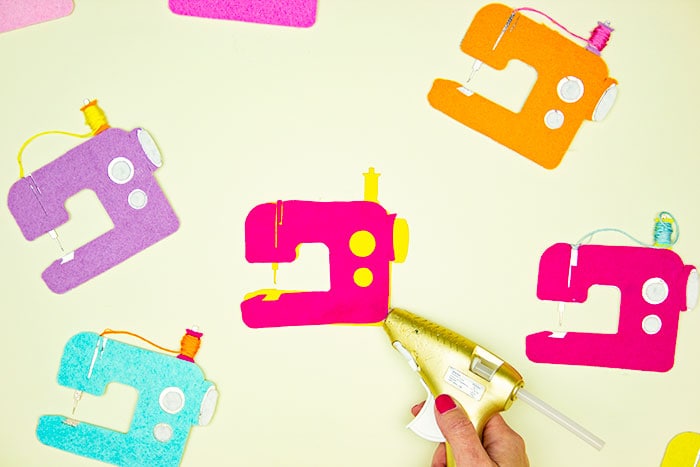
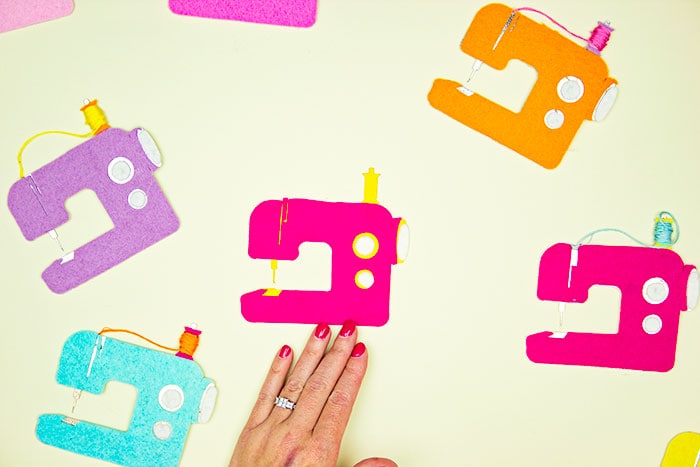
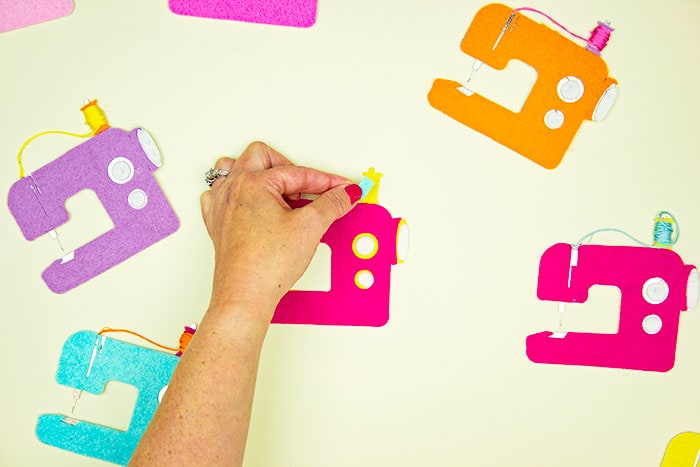
Step 3 – Mount the Sewing Room Décor
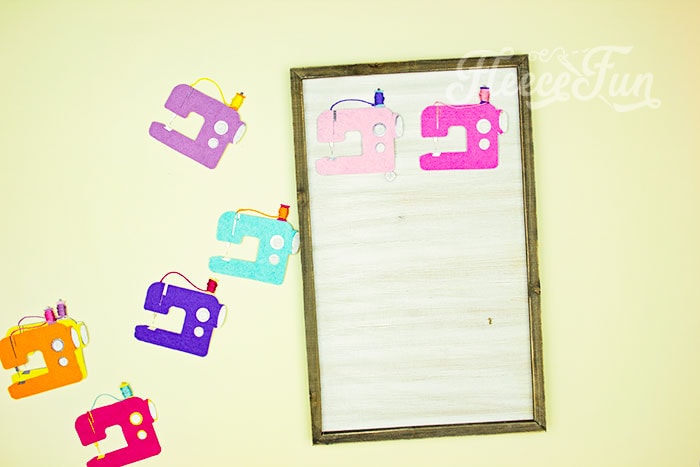
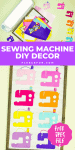
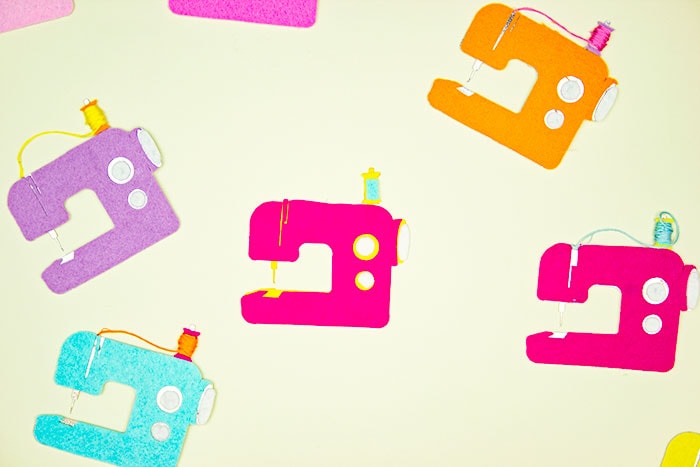
Arrange the completed sewing machines on a wood blank as desired. Glue down.
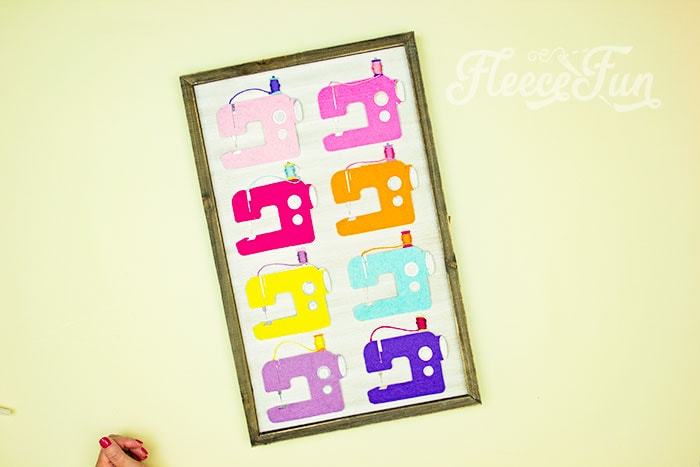
Now your fabulous décor is ready for display in your creative space!
DOWNLOAD THE diy sewing room décor TEMPLATE FILE BELOW:
By downloading you are agreeing to pattern terms of use. Click on the picture and fill out the form to get the PDF/JPEG files. Or click here.

Transform your sewing room into a happy and creative space with this delightful DIY Sewing Room Décor project. By incorporating the charming sewing machine pattern and cut file, you can add a personal touch to your crafting haven.
With just a few materials and some creativity, you can create unique decorations, ornaments, or even a beautiful garland to enhance the ambiance of your sewing room. Let your imagination run wild as you explore different ways to use this versatile pattern in your décor projects.
Remember to follow the step-by-step instructions carefully and utilize the tips provided for a successful DIY experience. Get inspired by other cute sewing-inspired décor ideas to further elevate the style of your craft space.
Embrace this DIY project as an opportunity to infuse love and personality into your sewing room. Create a space that not only inspires creativity but also brings joy every time you sit down at your sewing machine. Happy crafting!

You might like these fun Cricut DIYs for every room!
- DIY Pineapple Décor
- Cute Craft Room Trash Can DIY
- DIY Felt Flower Art
- Valentine Cozy Home Sign DIY
- St. Patrick’s Day Upcycle Book Craft
- Patriotic Pinwheel Wreath DIY
- DIY Disney Savings Jar
- St. Patrick’s Day Ombre Shadow Box
More Cricut Projects!
- Is It Time to Upgrade Your Cricut Machine?
- Luggage Tag DIY with Cricut
- How to Decorate a Notebook
- Tips for Working with Iron-On Mesh
- DIY Tiara (Free Pattern & SVG)
- How to Make a Knight Helmet (Free Template)
- See all of FleeceFun’s Cricut Tutorials!
You might also like:
- How to organize your sewing space (Part 1 of the Makeover series)
- How to choose colors for your sewing studio (Part 2 of the Makeover series)
- Sewing Room Furniture Ideas (Part 3 of the Makeover Series)
- Cute Craft Room Décor Ideas (Part 4 of the Makeover series)
- Craft Room Ideas (Part 5 of the Makeover Series and Final Reveal)