
How to Get Started Cutting a Quilt with Cricut and Riley Blake
This content contains affiliate links or sponsored elements, read our Disclosure Policy.
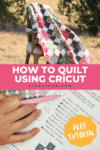
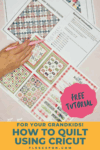
Quilting basics: How to Get Started Cutting a Quilt shows you an easy way to get into the fun world of quilting. With this “quilt by numbers” approach a lot of the guess work and stress is taken out of the equation with this quick start guide to your first quilt. Perfect for beginners.
Cricut sponsored this post and provided compensation, but the opinions are my own. Today I’m sharing part two of my quilting series. I’ve got my fabric kit (the Comfort and Joy courtesy of Riley Blake) and the Pattern “Sew Many Squares” selected from Cricut’s Design space. In the last post I went over how I selected the pattern and prepped the fabric for cutting – you can check out that post here.
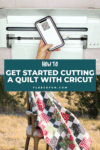
Today I’m ready to cut out all those wonderful squares. Which I am really excited about. I have to tell you that cutting the material correctly for a quilt is my Achilles heel. I start out with perfect squares but as I cut for a while my accuracy goes out the window. My squares start to resemble trapezoids, which is not good for accurate quilting! That’s why I love how I can just load my fabric into the Cricut Maker and it cuts out perfect little squares for me – yay1
How to Get Started Cutting a Quilt:
YOU WILL NEED:
- Cricut Maker with a Rotary blade
- One Riley Blake Fabric Kit
- Quilt batting
- Fabric for the Quilt Backing (see pattern for correct amount)
- Cricut’s Rotary Cutter Ruler and Mat (to make prepping the fabric fast and easy)
- 12 by 24 Fabric Mat (at least two to make it easier)
- Brayer (not necessary but a nice way to make sure the fabric is secure on the mat)
- Quarter inch sewing foot ( not necessary but makes things easier)
- Iron
- Sewing Essentials (scissors, pins, etc.)
- Access to Cricut’s Design Space
- Printed up PDF of the Desired Quilt Pattern
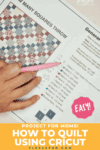
Step 1 – Review your pattern and plan
Make sure that you have the fabrics ready to go in the right order. The mats will coordinate with the colors given in the pattern. In the previous post I showed how I prepped the fabric.
Make sure that you have it cut to the right size and iron out any creases in the fabric.
Start cutting a quilt by laying everything out first—this preparation makes the whole process faster and easier.
I used my Cricut rotary blade, ruler and mat to cut my fabric to the sizes needed. Thanks to the huge size of the ruler that took no time at all!
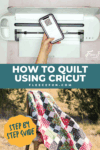
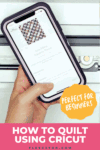
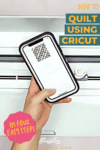
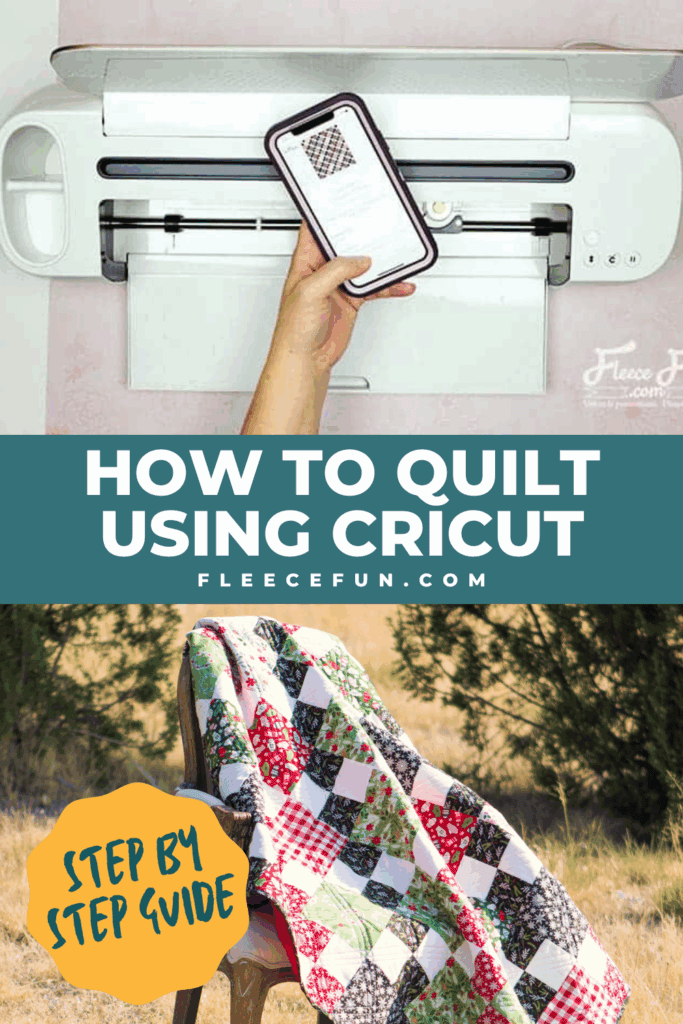
Step 2 – Bring up the Pattern in Cricut Design Space
One of the things that I love about Design space is that it works on my phone and on my desktop. Since I had some other work to do while My maker was cutting items, I opted to use my iPhone. I chose the correct mat and linked my Maker to my phone through Bluetooth. If you’re ready to start cutting a quilt, using Design Space on your phone offers flexibility and convenience.
Step 3 – Prep the fabric on the mat
If you’ve done other projects with a Cricut machine, you’ve probably worked with material that’s a little smaller than the mat. However in this case, to conserve on material (and to simplify the cutting process) the material will be longer than the mat.
To speed up the cutting process I used two mats, so I could prep the next one while the other was cutting. This little trick really helps when you get started cutting a quilt and want to keep the momentum going.
Quick Tip
To get more life out of your mat use the brayer to get the fabric to stick.
You will notice that the mat will have trouble sticking to the fabric faster than other projects, because you are working with the same shapes and the threads will build up quickly. One way to lengthen the life of your mat is to rotate it. Have the hanger hole be the top for one, cutting session and then rotate it to the bottom for the next.
When the squares easily fall off the mat, it’s time to switch out or clean the mat. (See in the picture above how the squares are kind of loose looking?) There are a few different methods to cleaning the fabric mat – there’s one here. I used some lukewarm water, a few drops of dawn and some white wine vinegar. I gently massaged the threads off the mat and then let it air dry overnight.
Step 4 – Stay Organized as You Get Started Cutting a Quilt
While you are cutting your squares keep track of what mat and what fabric you’re cutting. That way if you need to take a break from cutting, you can and then get to the correct mat you need to when you pick up again.
As you cut, lay your blocks out into neat piles to make assembly easier (you don’t want to have to iron all those squares!)
This is a sponsored conversation written by me on behalf of Cricut. The opinions and text are all mine.
ready to get started cutting a quilt with cricut? see More Cricut Crafts & Tips!
- Cricut Maker for Beginners: Easy Party Decor
- Your Top 3 Cricut Maker Questions Answered
- Cricut Maker Cover Tutorial
- 3 Last Minute Gifts with a Cricut Joy
- How to Use JPEGs to Make a T-Shirt in Cricut Design Space
- 25 Personalized Gift Ideas Using Cricut Tools
- How to Get Started Quilting with Cricut
- Is It Time to Upgrade Your Cricut Machine?
- Luggage Tag DIY with Cricut
- How to Decorate a Notebook
here are More Cricut Projects!
- DIY Disney Savings Jar
- St. Patrick’s Day Ombre Shadow Box
- DIY Birthday Crown (Free PDF & SVG)
- Freezer Paper Stencil for T-Shirts Tutorial
- See all of FleeceFun’s Cricut Tutorials!