
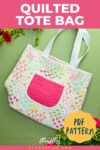
How to Sew a Quilted Tote Bag
This content contains affiliate links or sponsored elements, read our Disclosure Policy.
There is nothing quite like a bag you made yourself. I know that sounds like something you’d put on a needlepoint pillow, but I mean it practically: when you make your own tote, you get exactly what you want — the right size, the right pockets, the right fabric. And when that fabric is beautiful quilted cotton? It just feels a little luxurious in the best everyday way.
This quilted tote came out of my quilted coat project. After cutting all those coat pieces, I had gorgeous leftovers sitting on my table and I could not bring myself to let them go to waste. So I designed this bag as the perfect companion project — and it turned out to be one of my favorite quick sews. It’s sturdy, practical, has pockets (always a win), and sews up so fast that it almost feels like cheating.
The pattern is exclusive to the Maker’s Studio. If you’re already a member, you know right where to find it — and if you’re not yet, come join me. I would love to have you sewing along.
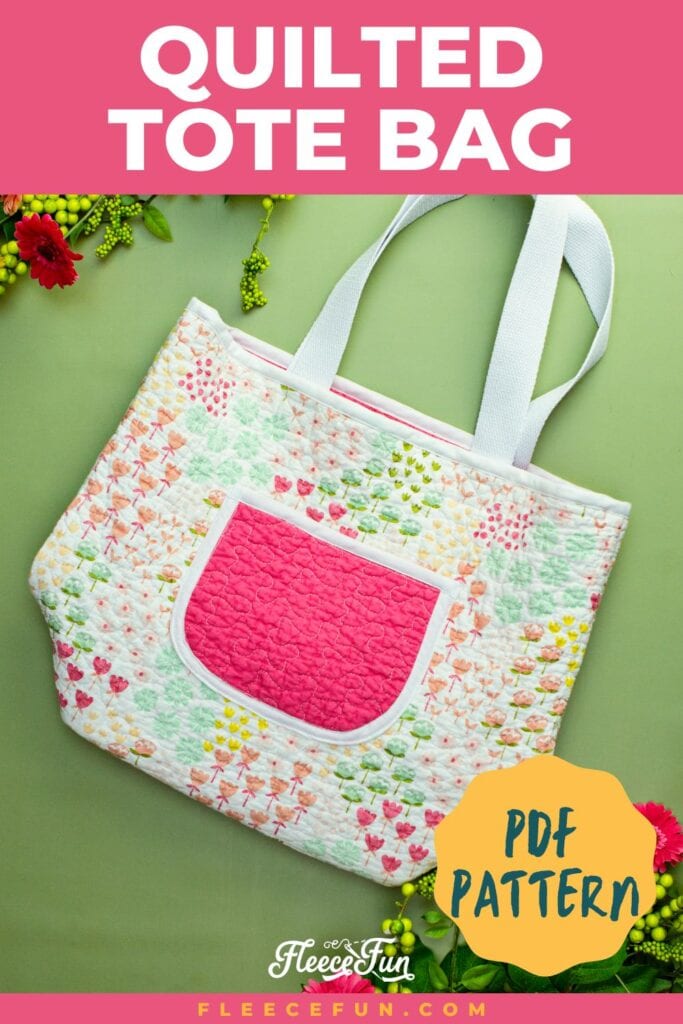
The Finished Tote: Structured, Sturdy, and Seriously Cute
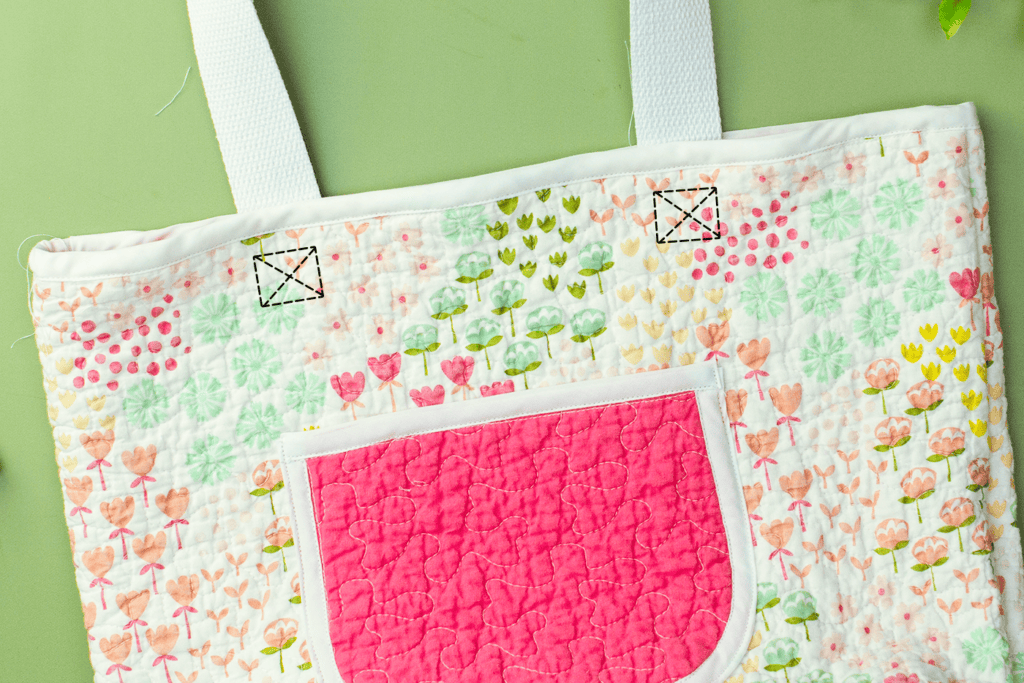
This is not a floppy, shapeless tote. The quilted tote has real structure thanks to a stabilized bottom insert, and it stands up on its own when you set it down — which sounds like a small thing until you’ve spent years dealing with bags that immediately tip over and spill everything. The tote has both an interior pocket and an exterior pocket, finished beautifully with double fold bias tape, plus webbing straps that are sewn on securely enough to handle the daily hauling most of us put our bags through.
Hate The Ads?
This pattern with video and printable instructions is available to members of the Maker’s Studio. The Maker’s Studio is an ad free experience, no video ads, no forms, no zip files, just creating.

The quilted fabric gives the finished bag a really rich, textured look — it catches light differently than a flat cotton would, and the stitching adds visual interest without requiring any extra steps from you. If you’re using leftover fabric from the quilted coat, the matching set is genuinely adorable. If you’re buying yardage specifically for this bag, you only need three quarters of a yard — or just enough leftover pieces — so it’s a very low-commitment fabric investment for a very high-reward result.
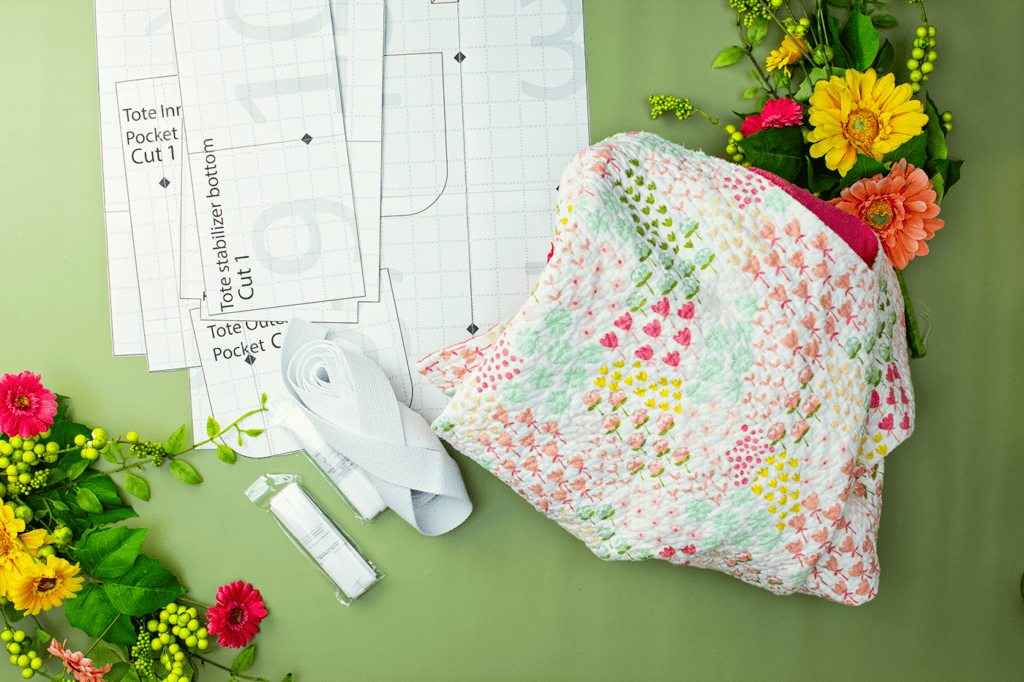
What You’ll Need
- ¾ yard of quilted fabric (or enough leftover pieces from another project to cover the pattern pieces)
- ¼ yard of Pellon Pelfix 71F fusible white interfacing for the bag bottom — or a cardboard strip or scrap of rigid plastic (a Cricut mat works great for this)
- 2 packs of wide double fold bias tape, about 6 yards total
- 1½ yards of cotton or nylon webbing strap
- A quilting needle — it makes sewing through quilted layers so much easier
- Thread and standard sewing essentials
- Craft glue (optional, for the bottom insert)
- The Quilted Bag pattern from the Maker’s Studio
A quick note on the bottom insert: the Pellon fusible interfacing is what I used, but I know not everyone keeps that on hand. The cardboard or rigid plastic option works just as well — and the Cricut mat suggestion is genuinely genius if you have an old or damaged one lying around. It gives the bag bottom exactly the structure it needs without having to buy anything extra.
How This Bag Comes Together
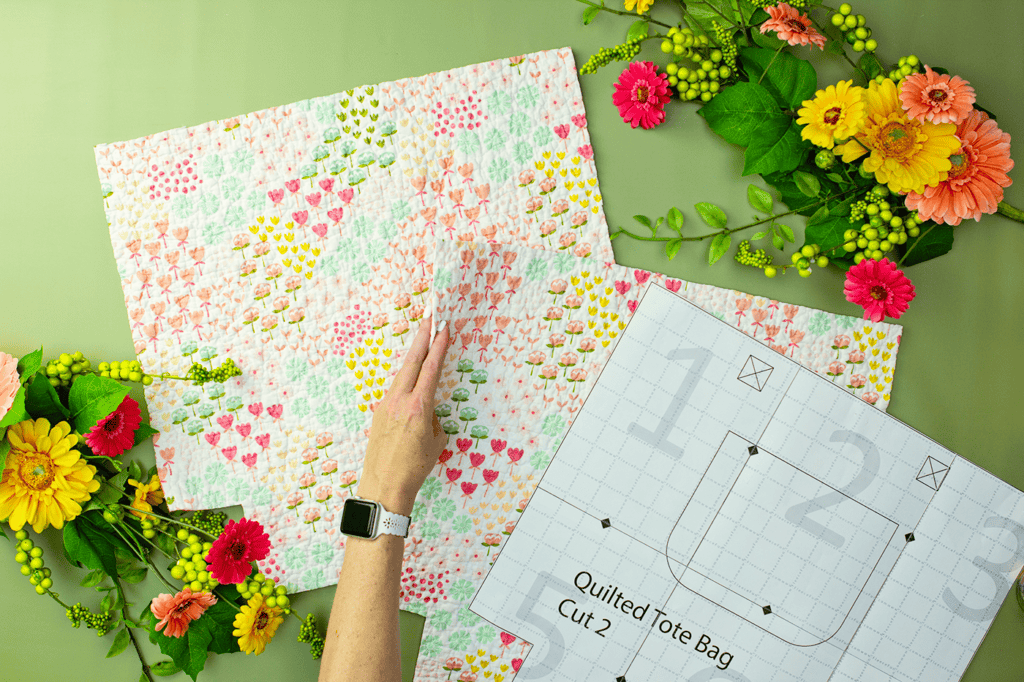
Step 1: Cut Your Pieces
You’ll cut two main tote pieces, one bottom piece, an inner pocket, an outer pocket, a stabilizer bottom piece (traced onto your stabilizer material of choice), and two strap lengths at 25 inches each.
One of the things I love about this project is that the cutting phase is fast. You’re not working with a dozen pieces or tiny fiddly shapes — just a handful of straightforward cuts. If you’re using leftover quilted fabric, this is a great moment to puzzle out your cuts and make the most of what you have.
Step 2: Sew the Pockets
Both pockets — the inner one and the outer one — get their top and side edges finished with double fold bias tape before they’re attached to the bag. This gives a clean, finished look that will hold up beautifully over time.
Once the pockets are finished, you’ll attach the inner pocket to the interior side of one tote piece and the outer pocket to the exterior side of the other. Both are left open at the top so you can actually use them. I love reversing the fabric on one pocket for a little added visual interest — it’s a small detail that makes the inside of the bag feel intentional rather than like an afterthought. You can also sew a line down the center of either pocket to divide it into two sections, which is great for organizing smaller items.
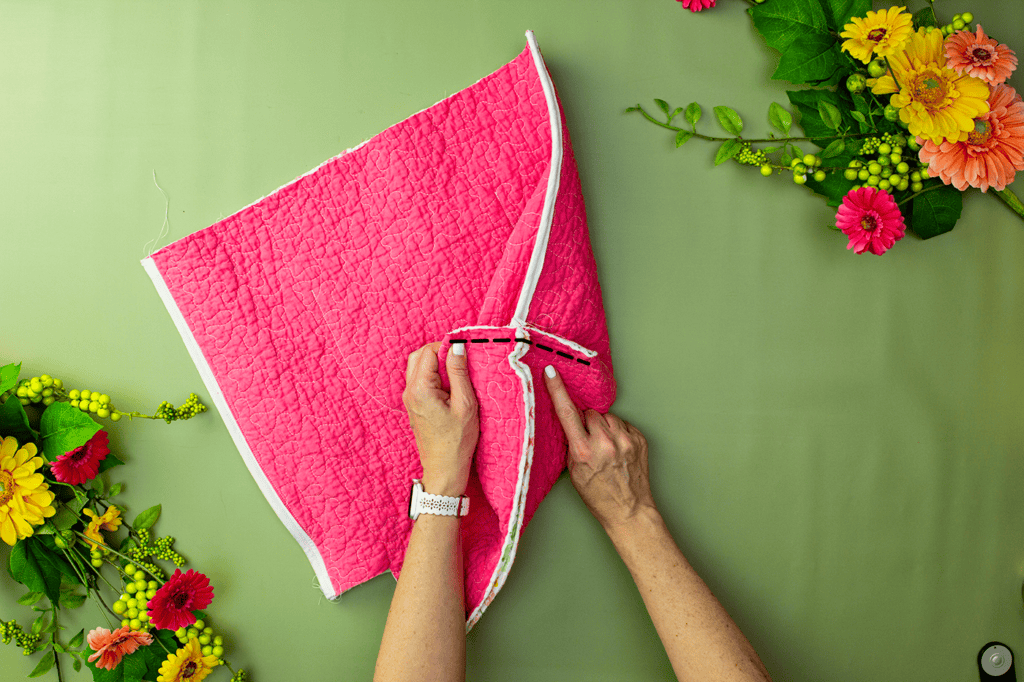
Step 3: Assemble the Tote
With the pockets in place, it’s time to sew the main body of the bag together. You’ll stitch the side seams and the bottom seam, then use double fold bias tape to cover and finish the side seams. This is one of those construction details that makes the interior of the bag look as nice as the exterior.
Then comes one of my favorite sewing moments: the box corners. You’ll pull the inside corners of the bag so the side seam and the bottom seam meet in the center, then sew across. Do that twice — once for each corner — and your flat bag becomes a three-dimensional, structured tote. It’s like a small miracle every time. Finally, the top of the bag gets finished with a run of double fold bias tape all the way around for a tidy, polished edge.
Step 4: Make the Bag Bottom
The structured bottom is what sets this tote apart from a floppy market bag. You’ll add your stabilizer — either ironed-on fusible interfacing or your cardboard/plastic piece glued into place — to the wrong side of the bag bottom piece, then fold up the sides and stitch or glue them down. The finished insert drops right into the bottom of the assembled bag and gives it that wonderful stand-up structure.
This step sounds more complicated than it is. Once you’ve done it, you’ll wonder why more bag patterns don’t include it. A bag that holds its shape just functions better, and this one will do exactly that.
Step 5: Add the Straps
The last step is attaching the straps, and it goes faster than you’d expect. Each strap end gets folded under and sewn down for a clean finish, then the pattern guides you on placement. You’ll pin the straps to one side of the tote, stitch both ends securely, then repeat on the other side.
Use the pattern markings as your placement guide — they’re there specifically to make sure your straps are symmetrical and evenly spaced. Stitched-on straps done this way are genuinely sturdy. This bag is built to be used.
Ready to Sew?
The full Quilted Bag pattern — with all the pieces, a cutting guide, and complete step-by-step instructions — is waiting inside the Maker’s Studio. Come sew with me.
A Perfect Gift (Or a Perfect Treat for Yourself)
This bag makes such a wonderful handmade gift. It’s the kind of thing that feels personal and considered — a beautiful quilted tote is not something most people would buy for themselves, which makes it feel extra special to receive. Pair it with a small bundle of favorite things tucked inside and you have a genuinely lovely gift for a birthday, a hostess present, or a holiday.
It’s also just great for spring. Something about the quilted texture and the structure of this bag feels perfectly seasonal — market trips, farmers’ markets, a day of errands with a bag that actually looks as good as it functions.
And if you want to take the matching set all the way, sewing the quilted coat and the quilted tote together is one of the most satisfying sewing weekends I can imagine. You end up with a coordinated outfit and a bag, and you’ve used every inch of your yardage with intention. Waste nothing. Make beautiful things. That’s kind of what this whole sewing life is about.
For the price of a single pattern you can have access to 100’s of tutorials!
Click below to learn all about the maker’s studio!
The maker’s sTudio
This bag reminded me that the best projects are the ones that do both: they’re enjoyable to make and actually useful when you’re done. I’ve sewn a lot of totes over the years, and this one has genuinely become my go-to. The combination of quilted fabric, structured bottom, real pockets, and sturdy straps makes it feel like a proper bag — one you’d pay good money for in a boutique — made by your own hands.
If you’ve been thinking about joining the Maker’s Studio, the Quilted Bag pattern is a great reason to take that step. Inside you’ll find this pattern plus the full library of other exclusive designs I’ve made for members — patterns you won’t find anywhere else. I’d love to see what you make with it.