Summer Table Topper Quilt Tutorial
This content contains affiliate links or sponsored elements, read our Disclosure Policy.


These directions create a table topper that is 24″ square. You can make this Summer Table Topper Quilt larger by adding more rows.

YOU WILL NEED:
- 1 yard white fabric (quilting cotton)
- 1 fat quarter EACH of red, orange, and yellow. You can also use scraps and do each arrow a different fabric.
- 1 yard backing fabric
- 1/4 yard binding fabric
- 1 yard quilt batting
- Sewing Essentials (pins, scissors, etc.)
Cut the following:
- 18 square in white 3 3/8″
- 16 squares in white 4.5″
- 2 rectangles in white 2″ x 20.5″
- 2 rectangles in white 2″ x 24.5″
- 6 squares in red 3 3/8″
- 6 squares in orange 3 3/8″
- 6 squares in yellow 3 3/8″
- 2.5″ strips for binding
Summer Table Topper Quilt Tutorial
Step 1 – Create Half Square Triangles
Draw a diagonal line on the wrong side of the 3 3/8″ white squares.
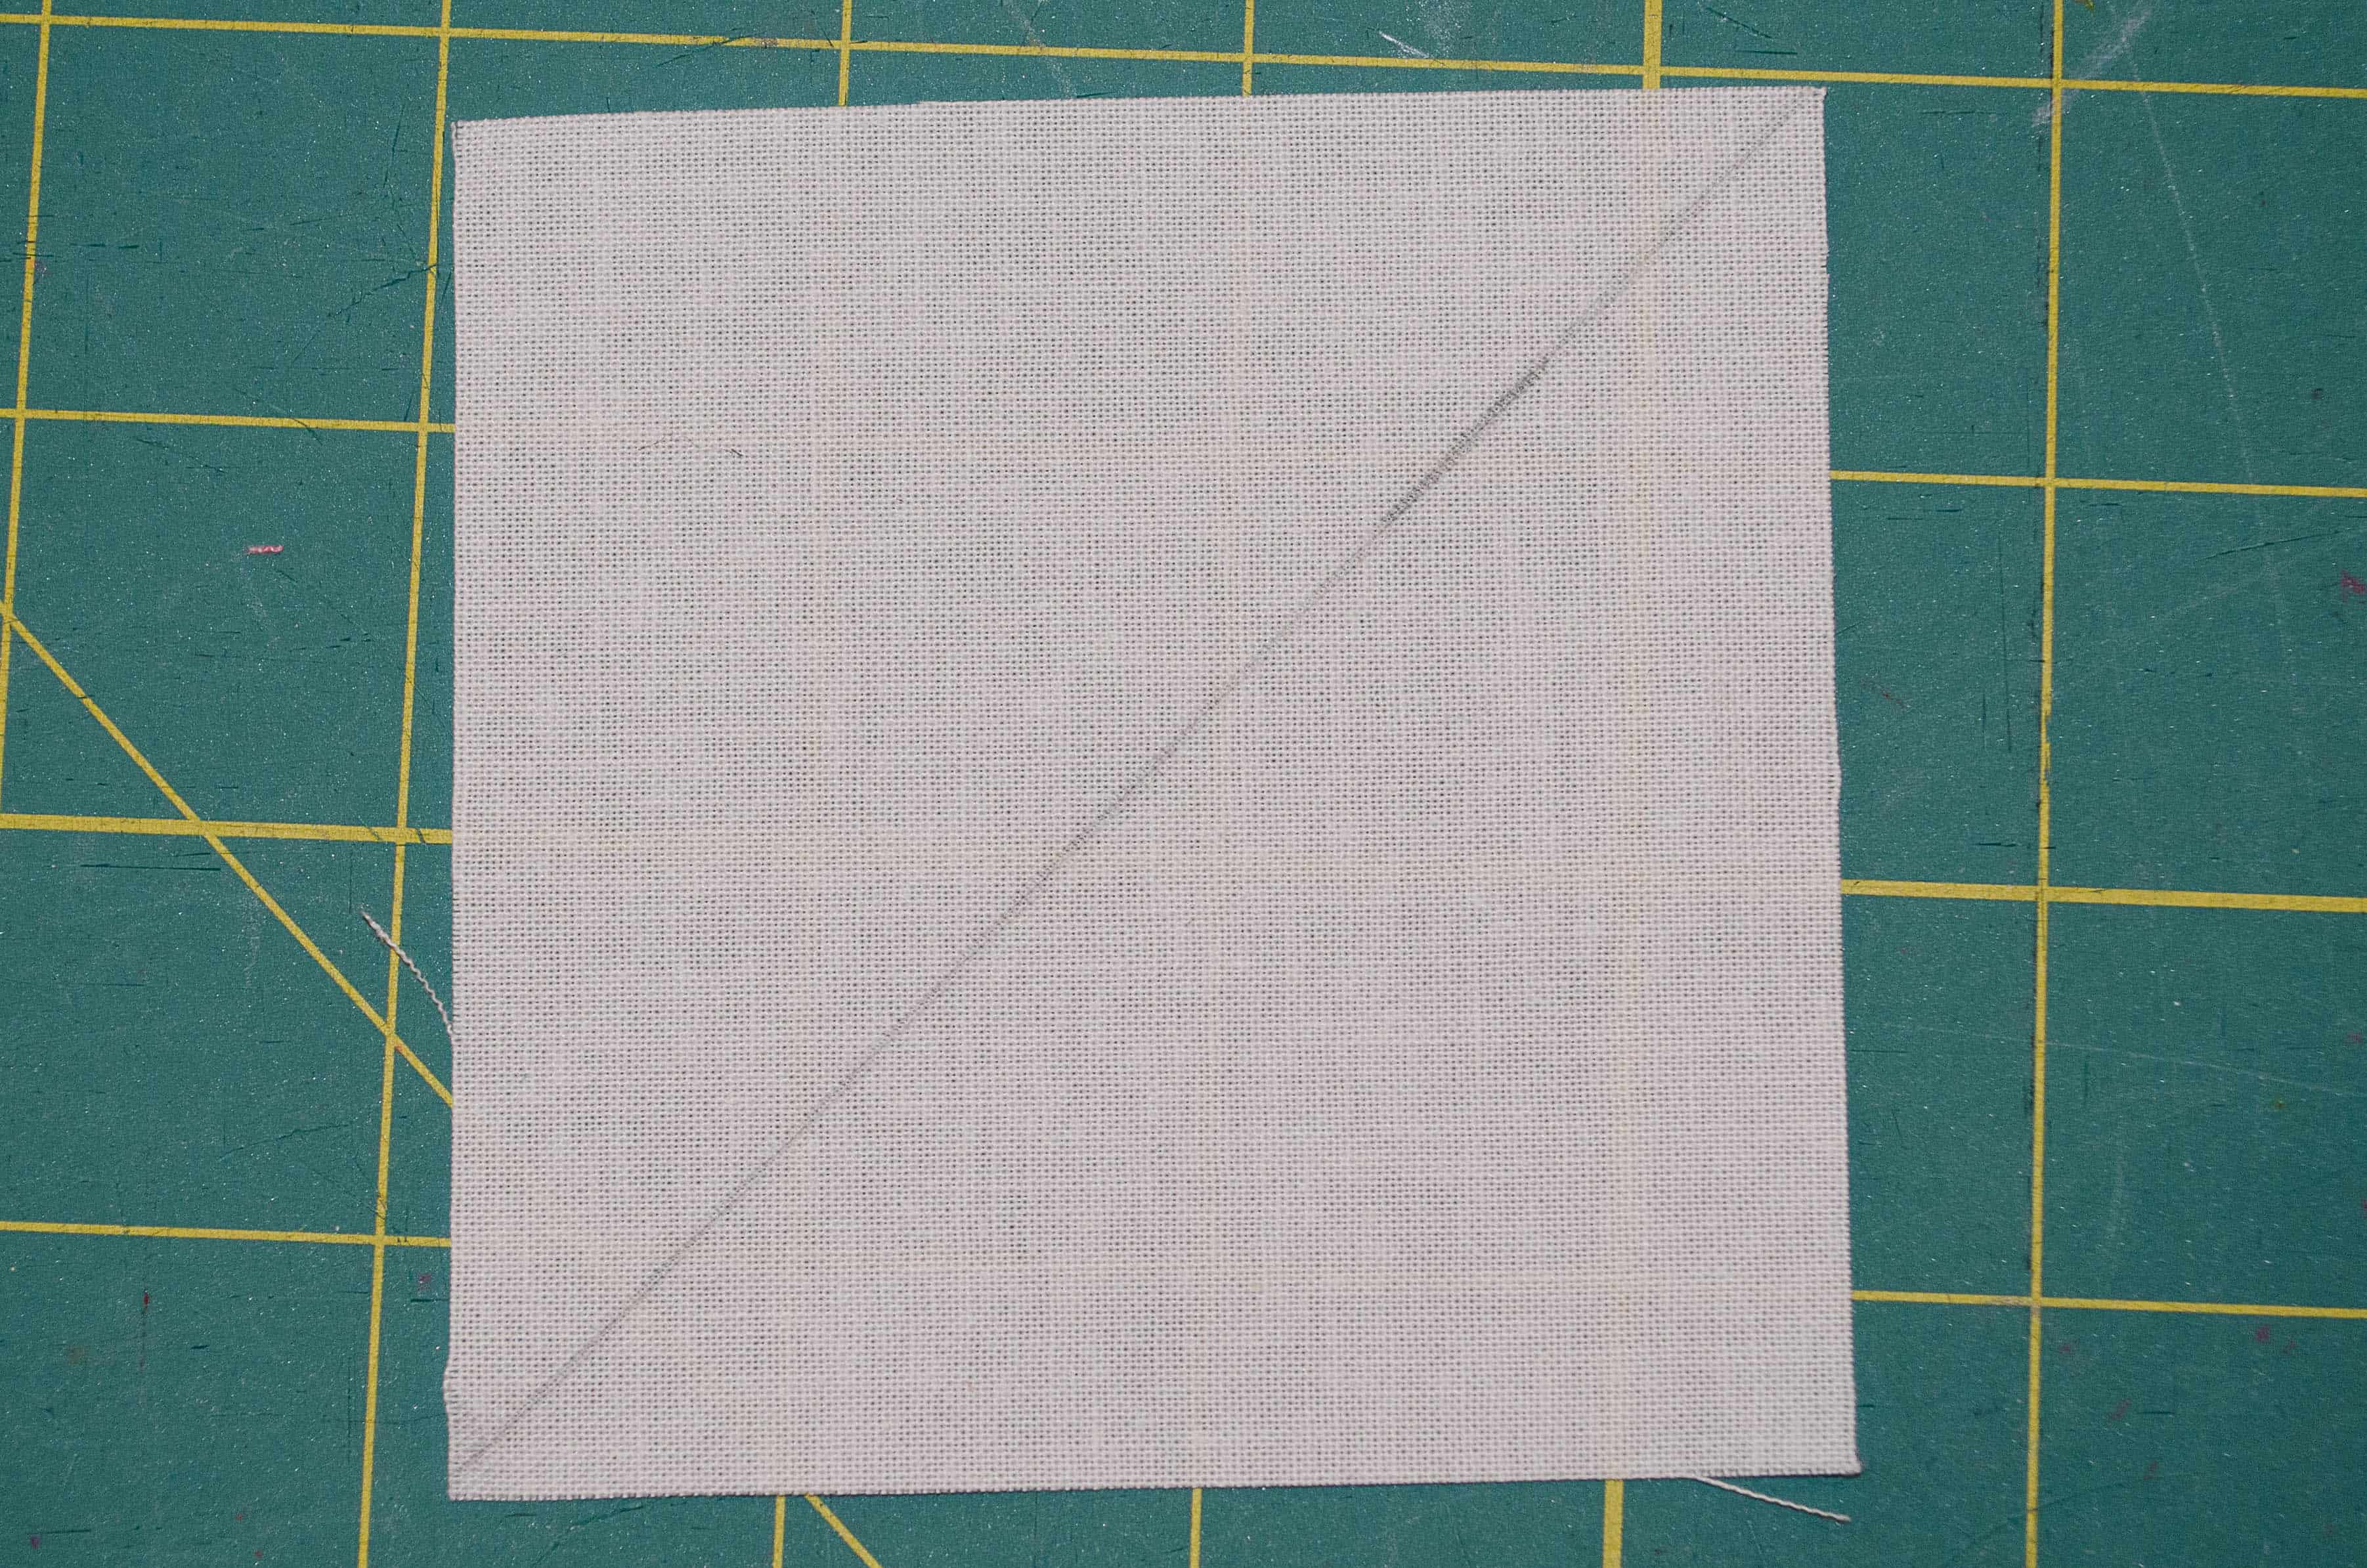
Step 2 – Sew the Seams

Sew a seam 1/4″ away from both sides of the drawn line.
Step 3 – Cut the Squares for your Summer Table Topper Quilt
Cut along the line.
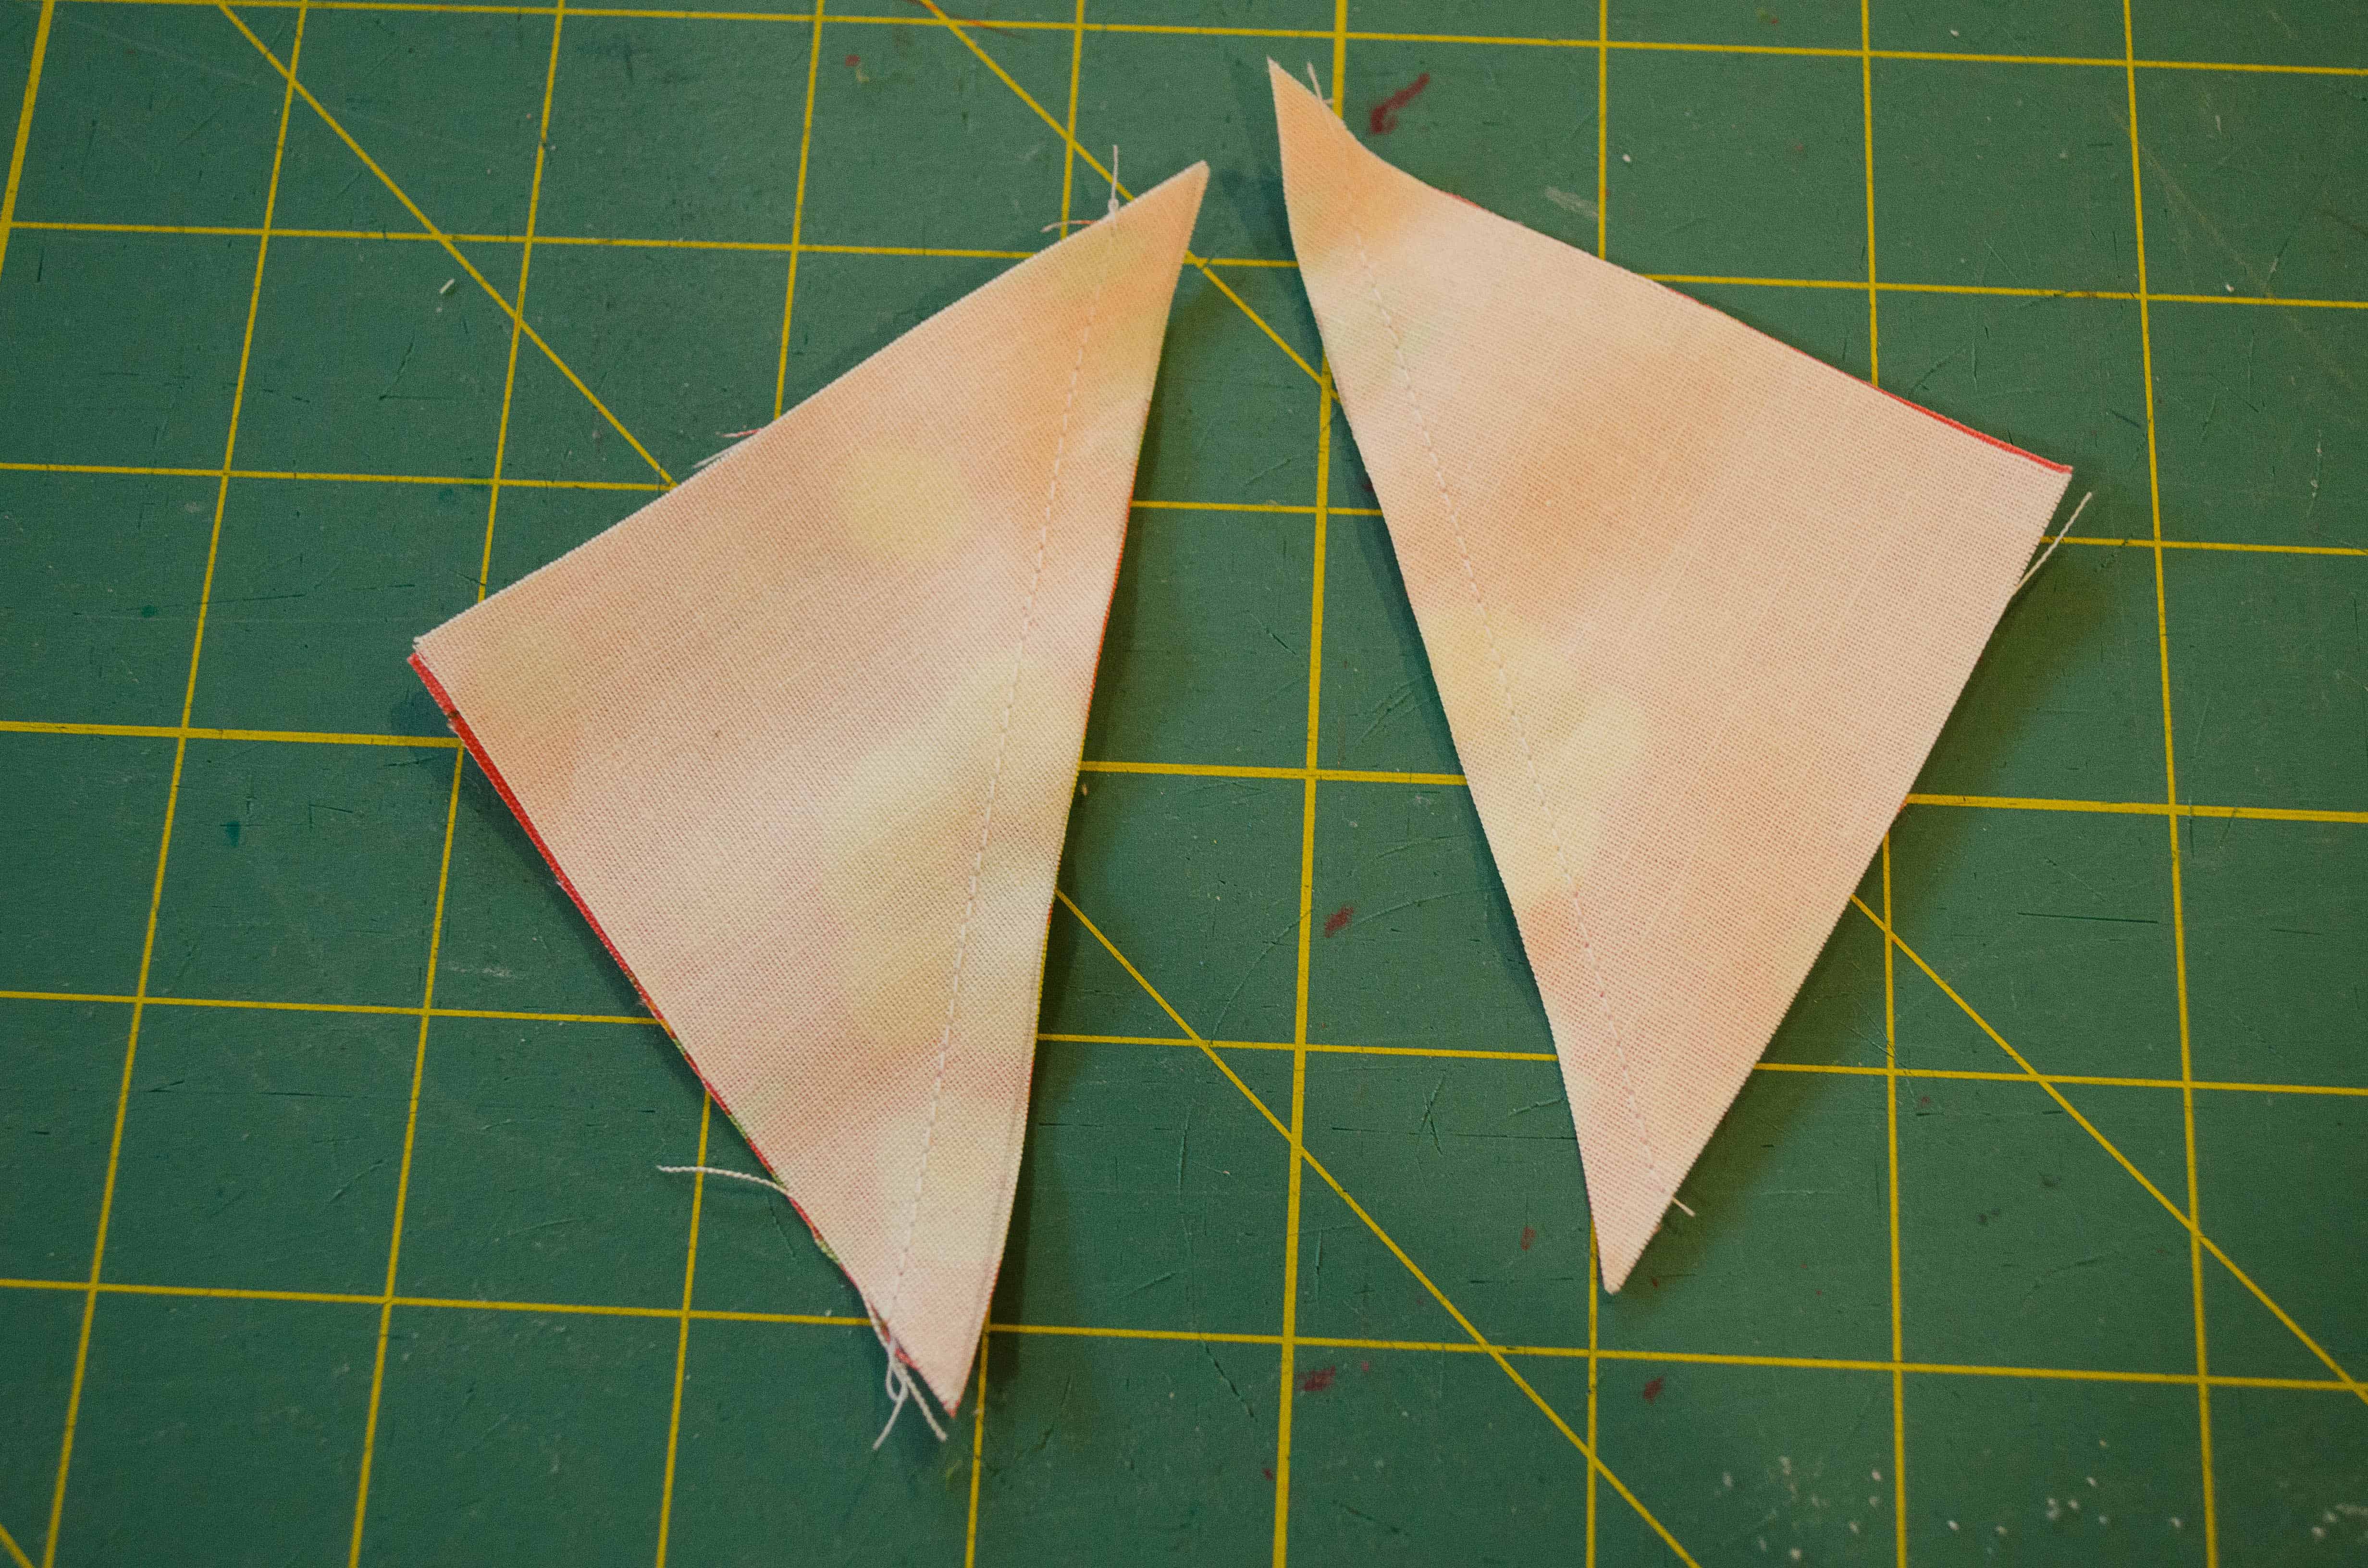
Step 4 – Press and Trim
Press open, with the seam towards the darker side. Trim to 2.5″, making sure the seam runs diagonally from corner to corner.
Step 5 – Assemble Blocks
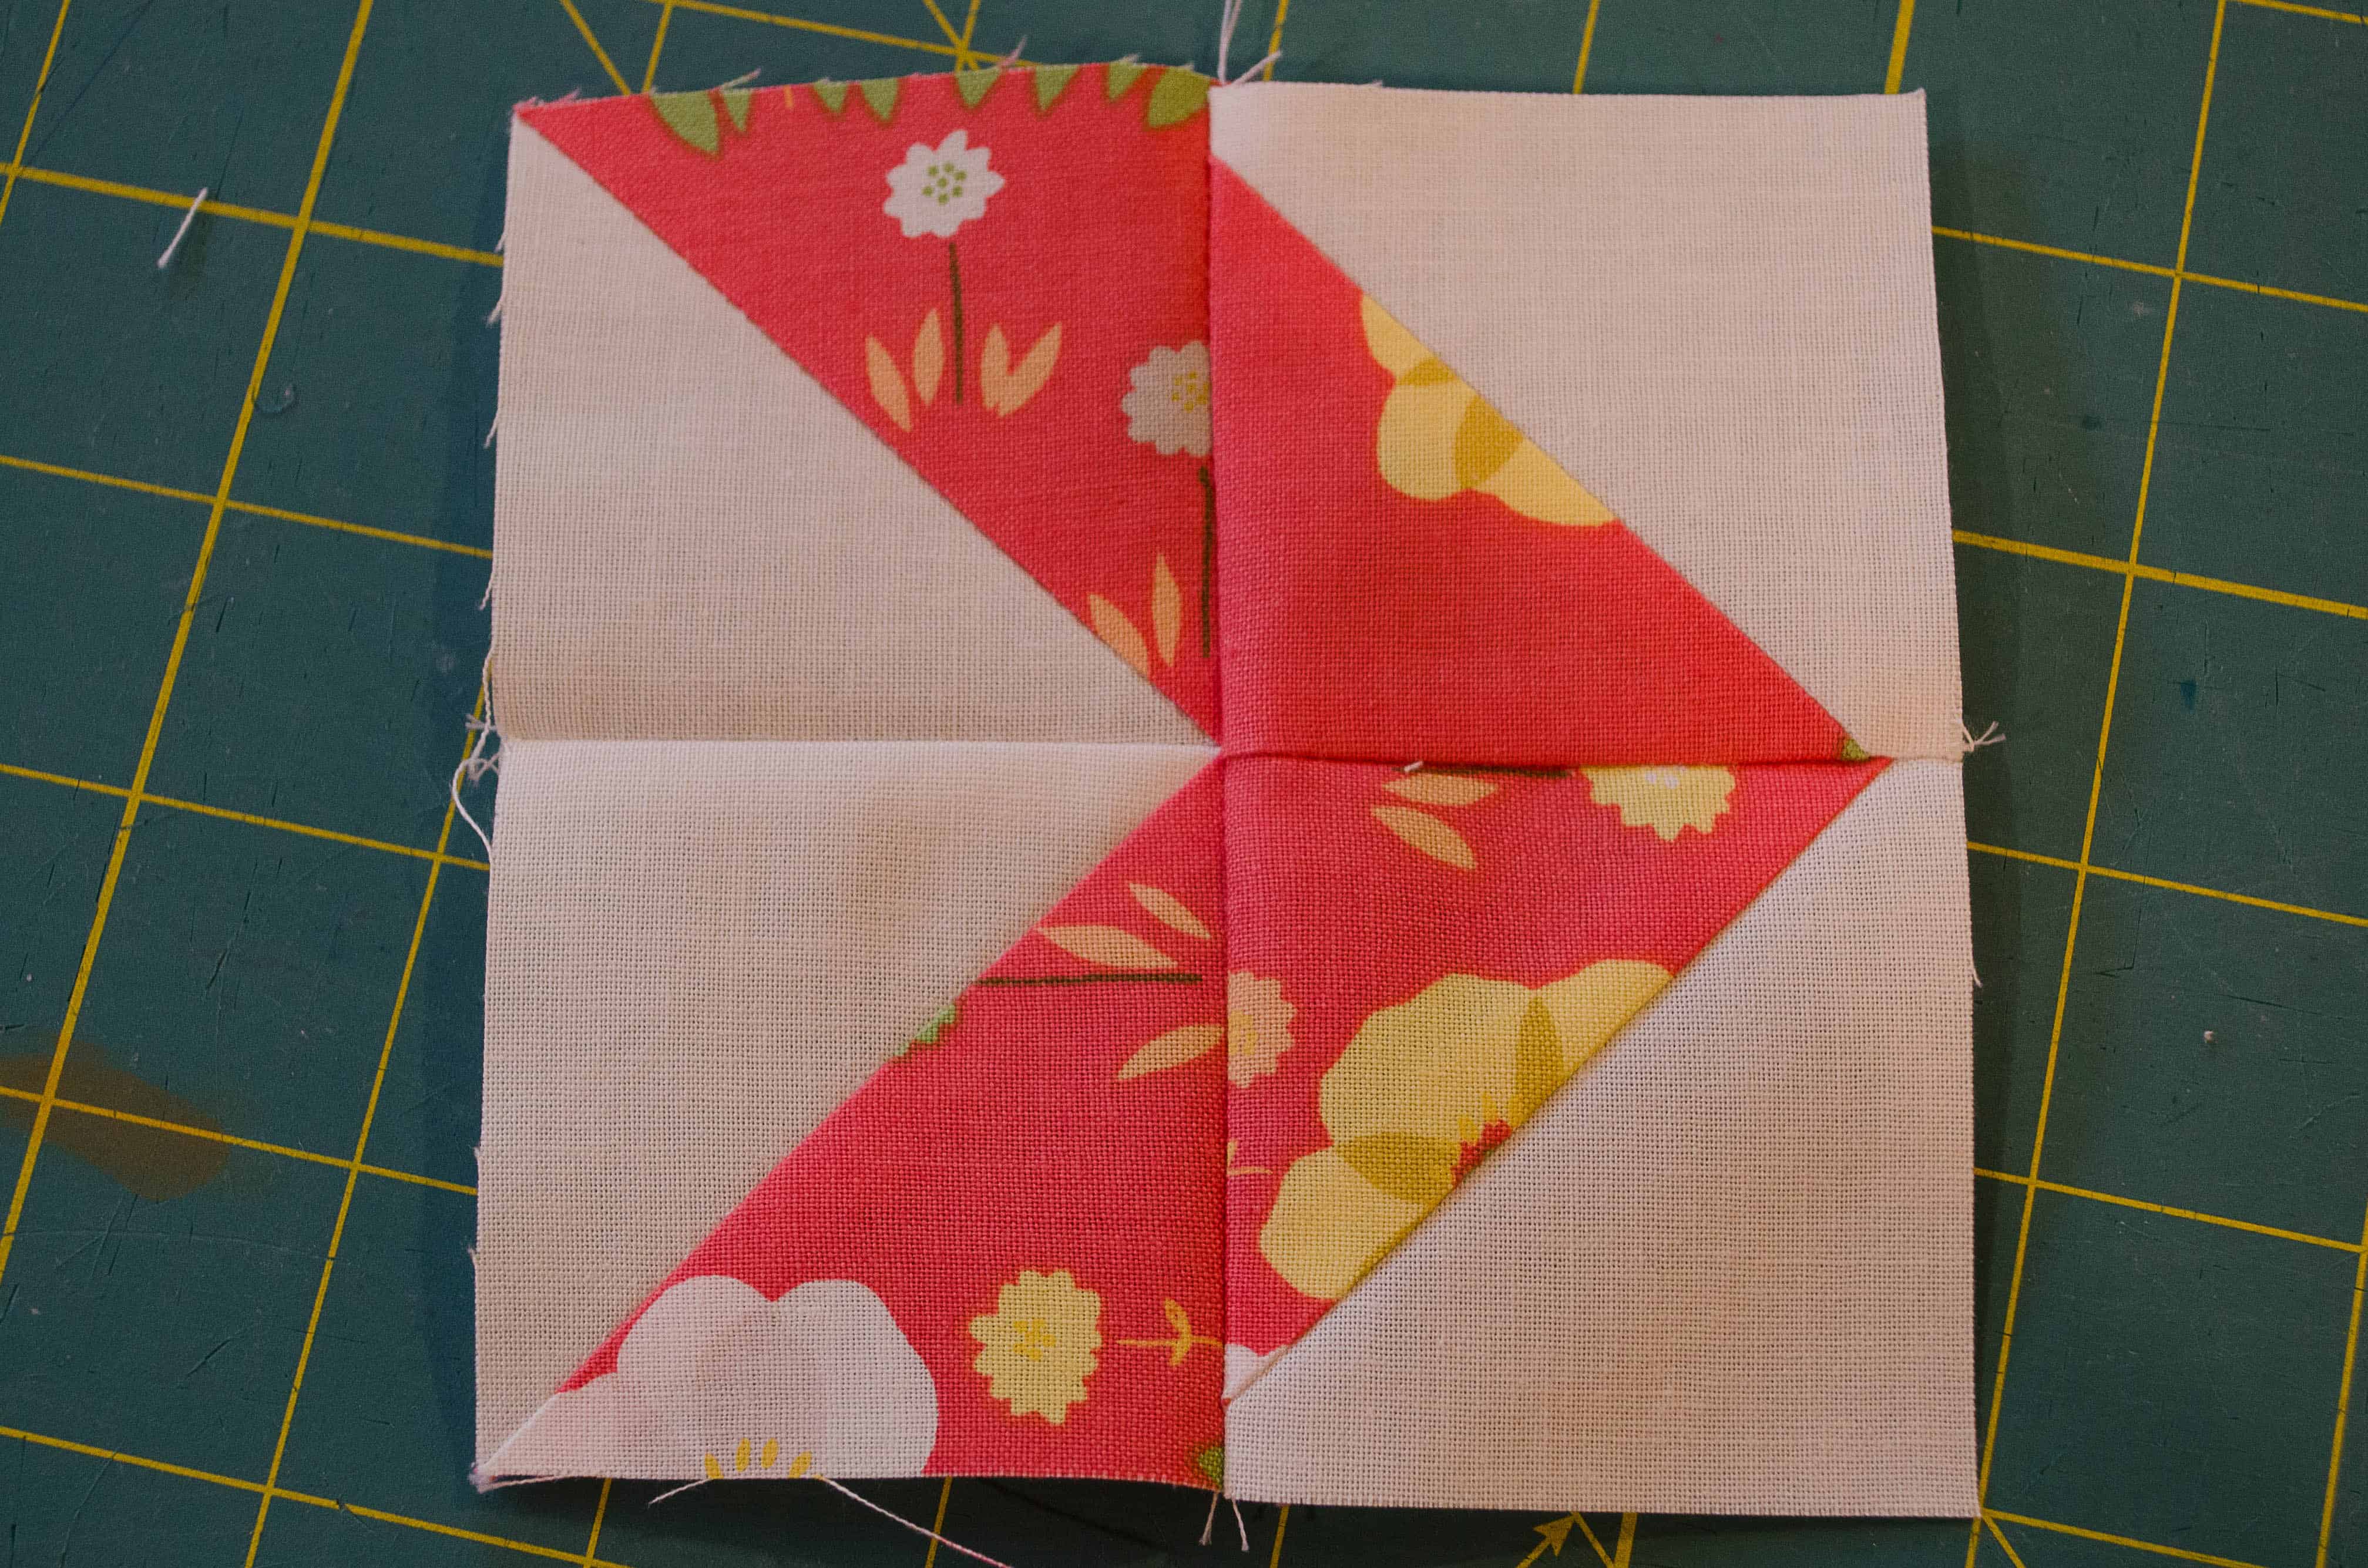
Sew together 4 of the half square triangles as shown. You will create 9 of these blocks (3 of each color). Each completed block should measure 4.5″ square.
Step 6 – Add Borders to Finish Your Summer Table Topper Quilt
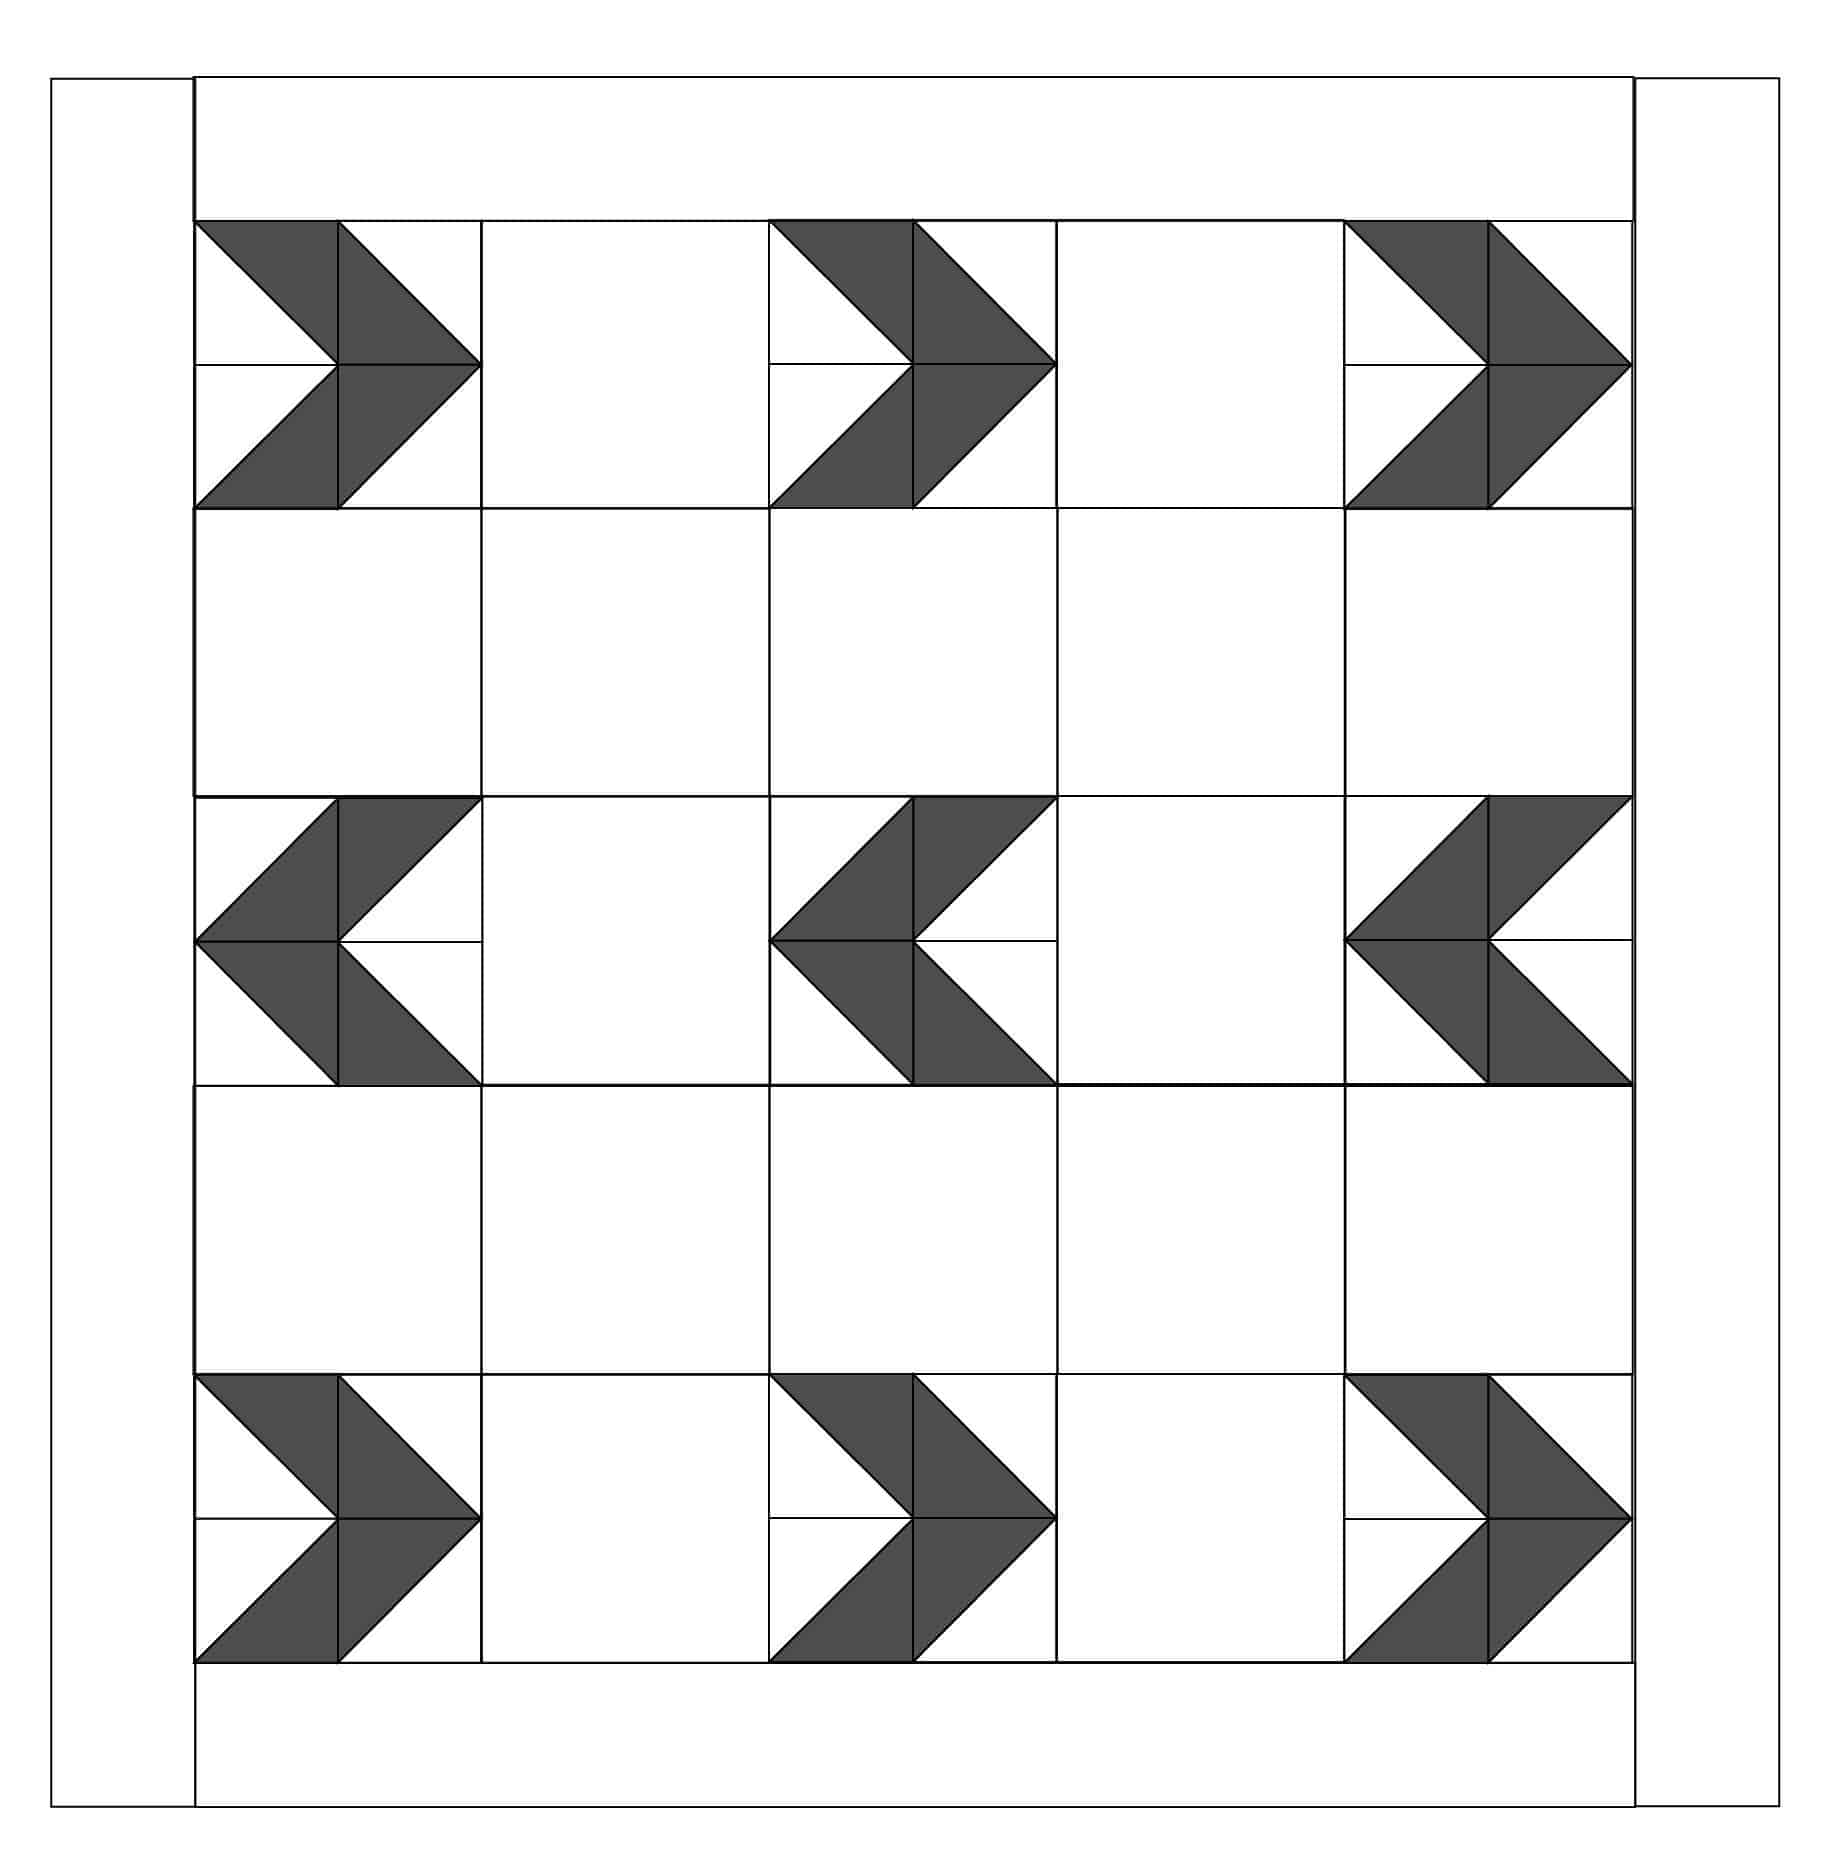
Assemble the blocks with the larger white squares as shown. Sew the long white strips around the outside edges as a border.
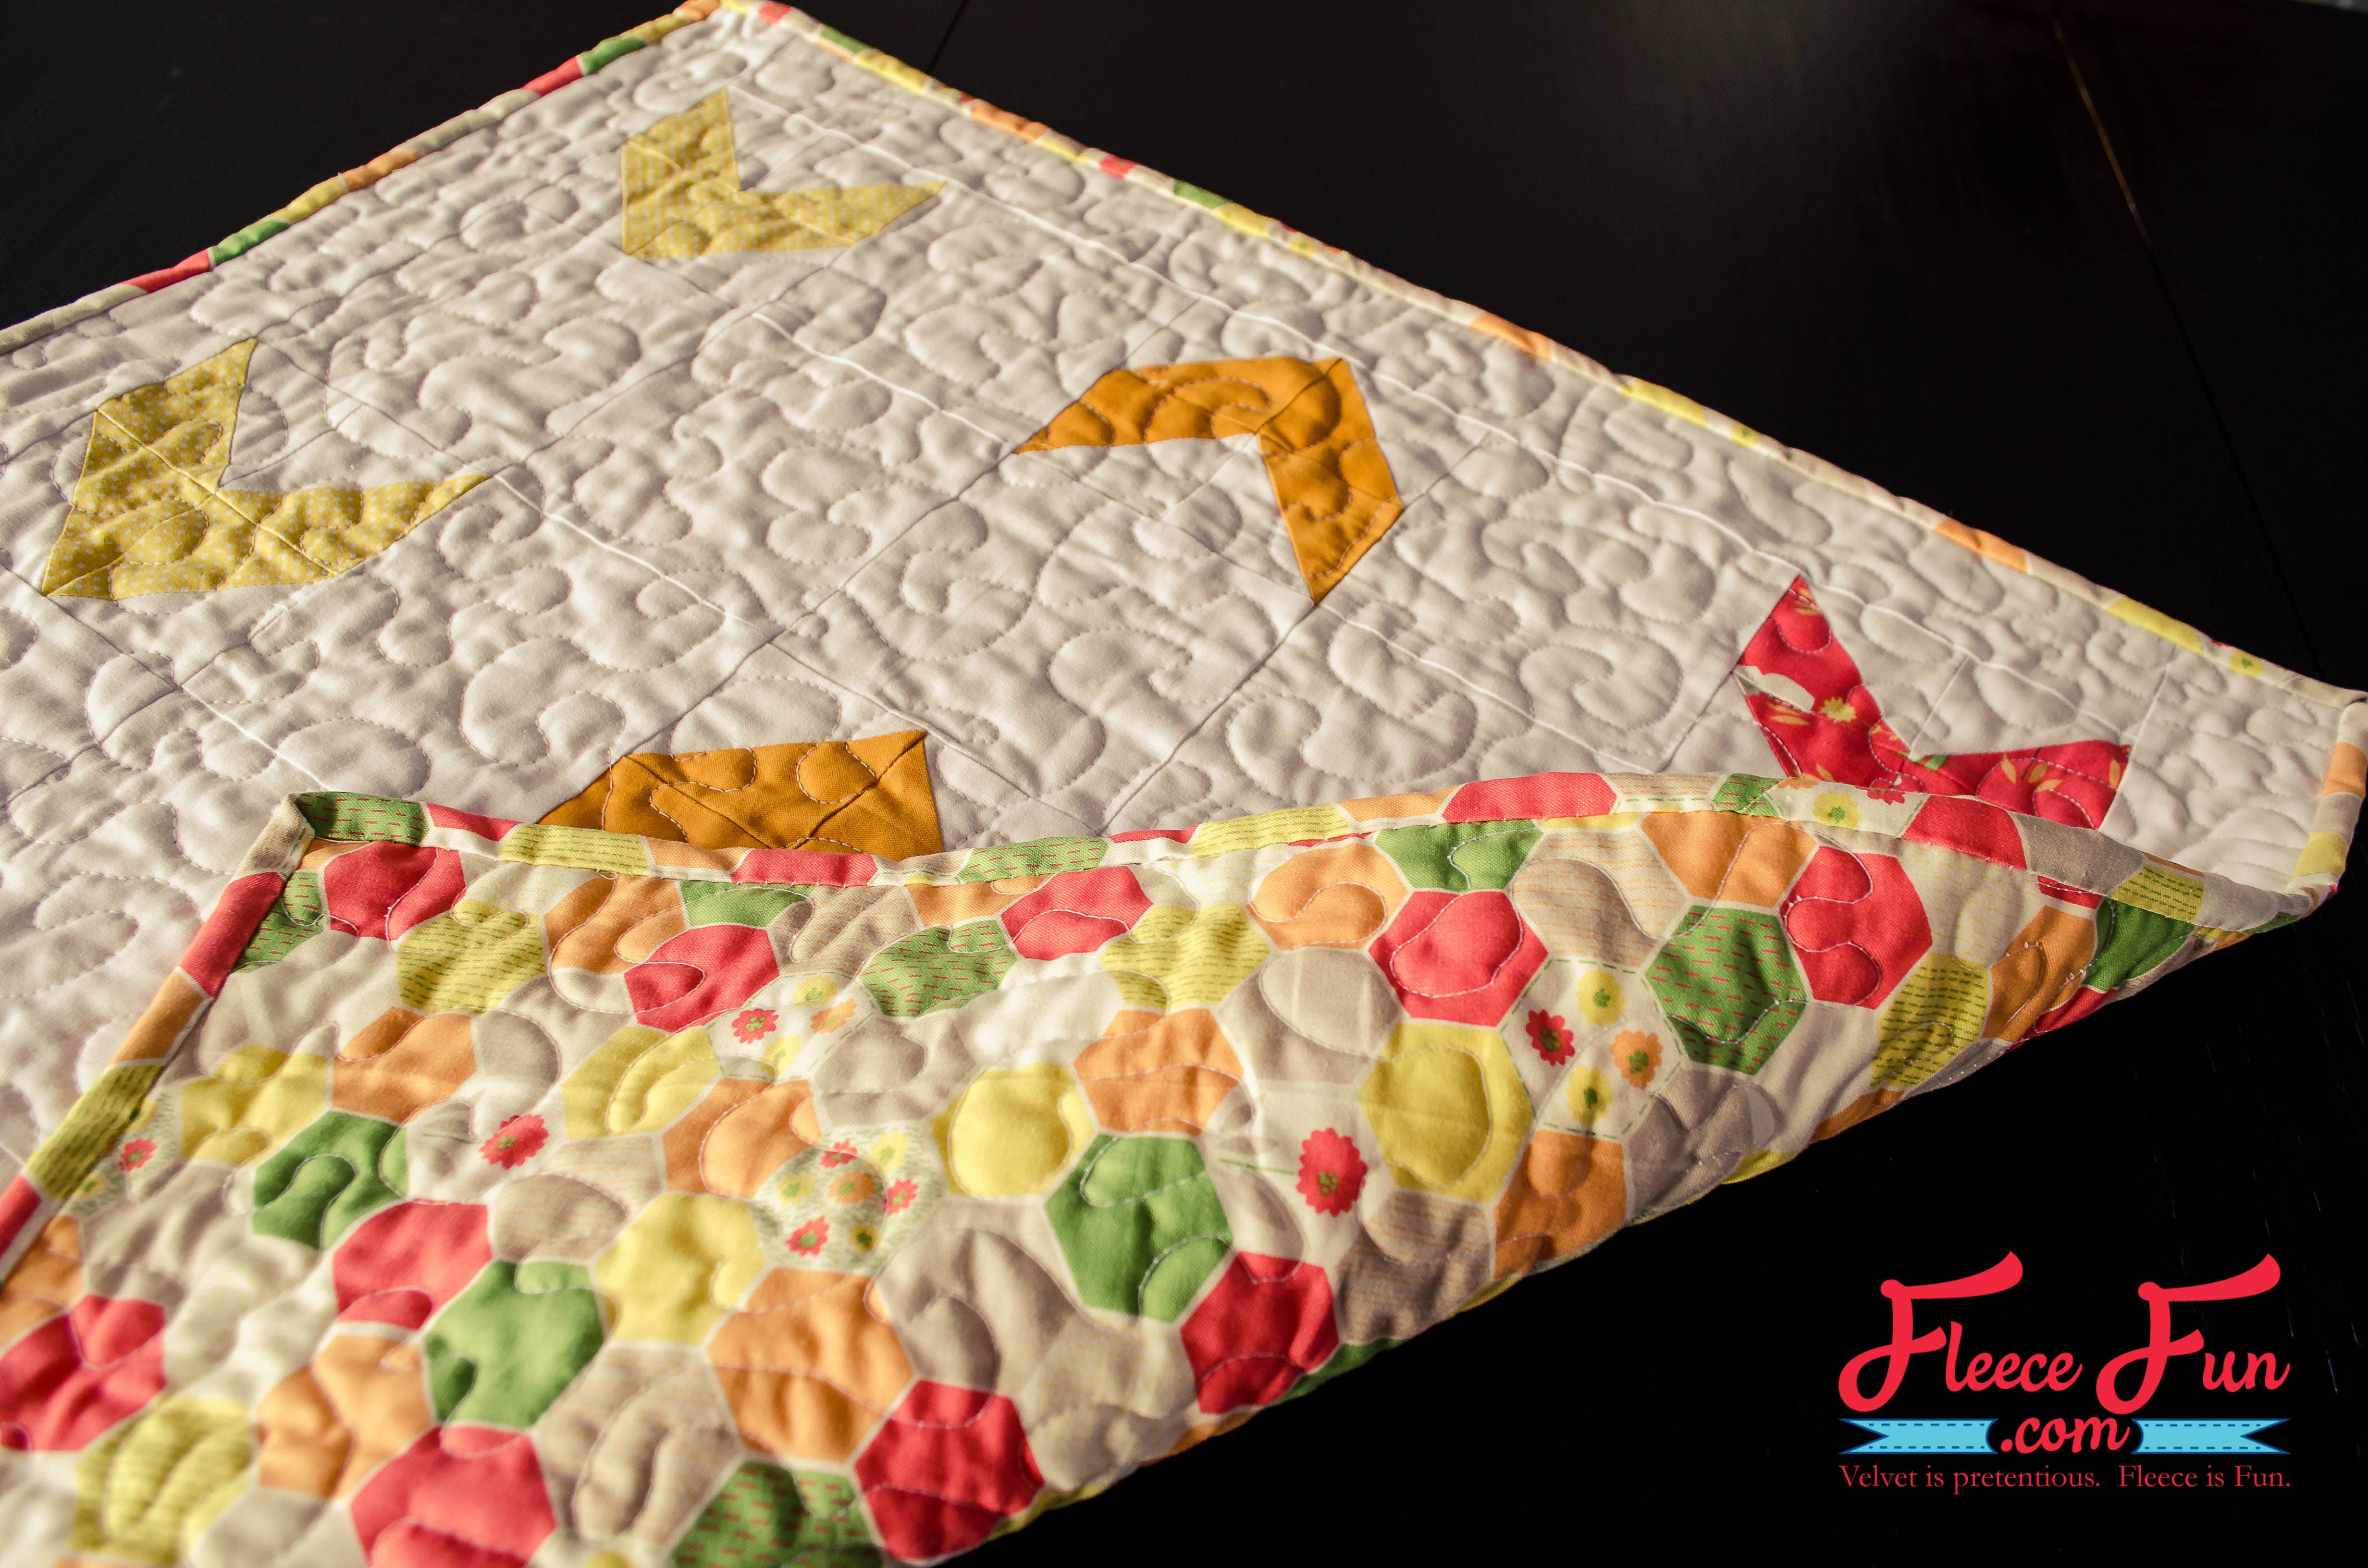
Quilt your table topper as desired (I did some simple free motion quilting) and bind.
love this Summer Table Topper Quilt? see more quilting projects
- How to Make a Rag Quilt for Beginners
- Quilt As you Go, Stitch N Flip Quilt
- How to Sew a Quilt the Easy Way
- Easy Pinwheel Quilt Block
- Quilted Christmas Table Topper Tutorial