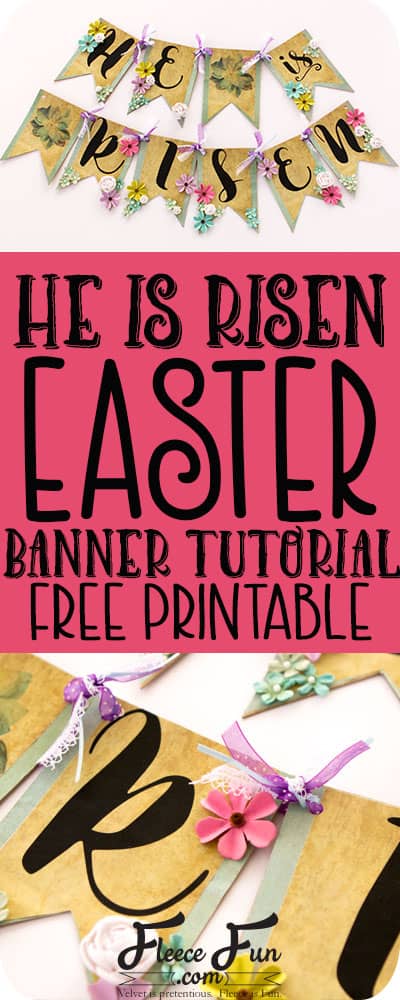
Free Easter Banner Printable Craft Tutorial
This content contains affiliate links or sponsored elements, read our Disclosure Policy.

Spring is in the air, and Easter is just around the corner! If you’re looking for a fun and festive way to decorate your home for the holiday, look no further. In this blog post, we’ll show you how to create a beautiful Easter banner using our free Easter banner printable craft tutorial. With just a few simple supplies and some creativity, you can add a touch of charm to your space in no time. So let’s get crafting!
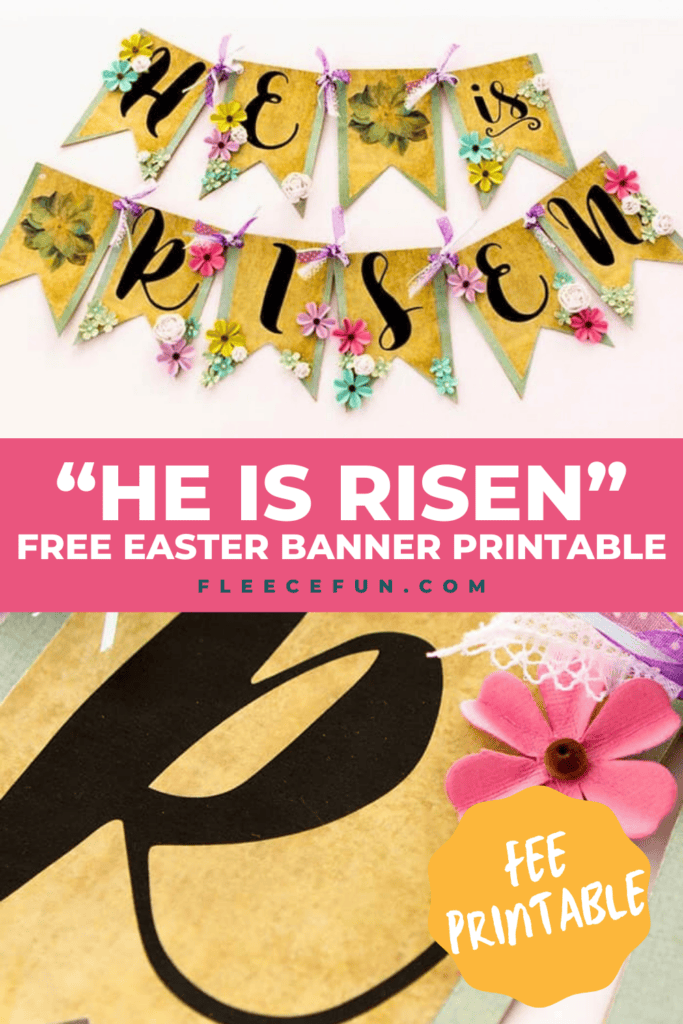
This Free Easter Banner Printable Craft Tutorial is perfect for decorating your piano, mantle, or banister. This fun little craft project is a lovely way to spend a Sunday afternoon. Simply apply the printable to the chipboard, add a few decorative elements, and tie it all together.
YOU WILL NEED:
- Fleece Fun’s free printable (below – best if it’s a laser print)
- Chip board banner Matte Paper Mod Podge
- Scrap book paper
- Decorative flowers (like these)
- Matte Paper Mod Podge & Applicator
- 4 Yards of Ribbon (more if you want to use multiple stands like I did)
- Glue Gun and Glue Sticks
- Hole Punch
- Get the free printable here
Easter Banner free Printable Craft Tutorial
Step 1 – Begin to make the Easter banner
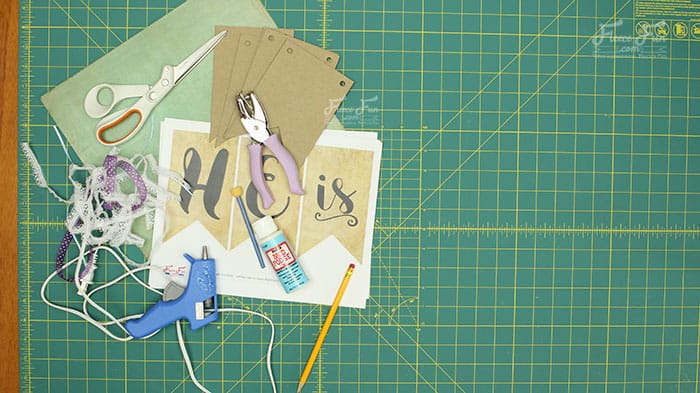
Gather all the items you need to make the banner.
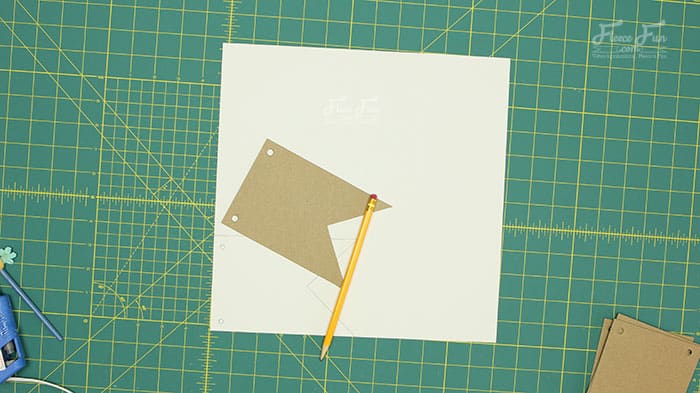
Trace the chipboard onto the back of scrap paper—be sure to mark the holes.
Cut out the trace, and set paper aside.
Repeat for the rest of the banner.
Step 2 – Piece the Easter Banner Together
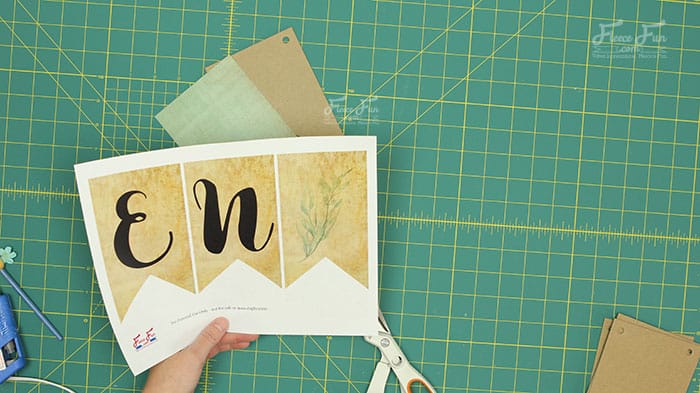
Cut out all the banner printable.
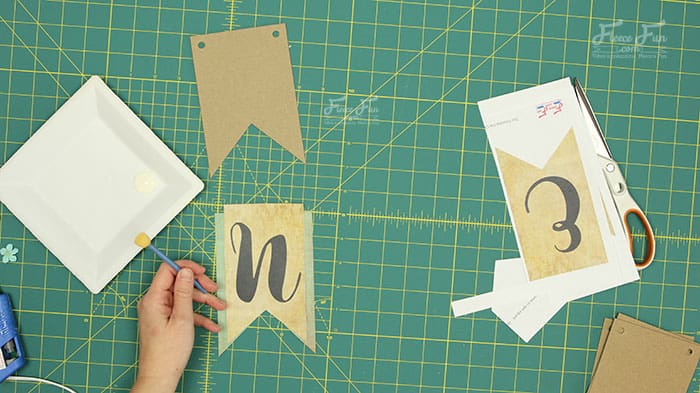
Mod Podge the printable to the traced paper. You might need to trim the top a little.
Step 3 – Attach it to the Chipboard
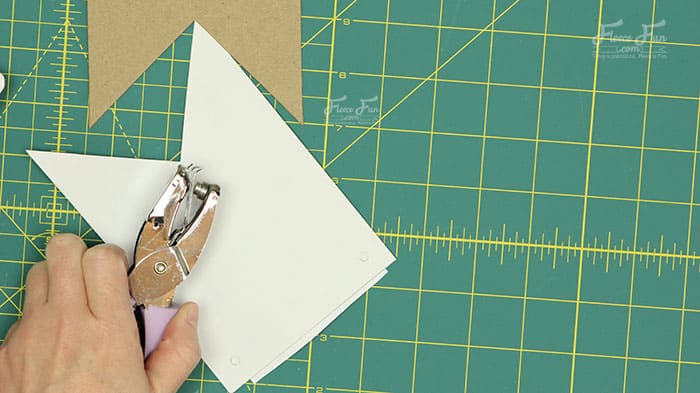
With the banner glued to the scrapbook paper, punch holes in each side, using the marks you made earlier.
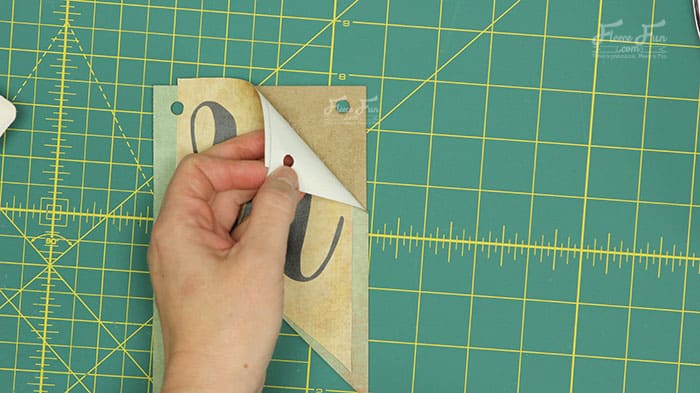
Then Mod Podge them to the chipboard banner. Hint: Be sure to get the outer edges with glue.
Repeat for the rest of the banner.
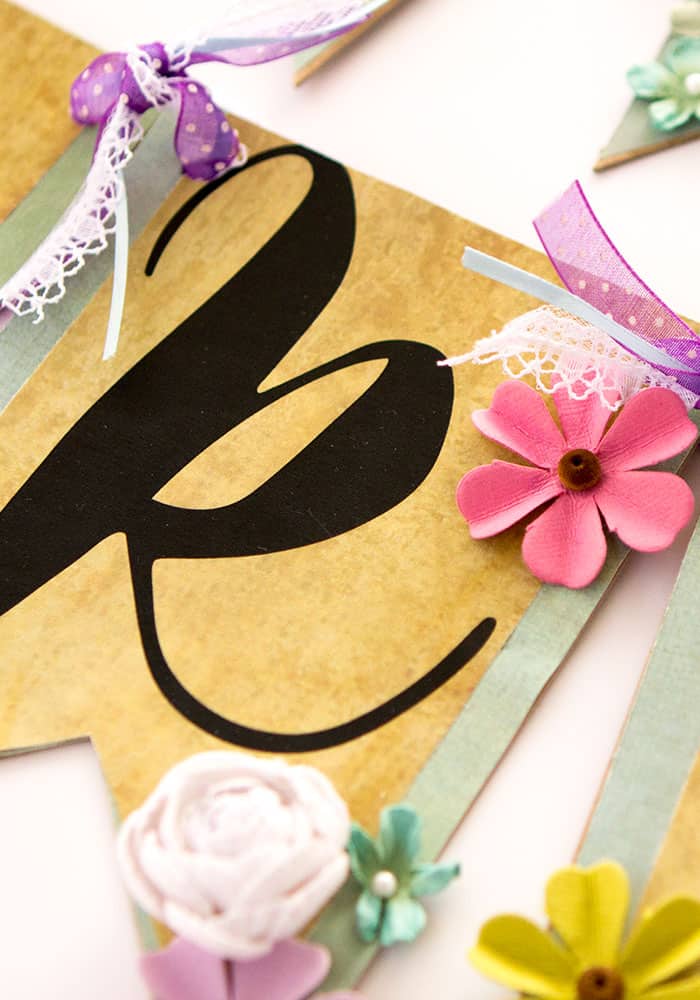
Step 4 – Add Decor
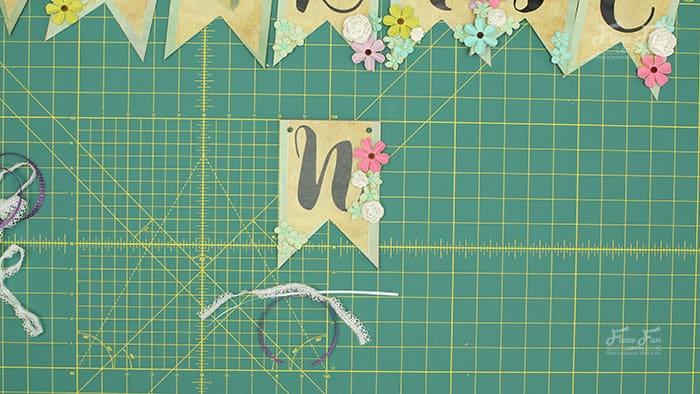
Using the glue gun, glue on flowers to decorate the banner.
Quick Tip
Lay out the flowers to see how you like them first, then glue them on.

Cut the ribbon into 8-inch lengths and tie the banner together using a square knot between the banner letters.
Get the Free Easter Banner Printable Below:
You can get a free copy of Adobe reader here. By downloading you are agreeing to pattern terms of use. Click the picture below and fill out the form to download the free printable .pdf!

Tips and tricks for a successful Easter Banner project
To ensure a successful project with your Easter Banner Printable Craft Tutorial, here are some tips and tricks to keep in mind:
Firstly, make sure to gather all the materials needed before starting the craft. This will help you stay organized and focused throughout the process.
Secondly, take your time when cutting out the banner pieces. Precision is key to achieving a polished final look for your Easter decoration.
Additionally, follow the step-by-step instructions carefully to avoid any mistakes or confusion along the way. Each detail matters in creating a beautifully crafted banner.
Moreover, don’t be afraid to get creative with how you display the finished banner in your home. Consider different areas like the piano, mantle, or banister for a unique touch of Easter decor.
Lastly, have fun with this project! Let your creativity shine through as you work on this festive DIY activity that will surely brighten up your space for the holiday season.
Ideas for displaying the finished banner
Looking for creative ways to showcase your beautiful Easter banner around your home? Here are some inspiring ideas on how to display it in different areas:
The piano is a perfect spot to add a festive touch. Simply drape the banner across the front or hang it from the music stand for a charming look that will delight anyone who plays a tune.
For an elegant display, consider placing the banner on the mantle above your fireplace. Let it cascade down gracefully or secure it in place with decorative clips for a sophisticated touch that enhances your Easter décor.
To bring some holiday cheer to your staircase, wrap the banner around the banister and secure it with colorful ribbons or twine. This eye-catching display will greet guests as they ascend into your festive home.
Get creative and think outside the box when deciding where to showcase your Easter banner – whether on furniture, walls, or even outdoors!
More Fun Easter Crafts
- How to Make a Bunny and Egg Banner for Easter
- Easter Centerpiece DIY – Bright and Fun
- Easter Egg Button Decor Craft Tutorial
- Free Easter Printable
- Printable Pinwheels for Spring
- Fleece Eggs and Fleece Basket Pattern
- No-Sew Fleece Chrysanthemum Flower
- More Easter Holiday Projects