Easter Egg Button Decor Craft Tutorial
This content contains affiliate links or sponsored elements, read our Disclosure Policy.
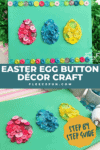


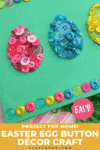
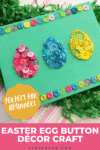
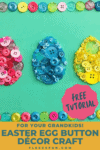
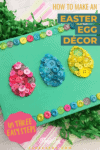
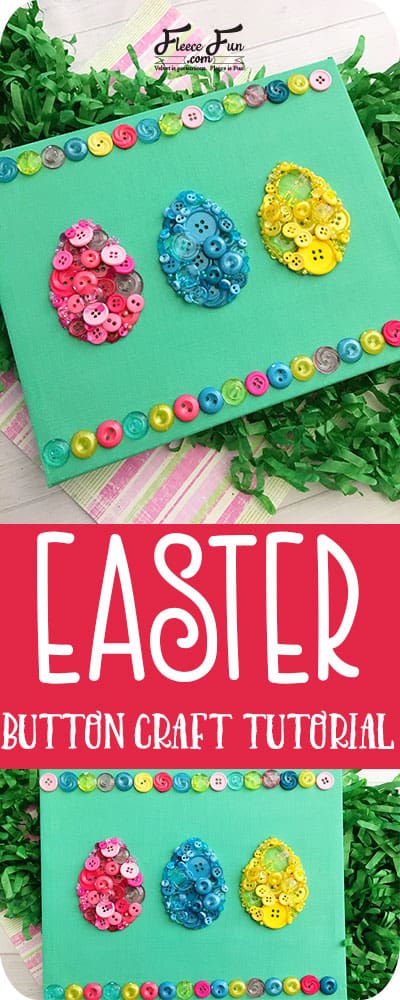
This Easter Egg Button Décor Craft Tutorial is a good project to make with kids (adult supervision is needed with the glue gun of course). The buttons make for colorful and vibrant eggs in this Spring décor.

You don’t need anything fancy, just buttons in different shapes, sizes, and colors, plus a canvas to bring it all together. It’s budget-friendly, using supplies you probably already have at home, and the end result is something cheerful and unique. Whether you’re making it for Easter, adding a pop of color to a room, or just looking for a creative outlet, this little DIY is a great way to slow down and make something you’ll love.
YOU WILL NEED:
 8×10″ stretched canvas
- Blue, yellow, and pink buttons, sorted
- Blue, yellow, and pink tiny beads, sorted
- Hot glue gun/glue sticks
- Seafoam green craft paint
- Large paint brush
- Large egg cookie cutter
- Pencil

Easter Egg Button Decor Craft
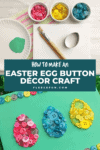
Step 1 – Gather the items and begin to paint.

Lay out an old newspaper before you get started.

Paint the front and sides of your canvas seafoam green and let dry (might need 2 coats)
Step 2 – Make the Egg Shapes
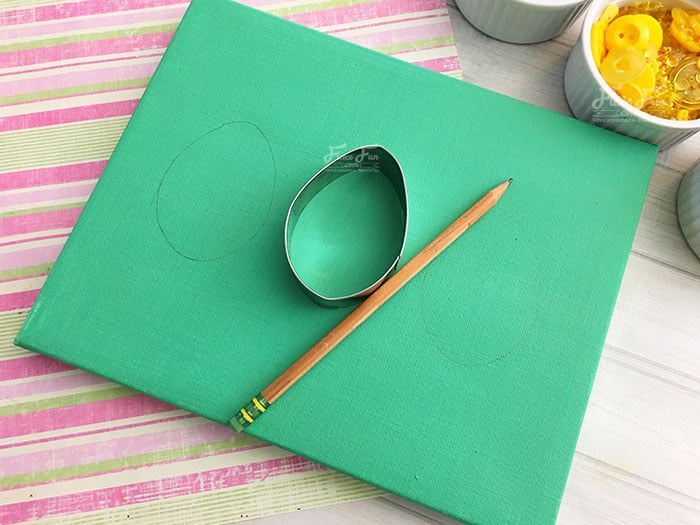
Using the cookie cutter trace out three shapes on the painted canvas.
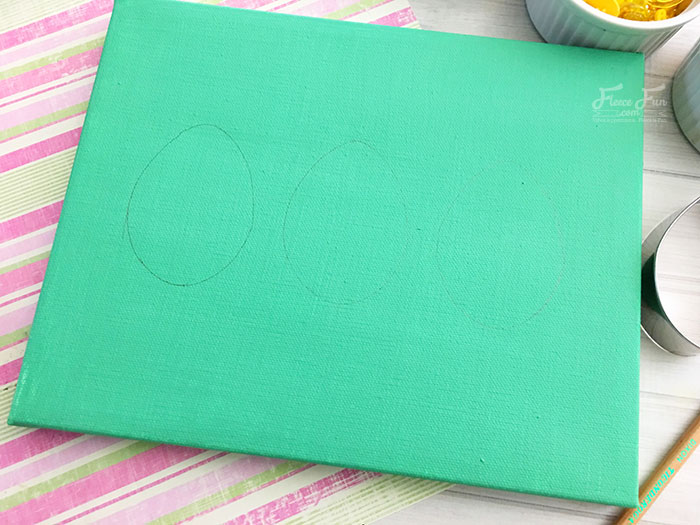
Now that you have the egg outlines it’s time to add the buttons.
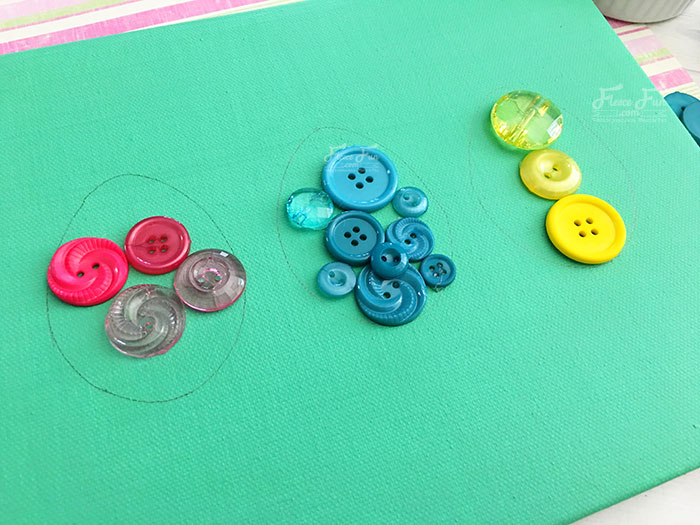
Then start filling in your smaller areas with your smaller buttons and begin layering then on top of your large buttons to make sure there are no open spaces..
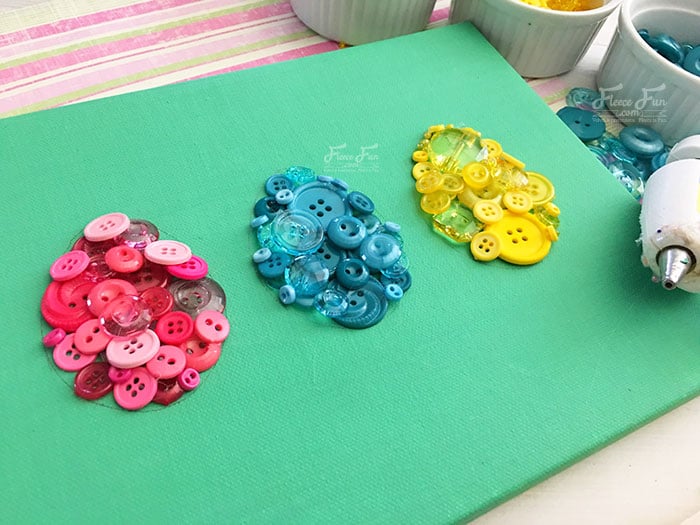
Now carefully fill in your empty spaces and outlines with your hot glue a little at a time and top with your tiny beads.
Step 3 – Finish the Easter Egg Button Décor
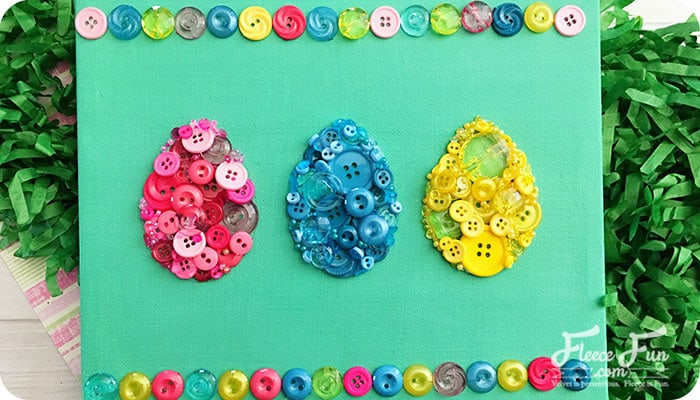
Now hot glue your buttons onto your canvas at the top and bottom to make 2 stripes stretching the length of the canvas, making a pattern with the colors.
More Fun Easter Crafts
- How to Make a Bunny and Egg Banner for Easter
- Easter Centerpiece DIY – Bright and Fun
- Free Easter Banner Printable Craft Tutorial
- Free Easter Printable
- Printable Pinwheels for Spring
- Fleece Eggs and Fleece Basket Pattern
- No-Sew Fleece Chrysanthemum Flower
- More Easter Holiday Projects