
Child Apron Tutorial Free Pattern
This content contains affiliate links or sponsored elements, read our Disclosure Policy.
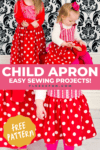


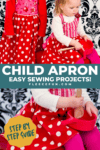

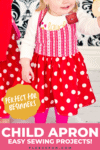


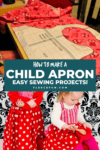
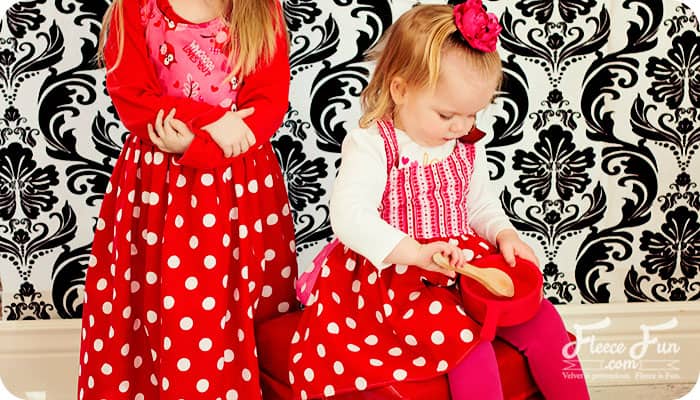
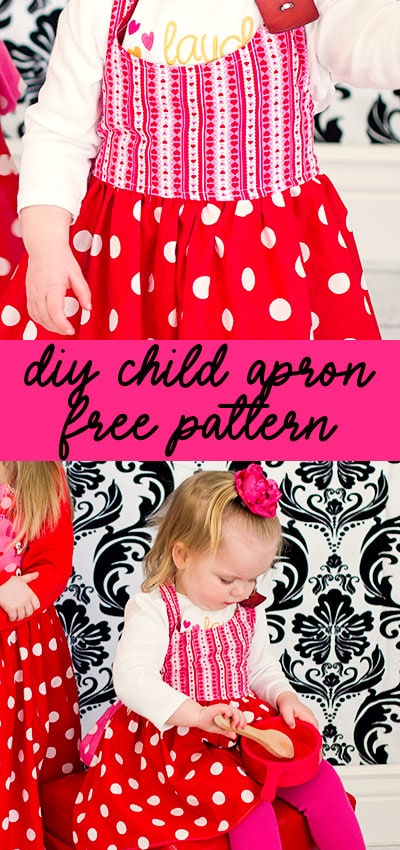
Free Child Apron Tutorial: Easy child Apron tutorial with free pattern. You can make an apron so cute – your kids will never want to leave the kitchen!
Are you looking for a fun and practical project to do with your little one? Look no further! In this step-by-step guide, we’ll show you how to create an adorable child apron using a free sewing pattern. Whether your child loves helping out in the kitchen or just wants to play dress-up, this tutorial is sure to inspire creativity and keep them engaged. Let’s get started on this exciting sewing adventure together!

Welcome to our step-by-step guide on how to make a child apron using a free sewing pattern. Whether you are an experienced seamstress or just starting out, this tutorial will provide you with all the necessary information and instructions to create a cute and functional apron for your little ones.
Aprons are not only great for keeping kids’ clothes clean while cooking or crafting, but they can also be a fun way for children to express their creativity through choosing fabrics and personalizing their own aprons. Plus, making an apron is a rewarding project that allows you to practice various sewing techniques such as measuring, cutting, hemming and attaching pockets.
In this tutorial, we will be using a free sewing pattern designed specifically for children’s aprons. The pattern includes three different sizes – toddler (2-3 years), small (4-5 years) and medium (6-7 years) – so you can choose the one that best fits your child’s size.
Before we get started on the actual tutorial, let’s briefly go over some essential tools and materials needed for this project.
YOU WILL NEED:
- 1.25 yards cotton
- Rotary cutter, ruler and mat (optional)
- Button
- Small elastic or pony tail holder
- Thread
- Sewing Essentials (scissors, pins, etc.)

- Fleece Fun’s free Pattern

Video of child apron tutorial here, written below:

Child Apron Tutorial Free pattern:
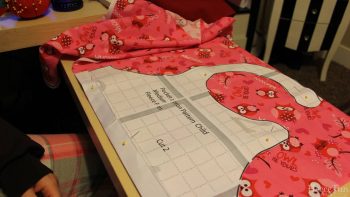
step 1 – Cut out the free child apron pattern
You will need to assemble the kid’s apron pattern. For instructions on how to assemble the sewing pattern click here.
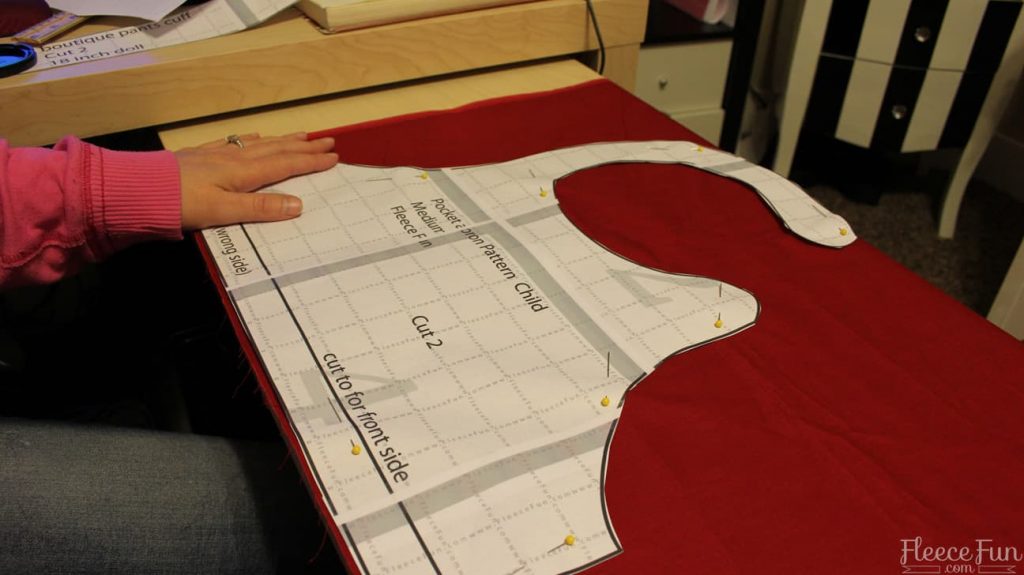
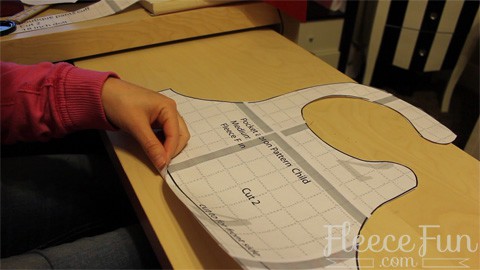
Cut out pattern pieces for child apron tutorial. You will need to cut 2 of the top – One of the front and one of the liner.
Cut 1 of the liner bodice.
Fold up or cut off the bottom pattern to the front line on the front of the pattern.
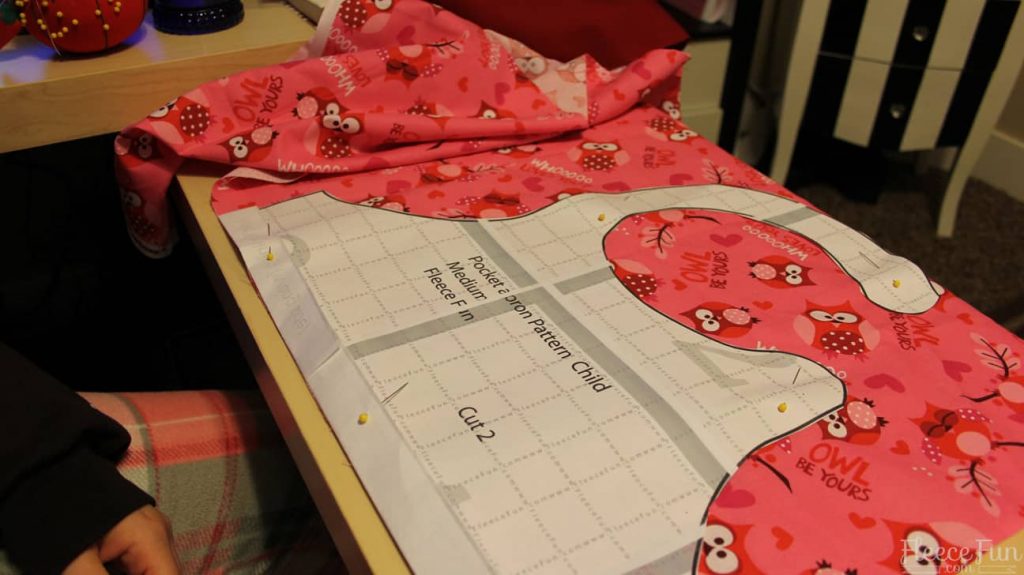
Cut 1 of the front bodice.
note
I chose to make the front and back from separate fabrics, but they can be the same.
Be sure if you use different fabrics that when you cut the liner you either flip over the pattern, or place the pattern on the wrong side of the cloth so it will line up properly.
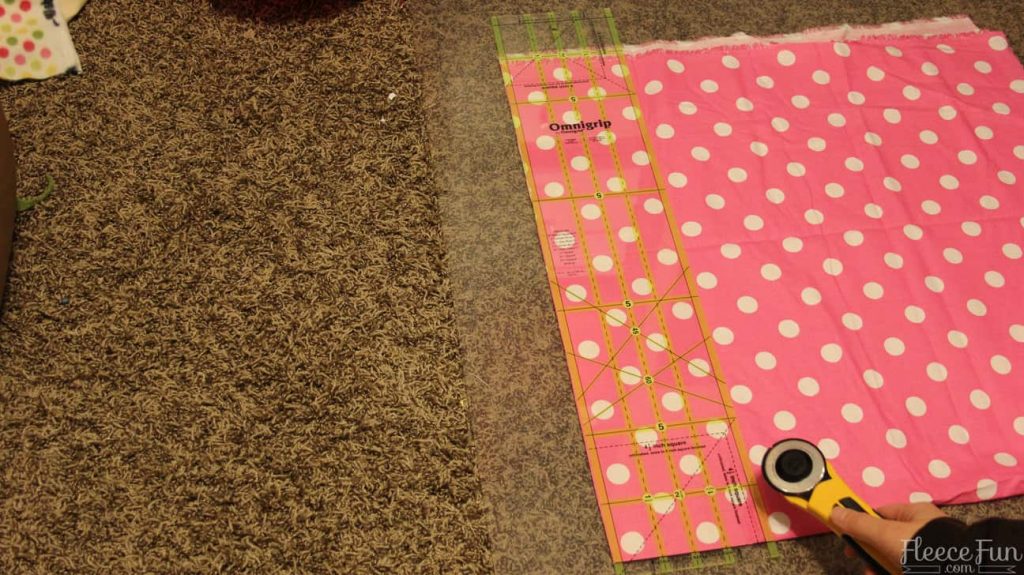
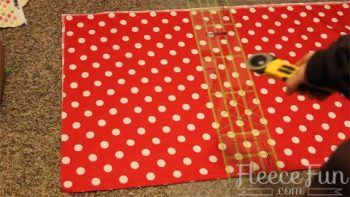
In addition to the top you will need to cut the following pieces of cloth. 2 pieces of 5 inches by 20 inches (for the ties).
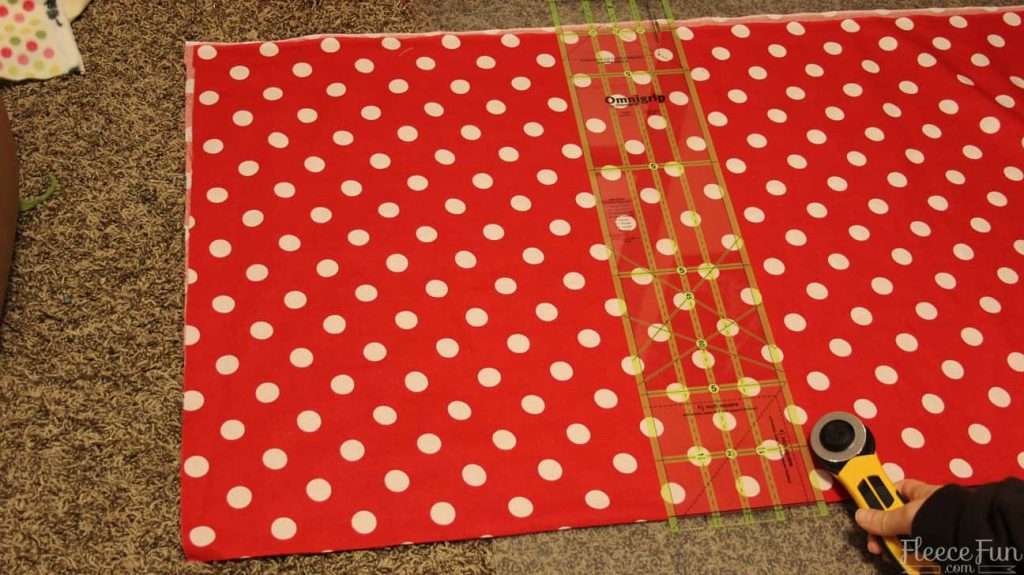
Then cut – One square/rectangle that is 40 inches by whatever length you would like the apron to be – this will be the skirt part of the child apron in this tutorial. For a child- anywhere between 8 to 15 inches.
step 2 – Make the Child Apron Ties

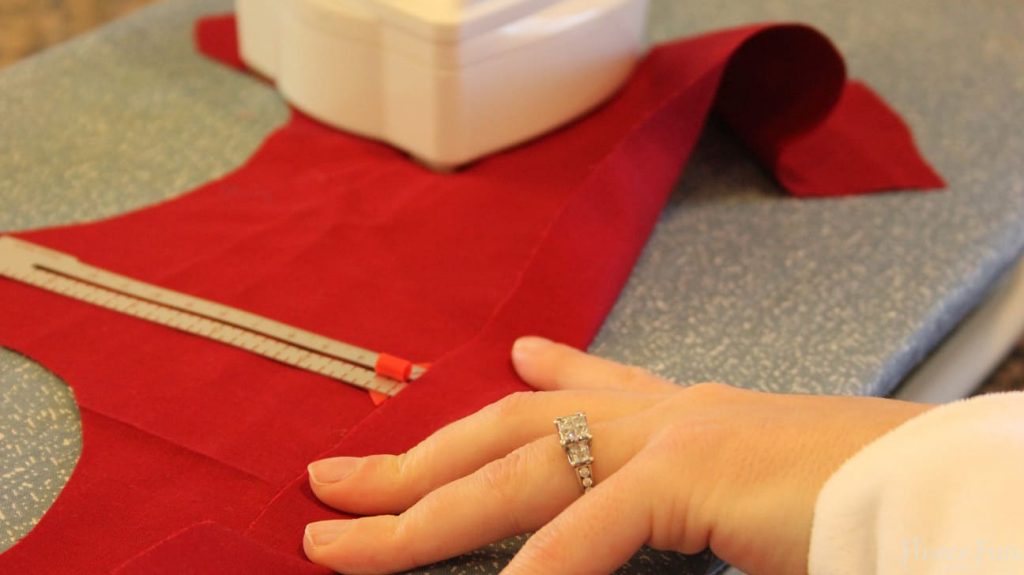
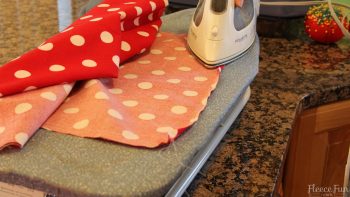
Taking the two long strips that will be the ties, fold one right sides together (so it makes a strip that its 2.5 inches wide and 20 inches long),
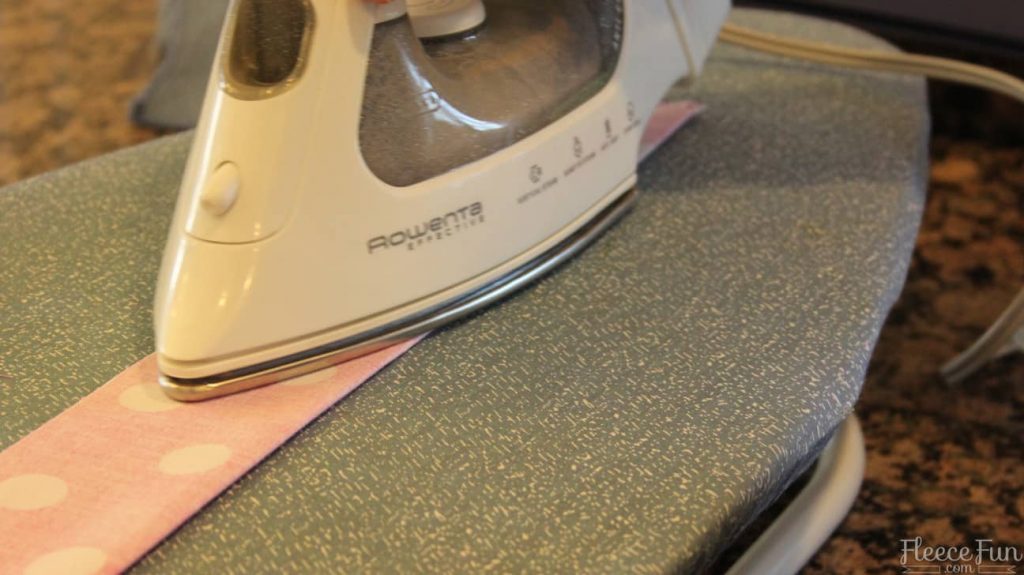
Press the apron tie
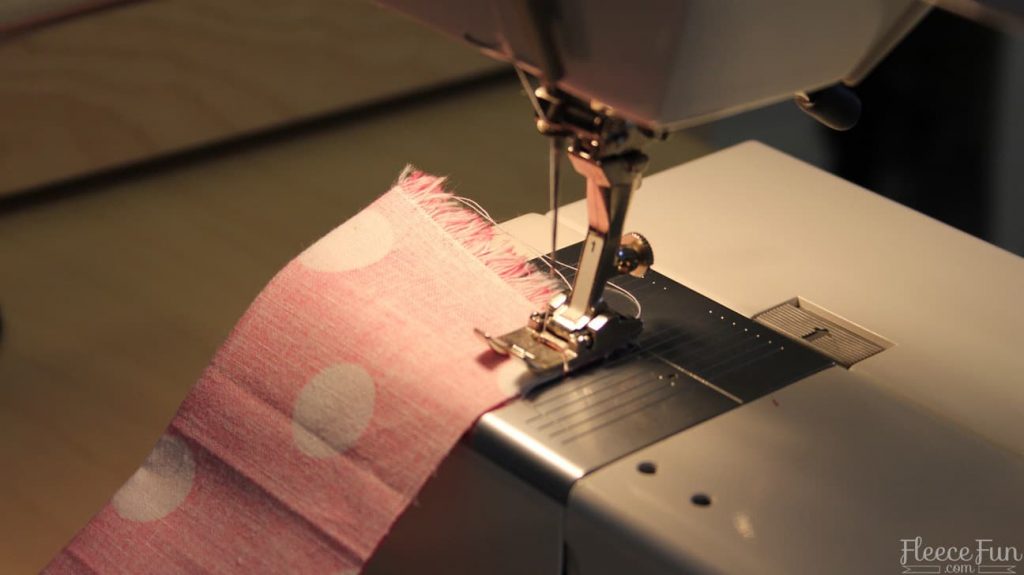
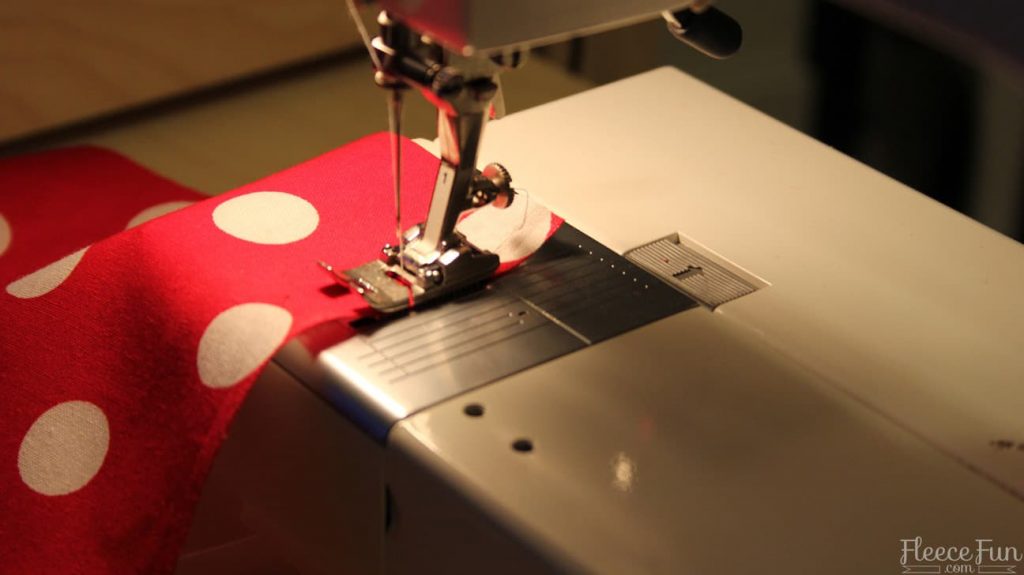
and sew, using .5 seam allowance.
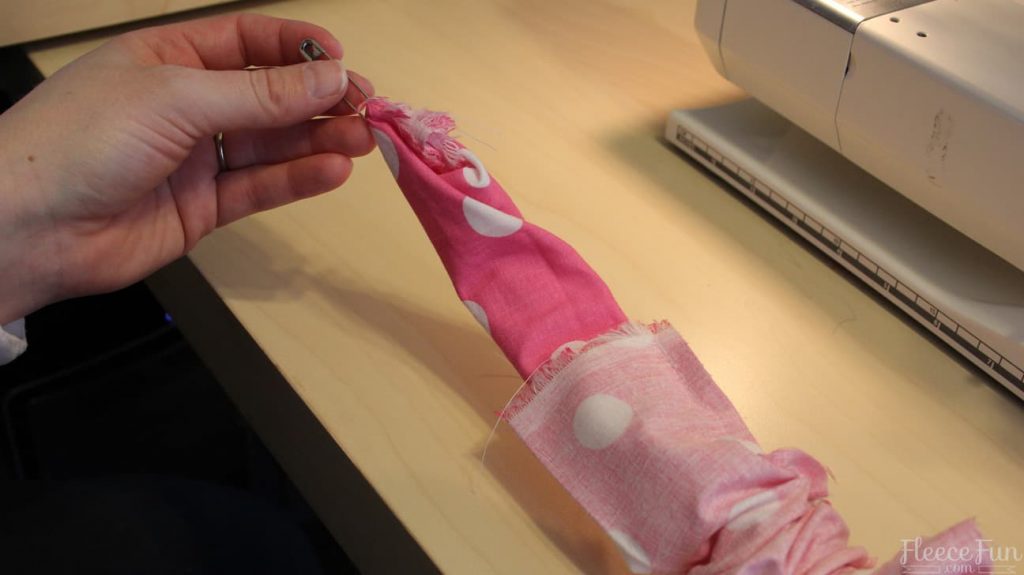
Turn right side out, press.
Repeat with other strip.
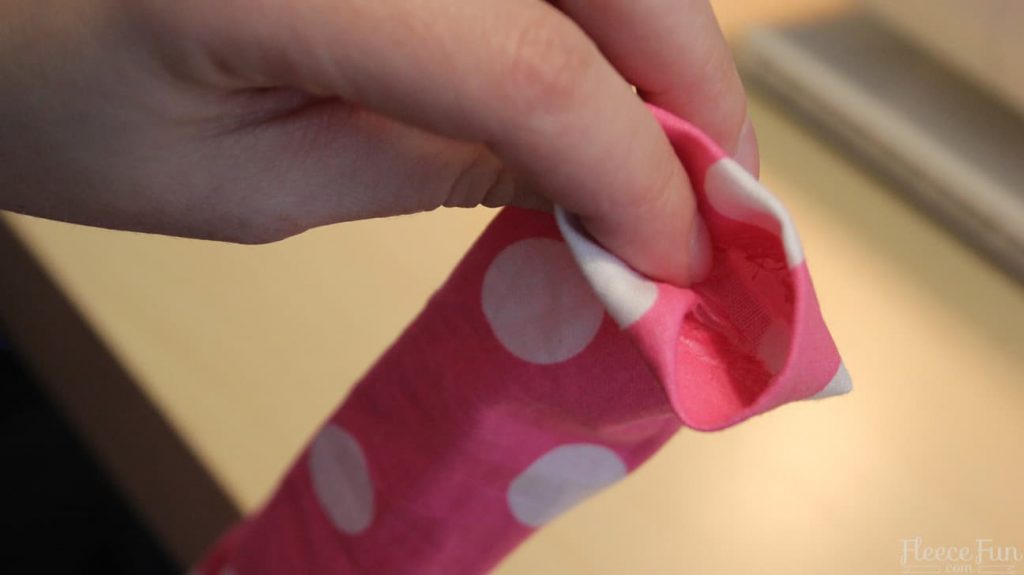
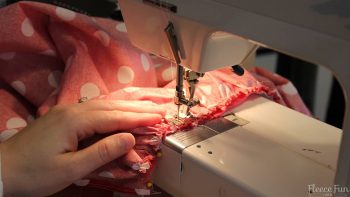
Take one end of the strip and tuck the raw edges in on itself, about an inch and top stitch shut. Repeat with the remaining tie.
Set aside.
step 3 – Begin to build the kid apron
See also me detailed article on rolled hems here for more explanation.
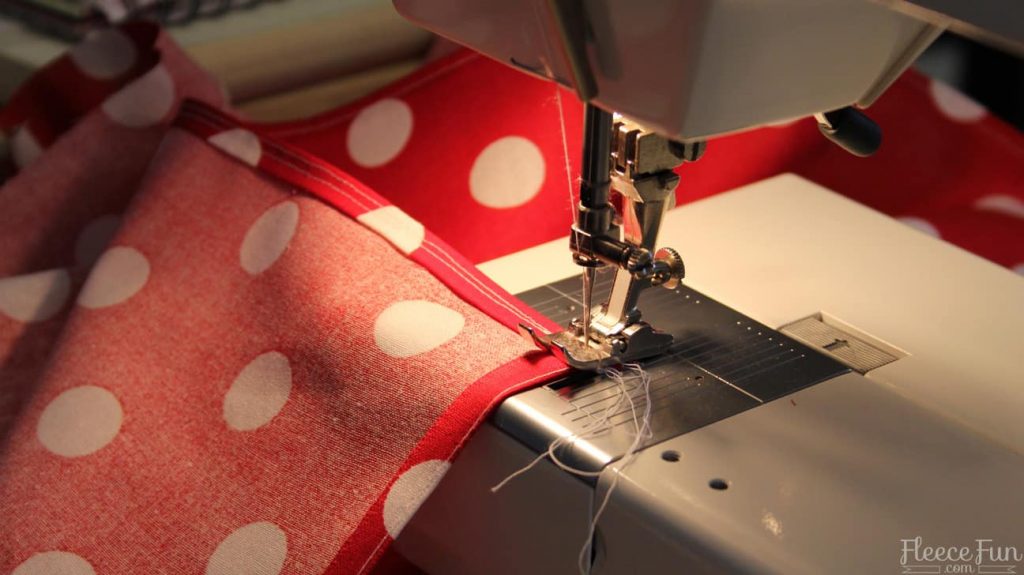
Because this garment will be washed a lot it’s important to finish the edges nicely. Make a baby hem around 3 sides of the apron skirt (the sides and bottom).

To do this: turn under .25 inches twice. (you can make guides by sewing a straight stitch .25 inches from the edge and then another straight stitch .25 inches from the previously sewn line.
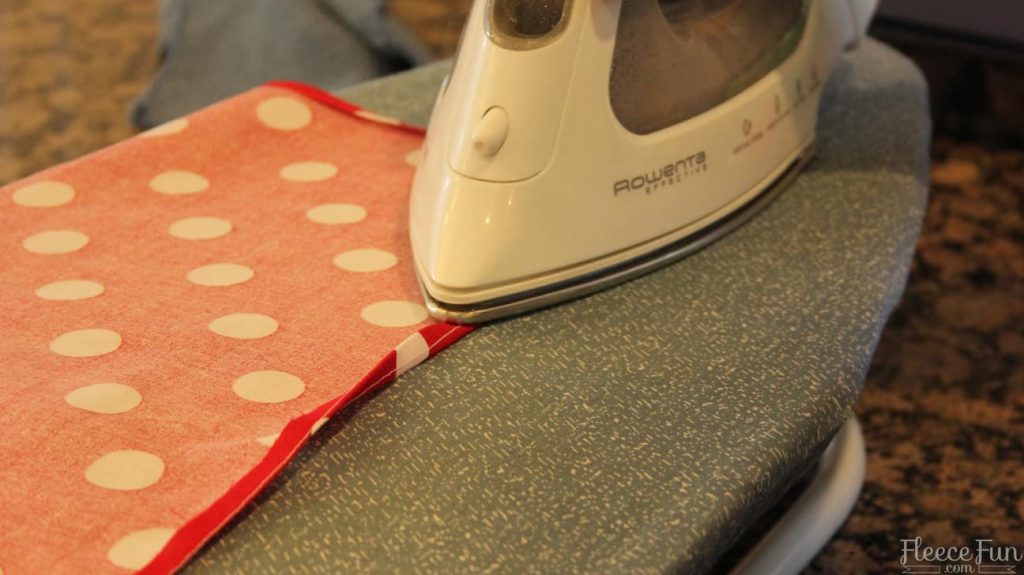
Press under the seam twice and
sew down using a straight stitch. Set the skirt aside.
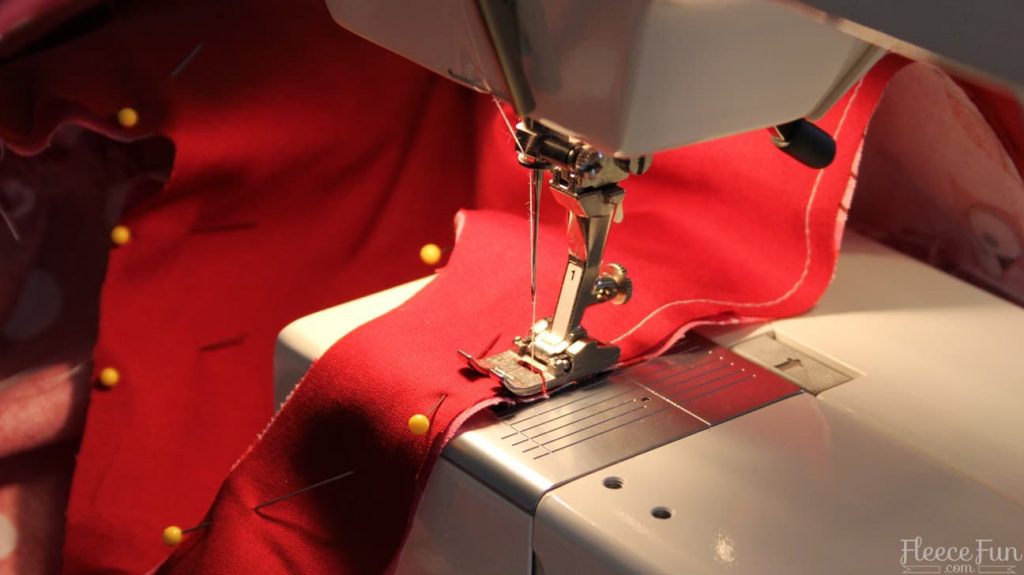
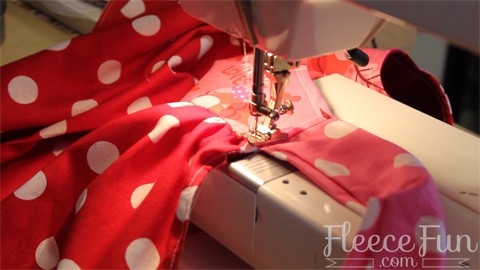
step 4 – Make the child Apron bodice
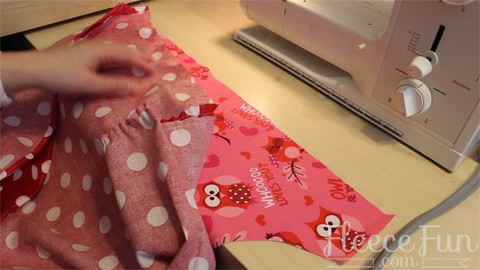
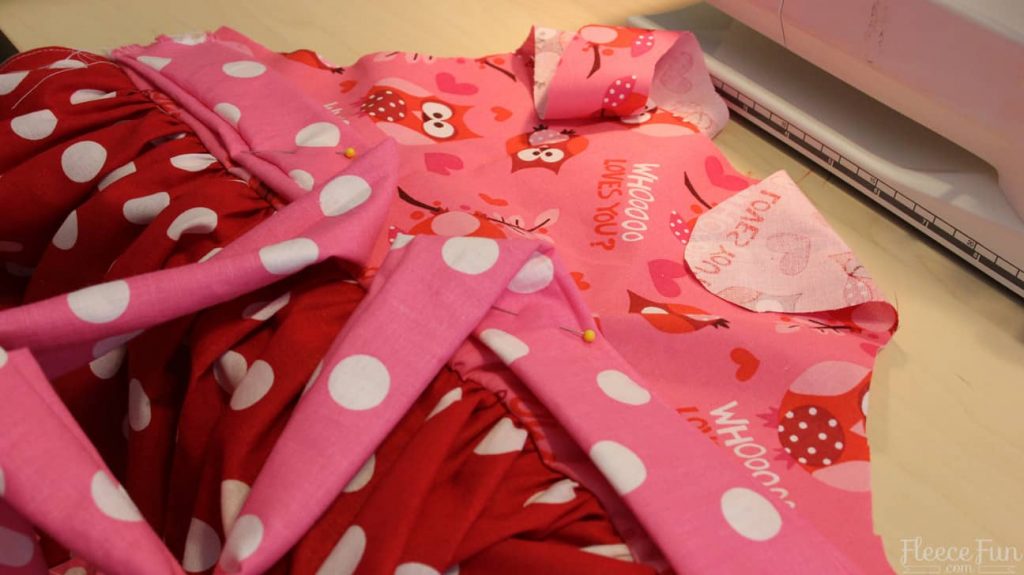
Take the front of the bodice and the large skirt part of the apron.
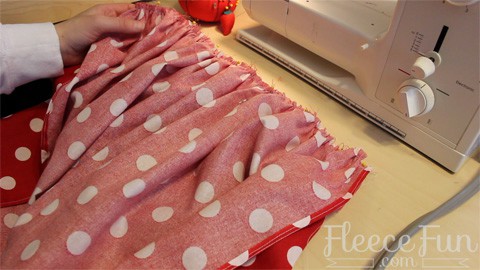
Make a basting stitch in the top of the skirt (the 40 inch long side) near the edge (about .25 inch) gather to the length of the bottom of the bodice.
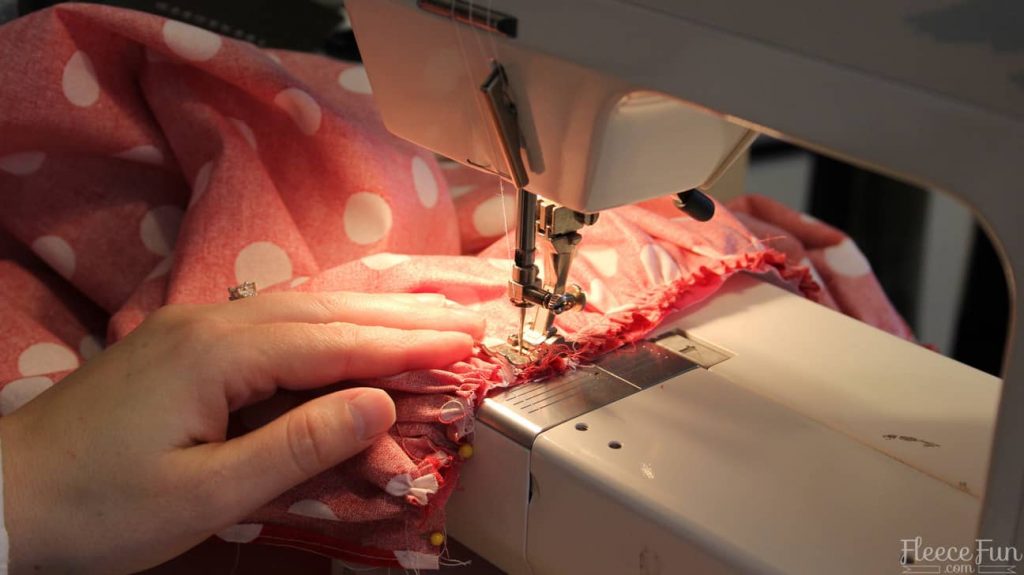
With right sides together, pin to the bottom of the bodice and sew using a .5 inch seam allowance..
step 5 – Prep Bodice
Take the bodice lining and press under 1.5 inches along the bottom.
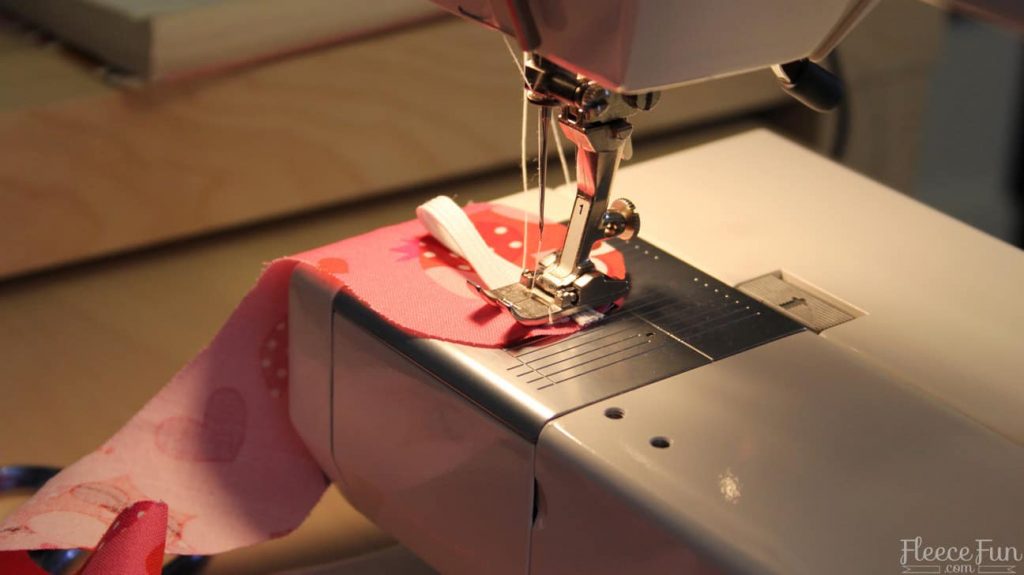
step 6 – Add the tie straps
Almost done with the child apron tutorial, just a few more steps! Next, we add the tie straps.
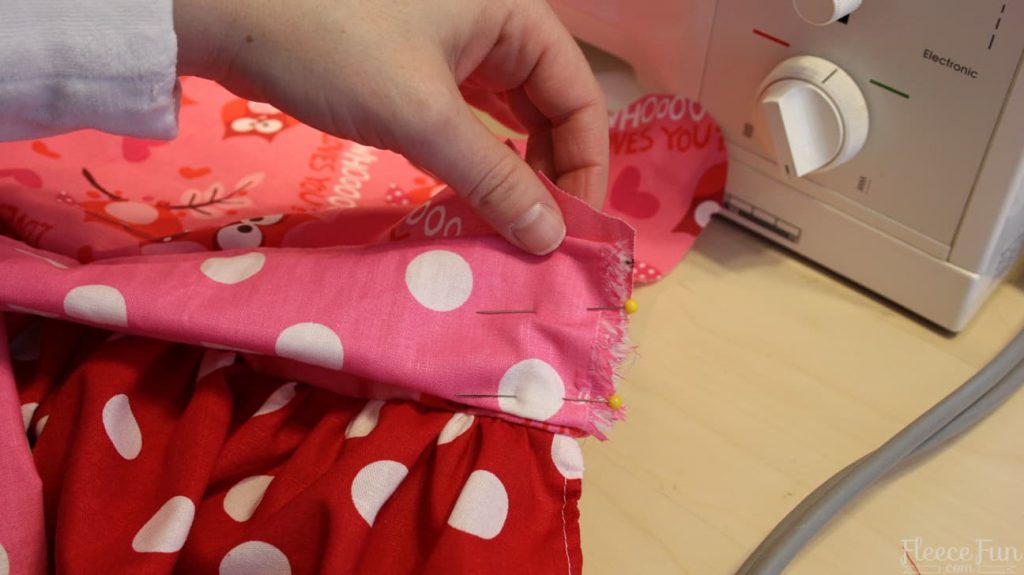
Pin the tie straps to each side of the bodice on the right side of the fabric.

Sew into place using a .25 inch seam allowance for extra support.
Pin straps out of the way.
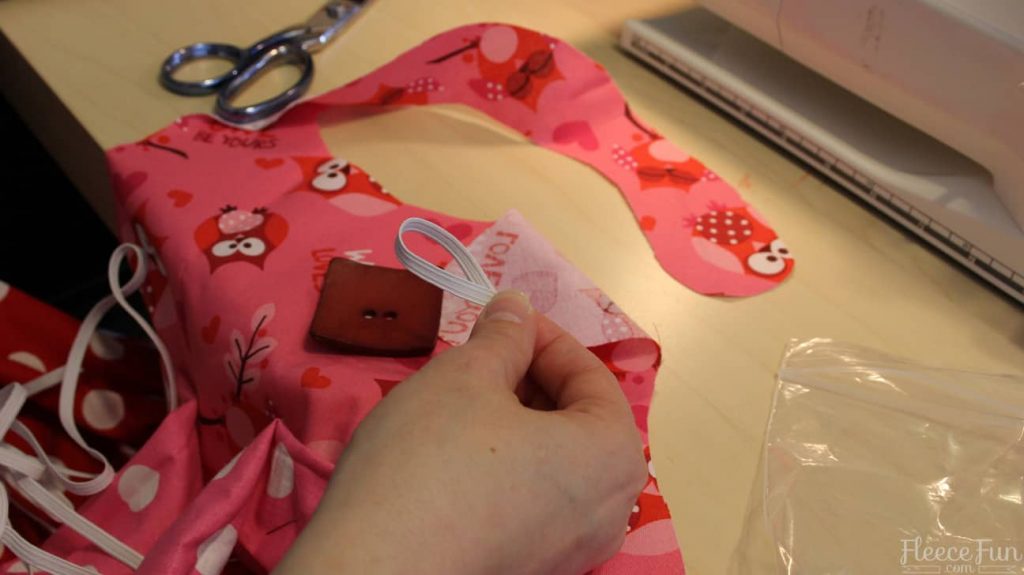
Make your elastic loop (be sure to test it on your button – so it’s the right length) and
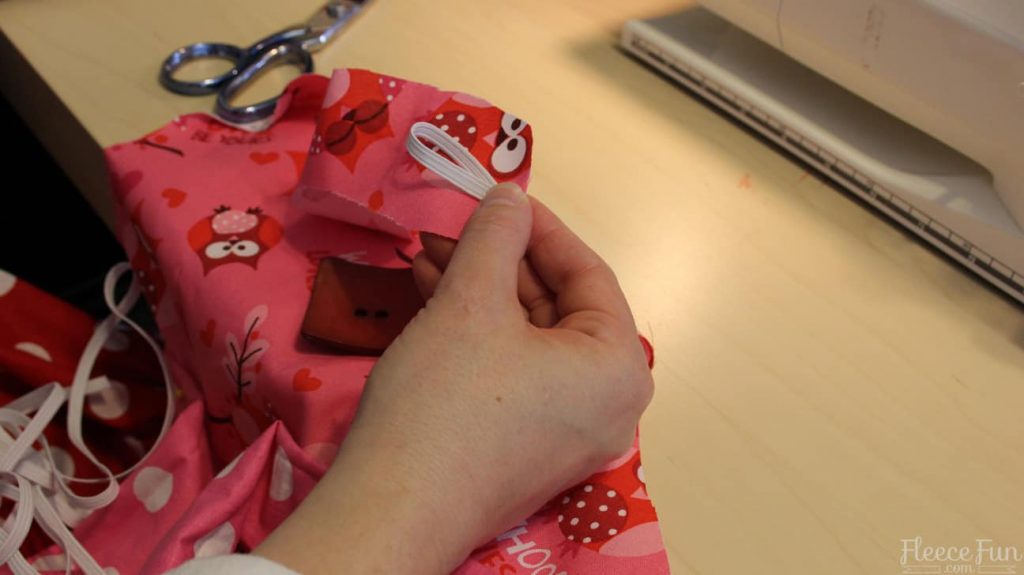
place at the end of the long neck strap (facing in)
tack into place for extra support.
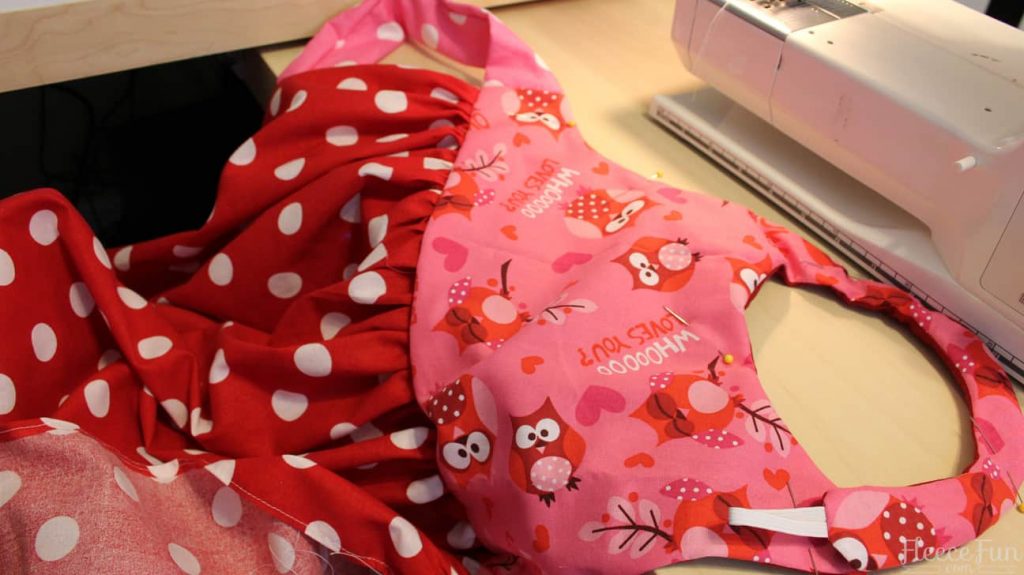
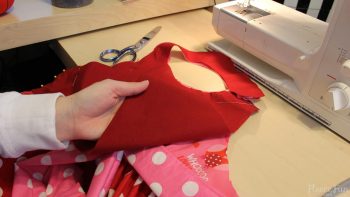
step 7 – Bring the kid’s apron all together

Then pin the lining or “back side” of the bodice to the front, right sides together
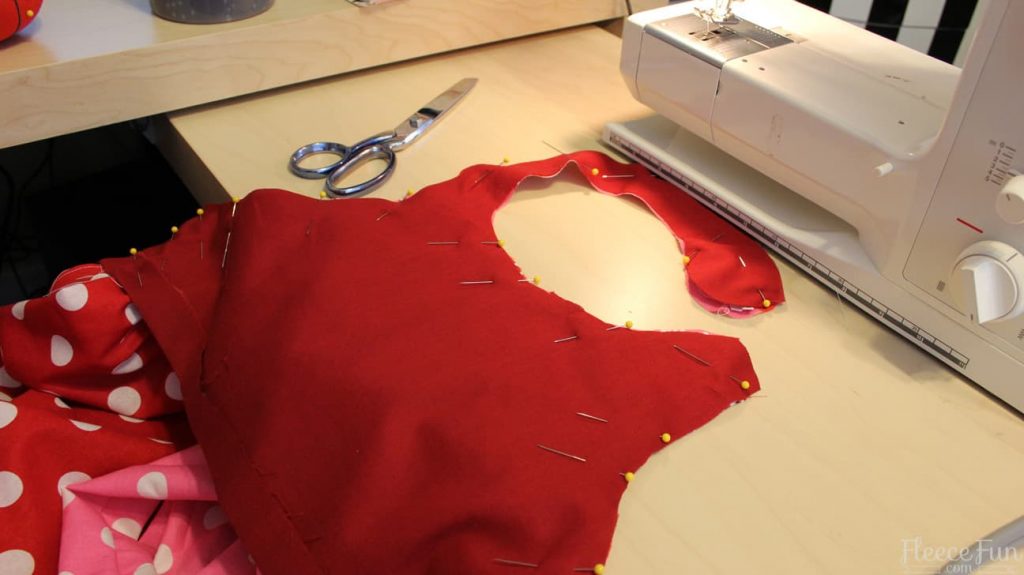
– the straps and loop should be sandwiched in between
Sew all the way around the bodice from one side to the other leaving the bottom (where the bodice meets the skirt) open using a .25 seam allowance.
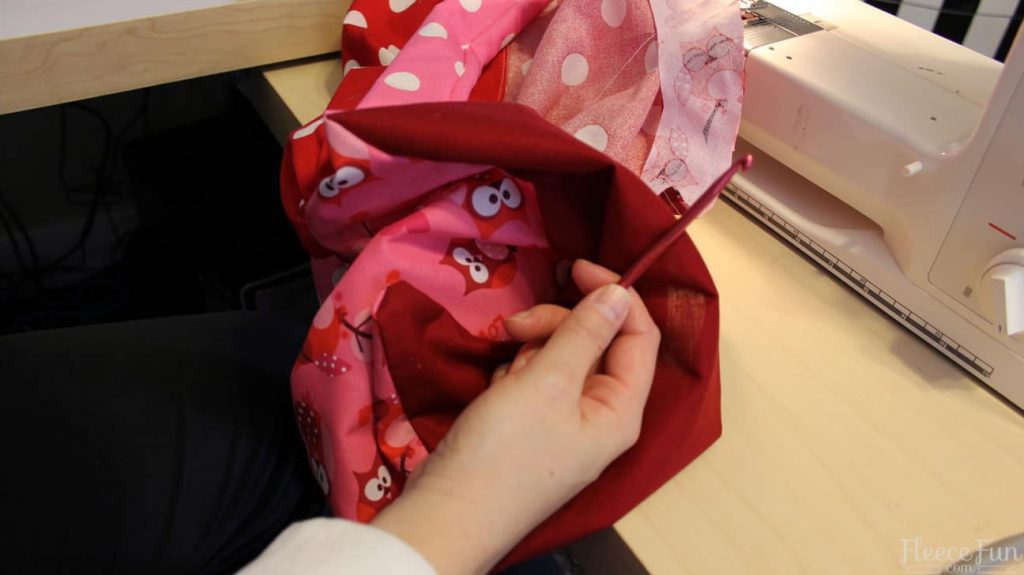
Turn right side out, making straps are fully turned.
Quick Tip
I like to use a crochet hook to grab the elastic to turn the long neck strap right side out.
step 8 – Finishing touches for the apron
Now that the bodice is turned you are almost there!
Top stitch all the way around the bodice .25 from the edge – including the bottom (this should sew that gap shut.)

Add a button to the other side of the strap. Trim threads and you are finished with the child apron tutorial!
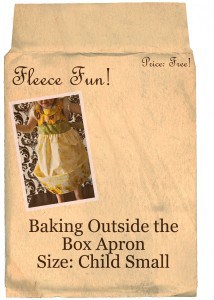
Download the free Child Apron pattern below:
You can get a free copy of Adobe reader here. By downloading you are agreeing to pattern terms of use. Click the picture below and fill out the form to download the .pdf !

Other Free Apron Patterns to Enjoy:
More Girl Patterns:
- The Fall Cape for Girls
- Flannel Nightgown Pattern
- Fingerless Gloves Pattern
- The Bow Tie Headband
- Satin Flower Hair Clips
- Drawstring Back Pack
- Upcycled Sweater Skirt
- Apron for Teens and Tweens
- See more Fall Sewing Projects here!
How to Make a Kid’s Apron
Equipment
- Sewing Machine
- Scissors
- Rotary Cutter, Ruler and Mat
- Sewing Essentials ( Pins, needles, etc.)
- Iron
Materials
- 1.25 Yards Cotton Fabric
- 1 Button
- 1 spool Thread
- 1 piece elastic pony tail holder or thin elastic will do
Instructions
- Download the Free apron pattern in the kid size desired. Assemble the pattern.

- Cut out 2 of the apron bodice pattern. 1 of the front and 1 of the liner (note they are different sizes)

- Cut out the following with a rotary cutter: 2 pieces that are 5 inches by 20 inches. Then cut a large rectangle that is 40 inches ( the width of the cloth by the length you desire – this way you can make either a long or short kids apron – it's up to you.
- All Seam allowances are 1/2 inch. Make the apron ties by folding them in half (so they are 2.5 inches by 20 inches) turn right side out. Press. Tuck in one end and sew it shut. repeat with other tie.
- Finish off three sides of the apron skirt with a baby or a rolled hem. Make a basting stitch at the top of the skirt ( the side that is not finished).
- Gather the apron skirt to match the bottom of THE FRONT apron bodice. Sew the gathered skirt to the front bodice.
- Finish by adding the bodice lining, ties and button as seen above.

wow, thank you so much for this site 🙂
Cuter ‘n a bugs ear!
The child large will fit a 6 – 10 year old.
Thanks so much for the pattern! Just wondering what sizes the small fits? I am making 4 aprons one for a 2 year old, one for a 4 year old and two 5 year olds. Just wondering if small would do al of these or should i use medium for the older girls? thanks x
Hi Star!
The small fits 24months to 3T. The Medium is a 4T to child 5. The Large is a 6 to 10.
– Angel
Thanks so much for the quick reply Angel. Can’t wait to make these so so so thankful I found your website, makes me think I might actually be able to make something. Every other tutorial I’ve found made me think it was too hard. Thanks so much again.
Thank you for a cute, quick and easy apron pattern. Have been looking for one to make my niece and completed in about 2.5 hrs!
LOVE this pattern!!! Making apron, napkins and placemats in coordinating fabrics. Can’t wait to get started. Adorable!!
I want to make 3 of these for my daughter’s bridesmaids – I think they’ll be a great cover up to protect their dresses when the little girls sit down for the wedding breakfast.
As the wedding is taking place at the Zoo (!) I’m going to make the top in a zebra print and the skirt in ivory.
I haven’t told my daughter about them – I hope she’ll love them as much as me !
Thanks for sharing your patterns.
I just started sewing (taking some classess) and this is great. Hope will be able to do some of these projects. Thank you so much!
I have downloaded the small size pattern and I thank you so much for sharing. Will you please advise on the proper “scaling type for the printer? Mine is presently set up at “Fit to Printer Margins” which shows the scale at 96.94%., and I am not sure how that came through I can set it to a different scale and see that “None” will give me 100% which probably is what I need, but I wanted to be certain. Would you please comment on this aspect for me? Thank you so much for this pattern and for your website.
Was there an answer to this question? I was also wondering what size to print, perhaps a test box would be helpful … Thanks for the beautiful pattern though I’m hoping to make it for my daughter.
Hi Kathryn on the Pattern assembly page there is a rest box you can print.
This is a very clever and beautiful little apron. I appreciate the neck closure as I have always been a little worried about straps around a child’s neck. The button and elastic closure method makes the apron a bit safer than the strap. Angel, I feel that you are a very creative person and wish to thank you for this pattern. As a teacher, I enjoy making aprons for my students for messy art projects and for science activities. Your apron pattern will be my summer project. Twenty-five little aprons… I had better get started! Thanks again. This is the best pattern that I found on the web.
I just finished this for my niece and it was so easy and came out so cute!! It took about 4 hours total from start to finish. Thanks!!!
Thanks Aly! So happy it worked for you. =)
Thank you for this pattern. I will make some for my nieces, one in each size:-) You have made my day!
Great apron and easy to make. I want to make one for myself. Do you have an adult pattern? Also, I don’t see where you sewed a button on. I would like to see how you did that!
Hi Kim,
I don’t have an adult version of this apron right now, but that’s a good idea. I sewed the button on using a satin stitch on my machine on a wide setting.
I love your pattern–and your instructions are wonderful! I have been sewing for more than 50 years and have made several aprons–both for adults and my grandchildren. I usually make my own patterns but decided to check out the web and found your site. I love that the neck strap goes around the neck and fastens on one side, rather than two ties or a strap that just goes over the head. I am getting ready to make one now for my granddaughter. Thank you so much!
Love this pattern! And your video and directions are so clear and easy to follow. The best that I have seen.
Thanks Carol!
I just finished this apron for a little girl that is 9 yo. But she wears a size 16.
I would consider making her an adult apron – like the thankful apron.
Thank you very much for the pattern and for the tutorial. The video is fantastic! I made one apron for my daughter and it was very beautiful!!
So happy to hear about your project! Thank you for sharing.
My printer will not allow me to print to the correct size of the pattern. Could you mail be the pattern for all 3 sizes for the children apron?
Thank you
Sorry I cannot take requests for hard copies. My patterns are available via the website only.