
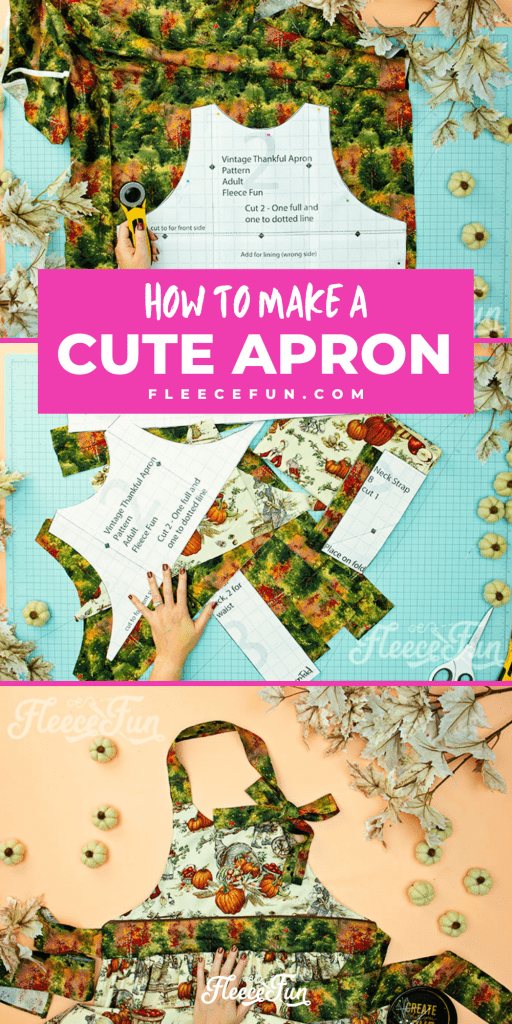
THANKFUL APRON PATTERN – FREE APRON PATTERN DIY SIZES CHILD TO PLUS
This content contains affiliate links or sponsored elements, read our Disclosure Policy.


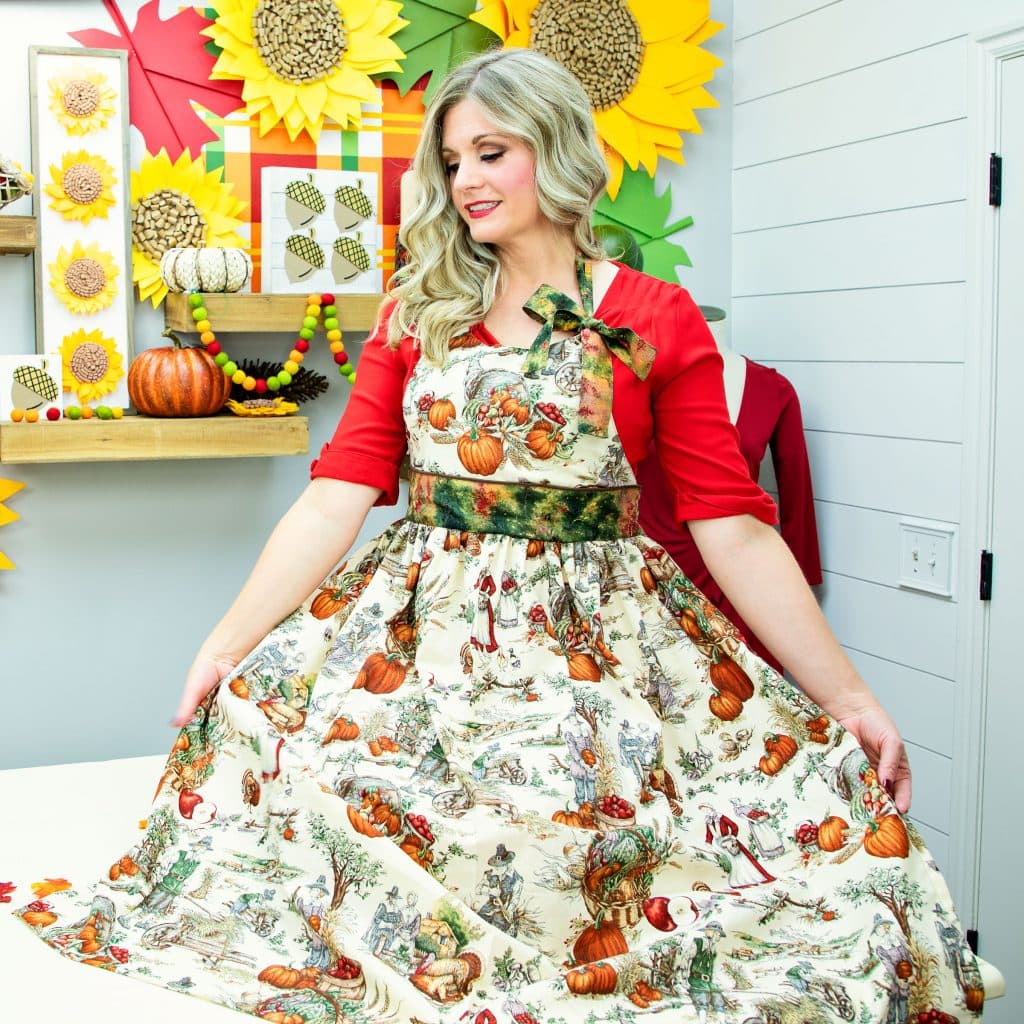
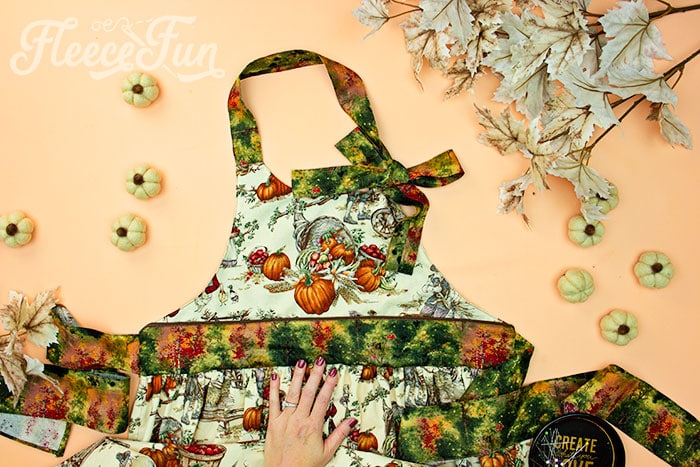
This Free Thankful Apron pattern and tutorial includes a video tutorial! You can make a classic apron that is cute enough for hosting, but practical for everyday use. I confess I love a cute apron – I have several (but my ratio of cooking to aprons is a little lopsided). For me cooking can be a chore but a cute apron can lighten my mood.

This apron tutorial was first offered nearly ten years ago. Since then I’ve gotten comments and requests and have modified the pattern a little to make it easier. This free thanksgiving apron pattern comes in child ( ages 5 to 10) and adult (fits most up to a size 14). I also am including a “plus” size bodice option for my friends that are a US size 16 and up.
Hate The Ads?
This pattern with video and printable instructions is available to members of the Maker’s Studio. The Maker’s Studio is an ad free experience, no video ads, no forms, no zip files, just creating.

This vintage style apron is designed so you can choose the length of the skirt.
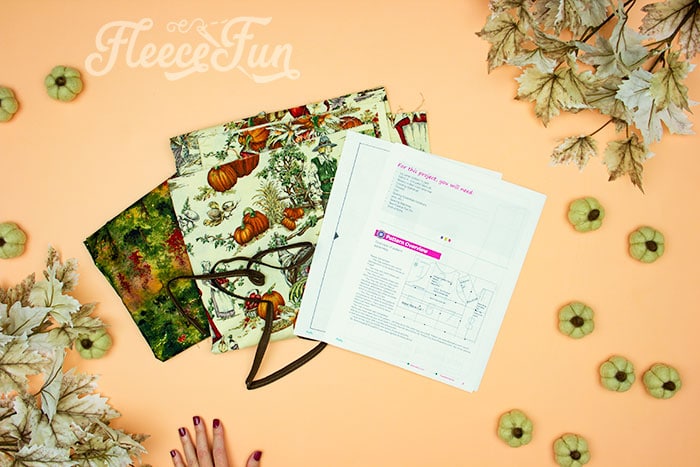
YOU WILL NEED:
- 1.5 -2 yards cotton (1 yard fabric A , 1/2 yard fabric B for standard size 3/4 for plus)
- Rotary cutter, ruler and mat
- Cording (optional)
- Thread
- Iron
- Sewing Essentials (scissors, pins, etc.)
- Sewing Machine
- Get the free pattern here.

Video Tutorial Here, Written Below:

Thankful Apron Pattern – Free THANKSGIVING Apron Pattern Instructions
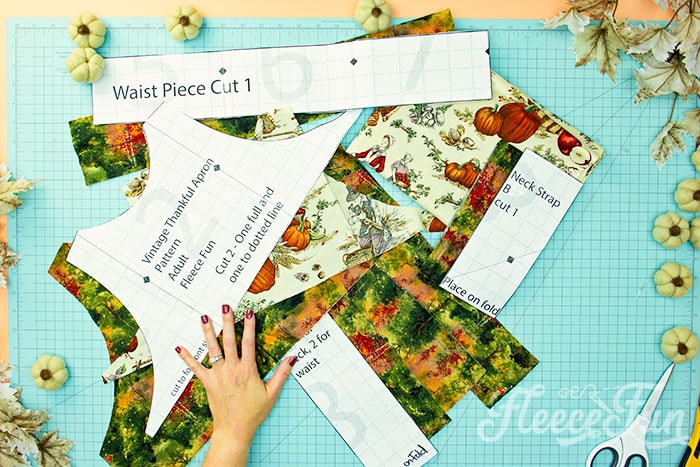
Step 1 – Cut Out the Free Thankful Apron pattern
Print up the free thanksgiving apron pattern (you can get assembly instructions here).
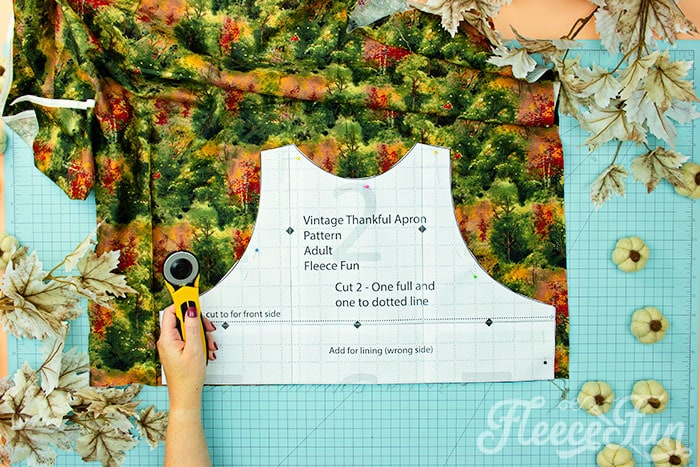
Cut out the liner to the cute apron bodice
(The liner is the full pattern).
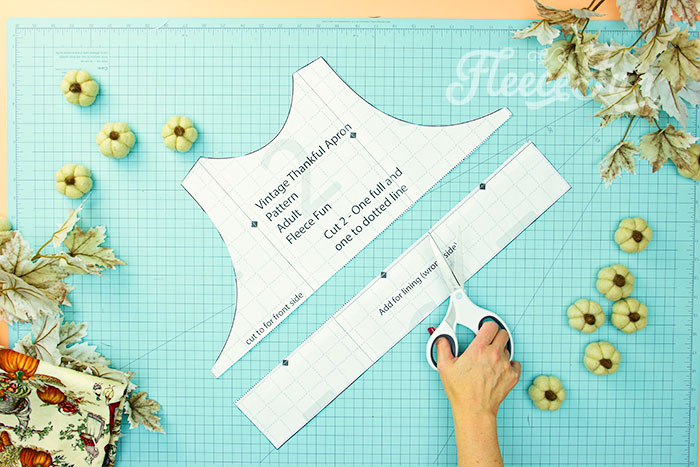
Cut down the bodice to the dotted line.
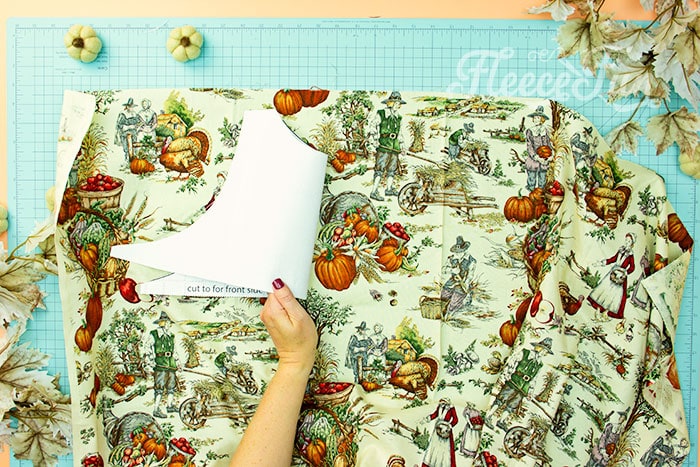
Cut one of the front bodice.
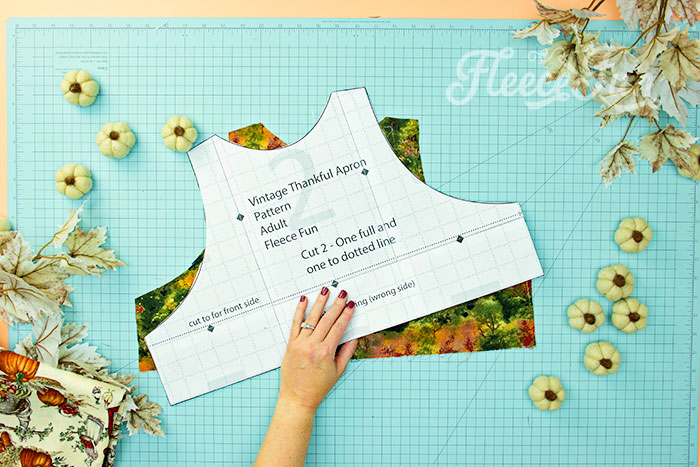
Quick Tip
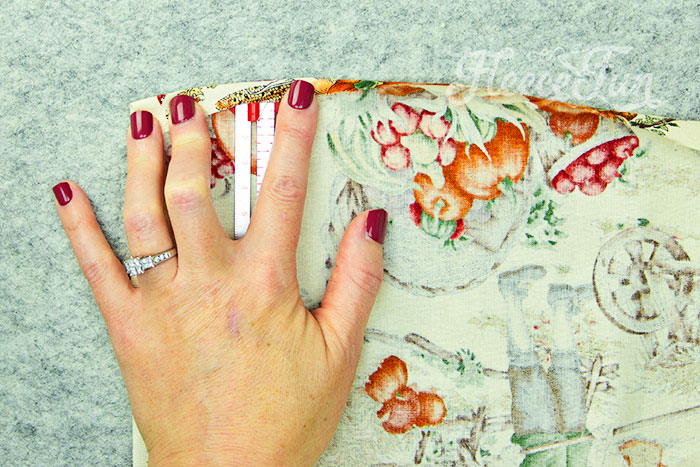
If your fabric has little scenes on it like mine does take a little time to center it on the front of the apron.

It uses a little more fabric but it really adds to the look of the completed sewing project.

The same is for the waist piece. Since this will be front and center on the apron take time and make sure that the placement is nice.
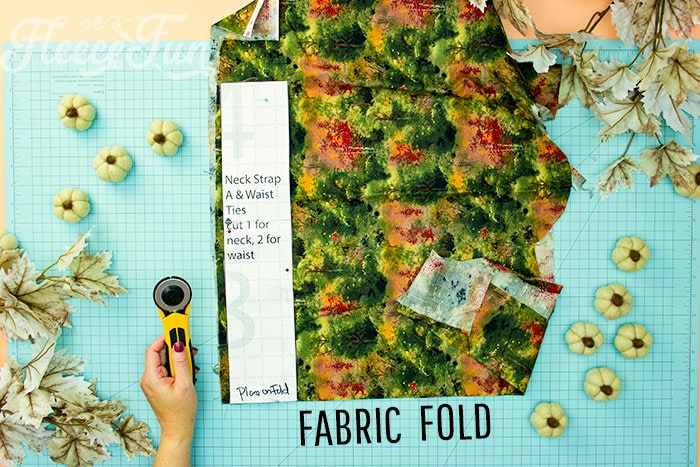
In addition to the top you will need to cut the following:
Cut 3 of the Neck strap A / waist tie pieces – be sure to set on the fold where it says on the pattern. The final pieces should be twice as long as the pattern since it’s cut on the fold.
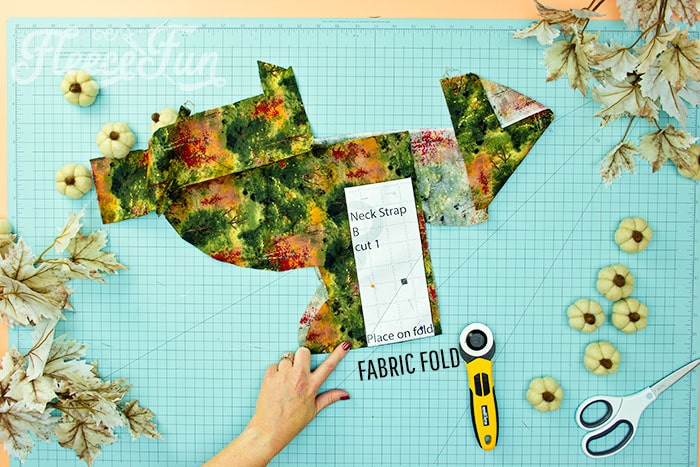
You will need to cut one of neck strap B (the shorter one) again be sure to place on the fold.
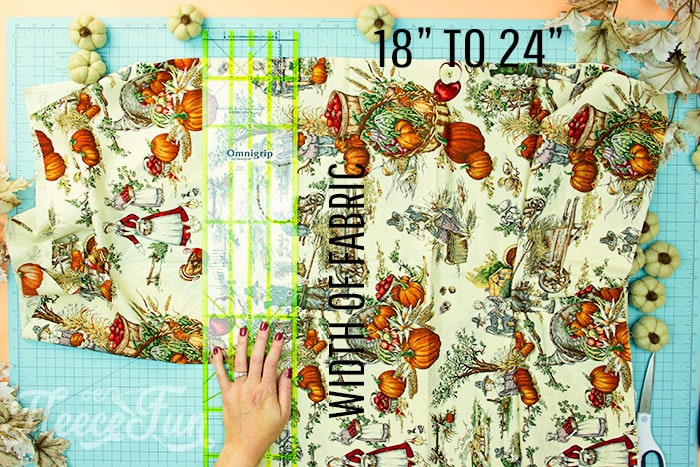
You will then need to cut the skirt. Since it’s basically a large rectangle I didn’t include it in the pattern (it saves time and paper). Using a rotary cutter cut across the full width of the fabric to make the skirt. The length you desire is up to you – In the example I chose to make a longer skirt that was about 24 inches long.
All pieces to the free apron pattern are now cut out. You should have:
- 1 bodice front (shorter)
- 1 bodice lining/ back (longer)
- 1 neck strap B
- 1 neck strap A (waist ties pattern piece)
- 2 Waist ties
- 1 waist piece
- 1 apron skirt
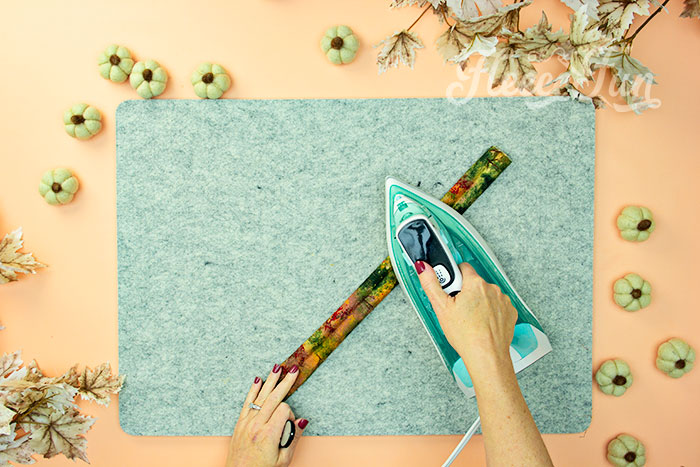
Step 2 – Iron and Prep the THANKSGIVING Apron Pieces
Ironing is an important step in this free apron pattern. Don’t skip it.
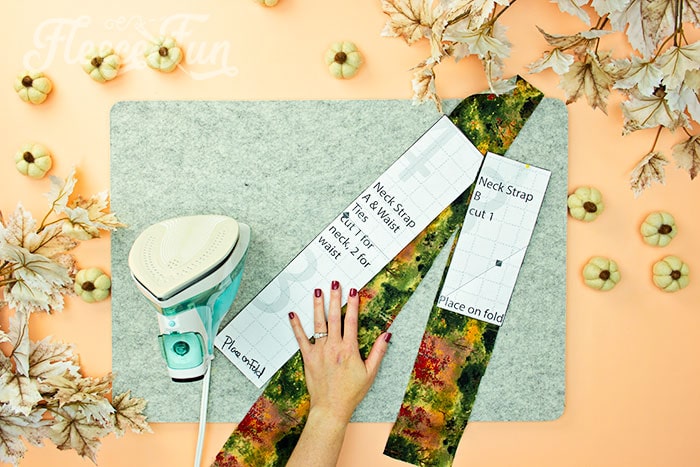
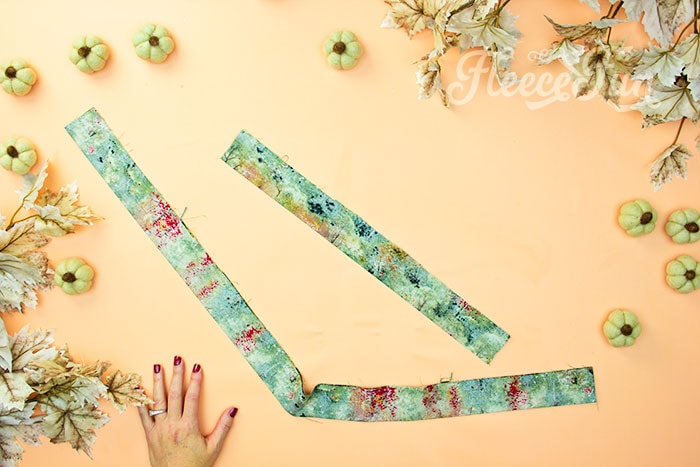
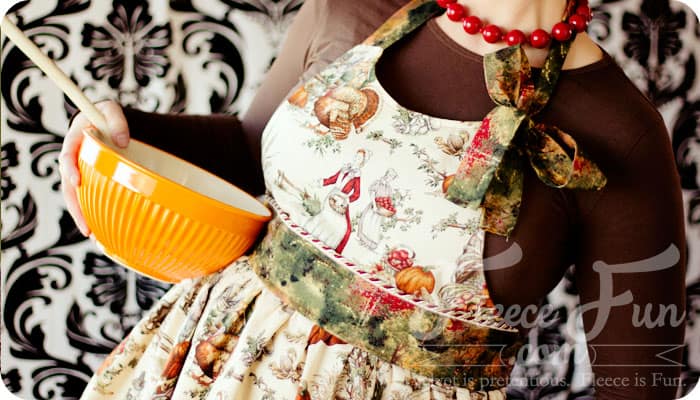
The two neck straps are not the same length on purpose – it’s part of the pattern to tie a bow on the side rather than in the back.
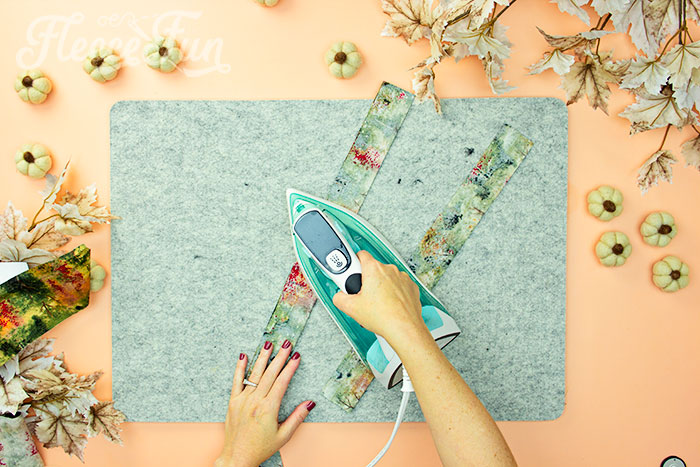
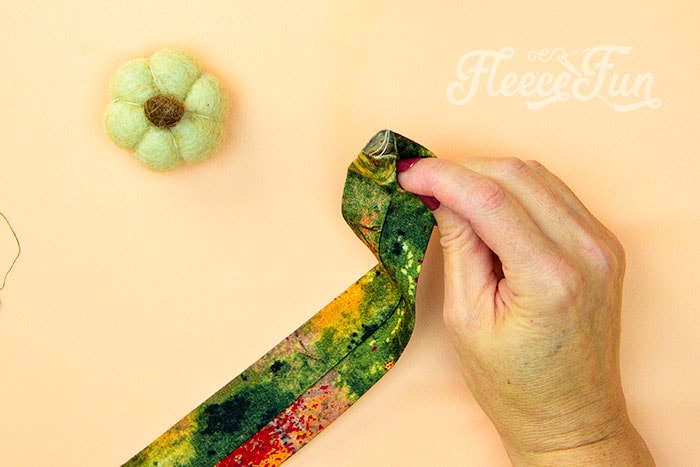
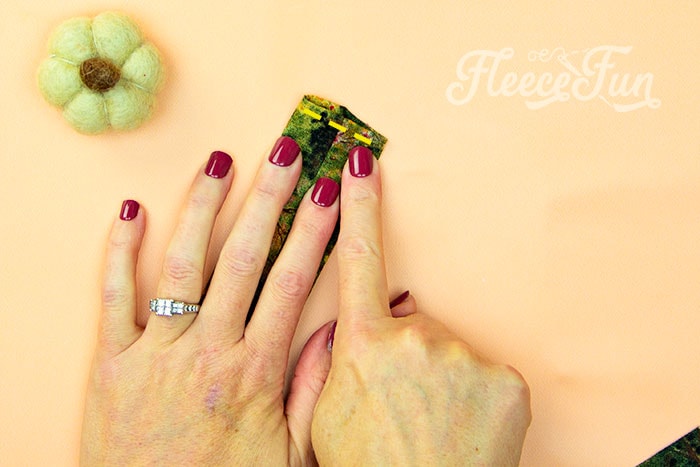
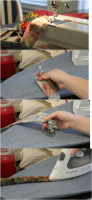
Taking the two strips that will be the neck ties, fold each of them in half length wise, right sides together (so it makes a strip that is approx. 1.75 inches wide), and lightly press into place. Set aside.
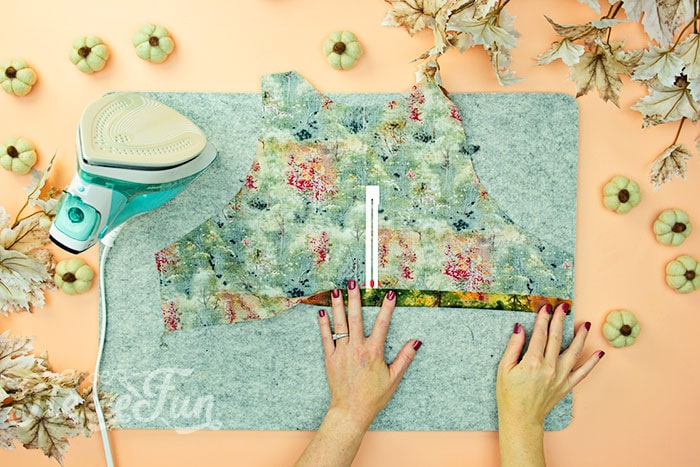
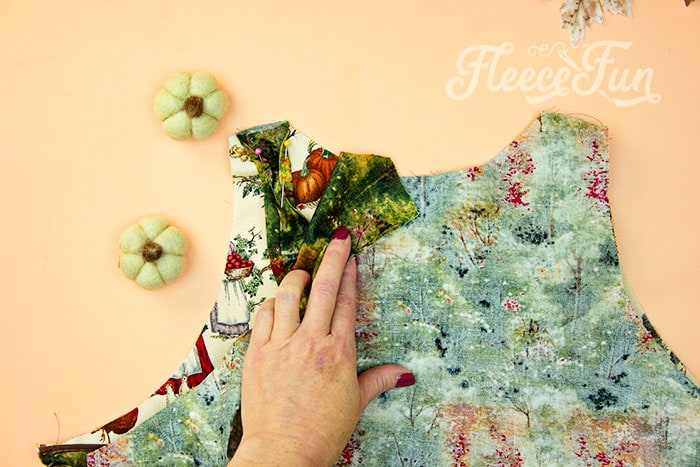
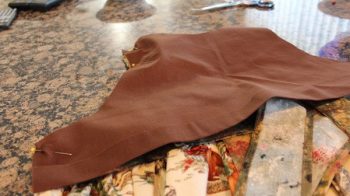
Next, take the bodice lining and press the bottom up 1 inch (so wrong sides of the fabric are touching).
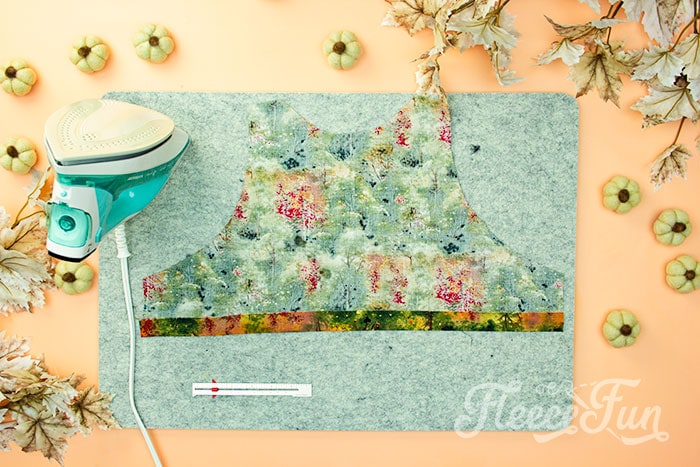
Set the apron bodice aside.

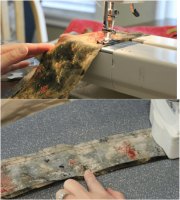
For the waist ties and apron skirt the edges will be finished using a baby hem also known as a turned hem. There are a couple of ways to do this. If you have a turning foot. Just lightly press the pieces to get wrinkles out to make working with them easier. If you don’t have a turning foot – don’t worry you can still make this hem it just takes a little more elbow grease.
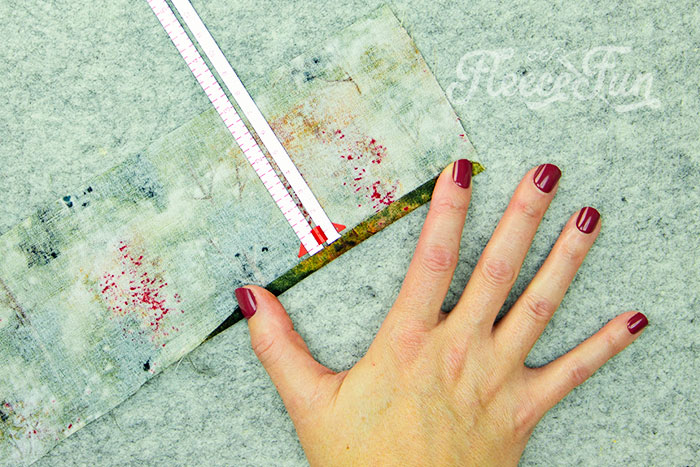
For the waist ties: on the long sides turn the raw edge in 1/4 of an inch and press.
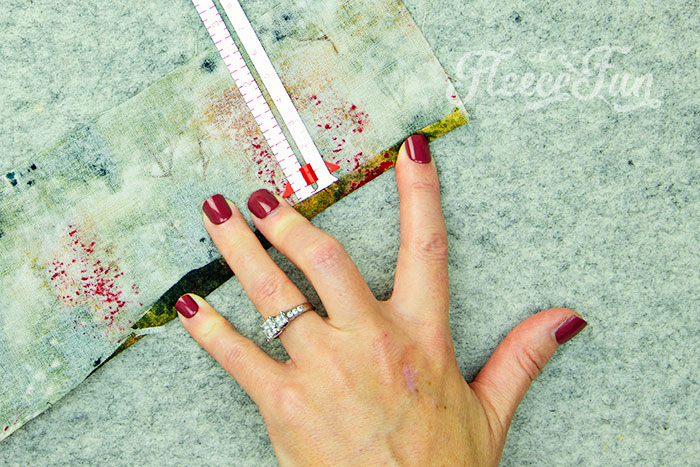
Then turn under once more 1/4 of and inch and press. This will make the turned hem. Make sure to make a turned hem at on of the ends of the ties (the end that won’t be sewn into the apron. Set aside.
For the apron skirt repeat this process for the sides and bottom (the top will be sewn into the bodice so no need). Baby hems are a pain but it makes the garment durable in the wash and is less expensive/ time consuming than bias tape. Set the skirt aside.
Step 3 – Sew the thankful Apron Bodice
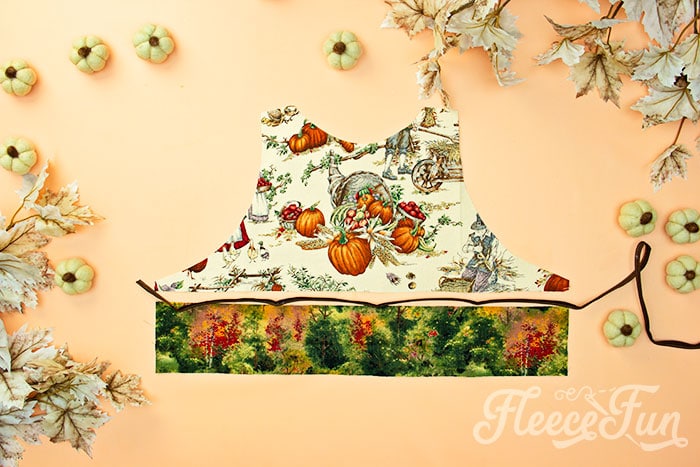
Gather the front bodice pieces, the waist piece and the cording.
NOTE
The cording is optional.
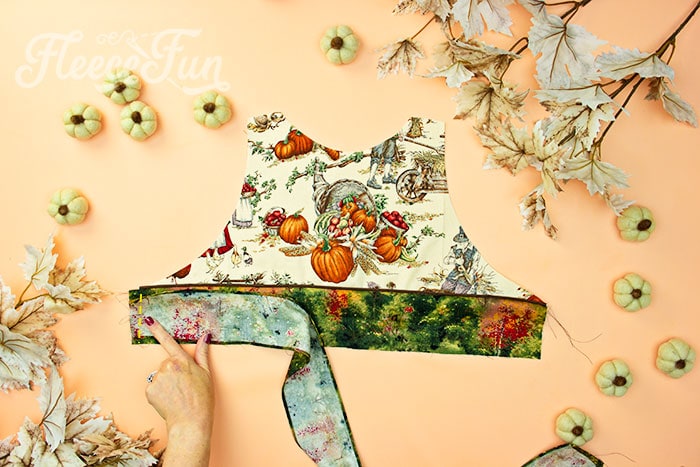
Line up the waist piece and cording with the bodice, right sides together. Using a .5 inch seam allowance sew the waist piece and cording to the bodice front.
Now let’s work on the neck straps.
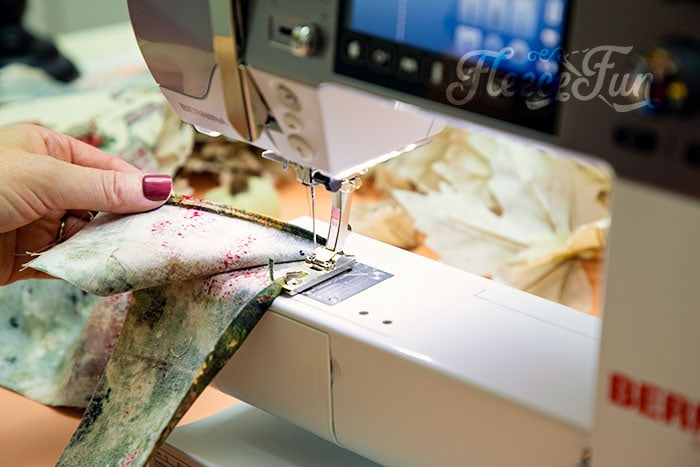
They’re all pressed and ready to sew. Starting with strap A sew it together using a .25 inch seam allowance. Repeat with strap B.
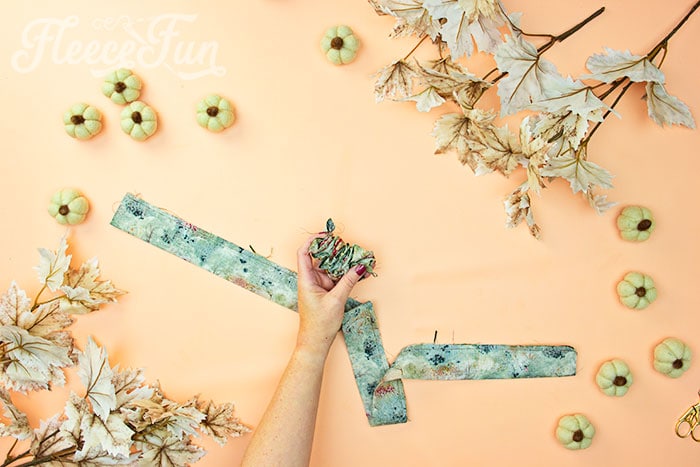
Turn each strap right side out.
Now it’s time to finish on end of the strap for tying.
Press the strap flat.
Tuck on end in on it’s self about .5 of an inch.
Topstitch shut. Set aside.
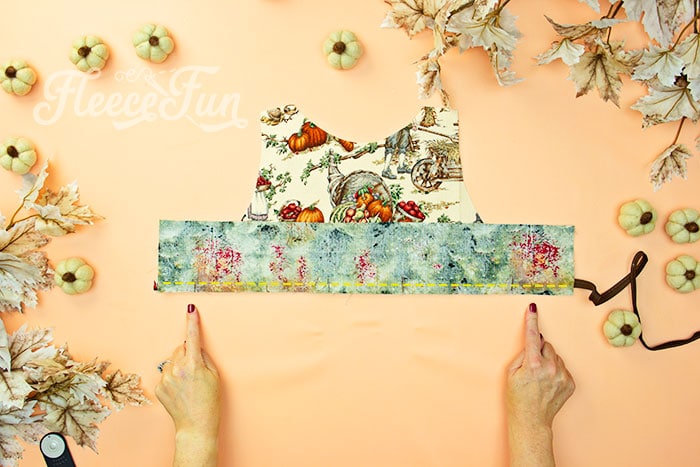
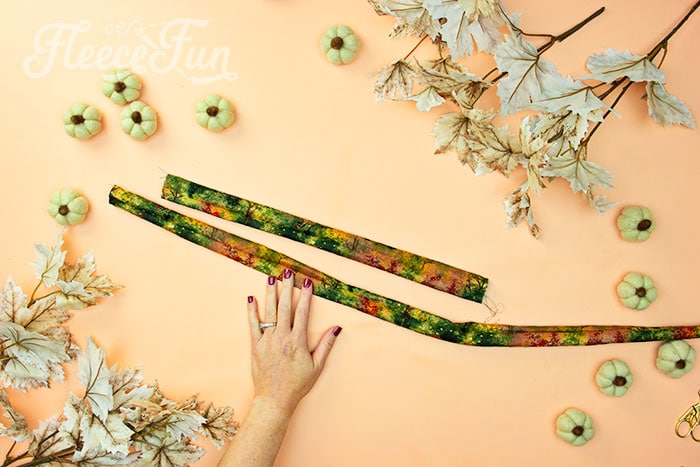
Take a waist ties. If using a turning foot finish the long edges of the ties plus one end. If you’ve pressed a baby hem, topstitch your pressed hem into place.
Let’s add these pieces to the bodice. Take one wait tie – placing the side that is not finished on the waist piece – center it and sew on using a .25 inch seam allowance.

Repeat with the other tie.
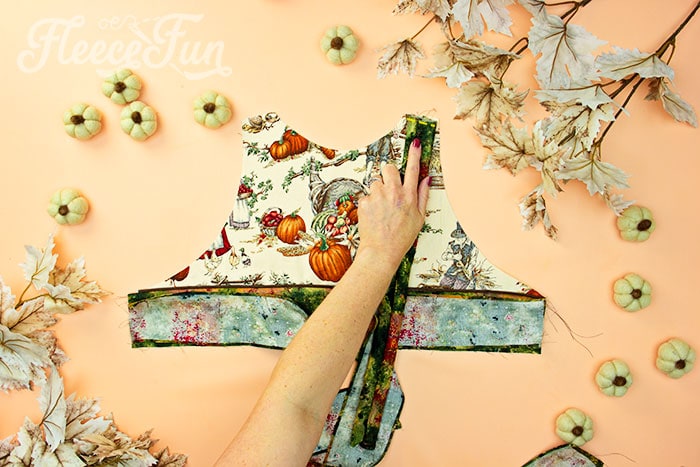
Now center the short strap B on one side of the bodice top.
NOTE
The side the short strap is on is the side the bow will go on.
Sew into place using a .25″ seam allowance.
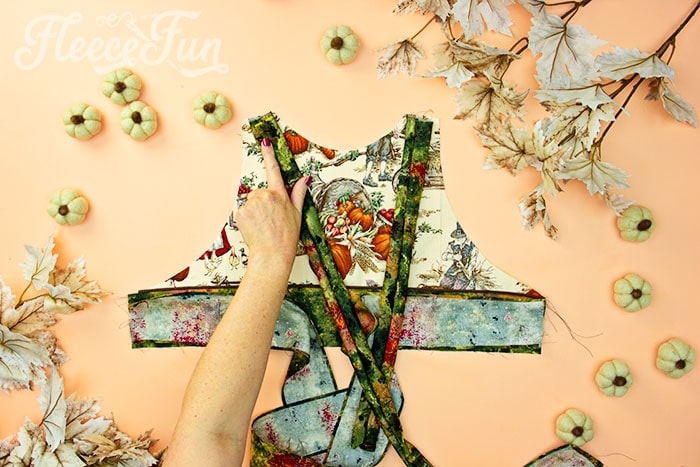
Repeat on the other side with strap A.
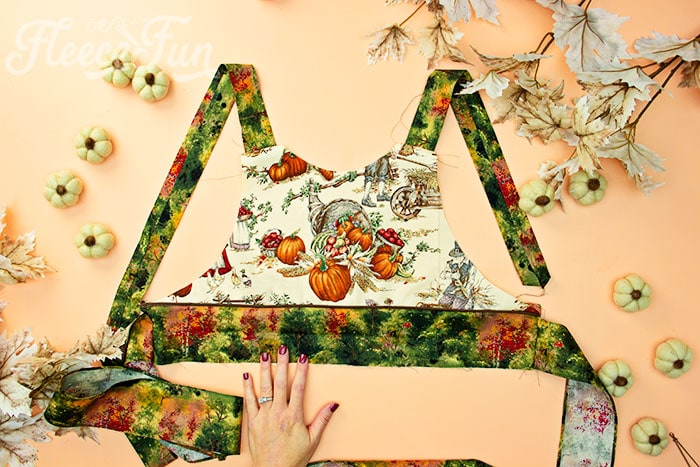
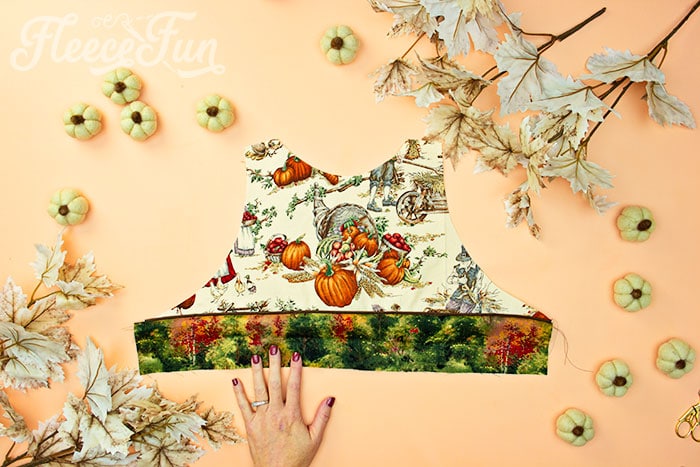
Nice. The bodice front is put together.
Step 4 – Attach the THANKful Apron Skirt
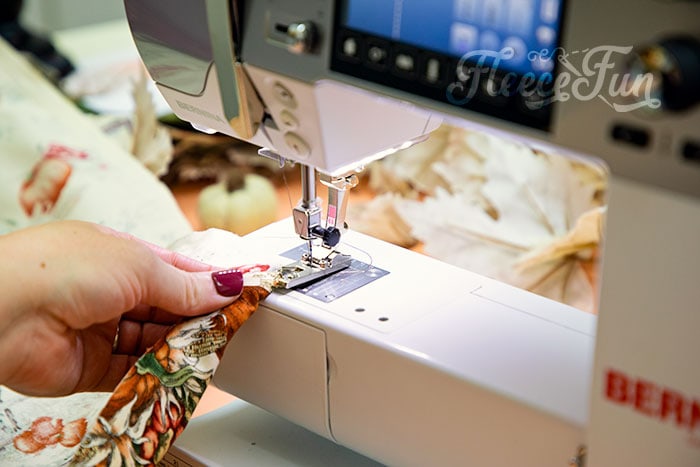
Finish the sides and bottom of the skirt with a turned hem. If you’ve already pressed your hem, simply topstitch into place.
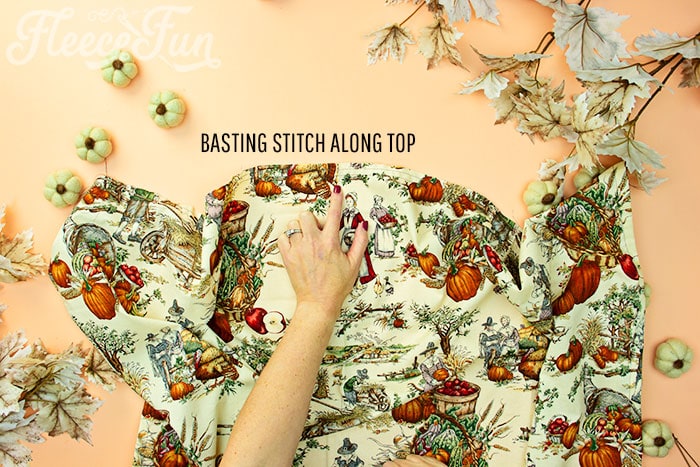
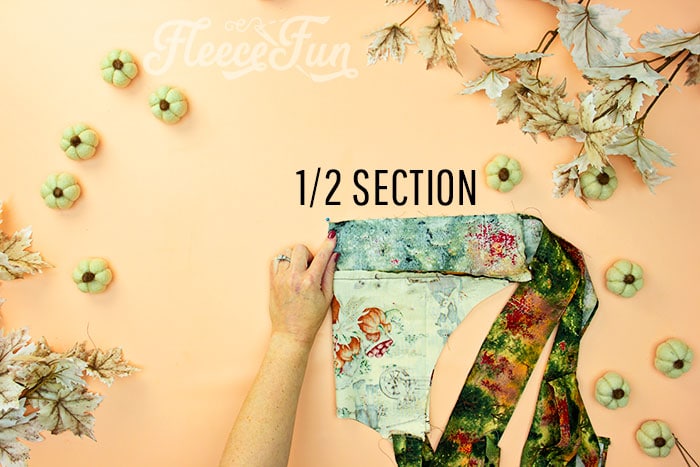
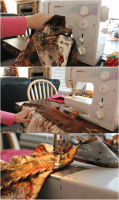
Along the top (where you didn’t finish the edge) make two basting stitches along the edge so we can gather the skirt.
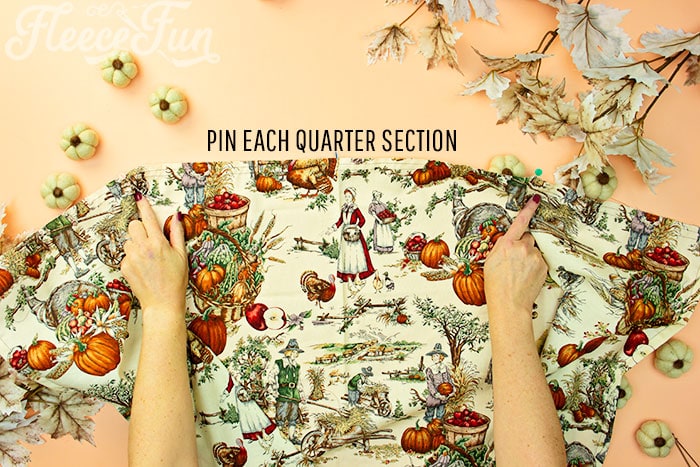
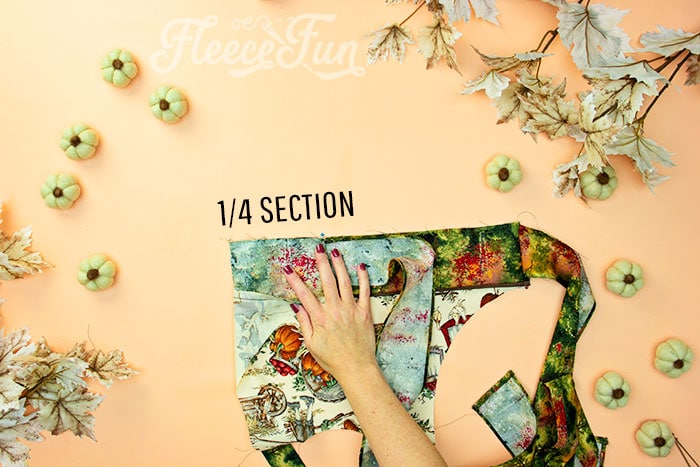
BEFORE you gather mark with a pin the center of the skirt (you can do this by folding it in half), and then marking the quarter sections of the skirt ( old a half in half) with a pin. This will help you make the gathers more even on your apron.
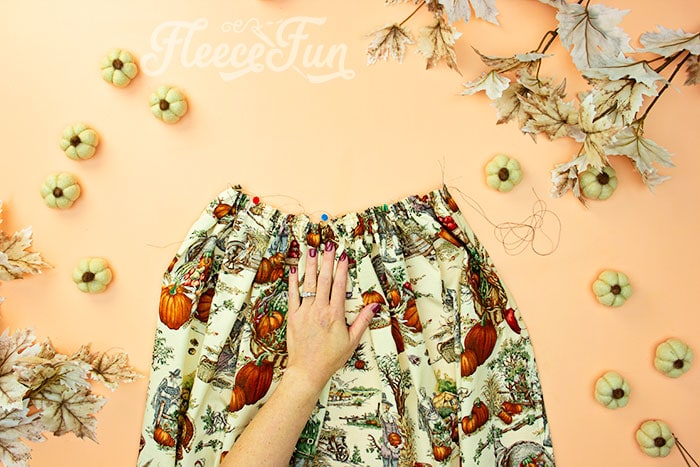
Gently gather the apron skirt, try to make the gathers as even as possible between the quarters of the skirt.
Grab the bodice and turn it upside down.
Mark the half way point with a pin.
The fold the half in half and mark the quarter section of the bodice.
NOTE
This is just the sections of the bodice piece and not the ties.

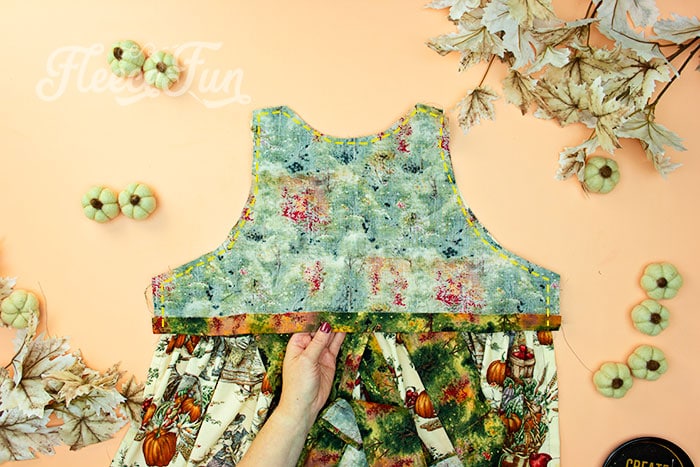
With right sides together, line up the pins on the bodice and the skirt. The skirt should end where the waist piece and ties meet. Line up the center and quarter pins, taking time to evenly distribute the gathers between all the sections. Pin and sew into place using a .5 inch seam allowance.

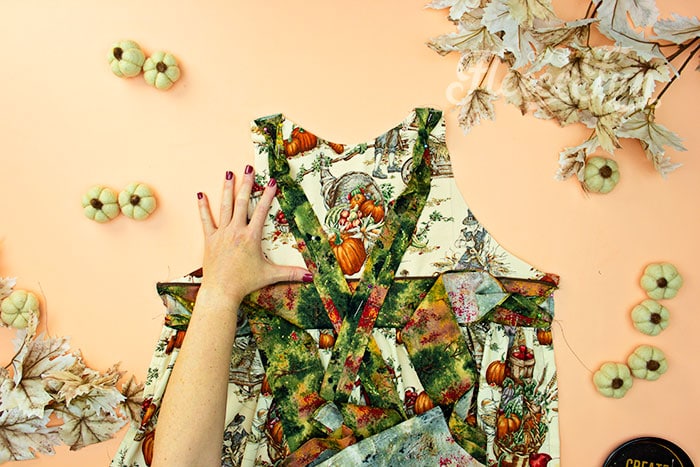
Step 5 – Add the Bodice Lining
This step will bring the free apron pattern together.
To add the lining we want to make sure that the straps don’t get sewn in wrong!
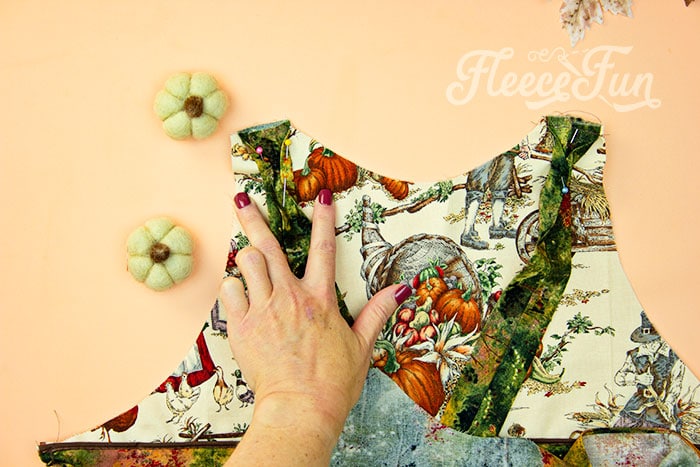
Pin them out of the way of the seam allowance (.25″).
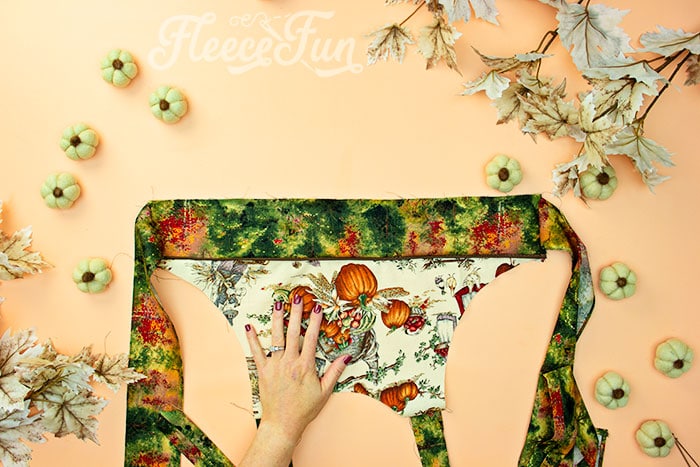
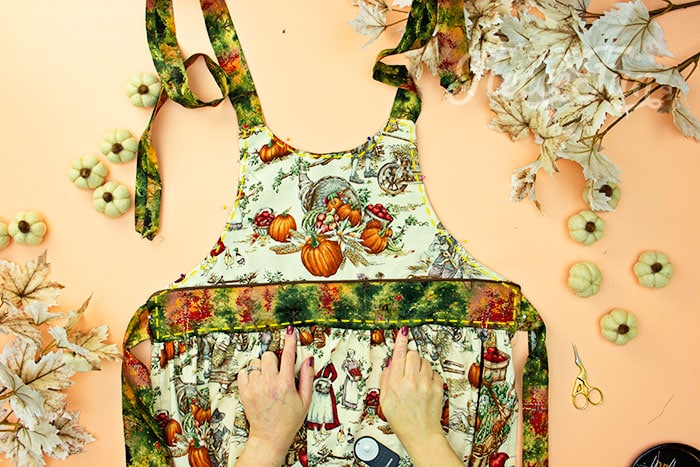
Place the apron bodice lining on the bodice front right sides together. Double check that the straps are out of the way.
Sew around the bodice using a .25″ seam allowance. Leave the bottom open.

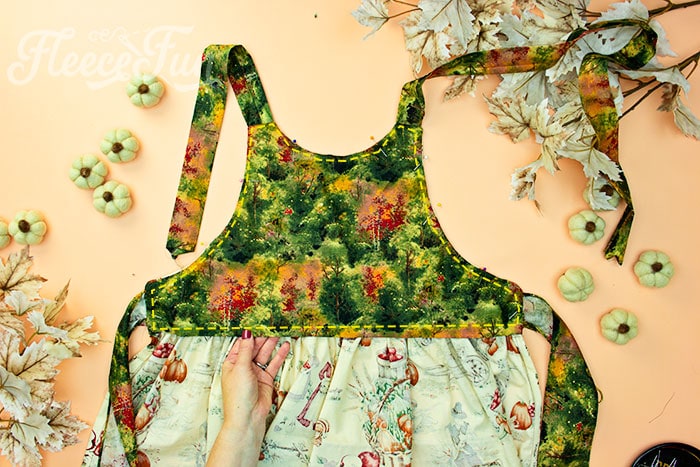
Turn right side out.
To finish off the free thankful apron, top stitch all the way around the bodice. By stitching in the ditch on the front side where the waist piece meets the skirt it will sew the bottom of the bodice lining shut.
Quick Tip
Pin the bottom of the bodice lining into place so it won’t shift under the needle.
Trim your threads and that’s it! You just completed the free thankful apron pattern.

Download the Thankful Apron Pattern HERE:
You can get a free copy of Adobe reader here. By downloading you are agreeing to pattern terms of use. Fill out the form below to download the .pdf !

Other Free Apron Patterns to Enjoy:
More Thanksgiving tutorials:
- Giant Maple Leaf Template DIY
- Fall Tier Tray Décor (free SVG)
- Give Thanks Platter Decor
- Patchwork Fabric Pumpkin
- Gather Banner DIY (Free SVG Files)
- Giant Paper Sunflowers
- Felt Sunflower DIY
- Free “Thankful” printable banner
- Pin the Tail on the turkey game DIY
- Thankful for Cake Toppers
- Autumn Leaves Pillow
- Fall Topiary Trees Craft
- Thanksgiving Printable to frame
- Thanksgiving Apron
- Idea for Thanksgiving- Thankful Tree
- See All of the Thanksgiving Projects Here
More FALL SEWING PROJECTS YOU MIGHT ENJOY:
- Fall Cape for Girls Free Pattern and Tutorial
- Fall Cardigan for Girls
- Hostess Apron Tutorial
- Upcycled Sweater Skirt
- See more Fall Sewing Projects here!
Free Apron Pattern (Classic Version)
Equipment
- Sewing Machine
- Thread
- Pins
- Needles
- Rotary Cutter, Ruler and Mat
- Iron
Materials
- 1.5 Yards Fabric
- 18 inches Cording
Instructions
- CUT OUT PATTERNPrint up the pattern (you can get assembly instructions here)Cut out pattern pieces. You will need to cut 2 of the top – One of the front and one of the liner.Note that the front bodice piece you cut where the dotted line is.In addition to the top you will need to cut the following:Cut 3 of the Neck strap/ waist strap piece – be sure to set on the fold where it says in the pattern.You will need to cut one of the 2nd neck strap (the shorter one) again be sure to place on the fold.You will then need to cut the skirt. Using a rotary cutter cut across the full width of the fabric to make the skirt. The length you desire is up to you – In the example I chose to make a shorter skirt that was about 18 inches long.Note: If you want to make a apron with a “belt” (the strip of fabric at the waist as seen in the example) you will need to cut one more of neck/ waist strap 1.

- BEGIN TO BUILD THE APRONTurn under .25 inches twice and press with an iron the edges of the rectangle that will be the skirt ( all sides including the hem). Then sew using a straight stitch down the middle of the pressed seam. Set aside. Tip: One easy way is to sew a straight stitch .25 away from the edge of the cloth – it’s an easy line to follow while ironing and it reinforces the fabric from fraying.Do the same to the 2 waist strips. Turn under under .25 inches twice and sew using a straight stich.I know that finishing like this a is a pain – but it will make the garment able to take a lot of abuse and can be thrown in the washer without a second thought.

- PREPARE THE NECK STRAPSThe two neck straps are not the same length on purpose – it’s part of the pattern to tie a bow on the side rather than in the back. Taking the two strips that will be the neck ties, fold one right sides together (so it makes a strip that is approx. 1.75 inches wide), and sew, using .25 seam allowance.Using a safety pint on one end, Turn right side out, press. Repeat with other strip.Take one end of the strip and tuck the raw edges in on itself, about an inch and top stitch shut. Set aside

- PREP PIECES FOR THE BODICE Turn bottom of lining under 1 inch and press. If making the waist band, hold up to bodice and trim to correct length.Then turn under the top long edge of waistband .5 inches and press down (add cording if desired at this time.)
- PREP THE FRONT BODICE PIECEIf you are adding the waist band you will need to attach it to the front at this time. Line up the waist band piece with the bottom of the bodice. Pin the top and bottom thoroughly. Top stitch the piece onto the bodice about the .25 inches in from the waistband edge.

- BEGIN TO BRING IT ALL TOGETHERTake the skirt part of the apron. Make a basting stitch at the top of the rectangle (the 40 inch long side of the skirt ) near the edge (about .25) gather to the length of the bottom of the bodice. With right sides together pin to the bottom of the bodice and sew bodice and skirt together using a .5 seam allowance.

- ADD THE STRAPSPin the neck and waist tie straps to each side of the bodice on the right side of the fabric. Sew on the straps, with a .25 seam allowance. This is to just give them extra reinforcement.Note: The side with the shorter neck strap is the side the bow will be on.Pin the straps out of the way, so they won’t get caught in the seam allowance of the bodice

- ATTACH THE LINING TO THE BODICEThen pin the lining or back side to the bodice, right sides together – the straps should be sandwiched in between. Sew all the way around the bodice from one side to the other leaving the bottom (where the bodice meets the skirt – the section you ironed under open. The section you ironed under should be facing up). Sew all the way around the bodice except for the bottom using using a .25 seam allowance.

- FINISHING TOUCHESTurn right side out, making sure straps are fully turned. Now that the bodice is turned you are almost there!Pin the bottom of lining (that is not attached) to the front of bodice to hold in place.Topstich all the way around the bodice .25 from the edge – including the bottom (this should sew the bottom shut).Trim threads and you are finished!


Notes
Download the free Classic Version of the pattern here.
You can get a free copy of Adobe reader here. By downloading you are agreeing to pattern terms of use. Click the picture of the pattern envelope to download the .pdf !

You can see a quick summary of the sewing project How to Sew and Apron here.
Hello
I don’t know when this was first published but The Adult Version of the Thankful Apron is no longer available. What can i do to download it ?
Than you !
Mathilde
The issue has been fixed – thanks for letting me know!
Thank you so much for this pattern! I made a couple of very cute matching fall aprons for my mom and I to wear while we make Thanksgiving dinner this year. The pattern and video instructions were wonderful – thank you!
You’re welcome Stacy!
Can I please get the pattern for the Thankful apron (adult)? I cannot find any other download buttons for it.
Thank you,
Mary
It’s the pattern envelope that says “adult” at the end of the post.
I have made this apron three times and it gets easier every time.
Thank you I love it.
Hello and thank you for the pattern…
I just had the fabric cut but the pattern is missing the waist piece… how long shoul it be?
Thanks
Hi Olivia – I just checked the pattern and it’s not missing the waist piece please recheck your print out.
Thanks for timely patterns. Just perfect for me to make in time for my annual craft fair at Senior Center. We all try to wear season appropriate aprons for any of our events. This will be perfect.