
Printable 4th of July Party Decorations: The 1776 Collection
This content contains affiliate links or sponsored elements, read our Disclosure Policy.
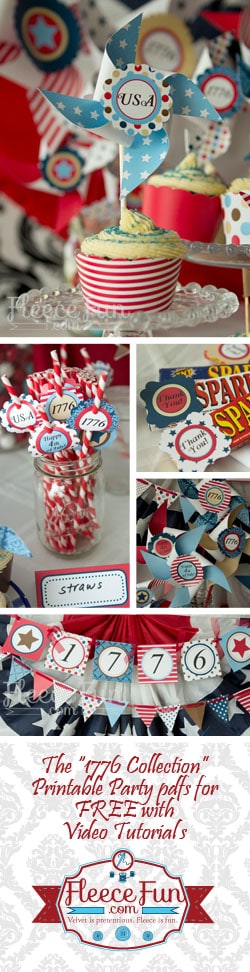
You can have a blast with these Printable 4th of July Party decorations! I’m releasing the entire 1776 collection all through the month of June. So be sure to check back to grab your free printable! Scroll Down to see all of the printables.
Here’s your free Iron on:

You will need:
The Free pdf (click here to get it)
printable iron on paper (available in any craft or office supply store)
Iron
ink jet printer
t-shirt or apron.
Step 1

Print up pattern (it’s already mirrored so don’t worry about that printer setting)
Step 2

Cut it out
Step 3
Iron on according to the direction with the paper
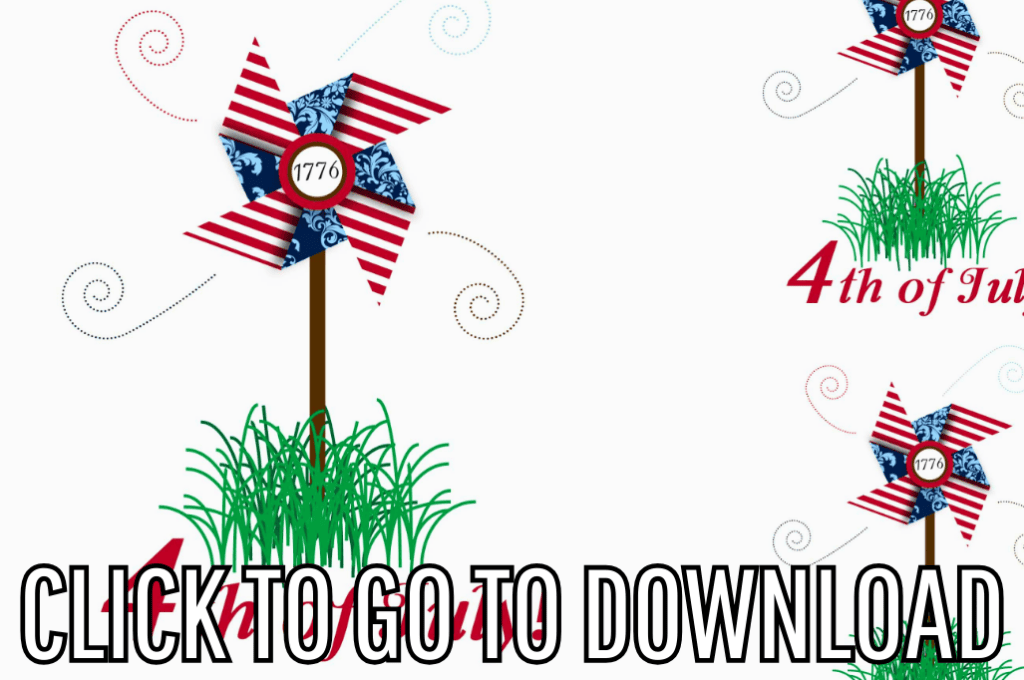
Download the free printable here:
You can get a free copy of Adobe reader here. By downloading you are agreeing to terms of use. Click the picture below and fill out the form to download the free printable .pdf!
 Cupcake wraps:

Fun wraps in a variety of colors and patterns that coordinate with the other 1776 printables. Quick Video tutorial to show you how to do it. You can grab that free printable here!
Small Pinwheels or pinwheel cupcake toppers:

Adrorable as cupcake toppers or as centerpiece items. There is also a also a video tutorial to show you how to assemble this cute free printable. You can grab this printable here!
Large Pinwheels:

These large pinwheels make an amazing statement and are awesome cetnerpieces. Put them in mason jars filled with coordianting gumballs and you’re set! This Free printable also comes with a video tutorial. You can get the large Pinwheel printable here.
Fun wraps in a variety of colors and patterns that coordinate with the other 1776 printables. Quick Video tutorial to show you how to do it. You can grab that free printable here!
Straw Toppers:
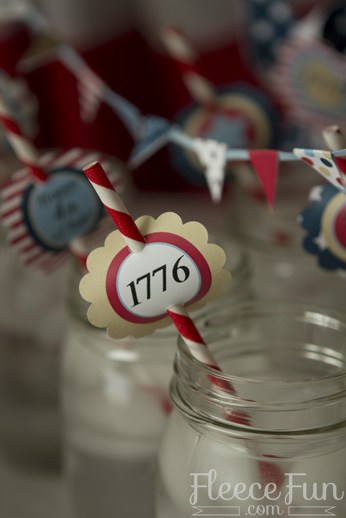
These straw topper are fun and add a little extra character to those fun Fourth of July party drinks! Easy to make and fun to display! You can get the free straw topper printable here.
Thank You Tags:

These Thank You tags are great for party favor bags or when glued onto sparklers! Easy and quick tutorial – get it here.
Tent Cards:

These blank tent cards are perfect for labeling party food, Thank you gifts, you name it! comes in a variety of colors that coordinate with the entire collection. You Can get those here.
Banner and Pennant flags:

You can grab the free printble banner and pennant flags here. The banner sayas “1776” with two stars and the pennant banner comes in a variety of colors and patterns that match the entire 1776 Collection. Plus there are multiple video tutorials to show you how to assemble the banners. You can grab this printable here!
1776 printable Invitation:

This invitation coordinates with the 1776 Collection and is perfect for inviting people to your party! Comes with a Microsoft word template so you can personalize it. You can grab that here.
Linked up here – https://snapcreativity.com
Explore More 4th of July Projects
- 4th of July Printable Thank You Tags
- Fourth of July Printable Tent Cards
- Fourth of July Printable Straw Toppers
- Patriotic Printable Pinwheel (Large)
- Fourth of July Printable Cupcake Wraps
- 4th of July Cupcake Toppers (Pinwheel Cupcake Toppers)
- 4th of July Banner Printable
- How To Make a Fourth of July Wreath
- Seeing Stars Pillow
- Star in Stripes Forever Pillow
- All Americana Stars Pillow
- Fourth of July Printable Invitation
- Free Printable Drive-In Theater Candy Label
- Holiday Projects: Fourth of July
Wow!!! Thank you so much!!! This is fabulous and will be wonderful for our Independence Day celebration! Thank you for your patriotism and your generosity!