
Sewing Room Ideas – Step One Organize
This content contains affiliate links or sponsored elements, read our Disclosure Policy.
Sewing Room Ideas: This collection of sewing room ideas will show you how to get started organizing your sewing space. With a few helpful ideas you can get started!
This is part one of my Sewing Room Ideas Studio Makeover series.
Ever have one thing set off a complete chain of events? Have something trigger you into taking on a herculean task? For me that spark happened in December last year.
As an early Christmas gift my husband bought a replacement desk mat. Excited to replace my broken one I lifted it up and saw this ugliness:
Yuck!
When we first moved into the house the room I claimed for my studio had been used as a kid tv/ playroom for little kids by the previous owners. They let the kids have snack and drinks in there and needless to say the carpet was gross when we moved in six years ago. But being pregnant at the time I chose to ignore that (besides the bright green walls were distracting enough and I focused my limited energy on painting those!). Between that and six years of my office being too cluttered with furniture and projects, I never bothered cleaning the carpet, plus the pad was starting to bunch in places too. It was time to replace the flooring.
How a Simple Floor Replacement Turned Into a Full-Blown Studio Makeover
For a normal, sane person that would be the end of it. Replace the flooring a move on. But I’m not a sane person. I’m crazy and I like to dream big sewing room ideas. I mean if I’m going to replace the flooring I might as well re paint the walls? And if I’m going to paint I might as well redo all the decoration too? If I’m going to do that I should really go through all the stuff I’ve accumulated and pair down my crazy sewing/ crafting stash into something usable? And make my space easier to do all my filming in too? Organize everything so I actually know what I have? And fix the lighting so it’s better for Facebook lives and YouTube live broadcasts.
You can see the crazy setting in. So what would normally be a simple matter of replace the floor turned into a whole re-imagining of my space. What could have been a simple blip on Instagram has now turned into a series of posts.
I have to tell you once my mind was made up on where it wanted to go I knew that I had a mountain to climb. I had my sewing room idea in my head, and wile I knew I had a lot of things to think through, I absolutely knew what step one was. And I was already working on it.
Sewing Room Ideas
Step 1 – Get rid of the excess
Notice I didn’t say junk or crap. Many of the items I had did have value – just not to me.
During the summer of 2018 I began seriously looking at my sewing and crafting stash. Shelves, a Minibox, and a 5×7 walk-in closet filled my office. It never felt completely clean. It felt disorganized and I would find duplicates of items (I found waaaaay too many rolls of tape) in my stash.
I would find sample items that from swag bags that I was never going to use. Then, I started to slowly eat away at items and then I started to get a clear goal in my head. I wanted (and really should) be able to fit everything nicely into my huge walk in closet, keeping my work space clutter free. I started small, I would go through a small section at a time. It was keep, donate or toss. If I had kept it for more than 3 years and never used it, it was probably time to let it go.
Step 2 – Be able to see what you have
Once everything was gone through, I began to organize items and place them into clear containers so I knew what was in them.
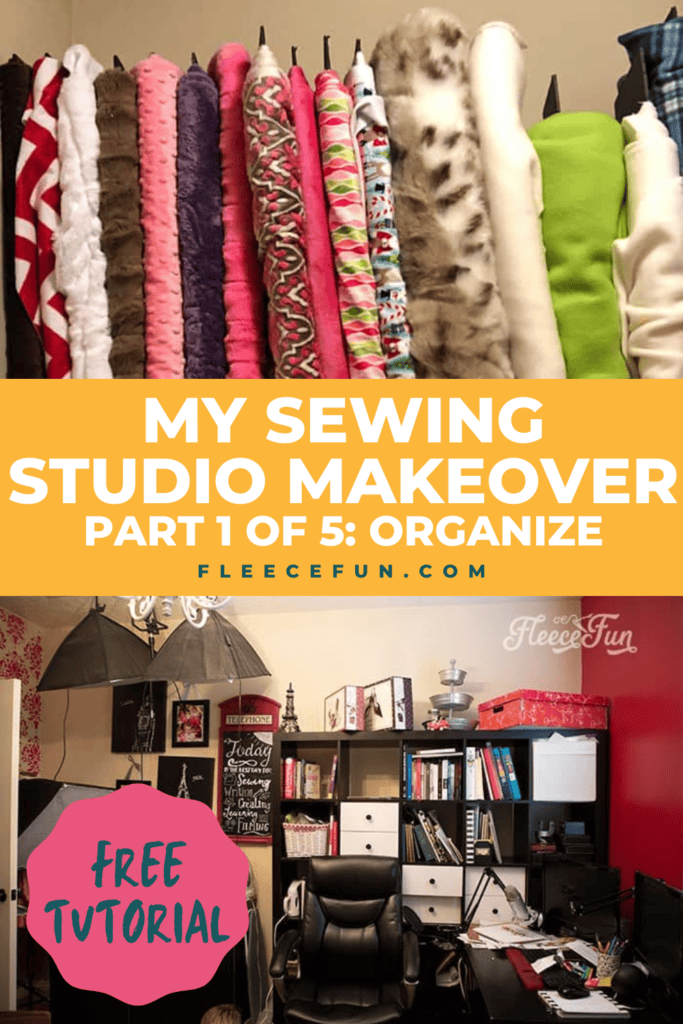
Or I put all my items all together. Like “bias tape” and “zippers” each have their own drawer in the Minibox. Fleece, and Minky is BULKY. So instead of rolling it up and stashing wherever, I wrapped it around foam core and stood it up so I could clearly see what I had in my stash.
I had used these hanging organizers in the closet, but I notices that there were several inches of dead space behind them, and they were taking up more room than they were saving. So I opted to get rid of them and adopted the board wrapping technique so I could easily see what fabric I had in my stash.
For the rest of the fabric I did the classic board wrap thing and now it’s easily seen on the shelves. What a great sewing room ideas!
Step 3 – Counter Act Parkinson’s Law
This Law mainly applies to work and deadlines but can also be applied to space and objects. Basically, if you have space you will want to fill it up. This was part of the problem with my office. I had a bunch of shelving and table top space.
So I filled it all up…. to the point of ridiculousness.
So when picking out furnishings in my re imagined space I purposefully limited storage and table top space, as a way to limit how much stuff I could have in my studio.
A good example would be this massive shelf and desk that took up half the room. I of course filled it up – when I went through it some of the stuff I hadn’t touched in a few years!
I get that as sewists and crafters we like to joke about our stash and hording it. But the truth is an unused stash is a waste. I want a working, breathing collection of items that I cycle through as I make nice things. Not a massive untouched collection that not benefit myself or anyone.
I have more sewing room ideas to come. Like wall color, furnishings, making a space workable and filmable. Yeah I just made up that last word. But it’s true.
Here’s a Video of My Thoughts on Organizing:
You can see a video tour of how my room/ space looked before I redid it here.
Love these Sewing Room Ideas? see More tutorials for Organizers!
- Origami Fabric Basket Tutorial
- DIY Sewing Room Décor
- Sewing Machine Mat Tutorial
- Ribbon Book Mark
- Craft Room Hanging Organizer Tutorial
- How to Make a Giant Pegboard for Your Craft Room
- How to Make a Pin Cushion Tutorial (Bracelet Style)
- Make Giant Buttons Wall Decor
- IKEA Fabric Stool
- Tips on How to Paint Stripes on Walls
- Painting a Chalkboard Wall – 5 Things to Know
- See all of our Organizer Tutorials
Love these Craft Room Makeovers and Decor Ideas!
- Craft Closet Organization: The Ultimate Guide
- How to Choose Colors for Your Sewing Studio (Part 2 of the Makeover Series)
- Sewing Room Ideas: How to Pick Furniture (Part 3 of the Makeover Series)
- Cute Craft Room Decor Ideas (Part 4 of the Makeover Series)
- Craft Room Ideas: Makeover Final Reveal (Part 5 of the Makeover Series)
- Honest Craft Room Tour!
- See all Studio Space and Decor Tutorials!
Looking for some more sewing room inspiration> Try this!
What foam core do you use for the fabric storage?
Just the kind you can find in the hobby store. Even the dollar store cut down into 6 to 12 inch strips to wrap it.
I have noticed that I have to reorganize my crafting space….I’m a craft junkie….Love the idea of clear containers. Thanks for the tips