
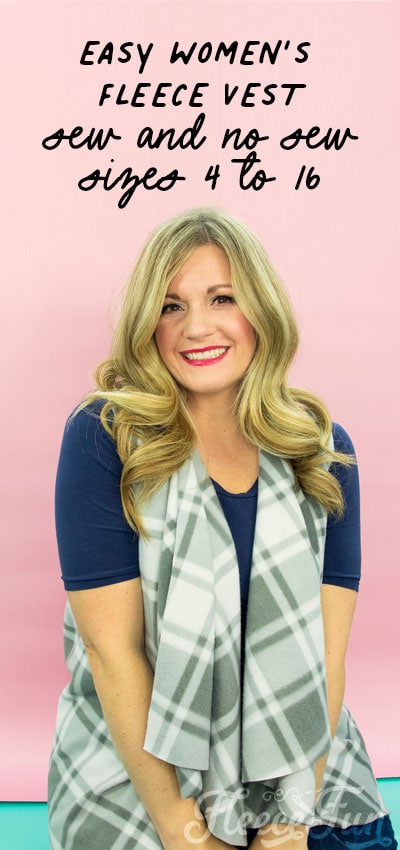
Women’s Fleece Vest Pattern (Free)
This content contains affiliate links or sponsored elements, read our Disclosure Policy.


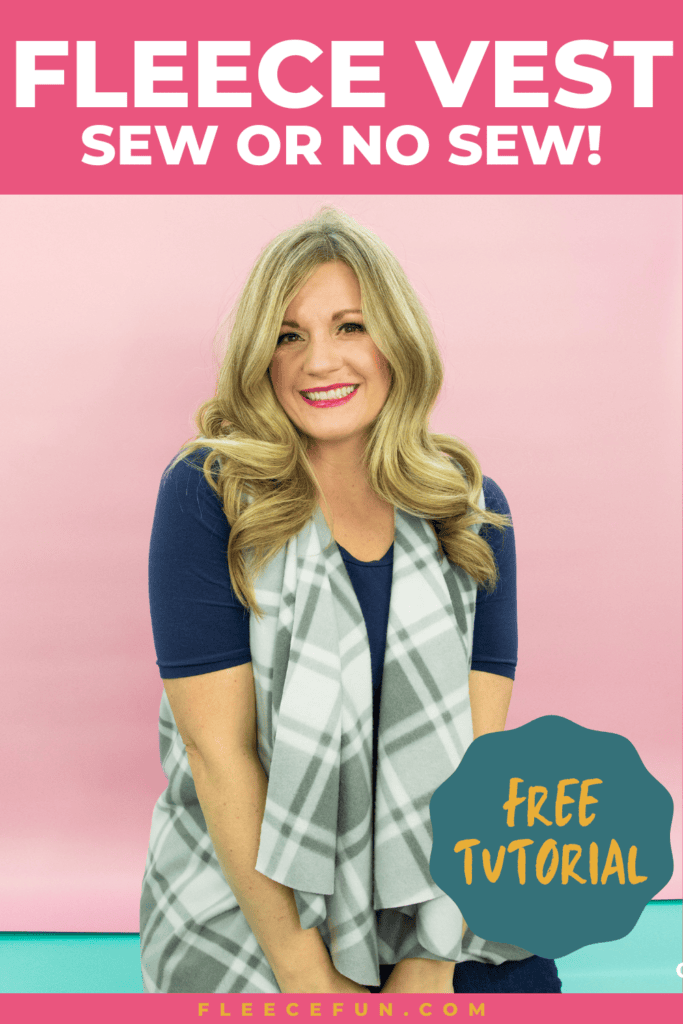
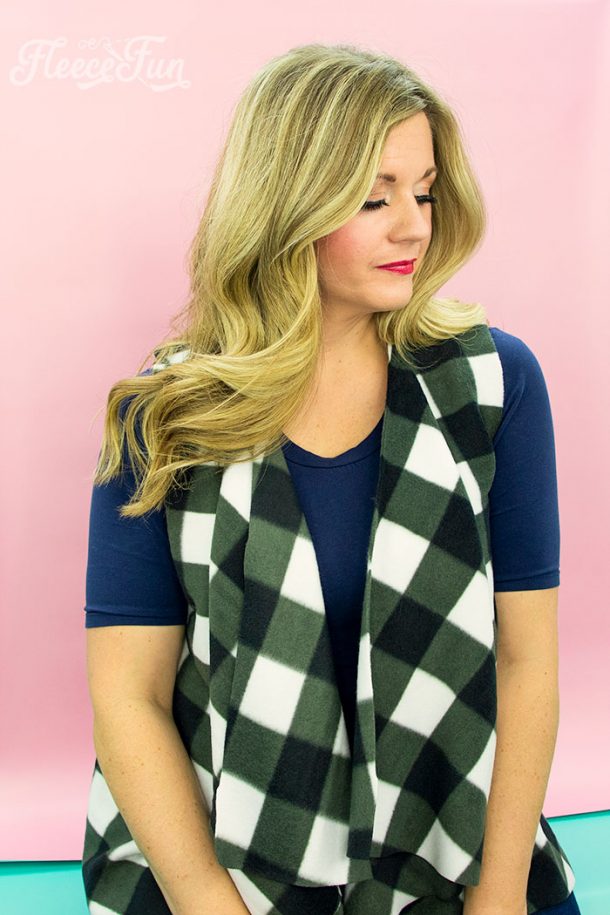
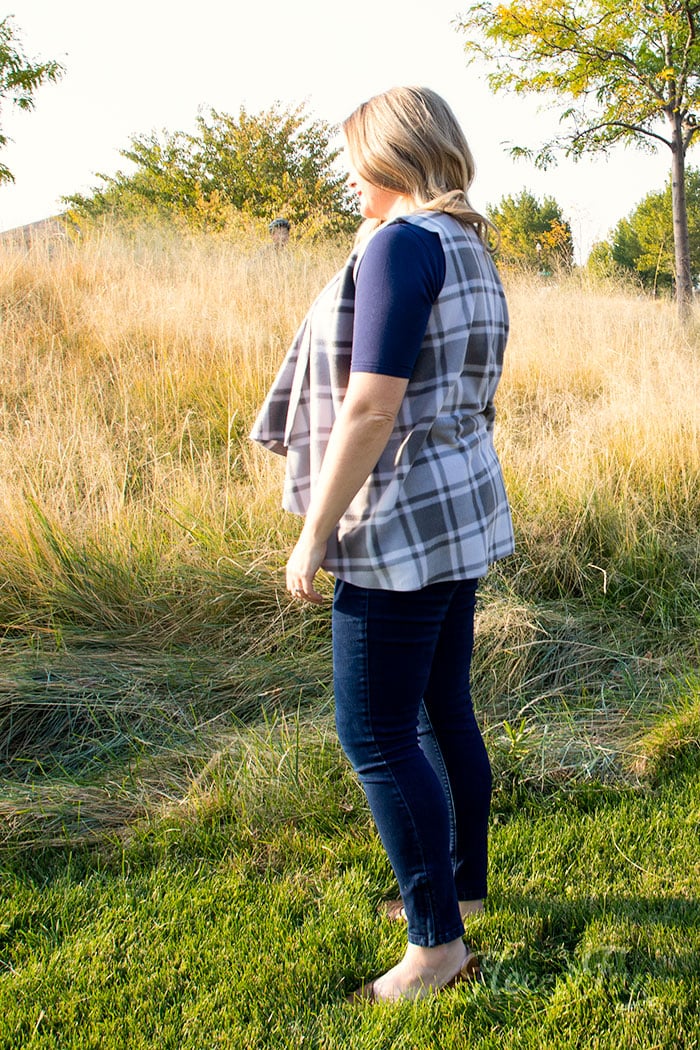
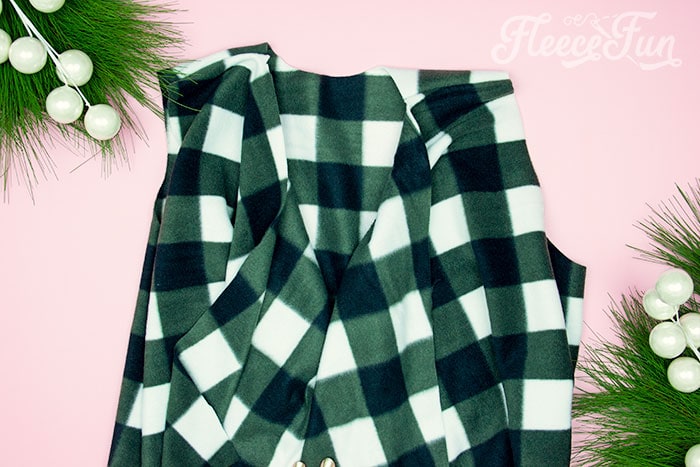
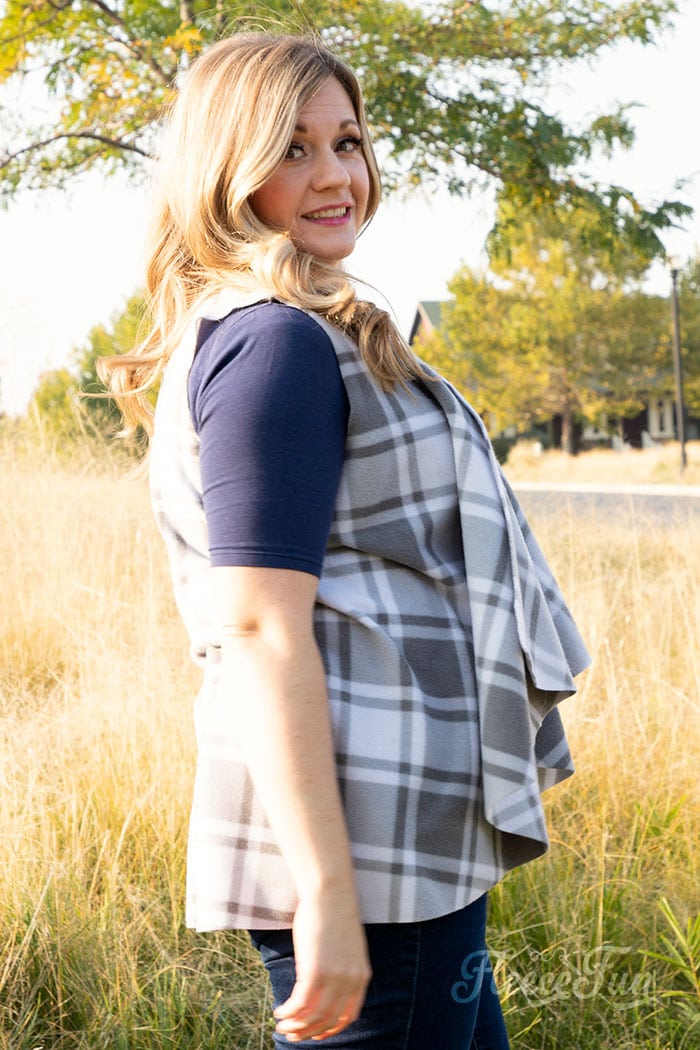
This Women’s fleece vest pattern (which is free) is super easy to make – two seams to sew and you’re finished. Or skip the sewing all together and use a special glue! Because this pattern requires you to fold the fabric a special way please read all the instructions first before cutting your fleece! With flattering lines – this continuous piece of fabric makes for a flattering draped collar.
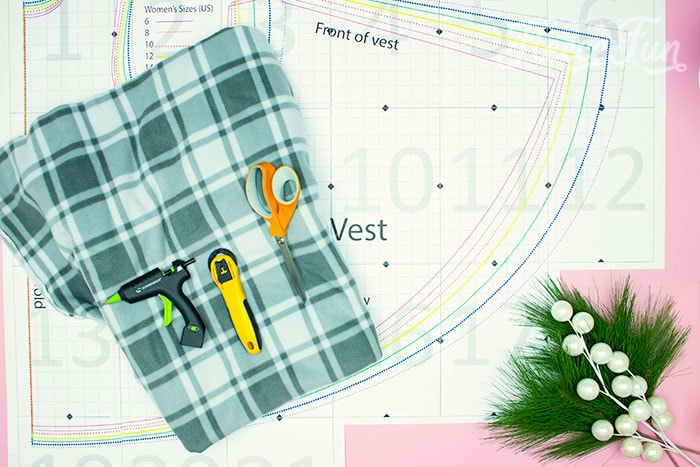
YOU WILL NEED:
This will not work with minky or coral fleece it must be blizzard/ polar you can learn more about fleece here. Also Non-directional fabric that looks the same or similar on both sides of it
- 2.5 Yards of Fleece
- Fleece Fun’s FREE pattern (sizes US 4 to 16)
- 2 pack of double fold bias tape (completely OPTIONAL see instructions to see if you want it or not)
- Sewing Essential ( pins, needles, sewing machine, etc.)
- Rotary Blade and Cutting mat (makes for a nice clean cut) or Glue gun and Fabric Sticks
- Get the free pattern here.
Women’s Fleece Vest Pattern Instructions

Step 1 – Assemble and Adjust the Fleece Vest Pattern
Normally I have just briefly mention putting the pattern together in my instructions – but since this takes the most time and is so crucial for success for this pattern I want you to take you time in putting it together. If you are unfamiliar with putting my patterns together – you can find instructions here.
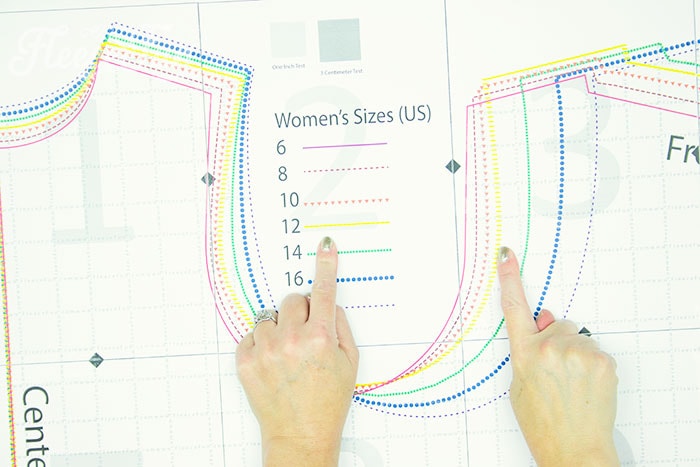
Once the pattern is properly assembled cut it to your correct size.
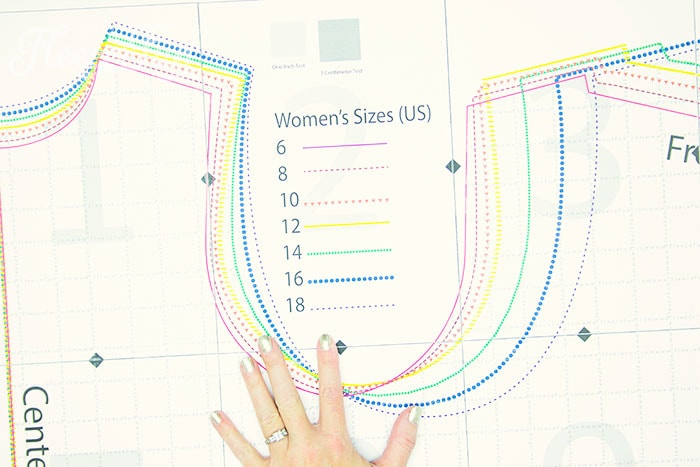
Find your size and coordinating line and cut the pattern down to it.
note
Your pattern will look slightly different than the one pictured due to resizing and redrafting of the pattern.
find the matching pattern and number.
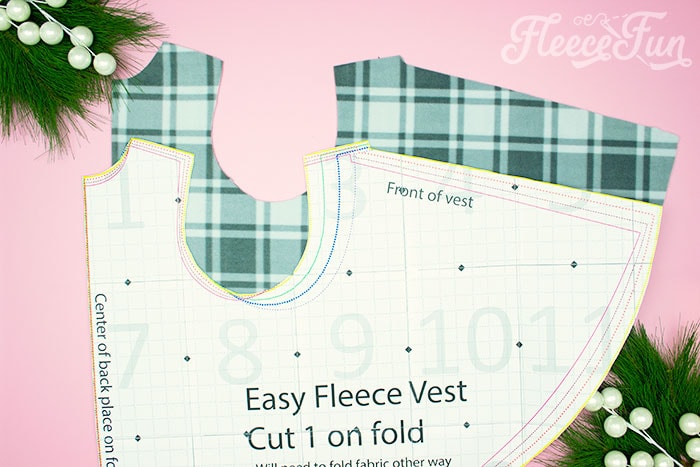
Step 2 – Cut Out the Free Women’s Fleece Vest Pattern Pieces
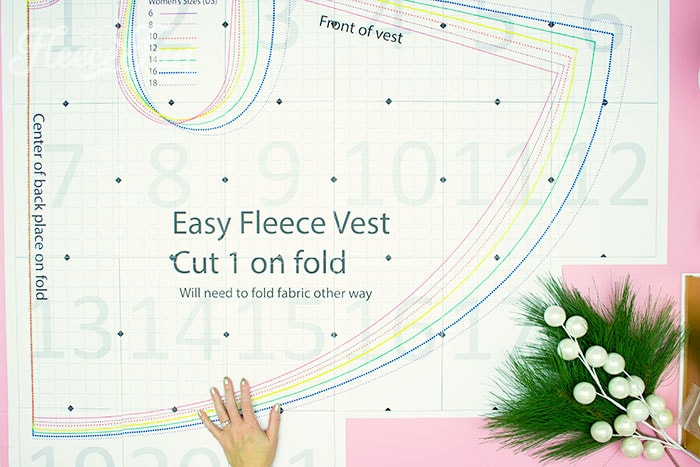
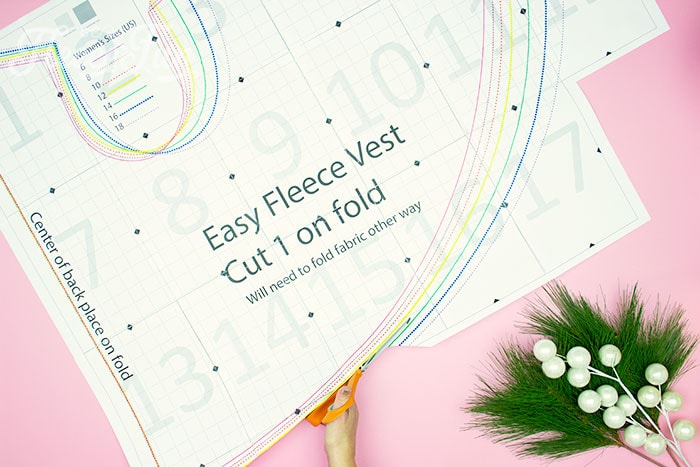
This vest pattern is one large piece. We need to place the center of the back on the fold. You will notice that that pattern won’t fit on the fabric with the opposite selvages touching (lengthwise fold).

Unfold the fabric and fold it in half the other way (crosswise fold). So the cut edges are touching. You can see a diagram showing this here.
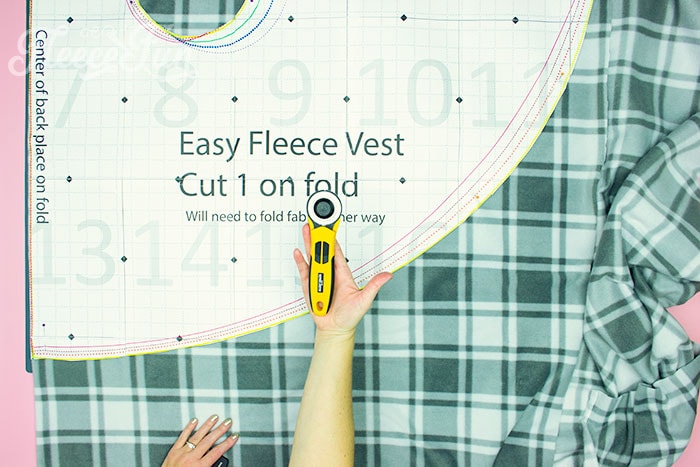
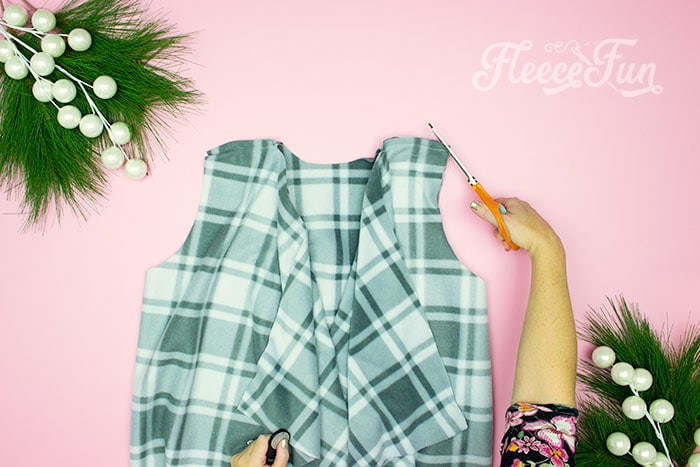
Place your pattern along the folded edge and pin or weigh down. Since I’m not planning on finishing the edges I like to use a rotary blade to get a clean edge. While this is optional,
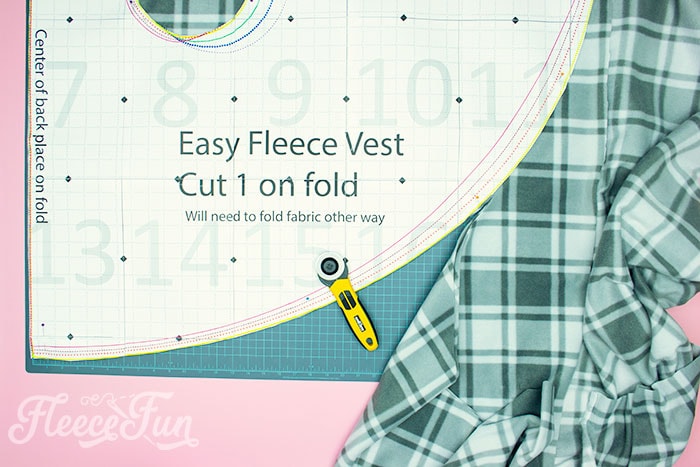
You can see that is gives a a nice clean cut that is important for this pattern.
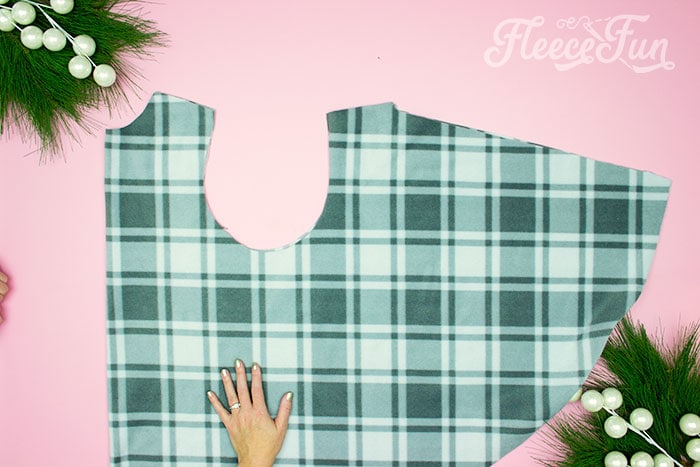
Continue to cut out the pattern, making sure not to cut on the fold line
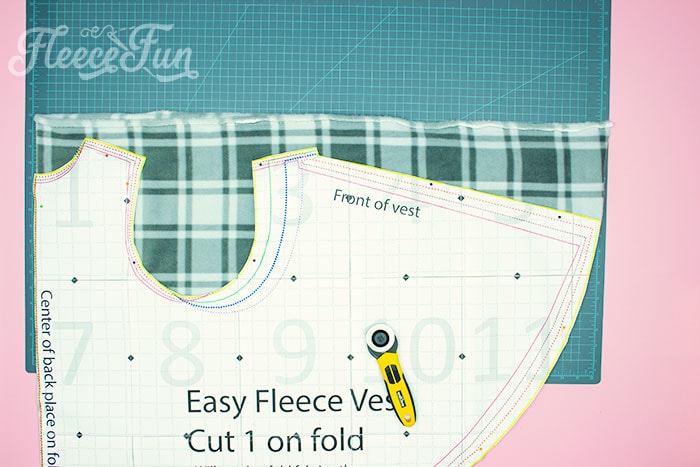
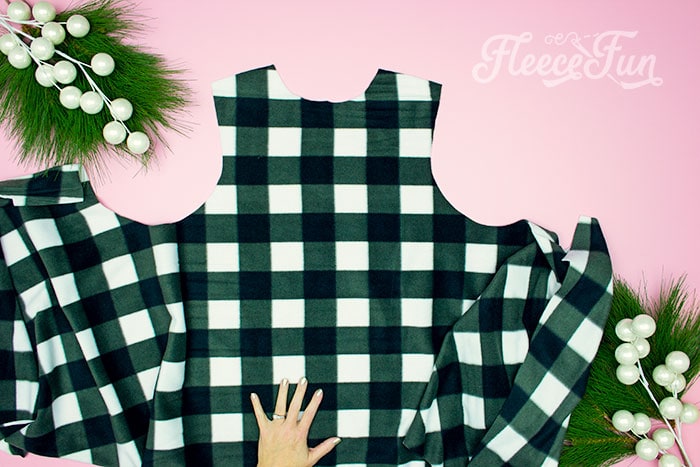
You should now have one large half circle piece.
Step 3 – Sew or Create a No-Sew Women’s Fleece Vest
Now here’s the easy part! We need to sew the shoulder seams. Unfold the vest so that the back is laying in the center (right side up). Line up the should seams (right side touching and the
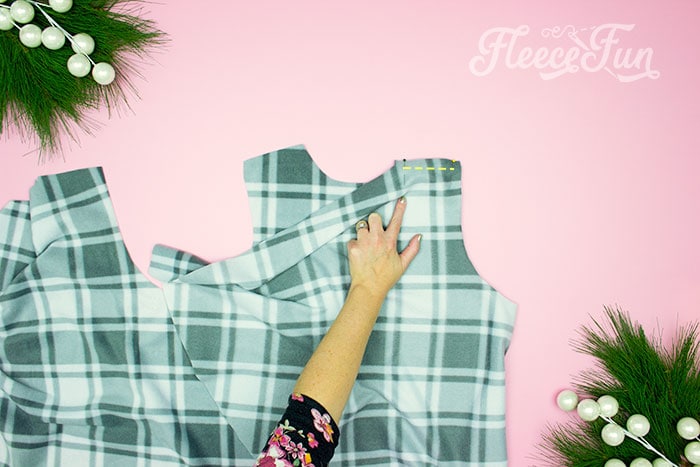
Using a .5 inch seam allowance sew the shoulder seam on one side.
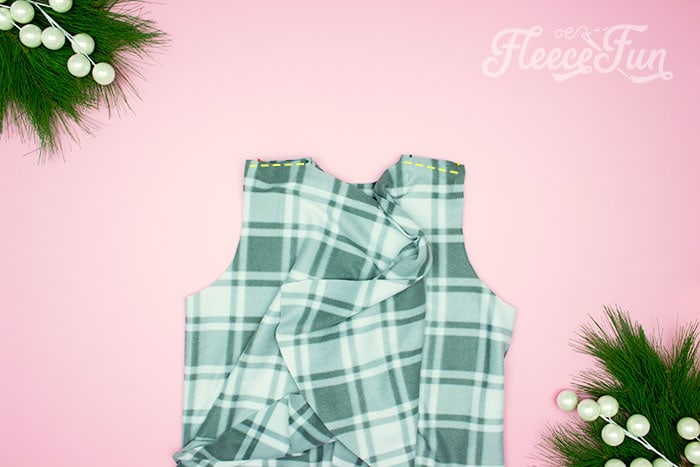
Fold over the other side and line up the shoulder seams. Sew the other side using a .5 inch seam allowance.
Trim the seam down a little so it won’t show while wearing.
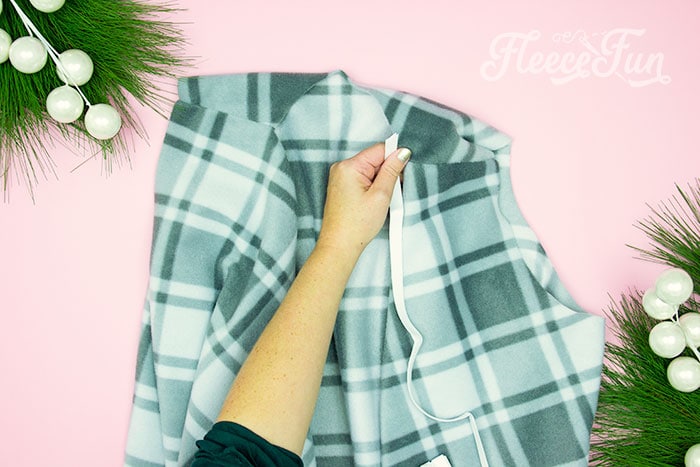
Fleece doesn’t fray but it can stretched out of shape. It’s completely optional but you can finish the raw edges with double fold bias tape if you choose. Where this can be the most helpful is the arm holes. This is a nice way to finish the garment if you choose.

No-Sew Fleece Vest Instructions
The process is very similar. Unfold the vest piece so the back is in the center – right side of fabric facing up.

Glue each shoulder using a bead of the fabric hot glue between the fabric (try to do it .5 inch in from the edge). Press the fabric together and allow the glue to cool. Then trim the seams down.
Turn right side out. Now you’re fleece vest is ready to wear!
Download the Pattern by Filling Out The Form Below:
By downloading you are agreeing to the Terms of Use.

Additional Fleece Sewing Projects:
- Bow Ear Warmer Headband
- Fleece Scarf with Pockets
- Red Riding Hood Cape
- Washable Duster
- Warm Mittens
- Easy Fleece Blanket
- Quick Sew Hobo
- Child’s Fleece Robe
- Child’s Fleece Pants
More Projects for Women!
- Convert Prom Dress to Skirt Tutorial
- Easy Women’s Skirt Sewing Tutorial
- Half Circle Skirt Pattern for Women
- Ladies’ Kimono Robe Tutorial
- Braided Fleece Ear Warmer
- All of the Skirt Patterns on Fleece Fun
Thank you for the inspiration and free patterns!
Hi Angel
I just downloaded and printed the Women’s Fleece Vest
I think there is a pattern piece missing. It goes from pattern piece 17 to pattern piece 19 – no 18?
please let me know if this is correct.
Yes there is no 18 as it is a blank page and I didn’t want to waste paper.
Angel. Do you think a serged edge would work to keep the fleece from stretching instead of using bias on the vest. Thanks, Sandy
Hi Sandy – yes that would work!
I love it! Printed it and now on to putting it together! Going to make one for each of my sisters and future daughter-in law!
Thank you so much!
Vicki
This is an awesome pattern and I have a lovely piece of blue check fleece that I’ve been holding onto for a special project and your pattern is the one I’ll use, thank you very much
wonderful!
Hey, I don’t have a link or anything to download the fleece vest sew/no sew pattern. Please help!
Hi Jessica! You need to fill out the email form that you passed to get the pattern sent to you.
I have a question about the arm stabilizing for the woman’s fleece vest. A previous comment said to serge the edges. The other finish is bias. How is the bias tape applied? Is it sewn on and then turned to the inside and sewn again?
Thanks
Use double fold bias tape and sew to the arm hole befor sewing the top seams.
Appreciate the patterns