
How to invite your Facebook friends to an Event: Pirate party Timeline art!
This content contains affiliate links or sponsored elements, read our Disclosure Policy.

While I will be making some adorable physical invitations I think it’s always a good to invite people to events virtually too. So these days we send out physical invites and virtual one, just to have all our bases covered. While I know most of you are “web savvy” some of you might still be getting used to all the features Facebook has to offer. This tutorial is for you.
1. Download the timeline art
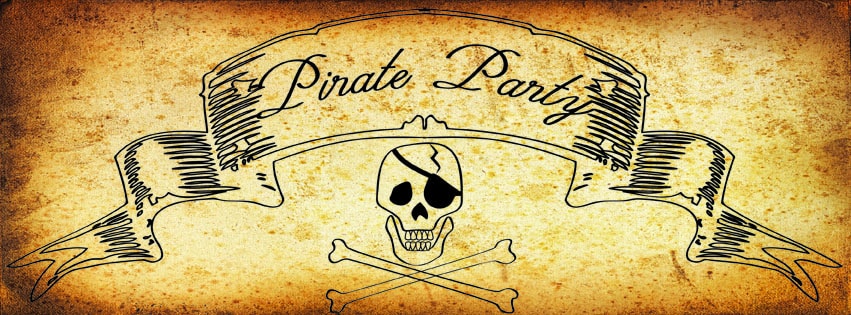
First things first. You’ll want to download the free timeline art by clicking on the photo below, taking you to a page that just has the photo at full resolution, then right click the image below and then selecting “save as” and save it to your computer.
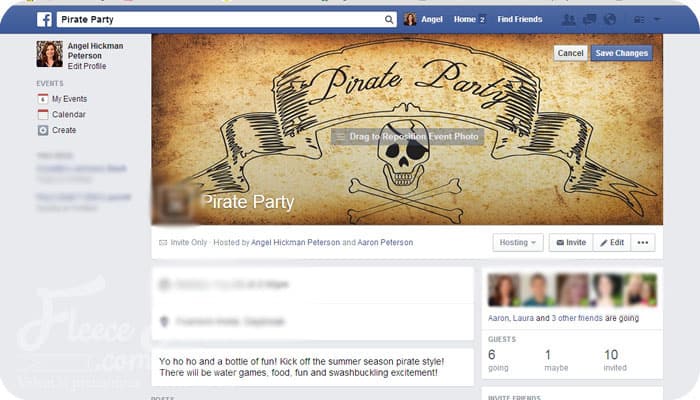
2. Set up your event.
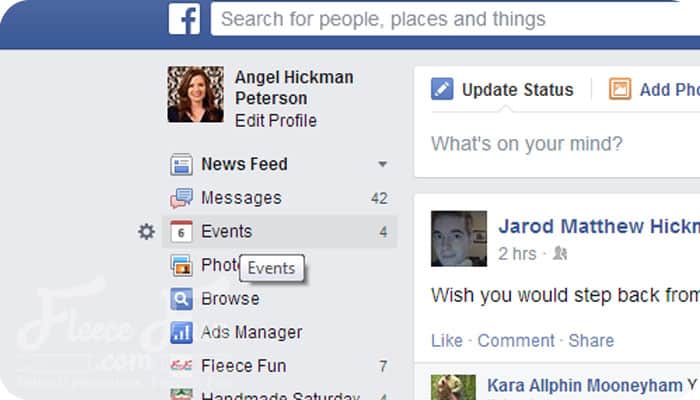
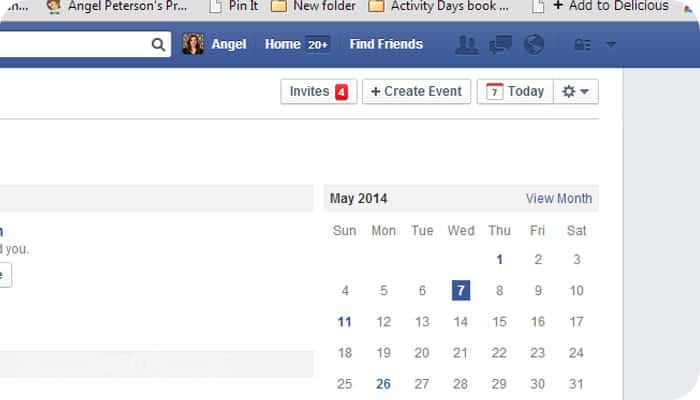
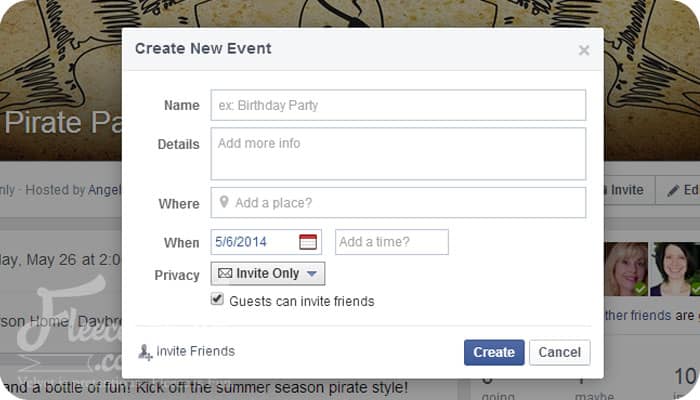
Log into Facebook. Next to your “news feed” there are several small menu buttons – click on the “events” button. It will take to you a page that shows you upcoming birthdays and other events you’ve been invited to. Then click create event button. This box will come up. Fill in the details. Unless you want your guests to be able to invite more people, I STRONGLY recommend that you uncheck the Guests can invite friends box. ( For some reason it being checked is a default). You can invite friends now by clicking the “+invite” button in the bottom left corner or you can do that later by clicking “invite” just under the timeline photo to select your friends to invite.
3. Set up your Timeline photo
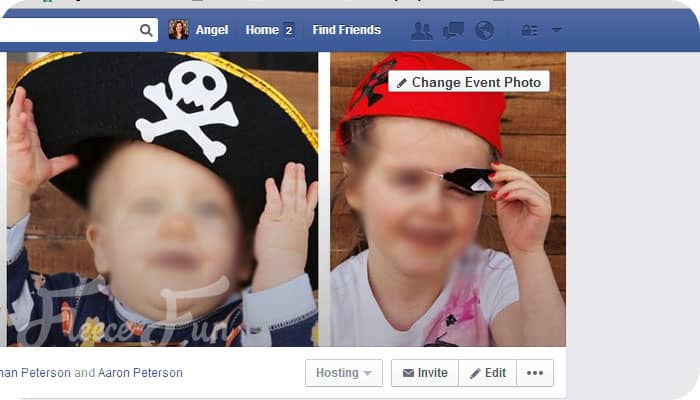


Hover your mouse over the timeline photo a button will appear in the top right that says “Change Event Photo”. click the button then select “upload photo…” . Then navigate to where you saved the timeline photo, select it hit “open” and it should appear in your timeline all set to go!
Hope you enjoy the free timeline art I’ll be featuring some physical invitations soon!
IDEAS FOR YOUR summer parties!
- Printable Kids Explorer Journal
- Pirate Party Invitation Printable
- Pirate Party Centerpieces
- Pirate Party Game: Captain Hook’s Ring Toss
- Pirate Party: Land Lubbers Dry Dock Sign
- 7 Awesome Pirate Party Games (Free Printables)
- Pirate Hat, map and flags free printable Pack
- How to build a Pirate ship out of PVC pipe
- How to make a Teepee for Parties!
- How to make a Puppet Theater DIY!
- How to make a Play Castle!