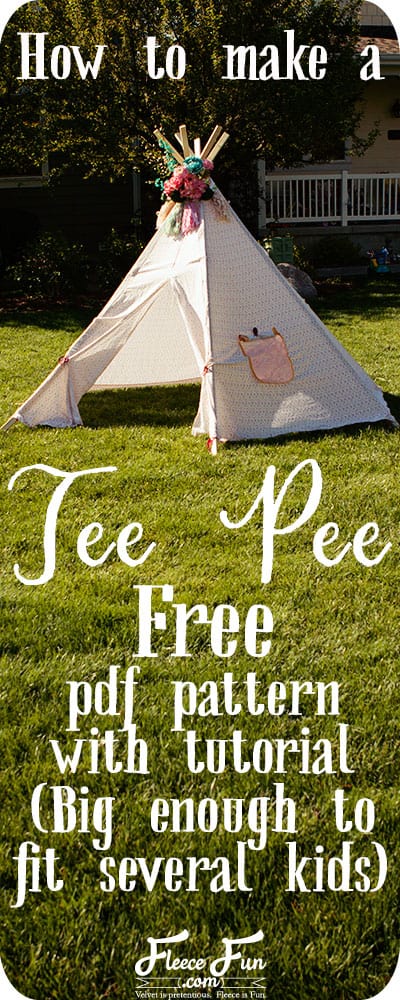
How to make a Teepee (free pattern) DIY
This content contains affiliate links or sponsored elements, read our Disclosure Policy.
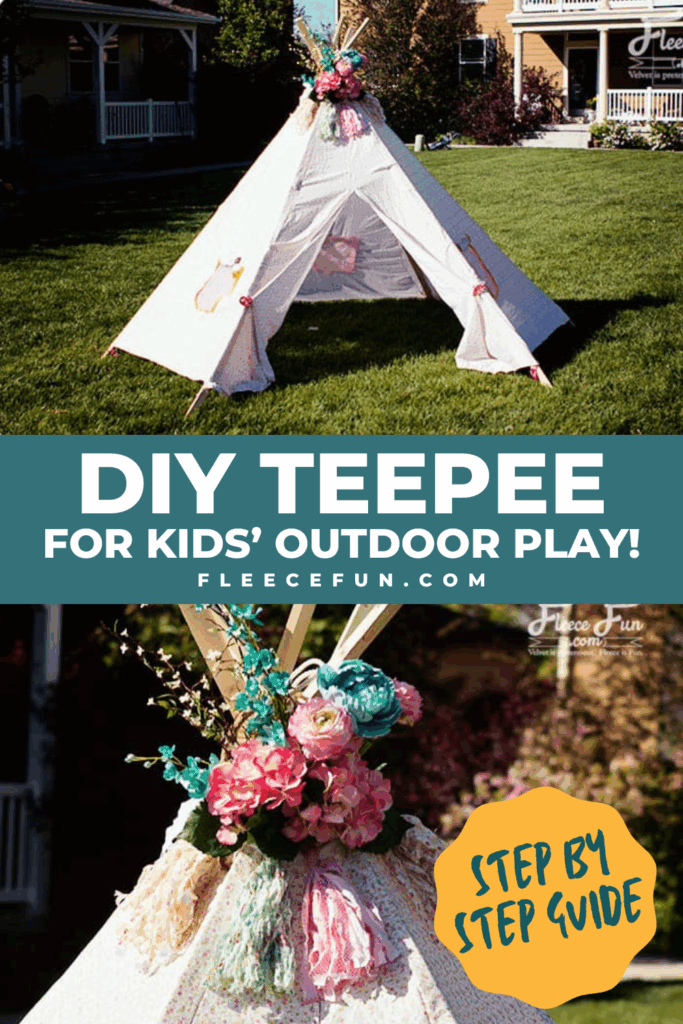
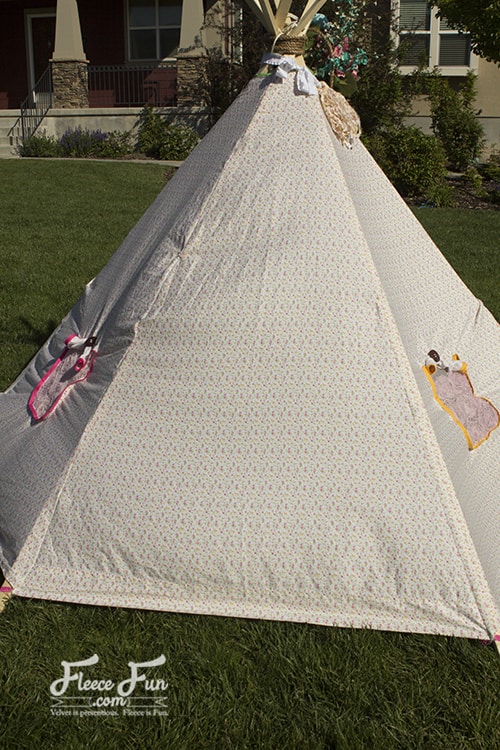
This how to make a Teepee (free pattern) DIY is perfect for a little gathering spot for your kids. This tee pee is on the larger side – so several kids can fit in it at once. While it’s not tall enough for an adult to stand in, and adult can sit in there comfortably.
I wanted to make my kiddos a fun place to hang out in this summer. They also love to spend all day out side – so I wanted a spot where they can get a little shade and read or play games.
YOU WILL NEED:
- 6 1 inch by 2 inch pieces of wood 8 ft long (I got mine for just over a dollar each at Lowes)
- Drill and drill bit
- Rope (used natural and nylon)
- 1 set of King sized sheets or 2 flat king sized sheets (look in the clearance section – I got mine at Ross)
- double fold Bias tape – 9 yards (if you are doing 3 windows)
- 1 yard netting or mesh (for the windows – I used a decorative mesh found in the bridal section)
- 6 yards fold over elastic
- Thread
- Sewing Essentials (pins, scissors, etc.)
- 5 large buttons
- Get the free pattern here.
How to make a Teepee (free pattern) DIY
step 1- Assemble and cut out the Pattern
You can find instructions on how to assemble the pattern here.
Assemble the pattern.
note
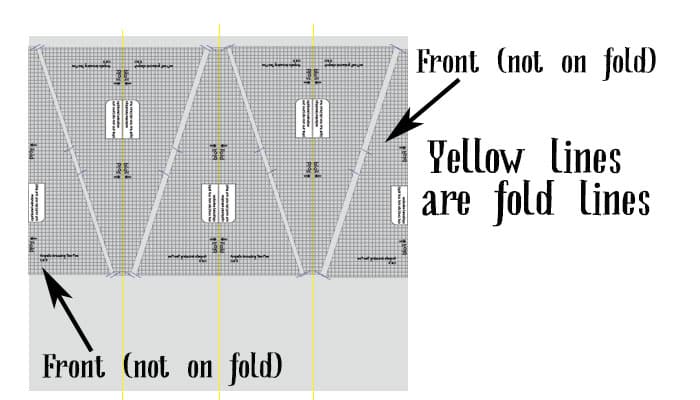
You will be cutting on the fold so this is only half the pattern.
Decide how many windows you want in your Teepee (you can make this without windows and it will sew up a lot faster).
The Teepee is made up of 6 sides. 1 is the front (entrance). I put three windows in mine, but it’s completely up to you. You will need to cut 5 of the sides on the fold and 2 not on the fold. The two not on the fold are the entrance pieces. I found that I was able to cut out 3 whole pieces and 2 half pieces from the flat sheet of the king sheet set. I then cut two pieces from the fitted sheet after cut the elastic edges off. Make sure that you alternate the top of the teepee pattern to make the most of the fabric (see picture).
To cut out the window, while the pattern is on the fold you will cut out the half you shape – making sure to not cut out the window completely if you want to have the flaps. Basically you’re cutting a slit in the fabric. Once you have cut out all the window slits take the pattern and completely cut out the window. Place on folded mesh and adding a 1 inch seam allowance cut out the mesh insert.
step 2 – Begin to sew
On the sides of the tee pee that have a window with flap, sew double fold elastic around the window and flap.

After the Bias tape is sewn on, sew the mesh onto the back of the window opening. Fold a 4 inch piece of elastic in half and sew in the center of the wrong side of the window flap at the top of the window.
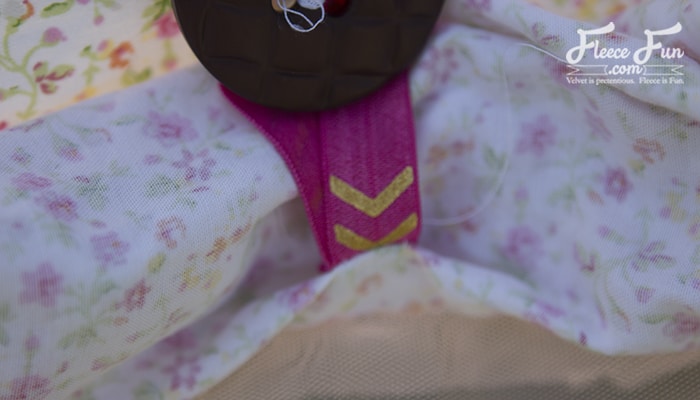
Sew a button on in the center of the top of the window to roll up flap.
step 3 – Sew the Teepee together
Sew each of the Triangles together using a half inch seam allowance. Finish the top with double fold bias tape. Turn the bottom under a half an inch (or use turning foot) to finish off the edge.
Sew the two front halves together at the top 2 1/2 feet down to make the entrance. Finish the edges of the entrance in necessary by turning under.
step 4 – Add the ties
Cut 18 six inch pieces of fold over elastic. Sewing in the center of the tie add a tie to the top, middle and bottom of each seam to tie to poles. Fold over 2 four inch sections of fold over elastic and sew to the bottom corner o the front of the teepee.

Sew a button to the outside of the tee pee on the seam about a third of the way up from the bottom to hold open entrance.
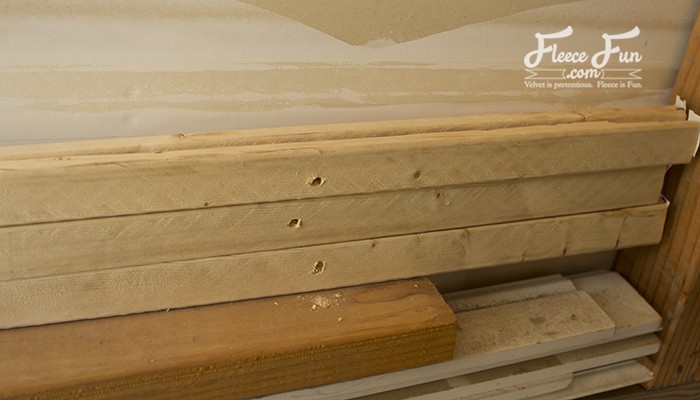
step 5 – Make the frame
1 foot from the top of the 1 by 2 drill a hole large enough to thread your rope through. Once all the boards have been drilled, thread the rope through placing a knot on both sides of the board and about 3 inches of slack in between each knot/board (this will make it a lot more stable and easy to put up and take down).
Test your work by setting up the frame and fanning out the poles.
step 6 – Set it up and complete the teepee
Bunch the poles together in a stack and clip on the teepee cover. I found it’s easier to set up by slipping in on the frame, then fanning out the frame and tying on the elastic ties.
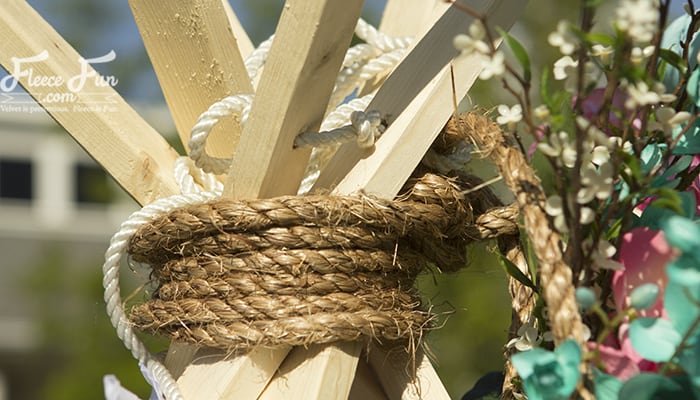
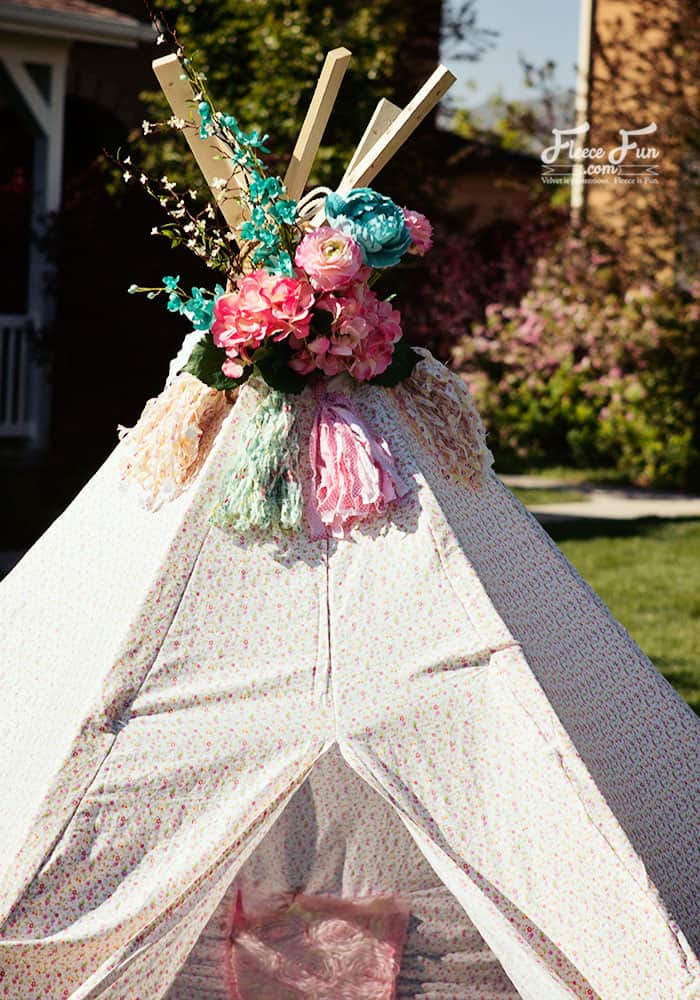
Tie some additional rope around the top. Throw an old quilt or blanket inside and enjoy! For extra décor I added my easy fabric tassels to the exterior. You can get that tutorial here.
This project is part of The Summer Sewing series, be sure to check out all the fun projects that are being added all summer long!

Download the free teepee pattern, tutorial below!
You can get a free copy of Adobe reader here– it is the ONLY reader I recommend. By downloading you are agreeing to pattern terms of use. Click the picture below and fill up the form to download the free pattern .pdf !

more Summer Party Ideas:
- Free Shorts Pattern for Toddlers
- Free Shorts Pattern (Child Sizes 5-14)
- How to make a Play Castle!
- How to make a Puppet Theater DIY!
- How to Build a Pirate Ship Out of PVC
- Pirate Party Facebook Event Timeline Art
- Pirate Party Game: Captain Hook’s Ring Toss (Free Printable)
- 7 Awesome Pirate Party Games (Free Printables)
- Free Printable Drive-In Theater Cars
- Free Printable Drive-In Theater Signs
- Free Printable Drive-In Theater Tickets
- 7 Rainbow Party Décor Tips
- You can see more of my Doll and Toy Patterns here!