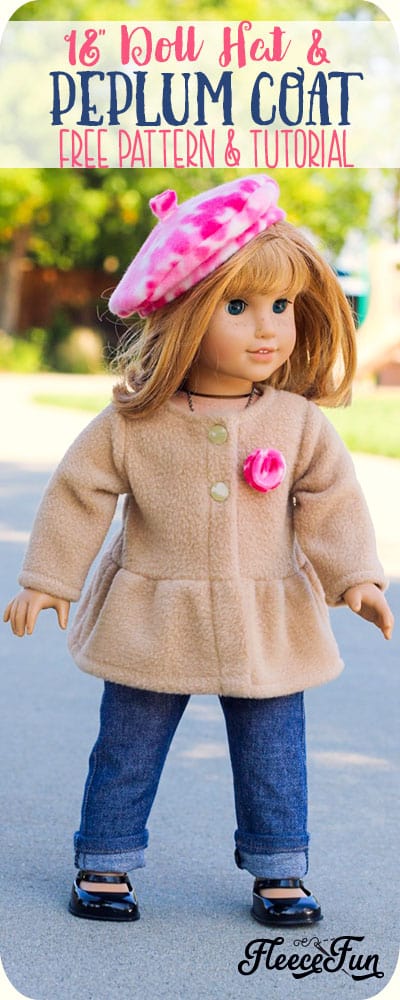
18 Inch Doll Peplum Coat and Hat (Free Pattern) by Tie Dye Diva
This content contains affiliate links or sponsored elements, read our Disclosure Policy.


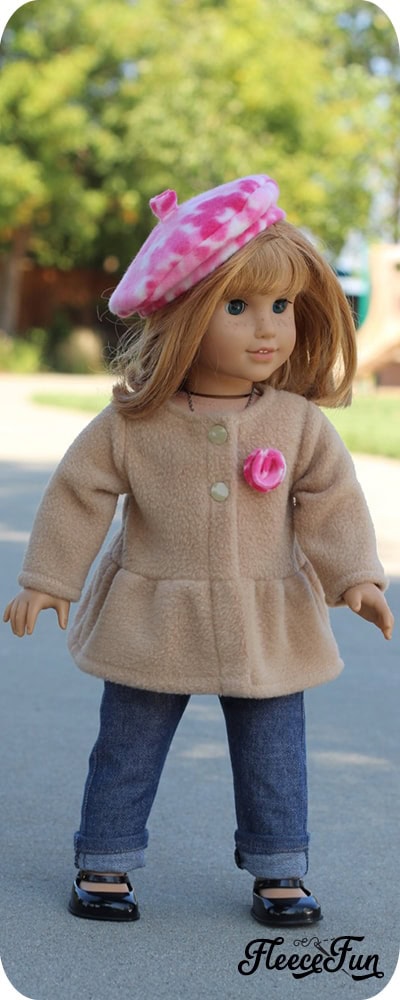
Hi, this is Jen at Tie Dye Diva patterns. Of all the sewing patterns I make, I especially love creating patterns for American Girl dolls, like this 18 Inch Doll Peplum Coat and Hat! They all have the same measurements, it doesn’t take much fabric or time, and they behave when you are doing a photoshoot!

uh … except on windy days.
Even better is that sewing clothes for American Girl gives a chance to use up those dreaded scraps. And everyone knows the most dreaded of all scraps are fleece scraps because they take up so much space!
Fleece makes a great winter coat for your dolly, and let’s keep her head warm with a stylish beret while we are at it. This is a simple and quick sew for all levels.
YOU WILL NEED:
- ¼ yard fleece for coat; ¼ yard fleece for hat
- Two size 20 press-in snaps for closure OR 2” length of ½”- to ¾”-wide hook and loop tape like Velcro™
- Get the free sewing pattern here.
18″ Doll Peplum Coat and Hat (Free Pattern) Tutorial:
Step 1 – Cut the following
Coat: 2 Coat Front (1 reversed), 1 Coat Back, 2 Sleeves, 2 Peplum Front and 1 Peplum Back. Beret: 1 Top, 1 Underside, 1 Band, 1 optional accent. Note the direction of greatest stretch printed on the pattern pieces; it does not matter for the circular hat pieces.
Step 2 – Sew the Doll Peplum Coat
Seam allowances are 3/8”. After sewing, trim seams to 1/8”-1/4”. Fleece does not fray so seam finishing seams and hem edges is optional.
coat top
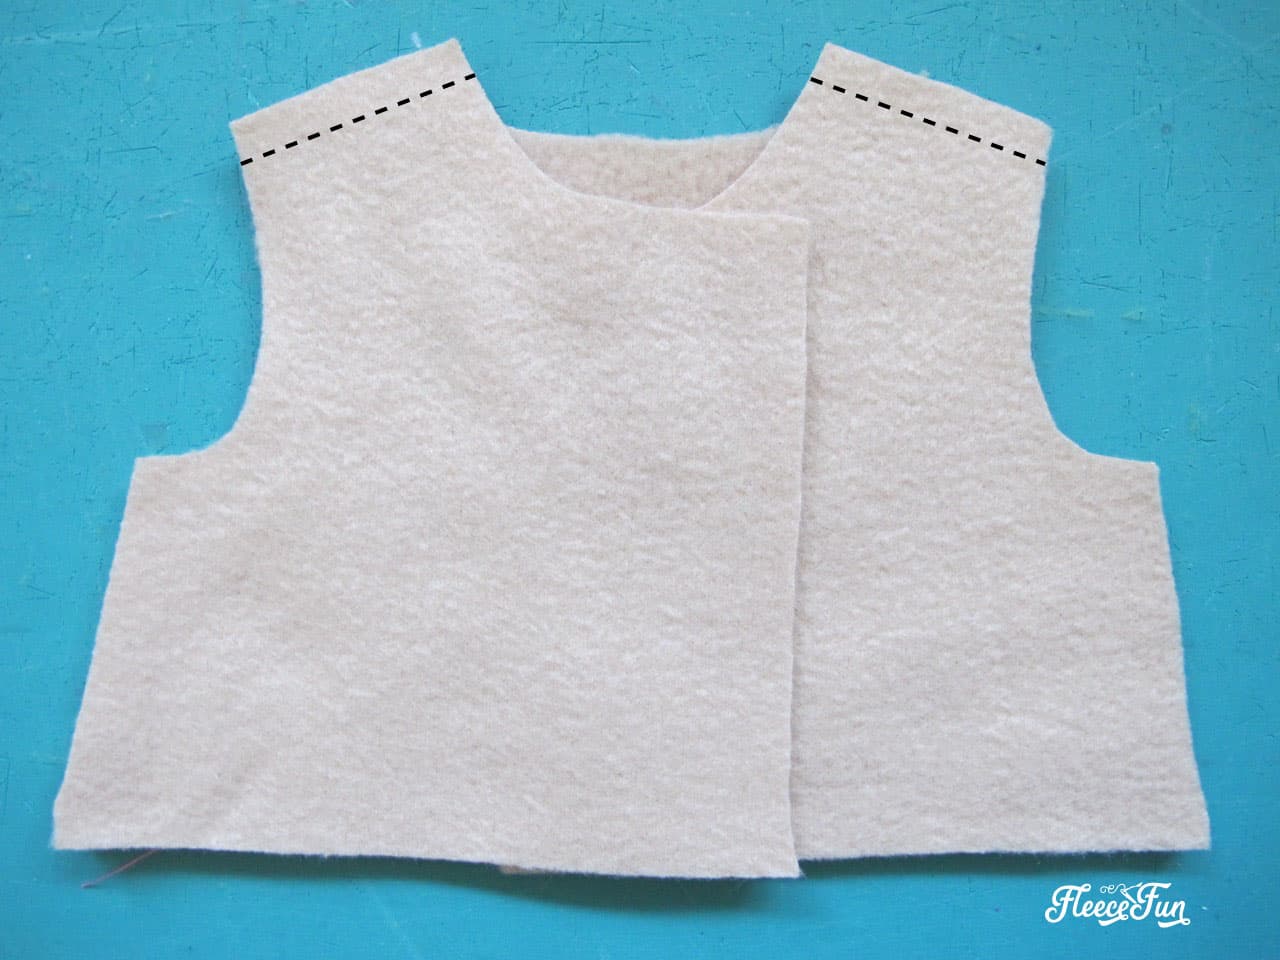
Lay the coat fronts and back right sides together. Sew the shoulder seams.
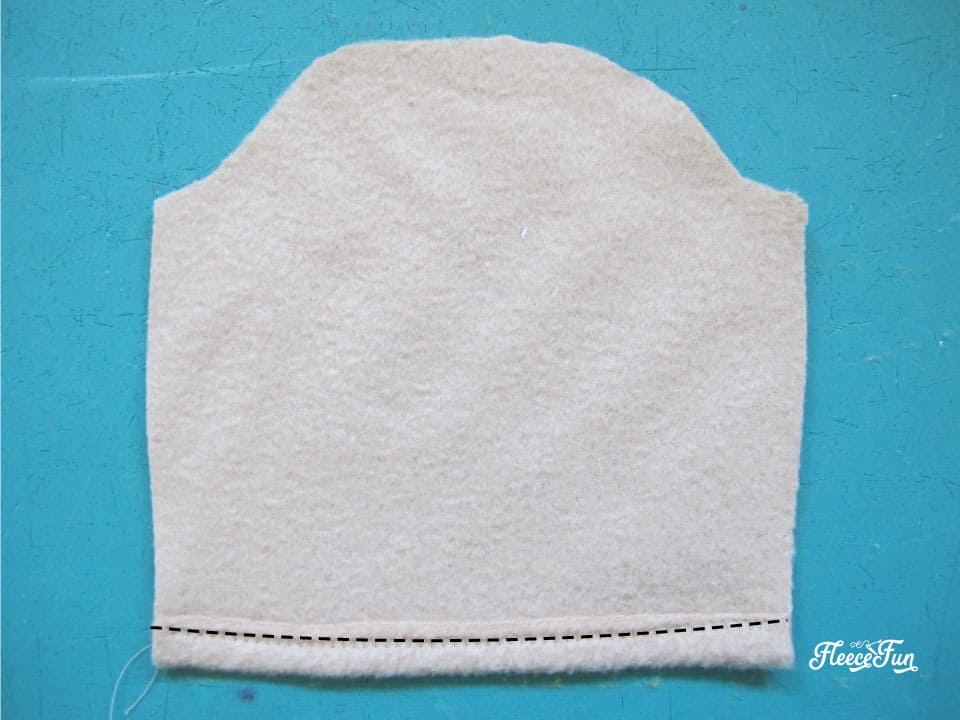
Hem each sleeve by turning the lower edge under 3/8” and stitching close to the fold.
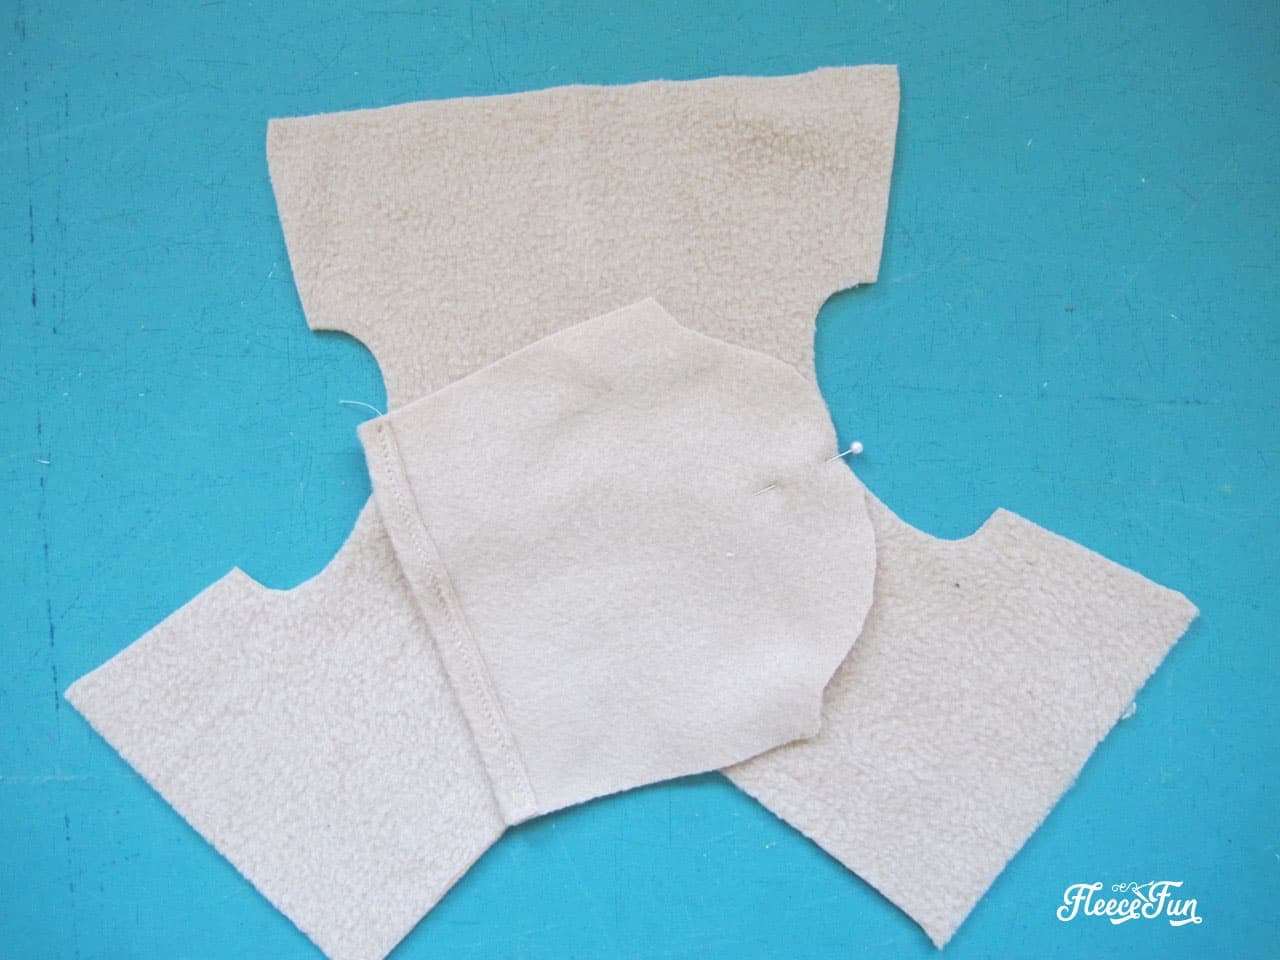
Lay each sleeve right sides together with the armholes, matching the center of the sleeve cap and the shoulder seam of the coat, and pin.
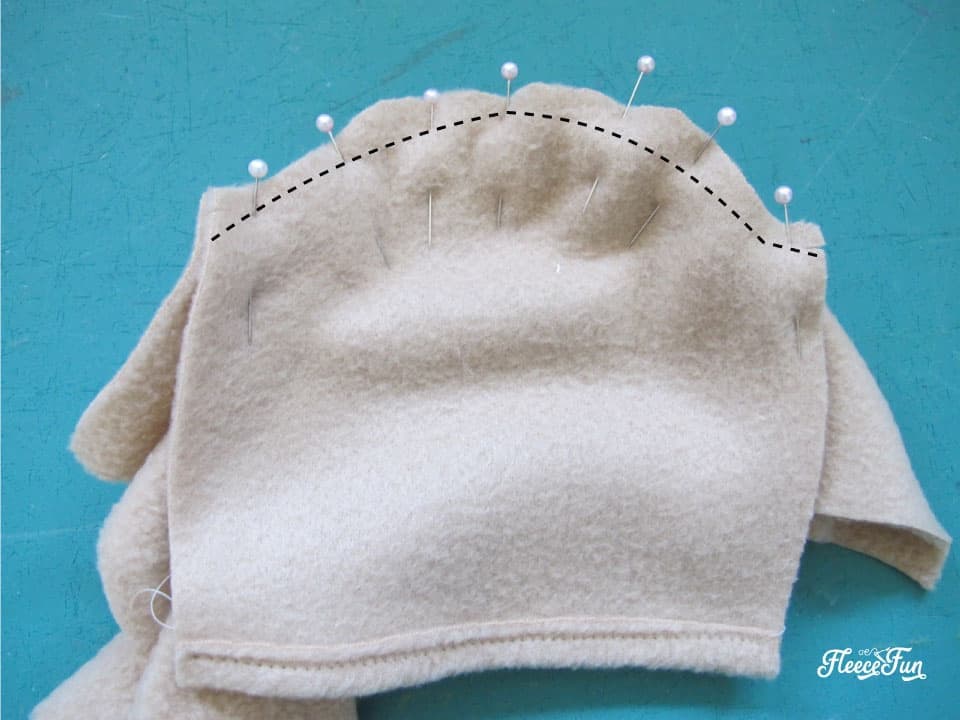
Pin the edges of the sleeve to the edges of the armhole, then pin the area between. Sew the seam.
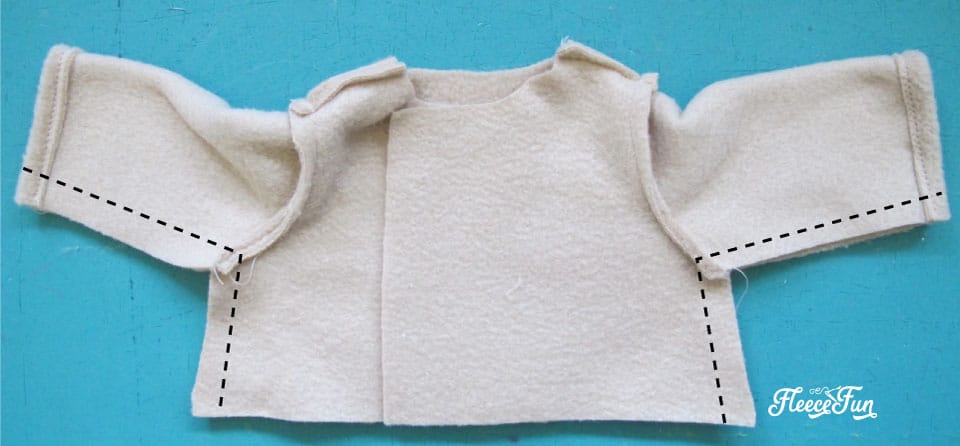
Fold the coat with right sides together, aligning coat side edges and sleeve raw edges. Sew the seams.

Turn the neckline edge under ¼” to the wrong side, pin or use sewing tape, and stitch into place. This curved edge can be a little tricky to hem, but if you straighten it into a line as much as possible, and turn over just ¼”, it is not too difficult.
A bonus if you use ¼” wide sewing tape is that you don’t have to measure or pin anything, just stick along the raw edge, turn and sew.
coat bottom
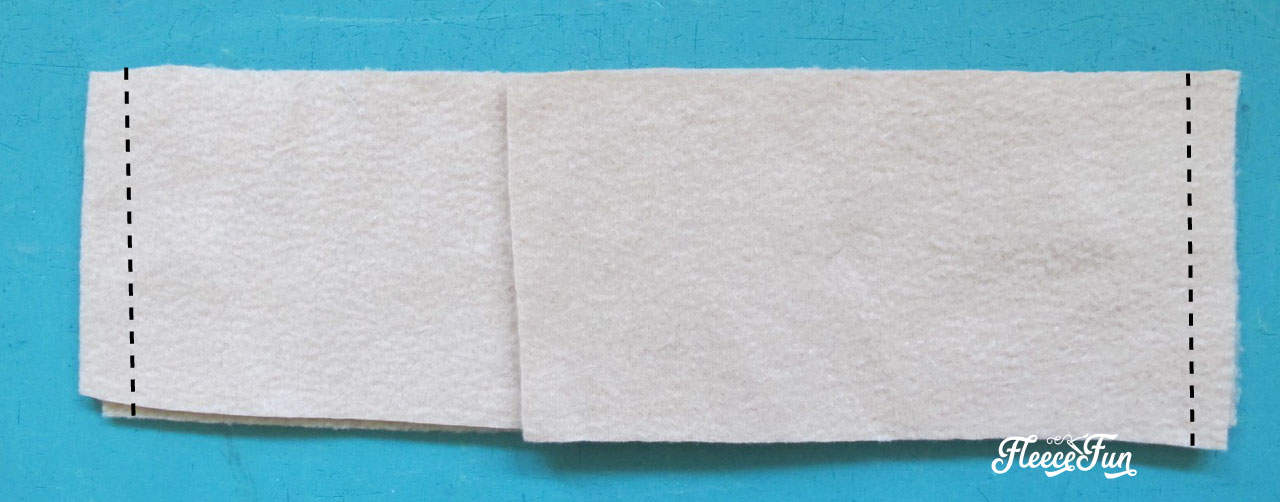
Lay the peplum front pieces against the peplum back with right sides together and raw side (short) aligned. Sew the side seams so that you have one long strip.
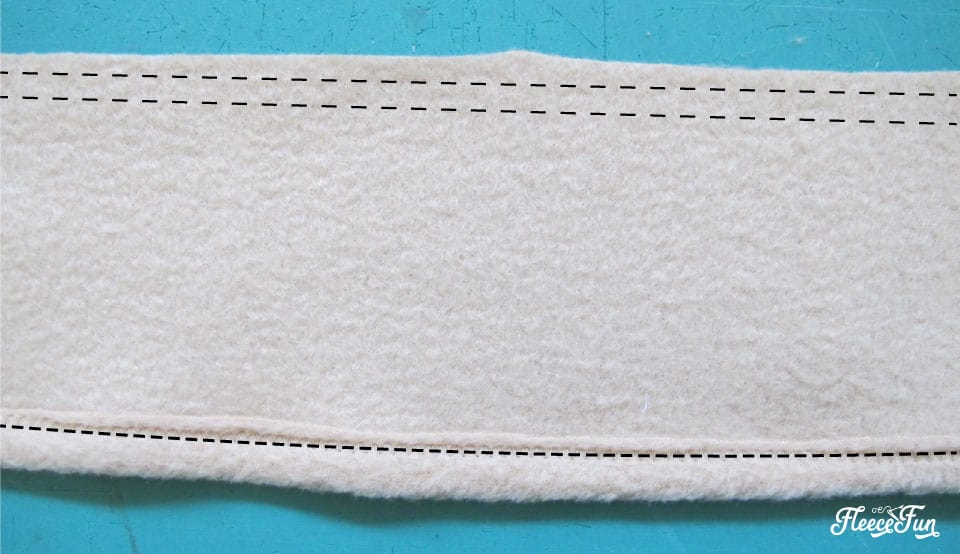
Hem the bottom edge by pressing under 3/8” to the wrong side and stitching into place. Also sew two rows of long, loose gathering stitches along the top edge, one 1/4” from the edge and one 1/2” from the edge.
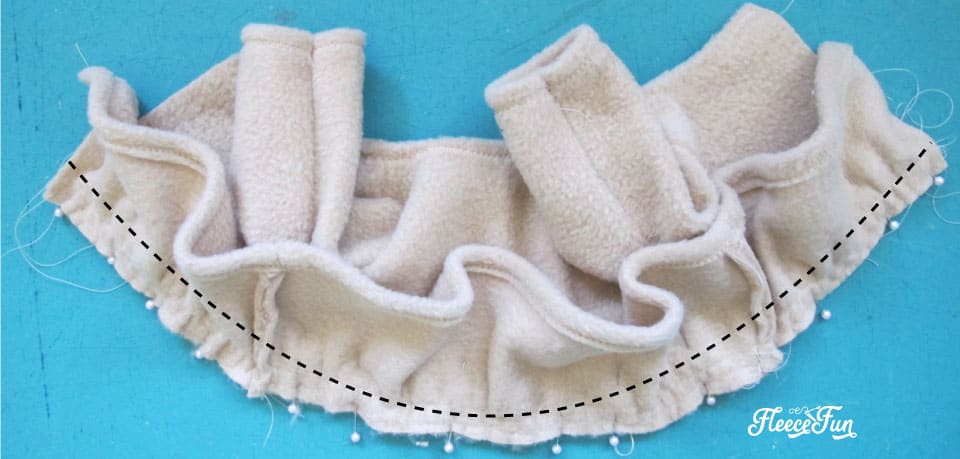
Gather the peplum strip to the width of the coat’s lower edge. With right sides together, align the upper edge of the peplum and the lower edge of the coat. Match side edges and seams. Sew the seam.
Turn both front edges of the coat under ¾” to the wrong side and stitch into place.
The left front overlaps the right front.
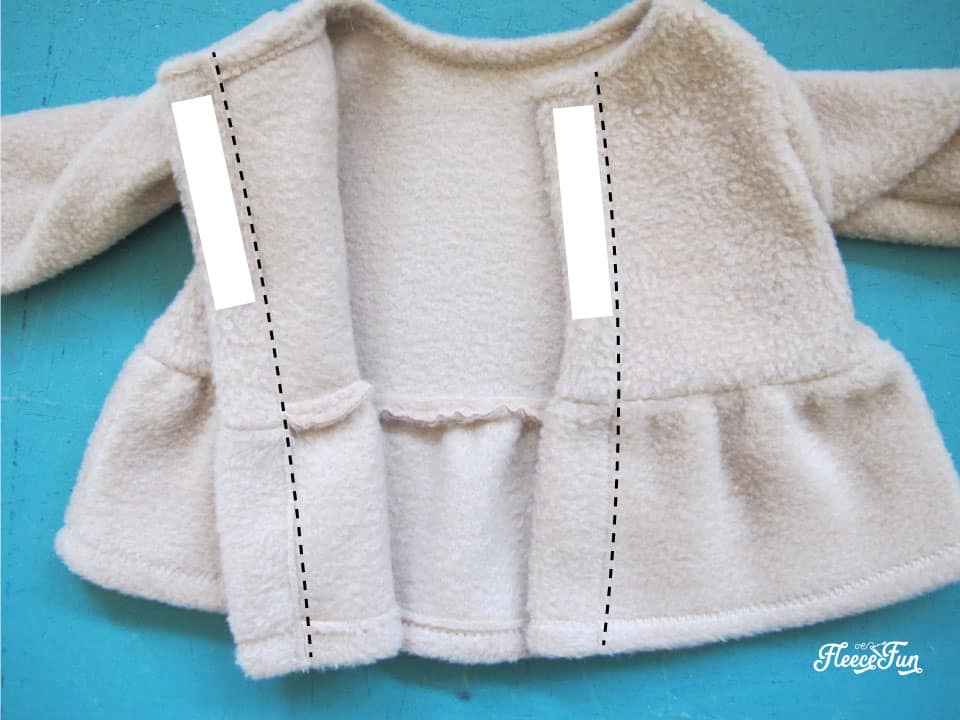
If your hook-and-loop tape is 3/4”, cut it in half lengthwise so your strip is 3/8”. Sew a 2” long piece in place it as shown. You can sew decorative buttons on the front if you’d like!
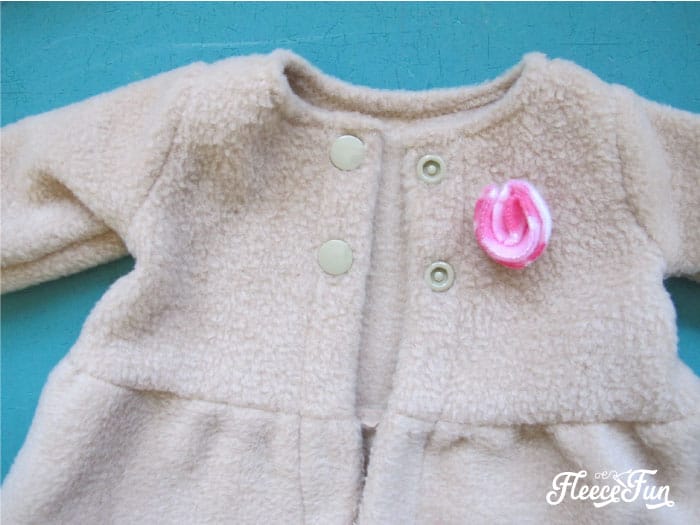
For snaps, set the top snap just below the hemmed neckline and the second snap centered about 1.5” below. Set corresponding snaps on the opposite side of right back. (Spoiler, I’ve added a little rosette to my coat!)
Step 3 – Sew the Doll Hat
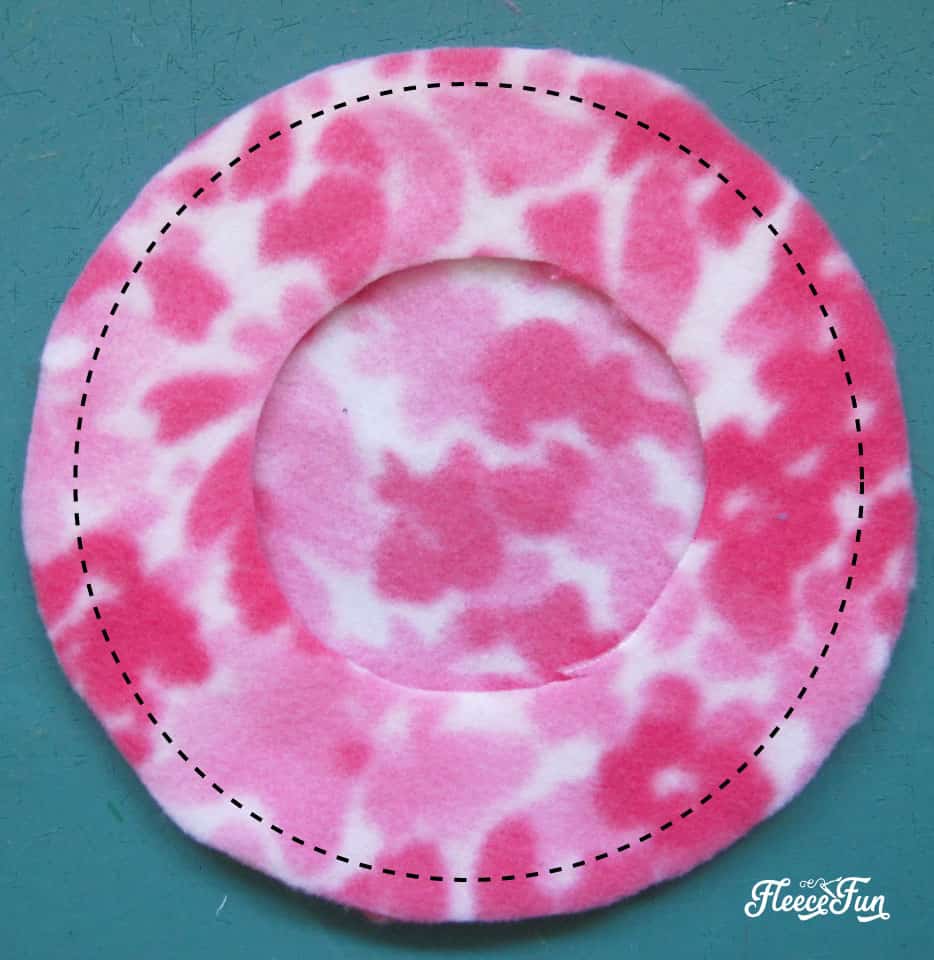
Lay the beret top right sides together with the beret underside and sew around the outside circle. After trimming the seam, turn the beret right side out.
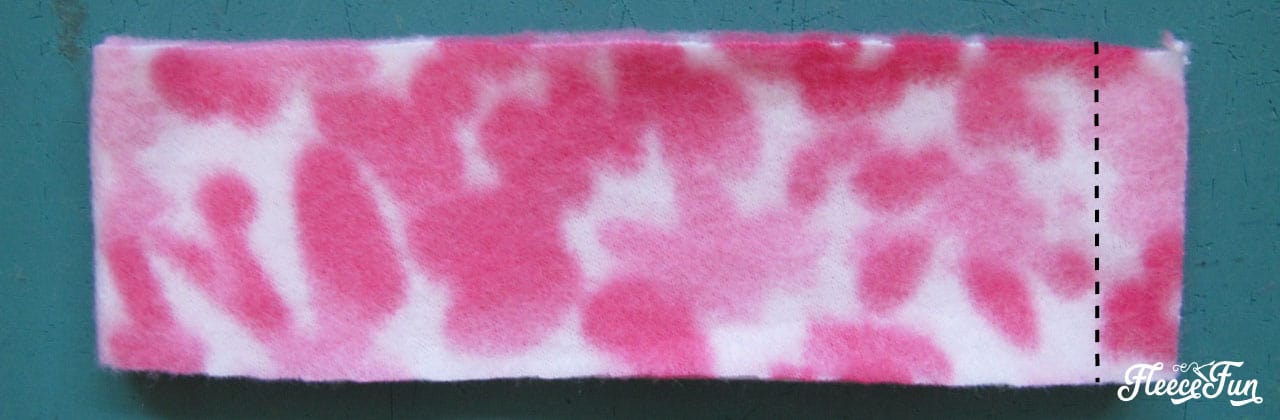
Fold the band with right sides together and sew the short seam to form a loop.
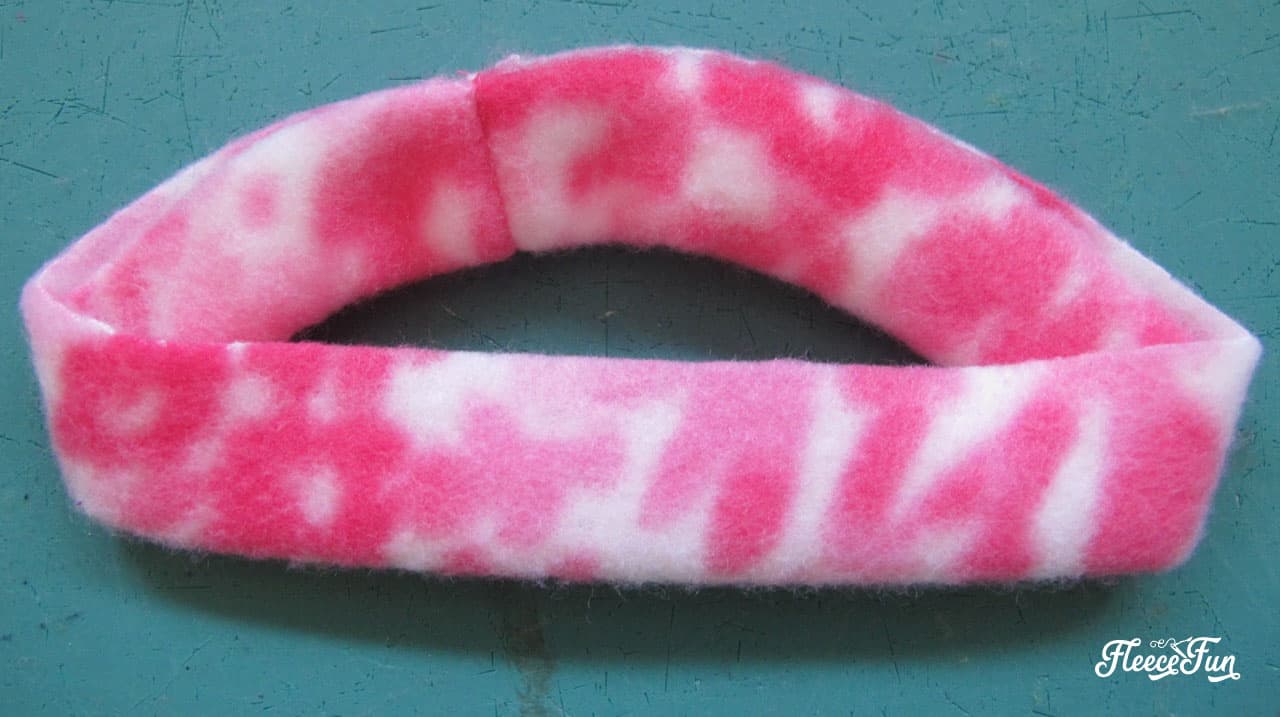
Fold the band in half lengthwise with wrong sides together, so you have a long skinny loop with a fold on one side and raw edges on the other.
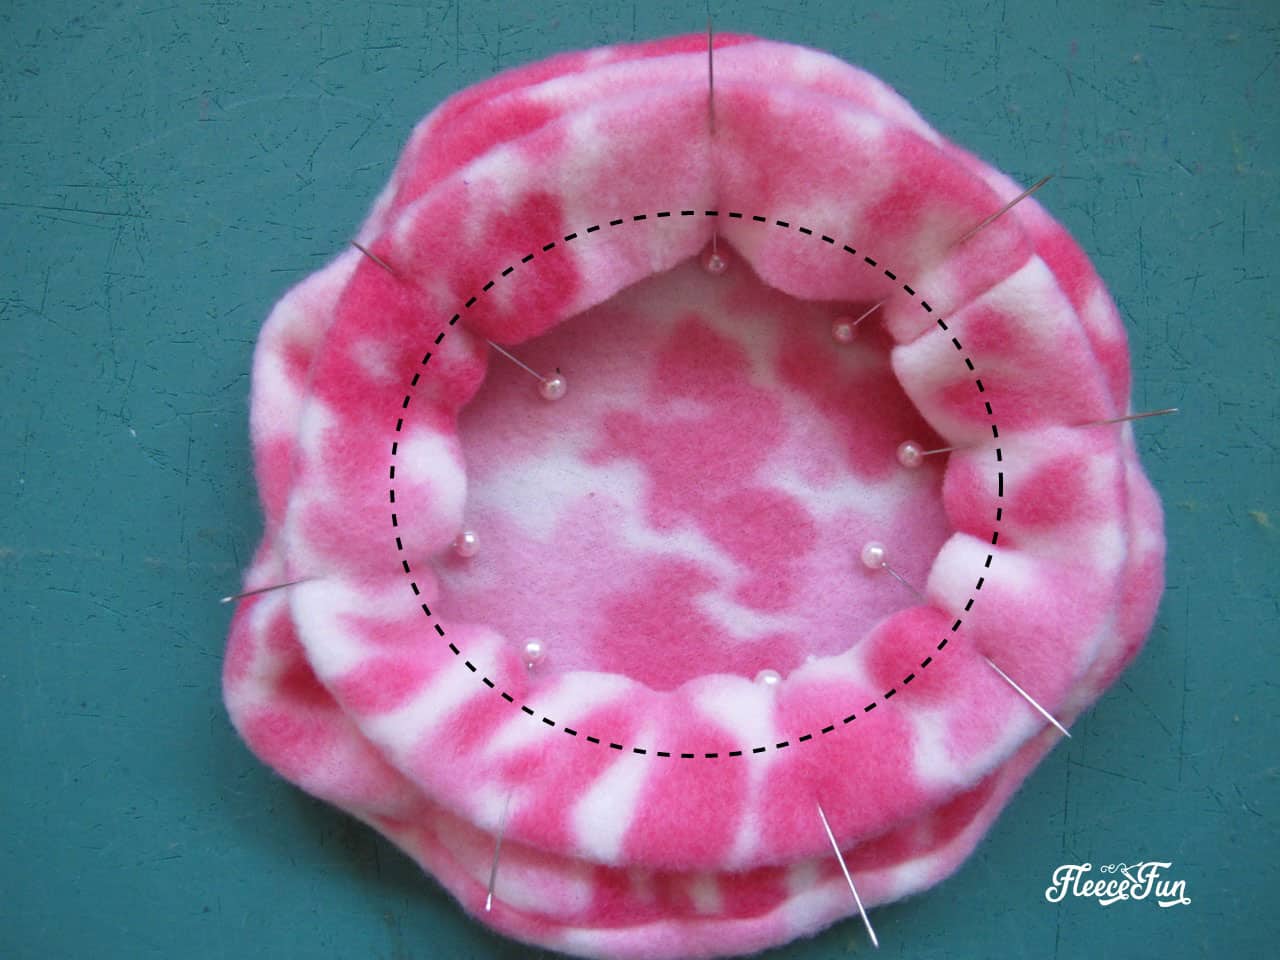
With right sides together and matching raw edges, pin the band around the circle formed by the beret underside. Stretch the band slightly as you pin. Sew the seam through all 3 layers and turn the beret right side out.
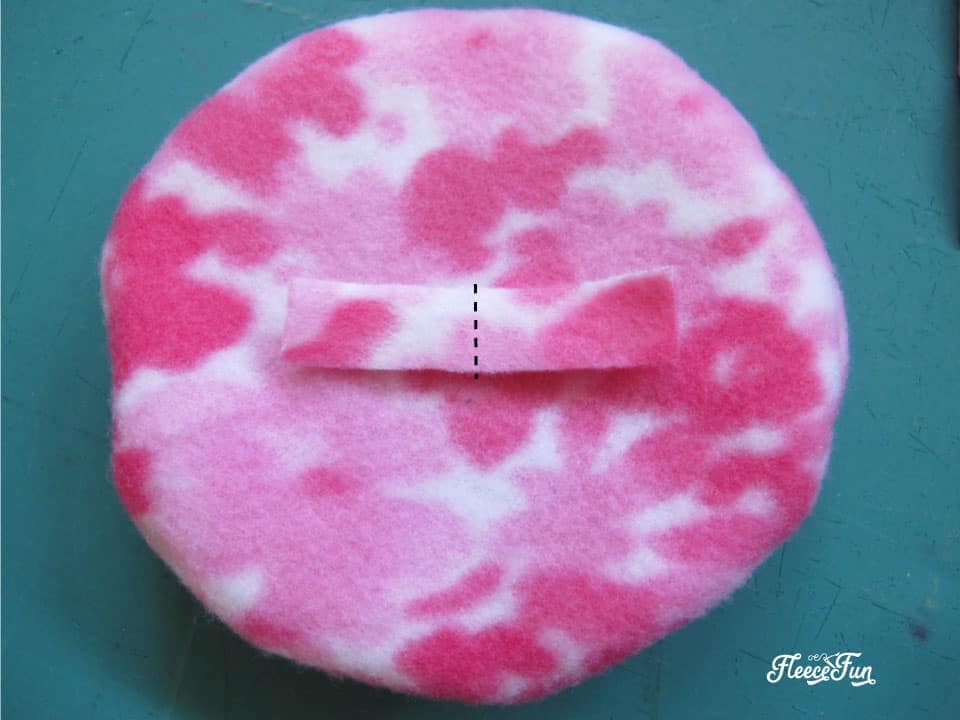
Optionally, sew the beret accent to the center top of the hat,
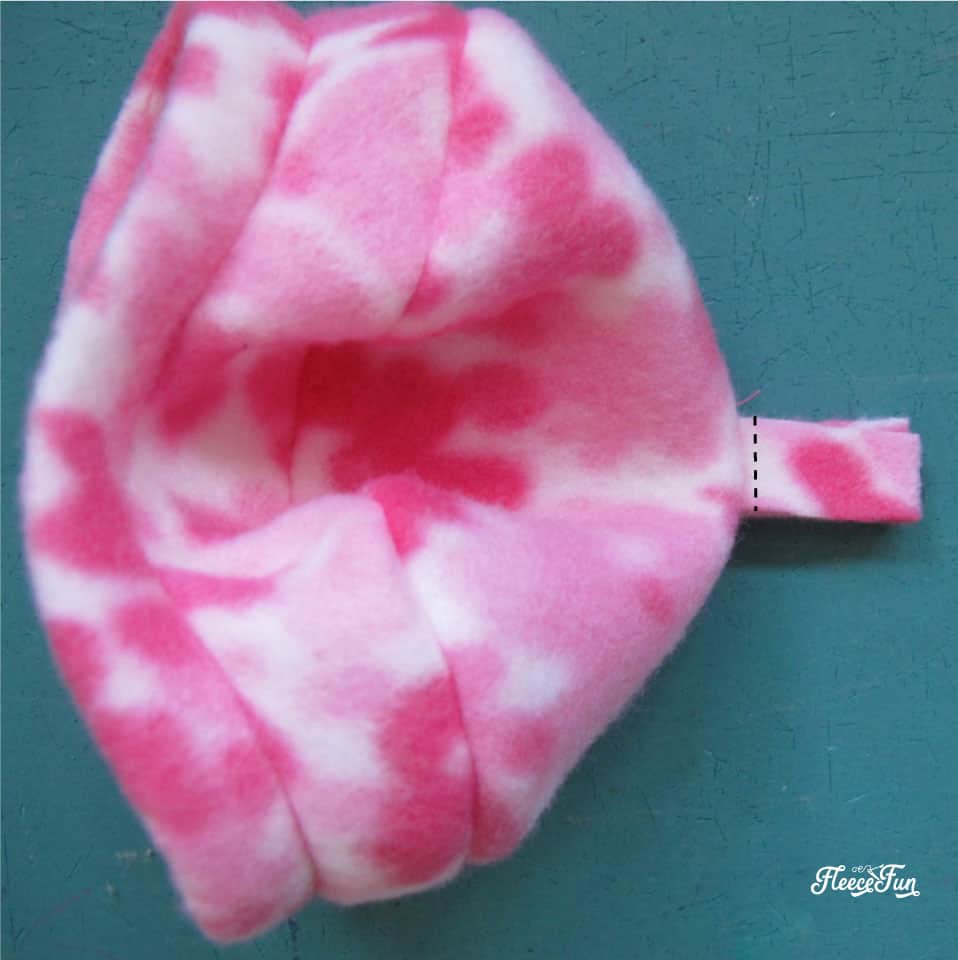
Then, fold the accent piece with right sides together and stitch through both near the base so it will stand up on top of your beret.
I hope you’ve enjoyed this tutorial as much as I’ve enjoyed making it!
GET THE FREE Doll Peplum Coat and Hat SEWING PATTERN BELOW:
I only approve of Adobe reader. By downloading you are agreeing to pattern terms of use. Click the picture below and fill out the form to download the free pattern .pdf.

More FREE American Girl Doll Patterns:
- Doll Mermaid Costume
- Doll Fur Vest
- Doll Knit Joggers
- Cute Chambray Party Dress
- Pocket Tee for Dolly
- Fleece Ribbon Hat
- Leather Fringe Purse
- Button Front Skirt for Dolly
- 18″ Doll Sleeping Bag Tutorial
- Long Coat for 18″ Doll Pattern
- Cuffed Leggings for Dolly
- Doll Cardigan
- Tiered Ruffle Skirt
- Doll Robe
- Doll Sleeping Bag Pack
- Doll Basic Fleece Pants
- Doll Boutique Pants
- Doll Button Tunic
- You can see all of the Free American Girl Doll Patterns here