
Tiered skirt tutorial for 18″ dolls
This content contains affiliate links or sponsored elements, read our Disclosure Policy.


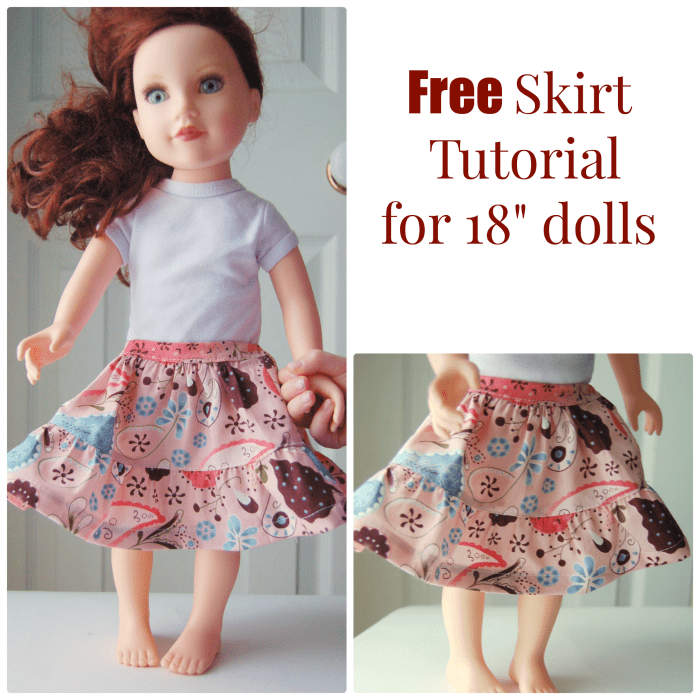
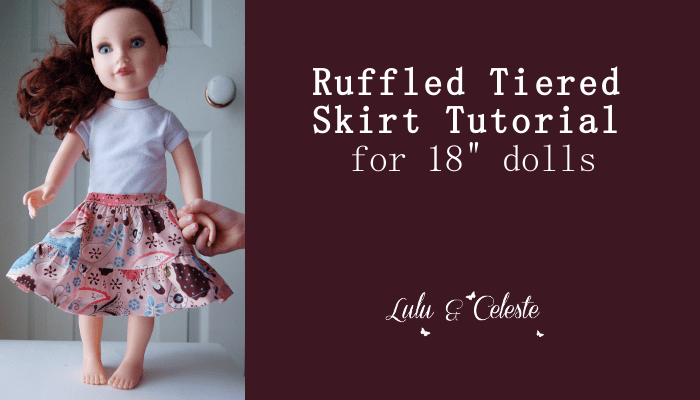
Hi! Ula here from Lulu & Celeste. I’m back with a tiered skirt tutorial for 18″ dolls. The skirt has a flat front waistband with elastic in the back and two gathered tiers. It’s super cute and takes up barely any fabric.

YOU WILL NEED:
No pattern pieces required for this project!
- 1 fat quarter of fabric (there will be some scraps left over)
- 1/8″ or 1/4″ elastic, 4.5″
- Sewing machine or hand needle and thread if you prefer
- Iron
- Recommended fabric: quilting weight or lightweight cotton
18″ doll tiered skirt step-by-step tutorial:
Step 1 – Cut out the 18″ Doll Tiered skirt pieces
1/4″ seam allowance is used. Pieces are cut width x length
Front waistband: cut 1 piece 5.5″ x 2″
Back waistband: cut 1 piece 8″ x 2″
First tier: cut 2 pieces 11.75″ x 3.5″
Second tier: cut 2 pieces 17.5″ x 3.5″
Step 2 – Prepare Waistband
Fold front waistband in half wrong side together (WST) aligning the raw edges along the long edge. Press. Open up and press the long edges 1/4″ in towards the wrong side. Repeat with back piece.

Right sides together (RST) pin the front waistband to the back along one short edge and stitch in place, repeat with other short edge creating a loop.
Press open the seam allowances.
Step 3 – Prepare the pieces of the Tiered skirt
Place the two bottom tier pieces RST and pin along one short edge and stitch. Repeat with other short edge. You’ve created a loop!
Finish your seams using a zigzag stitch. Press your seams to the back.
Now repeat with the top tier. You now have two loops.
Step 4 – Hem the Bottom Tier
Take the bottom tier from step 3 (the bigger loop). Press the bottom edge of the second tier 1/4″ towards the wrong side. Then press again 1/2″ towards the wrong side enclosing the raw edge. Topstitch close to the folded edge.
Step 5 – Attach the Bottom Tier to the Top Tier
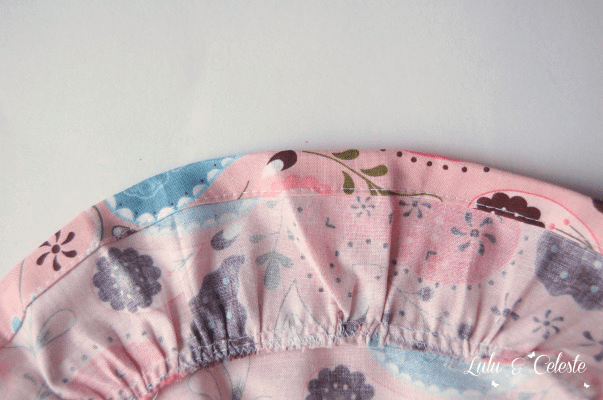
Run two rows of gathering stitches along the top raw edge (unhemmed edge) of the bottom tier. The first row will be 1/8″ from the edge and the second row will be 3/8″ from the end.
Lightly pull the top threads to gather the tier until it matches the width of first tier. Pin together RST aligning the raw edges, making sure to match up the side seams. Stitch in place with the 1/4″ seam allowance. Now that the tiers are done, next step would be to make and attach the waistband for the 18″ Doll Tiered skirt.
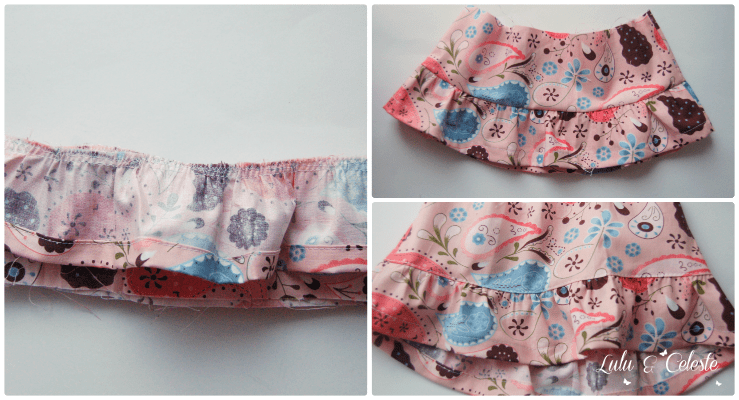
Remove any visible gathering stitches.
Press the seam allowance up towards the top tier and topstitch in place.
Step 6 – Attach the Top Tier to the Waistband
Gather the top tier to match the width of the waistband as in step 5. The front of the skirt will need to be gathered more since the front waistband is less wide, (the back will have elastic inserted).
With the waistband unfolded, pin to the skirt RST lining up one raw edge. Make sure you match up your side seams! Stitch in place and remove any visible gathering threads.
Step 7 – Insert the Elastic
Insert your elastic. Line up the elastic against the fold of the back waistband and stitch the elastic down in the side seam. Stretch the elastic and stitch in the other side seam.
Step 8 – Finish the 18″ Doll Tiered skirt
Refold the waistband along the lines you pressed earlier, enclosing the raw edges of the skirt. Pin in place and topstitch, stretching the back waistband so it stays flat.
That’s it! Make a couple more for the little dollies in your life!
If you like this skirt tutorial please stop by Lulu & Celeste and check out the other tutorials I’ve shared!
love this 18″ Doll Tiered skirt tutorial? see More FREE Doll Patterns:
- Doll Mermaid Costume
- Doll Peplum Coat
- Doll Fur Vest
- Doll Knit Joggers
- Cute Chambray Party Dress
- Pocket Tee for Dolly
- Fleece Ribbon Hat
- Leather Fringe Purse
- Button Front Skirt for Dolly
- 18″ Doll Sleeping Bag Tutorial
- Long Coat for 18″ Doll Pattern
- Cuffed Leggings for Dolly
- Doll Cardigan
- Doll Robe
- Doll Sleeping Bag Pack
- Doll Basic Fleece Pants
- Doll Boutique Pants
- Doll Button Tunic
- You can see all of the Free American Girl Doll Patterns here
Cute!! I’ve got a Craft Gossip post scheduled for this morning that links to your tutorial:
http://sewing.craftgossip.com/tutorial-tiered-skirt-for-an-18-doll/2014/12/30/
–Anne