
Fur Vest for 18″ Doll Free Pattern Tutorial
This content contains affiliate links or sponsored elements, read our Disclosure Policy.

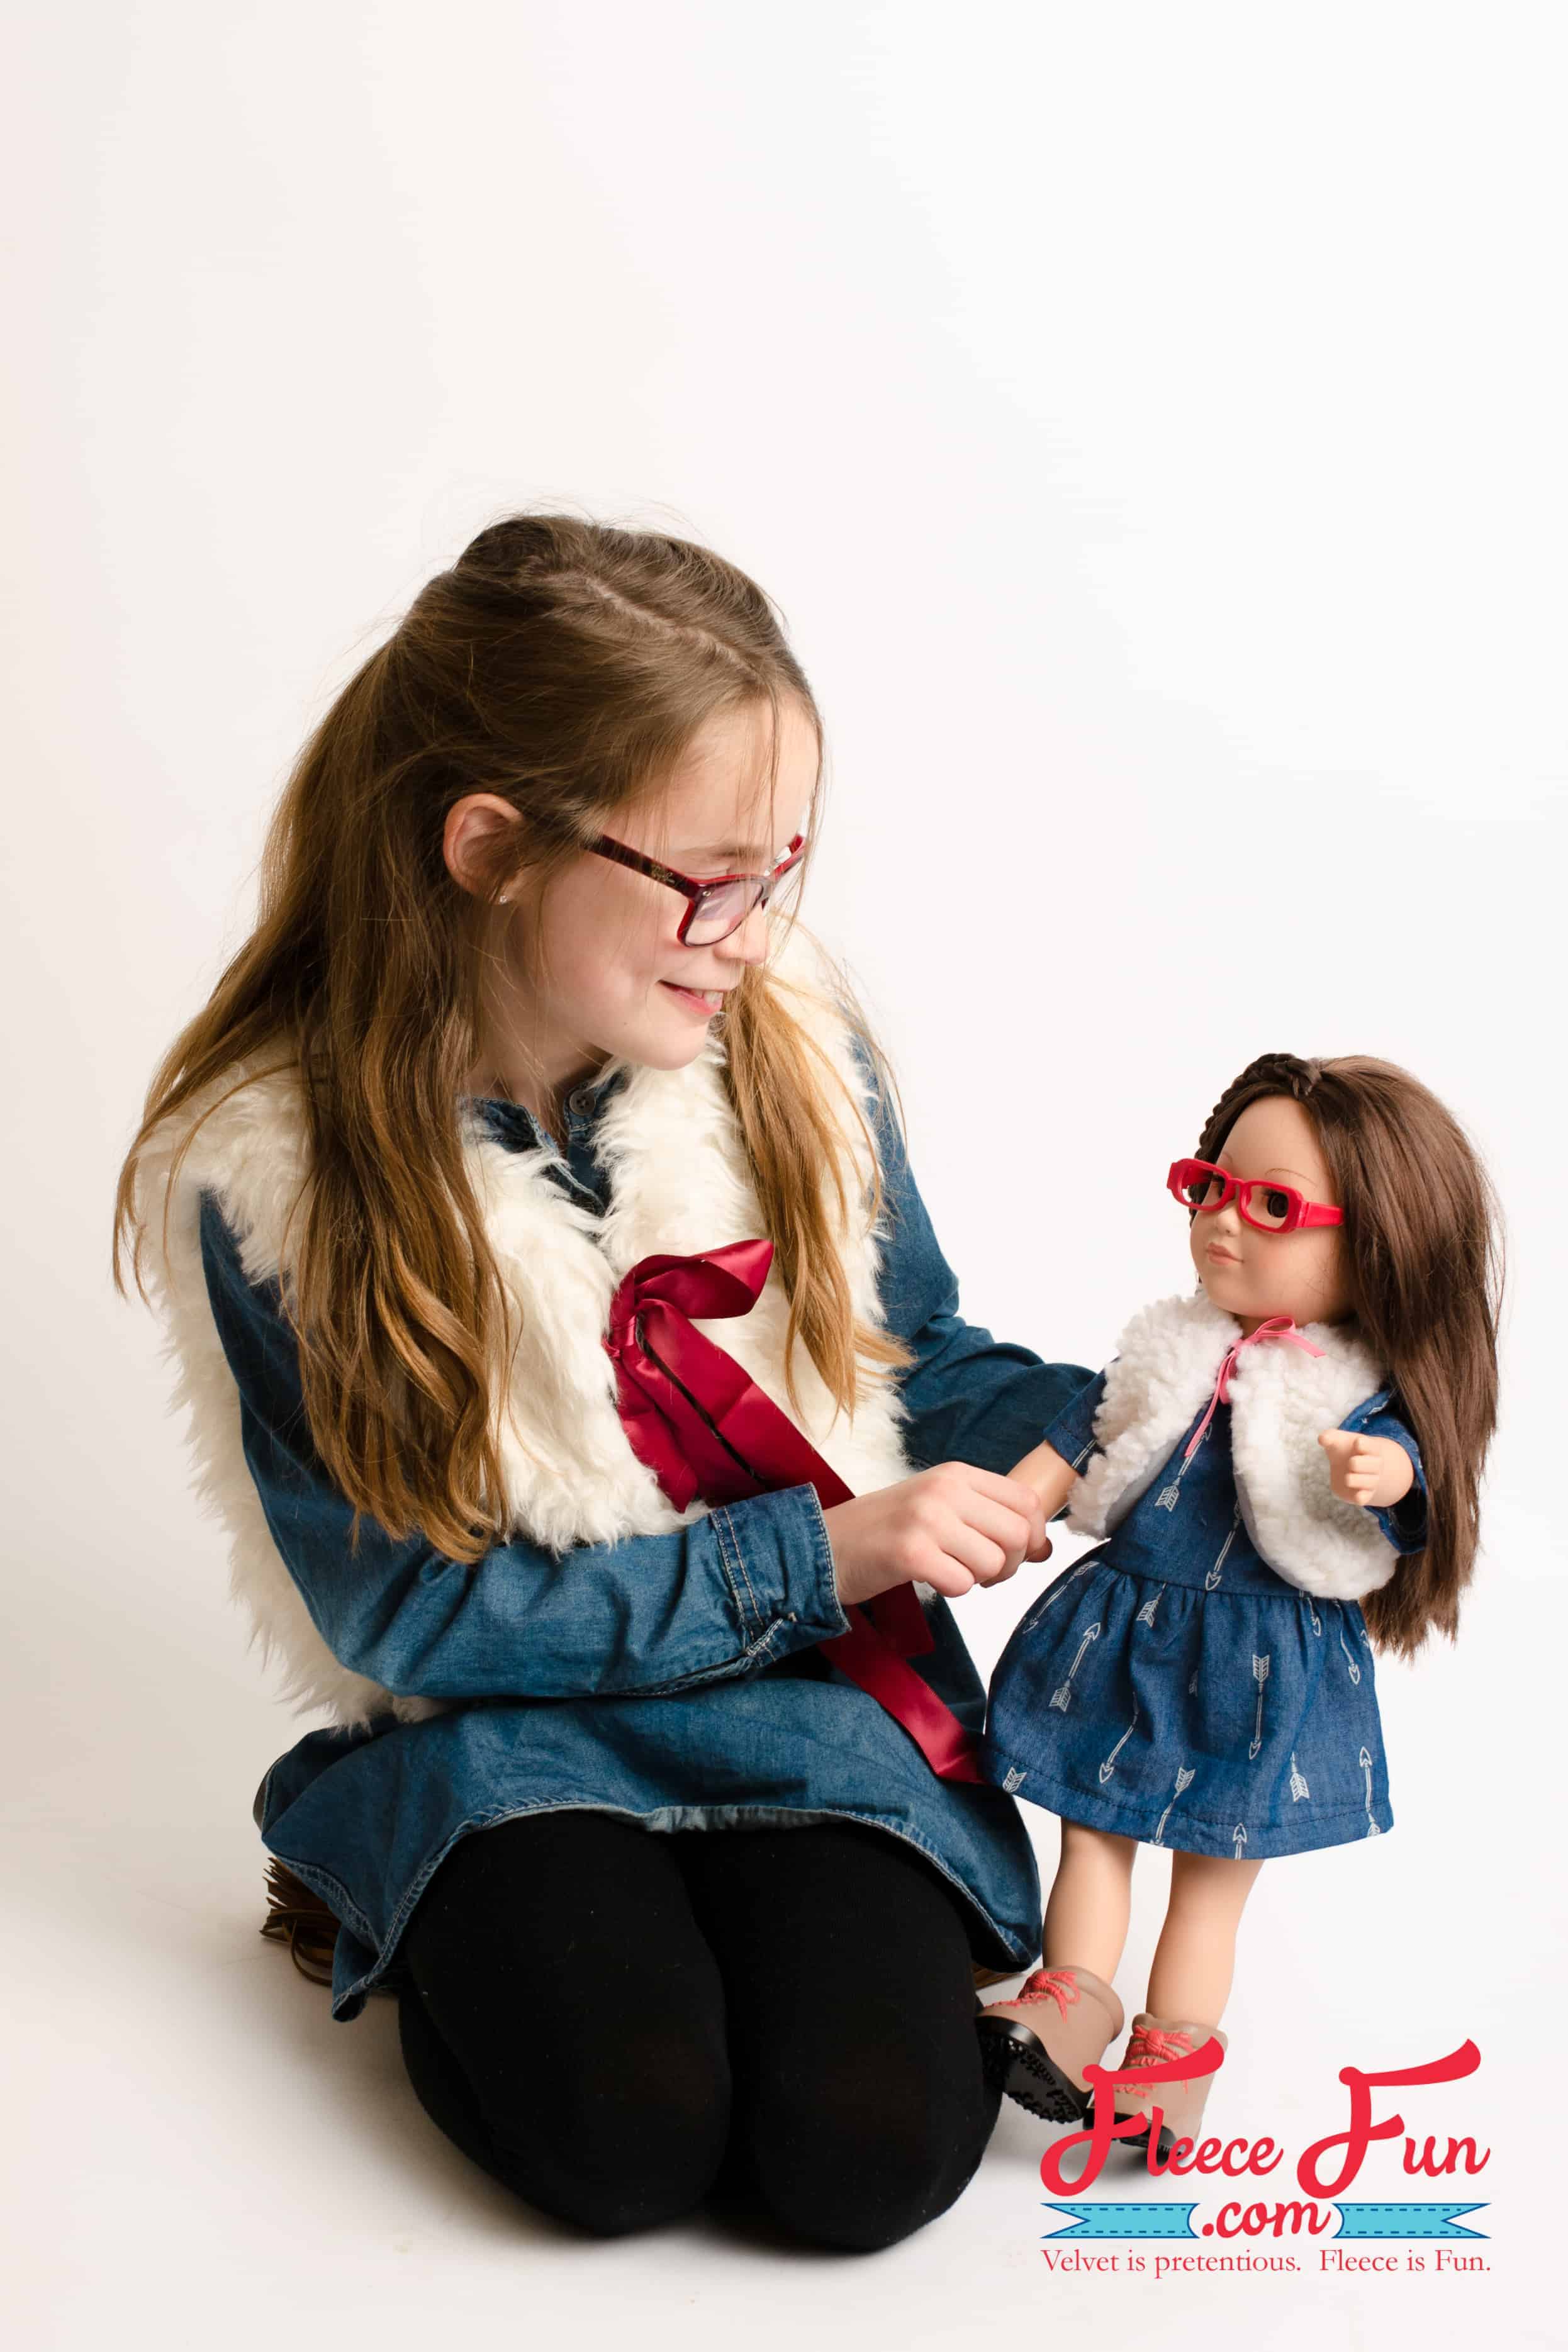
Keep your doll cozy and stylish all winter long with this adorable Fur Vest for 18″ dolls! This free pattern is a fun and rewarding project that adds a touch of winter charm to any doll wardrobe.
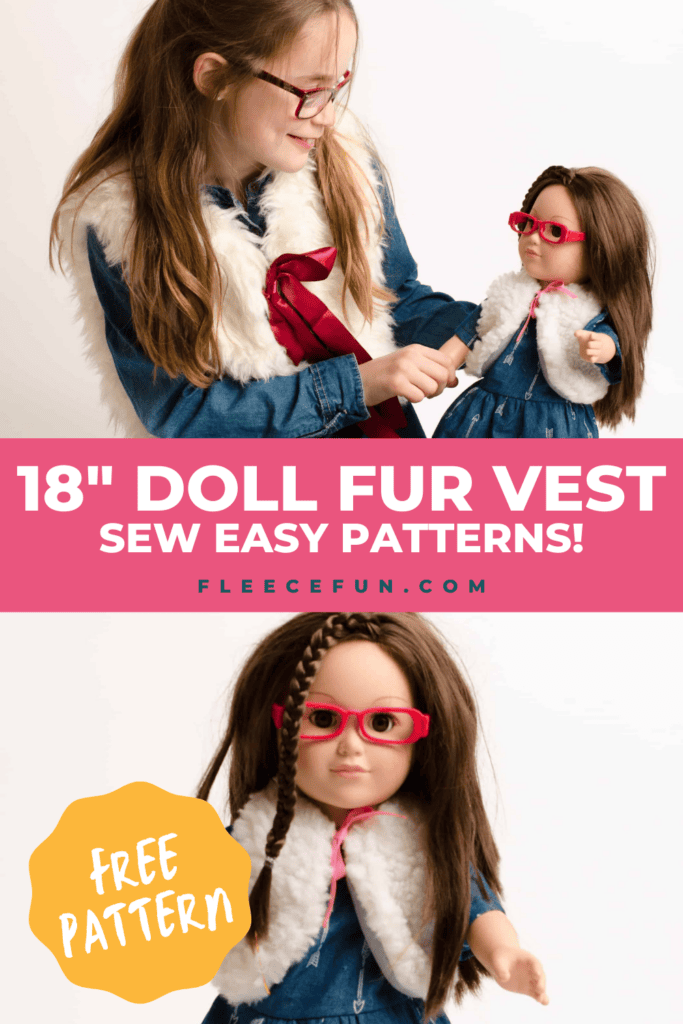
With clear, step-by-step instructions, even beginner sewists can follow along with confidence and enjoy a smooth, stress-free sewing experience. It’s the perfect quick project that looks impressive but feels totally doable!
YOU WILL NEED:
- small piece of faux fur or sherpa fleece. Do not use a fur that is too bulky since the doll’s vest is small!
- small amount of lining fabric. I used a quilting cotton.
- 12″ narrow ribbon for tie
- Get the free pattern here.
Fur Vest for 18″ Doll Tutorial
Step 1 – Cut Fabric Pieces and Prepare Materials
Cut 2 fronts, 1 back on fold of each – fur and lining fabric.
Cut 2 6″ pieces of ribbon for the ties.
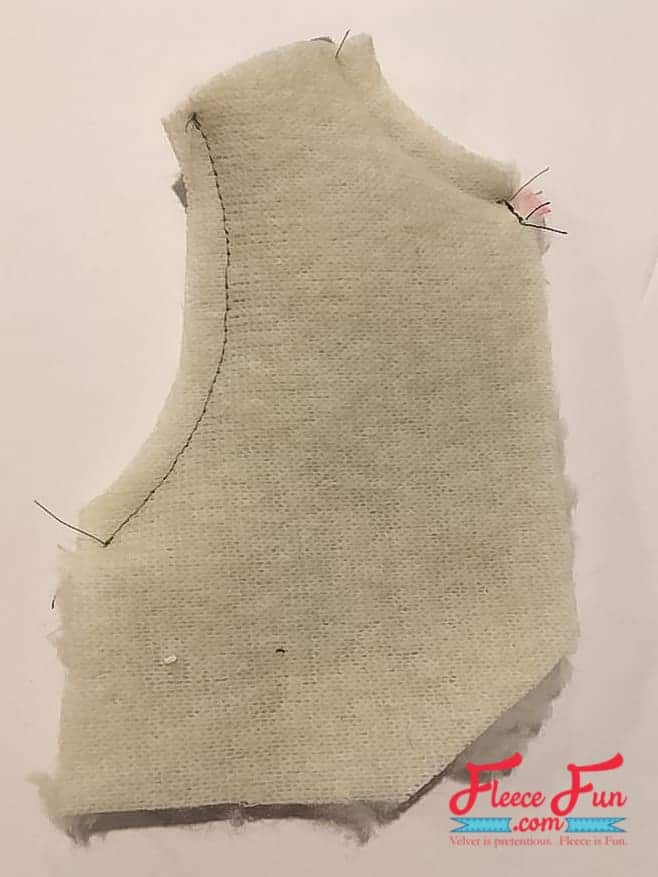
Step 2 – Sew the Back Neckline and Armholes
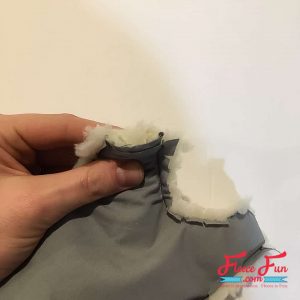
With right sides facing, sew the back fur to the back lining at the neckline and armcyes.
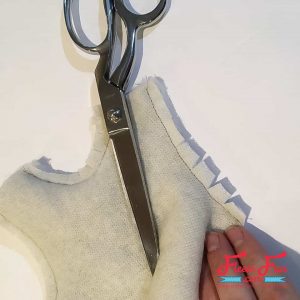
Clip curves well.
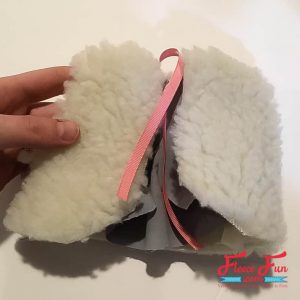
Step 3 – Sew the Front Pieces and Add Ribbon Ties
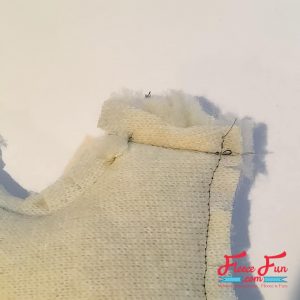
Baste a piece of ribbon to the right side of the front fur, 1/4″ below the neckline as shown.
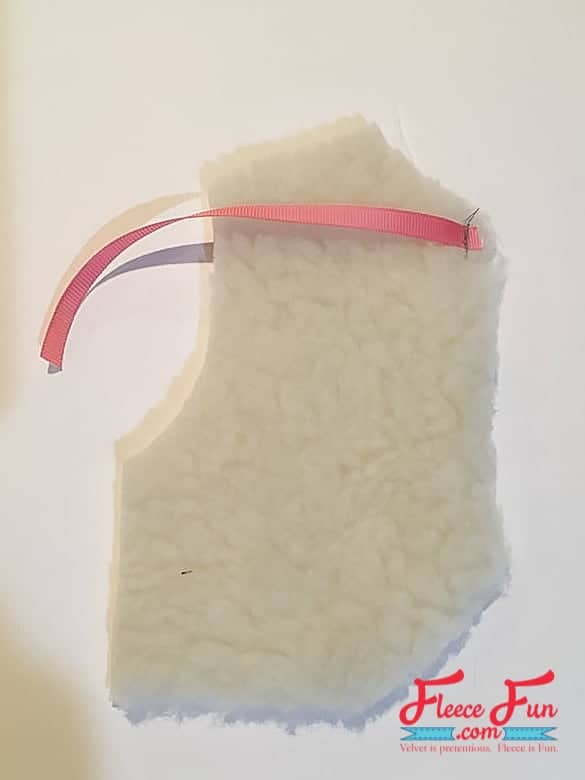
Sew front fur to front lining, right sides facing, along neckline and armscye. The ribbon is sandwiched between. Clip curves well.
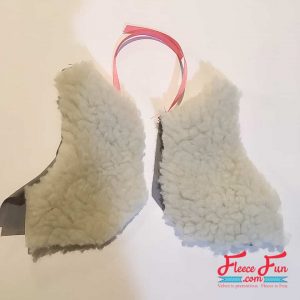
Repeat with the second front. Turn fronts right side out. Next is attaching the fronts and back of the Fur Vest for 18″ Doll.
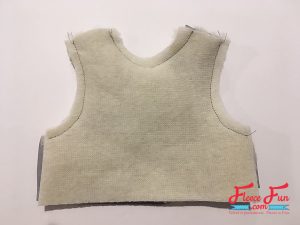
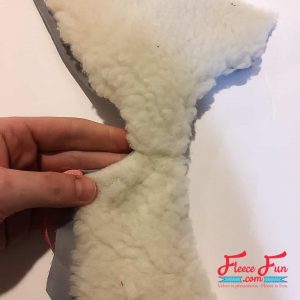
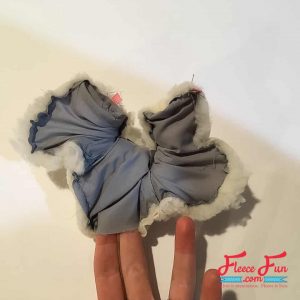
Step 4 – Attach Fronts to Back at Shoulders
Slide the front in between the lining and fur of the back. The front lining touches the back lining and the front fur touches the back fur. The fronts are right side out and the back is still wrong side out.
Line up the shoulder seams.
Stitch across the shoulder.
Pull the front through the back so now they are right sides out and attached at the shoulders.
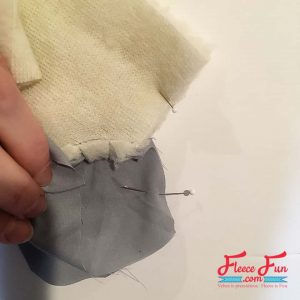
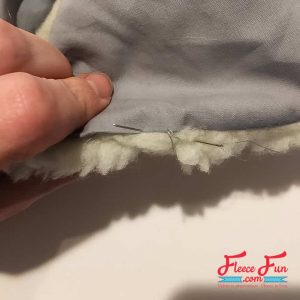
Step 5 – Sew Underarm Seams
Pin and stitch underarm seam of both lining and fur in one continuous seam, right sides facing.
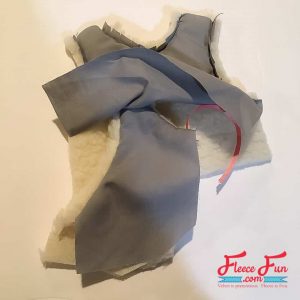
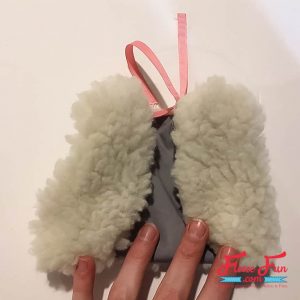
Step 6 – Close Edges and Finish the fur doll Vest
Arrange vest with right sides facing. All the edges are now enclosed except for the front and bottom.
This part looks difficult, but you are simply lining up the raw edges of the fur and the lining, right sides facing, with the bulk of the vest sandwiched in between.
Pin. Leave a 2″ opening along the bottom for turning and stitch. It may seem like a crumpled ball, but pull the vest through the opening you left and it will be assembled!
Hand stitch your turning opening shut.
Download the free Fur Vest for 18″ Doll pattern below:
Click the image below and fill up the form to download the free pattern.

More FREE American Girl Doll Patterns:
- Doll Mermaid Costume
- Doll Peplum Coat
- Doll Knit Joggers
- Cute Chambray Party Dress
- Pocket Tee for Dolly
- Fleece Ribbon Hat
- Leather Fringe Purse
- Button Front Skirt for Dolly
- 18″ Doll Sleeping Bag Tutorial
- Long Coat for 18″ Doll Pattern
- Cuffed Leggings for Dolly
- Doll Cardigan
- Tiered Ruffle Skirt
- Doll Robe
- Doll Sleeping Bag Pack
- Doll Basic Fleece Pants
- Doll Boutique Pants
- Doll Button Tunic
- You can see all of the Free American Girl Doll Patterns here
