
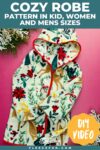
Easy Fleece Robe Pattern
This content contains affiliate links or sponsored elements, read our Disclosure Policy.
There is something about slipping into a fleece robe first thing in the morning that just makes the whole day start better. I’m talking about that first cup of coffee moment — the one where you shuffle to the kitchen, your house is still quiet, and you are wrapped in something impossibly soft. I wanted that feeling for my whole family, and I could not find a robe pattern that was both simple to make and actually generous with the fleece. So I made one.
This Easy Fleece Robe is one of my absolute favorite things I’ve sewn for my kids — and for myself, honestly. It’s the kind of project that comes together faster than you expect, and the payoff is enormous. It works for children and adults, and the process is exactly the same no matter which size you’re making.
The pattern for this one is exclusive to the Maker’s Studio — that’s where I keep all my best stuff. If you’re already a member, you know right where to find it! Come join me if you’re not in yet — I would love to have you sewing along.
The Finished Robe: Soft, Cozy, and Made to Last
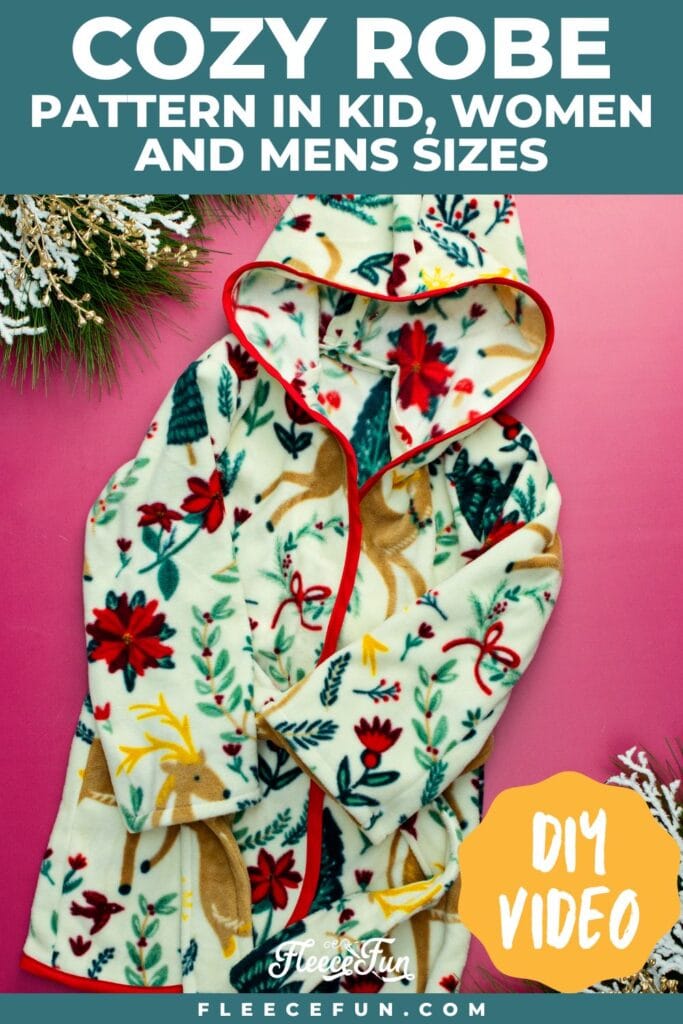
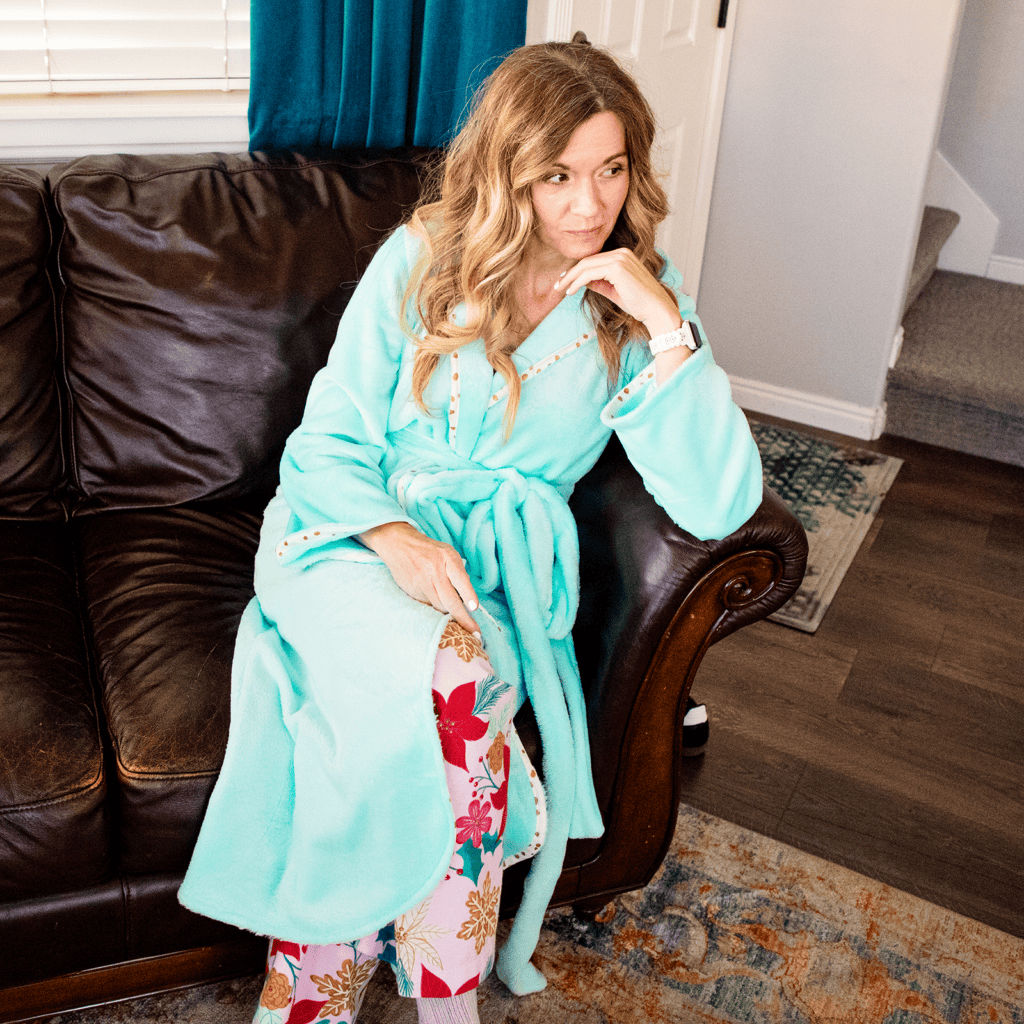
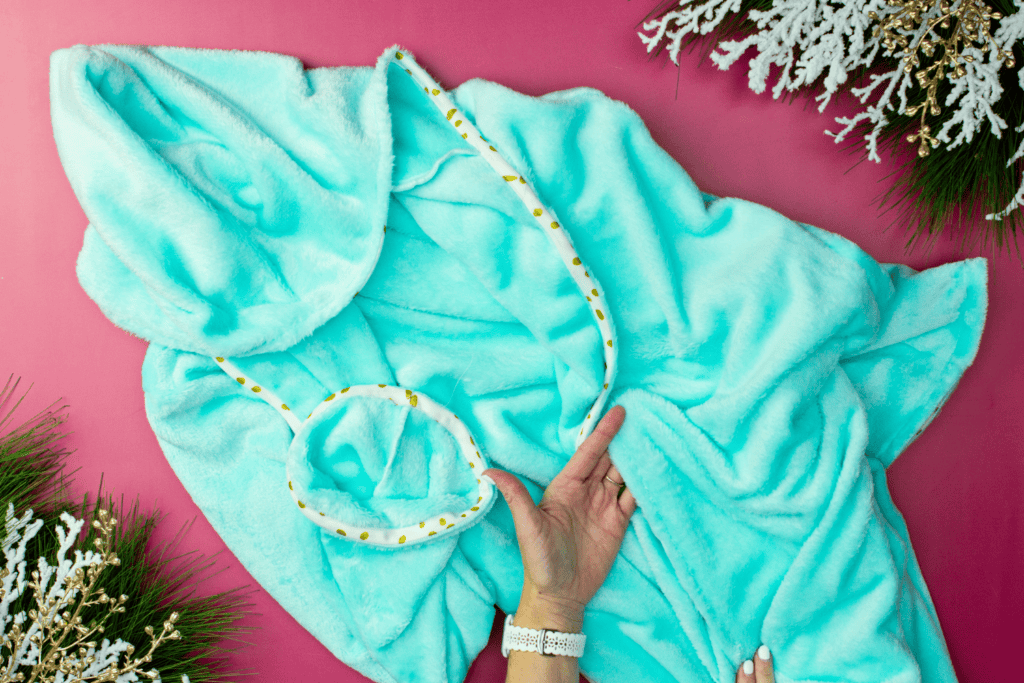
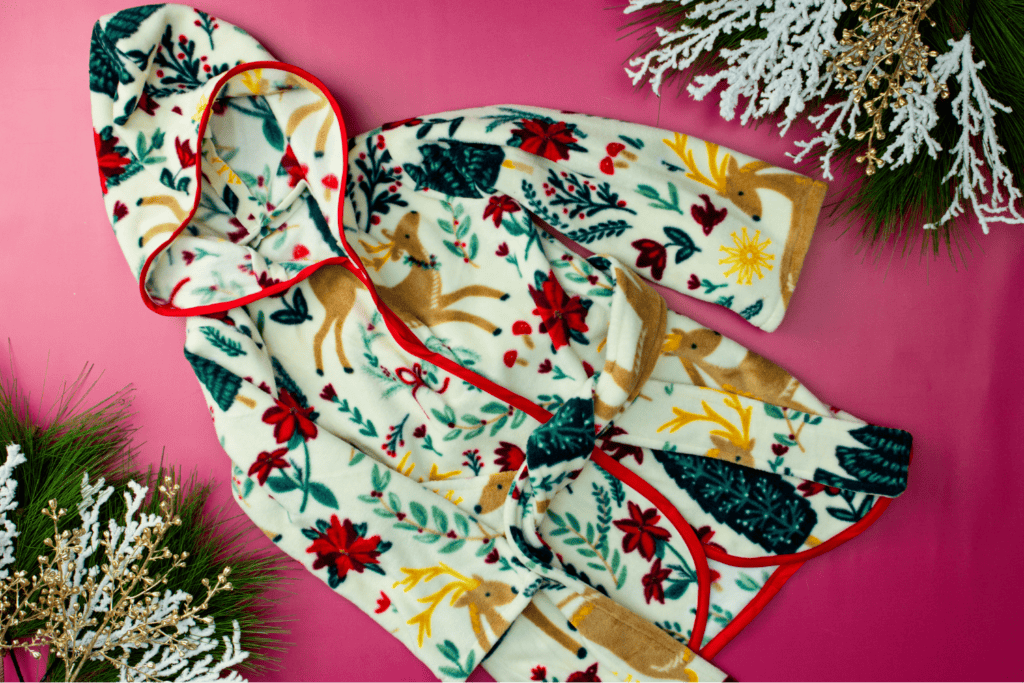
Picture this: a full-length hooded fleece robe with a wraparound belt, set-in sleeves, and a clean bias tape trim running all the way from the hood edge down the front and along the hem. It is cozy-cute in the best possible way. The hood drapes perfectly — not too oversized, not too small — and the belt keeps everything snug without being fussy.
What I love most about this robe is how substantial it feels without being heavy. Fleece has that magical quality of trapping warmth without weight, and this robe takes full advantage of that. The finished project looks like something you might see at a boutique, but the construction is approachable and logical even if you are still building your skills.
You can size it up for yourself or down for the littlest members of your household, and the process stays the same either way. Make one in a solid color, a print, or that gorgeous plush minky you’ve been saving. Whatever you choose, this is one of those projects that gets used over and over.
What You’ll Need
- Fleece in the yardage specified by your chosen size
- Bias tape — single or double fold, in a complementary color (it will be visible, so choose something you love)
- Thread and standard sewing essentials (pins, needles, scissors)
- A sewing machine
- The Easy Fleece Robe pattern from the Maker’s Studio
One quick note on the bias tape: I used double fold for mine, but single fold works too. Just know that whichever you choose will be a visible design element — it runs along the hood edge and all the way down the front of the robe. That’s actually one of my favorite details about this project, because it’s an easy way to add a pop of color or a fun contrast. Lean into it.
How This Robe Comes Together
Step 1: Cut Your Pieces
You’ll cut several pattern pieces to get started: the back (on the fold from doubled fabric), two front pieces, two hood pieces (also on the fold), two sleeves, and belt strips. For children’s sizes you cut two belt strips; for adults, four.
I love the cutting phase of a fleece project — fleece doesn’t fray, doesn’t need special handling at the edges, and it’s forgiving if your cuts aren’t perfectly precise. It’s honestly one of the most beginner-friendly fabrics there is. Lay everything out before you start sewing so you have a clear picture of all your pieces, and the construction will go much faster.
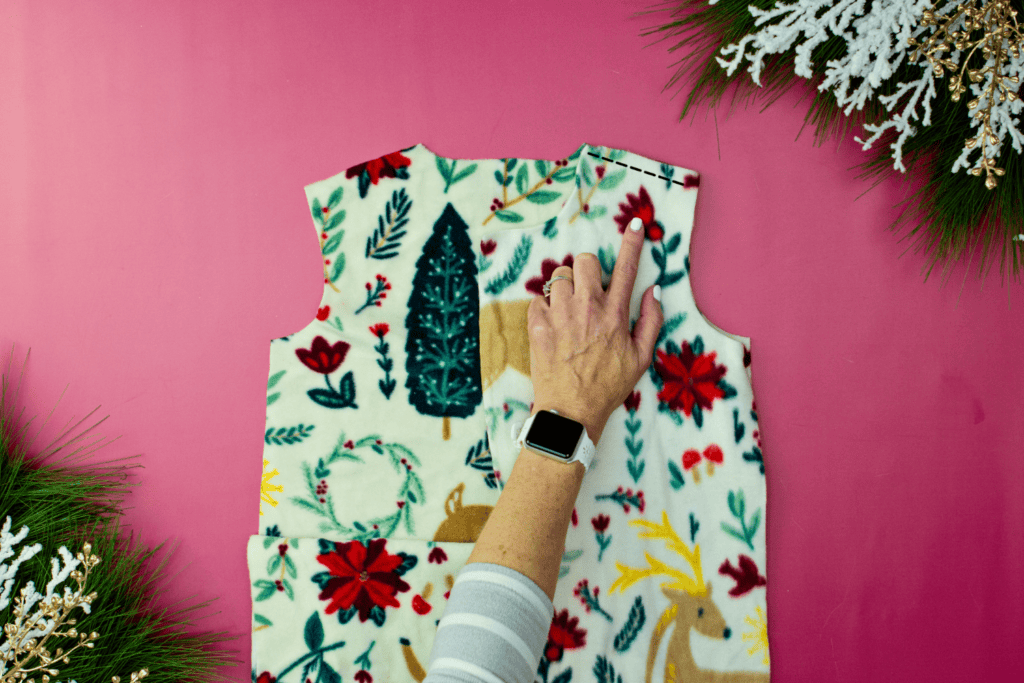
Step 2: Sew the Shoulders
Once your pieces are cut, you’ll bring the front and back of the robe together at the shoulders. The fronts lay on top of the back with right sides touching, aligned at the shoulder seam, then you stitch them together.
It’s a quick, satisfying step — in just a few minutes you go from a pile of flat pieces to something that is recognizably a garment. That always gets me a little excited about a project. Once both shoulders are done, the robe is really starting to take shape.
Step 3: Attach the Hood
This is one of my favorite parts of the whole robe — the hood goes on next, and it transforms the project. You’ll sew the two hood pieces together at the curved center seam first, then align the inseam of the finished hood to the center back of the robe’s neckline and stitch it all the way around.
The key here is taking your time pinning. A well-pinned hood lies beautifully once it’s attached. The finished hood has a lovely rounded drape, and once it’s on, the robe really starts to look like the finished thing.
For the price of a single pattern you can have access to 100’s of tutorials!
Click below to learn all about the maker’s studio!
Step 4: Add the Sleeves
With the hood in place, it’s time to add the sleeves. You’ll lay the robe flat with the right side facing up and align the curved top of each sleeve to the armscye — that’s the armhole — of the robe. Pin carefully and stitch both sleeves in.
Then you’ll fold the robe so front meets back, right sides together, and sew the underarm and side seams in one continuous line. This is such a satisfying step because the robe really transforms into a three-dimensional garment. Finally, the sleeve hems get folded and topstitched into place for a clean, polished finish.
Step 5: Add the Bias Tape Trim
This step finishes the front edges of the robe — from the hood, down both front panels, and along the bottom hem — in one continuous seam. It sounds more complex than it is, and the result is beautiful and functional.
Here’s something important to know about fleece: even though it doesn’t fray, it will stretch and warp over time if those front edges aren’t properly finished. The bias tape is not just decorative — it’s what keeps the robe looking great wash after wash. This is one of those details that separates a truly well-made robe from one that starts to look a little tired after a few months.
Step 6: Make and Attach the Belt
The belt is one of the more charming parts of this project. For children’s robes, you’ll work with two belt strips. For the adult robe, you sew pairs of strips together end-to-end to create two long belt pieces. Then the two long strips are sewn together with right sides touching, turned right-side out, and topstitched around all four edges to close the gap.
The finished belt gets centered on the back of the robe and stitched across to hold it in place — so it wraps from the back, crosses in front, and ties wherever you like. It’s a small detail that makes the whole robe feel intentional and polished.
Ready to Make It?
The full Easy Fleece Robe pattern — with all the sized pieces, detailed cutting instructions, and step-by-step guidance — is waiting for you inside the Maker’s Studio. Come sew with me.
Hate The Ads?
This pattern with video and printable instructions is available in the Makers Studio. The Maker’s Studio is an ad free experience, no video ads, no forms, no zip files, just creating.

A Project for Every Season and Every Size
One of the things I keep coming back to with this robe is how versatile it is. I’ve made it for my kids in bright printed fleece — the kind with little stars or dinosaurs — and I’ve made it for myself in a soft solid that feels genuinely luxurious. It works just as beautifully in plush minky for extra softness, or in a midweight anti-pill fleece if you want something that holds up to serious daily use.
It also makes the most wonderful handmade gift. There is something about a robe that feels so personal and cozy — it’s the kind of thing people actually reach for every single day. If you’re ever stuck on what to make someone for the holidays or a birthday, this is almost always the right answer.
The STudio
There’s a reason this is one of the projects I come back to again and again. It’s the kind of sewing that feels meaningful — you’re not just making a thing, you’re making something someone will reach for every single morning. That matters. I love that.
If you’ve been thinking about joining the Maker’s Studio, this robe pattern is one of the best reasons I can give you to take the leap. Inside you’ll find the Easy Fleece Robe pattern in all the sizes, plus a whole library of other exclusive designs I’ve built just for members — patterns you will not find anywhere else on the site. I would love to see you in there.
see More patterns you may enjoy!
- Paper Bows with Cricut
- Quilted Coat Sewing Pattern
- How to Sew Easter Bunny Dolls
- Heart Potholder Sewing Tutorial
- Lantern Village SVG Collection
- Pocket Apron Sewing Pattern
- Family Pajama Pants Pattern
- Child T-Shirt Sewing Pattern
- Kooky Witch Skirt – Halloween Sewing Pattern
- Easy Woven Blouse Pattern for Women