
How to Make Forky From Toy Story
This content contains affiliate links or sponsored elements, read our Disclosure Policy.

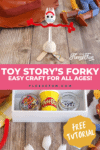
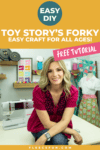
Disney Craft: Learn How to Make Forky from Toy Story with this easy to follow step by step tutorial. Perfect, easy craft for all ages – quick and fun to make!
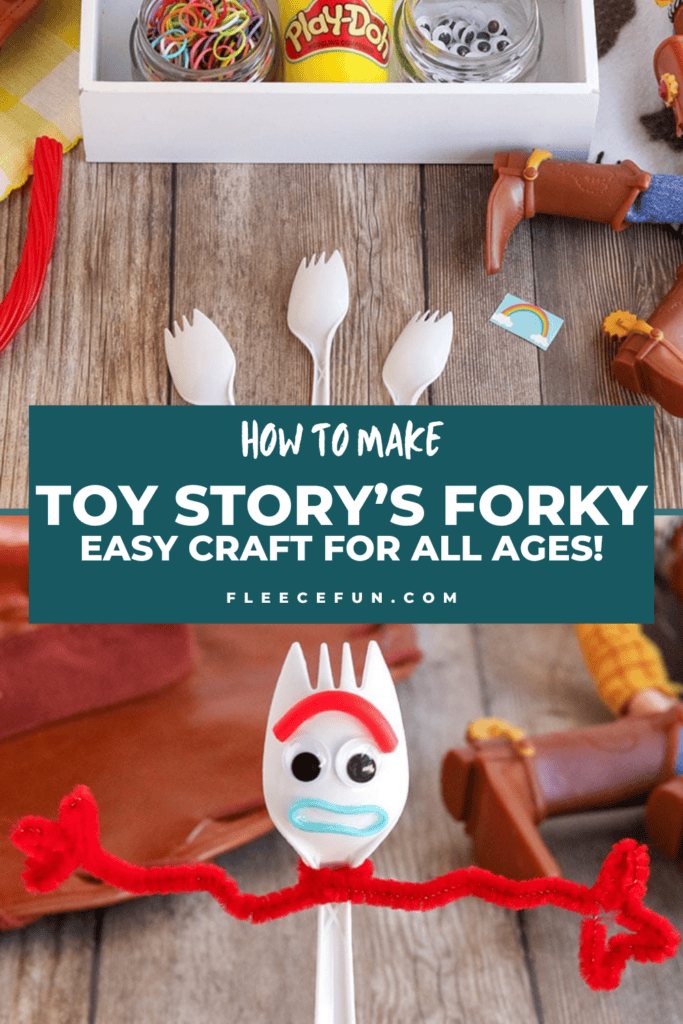
Learn how to make Forky from Toy Story 4 with this easy to follow tutorial. Forky is simple to make and is perfect for class crafting or small groups with a few easy to gather materials (many that can be upcycled) you can make this lovable Disney Character.
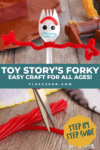
YOU WILL NEED:
- 1 spork
- 2 small googly eyes
- 1 small blue rubber band
- 1 Twizzler Pull n Peel
- 1 red pipe cleaner
- White play-dough
- 1 craft stick
- 1 small rainbow sticker
- Standard craft items:
- Hot glue
- Optional- E6000 is ideal for the rubberband
- Scissors
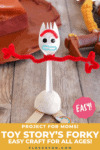
How to Make Forky From Toy Story:
Time needed: 10 minutes
Makes 1 Forky From Toy Story:
- Begin with Forky’s Eyebrow
Pull one strand of licorice off the Twizzler pull and peel and use the spork to measure for an eyebrow. Use scissors to cut to desired width.

- Glue on Eyebrow
Glue the eyebrow on with a hot glue gun.
- Next Add Some Googly Eyes
Try to find two different sizes if you can.
- Add Forky’s Eyes
Glue the googly eyes into place using hot glue or E6000

- Make Forky from Toy Story’s Arms
Place the spork in the center of the red pipe cleaner, and twist each side around the base of the spork twice to secure.
- Make Forky’s Hands
Bend the tips of the pipe cleaners three times, to make Forky’s hands.
- Make Forky’s Feet
Break the craft stick in half and apply the rainbow sticker to one half.
- Begin to Make the Toy’s Body
Roll a small 2 inch round ball out of white play dough.
- Bring Forky from Toy Story All Together
Place the spork into the top of the playdough ball, and insert the craft sticks into the bottom as feet.
- You Just Made Forky!
By the way, my family can’t wait to check out Toy Story Land at Disney World
Love Forky from Toy Story? see More Disney Crafts!:
- Glowing Maleficent Staff DIY For The Mistress Of All Evil
- Minnie Ears DIY Maleficent Inspired Style (Free Template)
- Saving for Disney DIY Disney Savings Jar
Other Disney Projects/Articles that you might enjoy:
- Can Renting DVC Points Save Money? Honest Review
- 15 Tips To Help A Child With Anxiety On A Disney Vacation
- Is Dining at Cinderella’s Royal Table Worth It? Get the Pros and Cons
- 7 Questions About Disney Cast Members (answered by a Former Cast Member)
- Why I went media Silent on my Disney Trip
- What We’re Not Teaching Our Princesses (and Really Need To)
- Disney Costume Tutorials