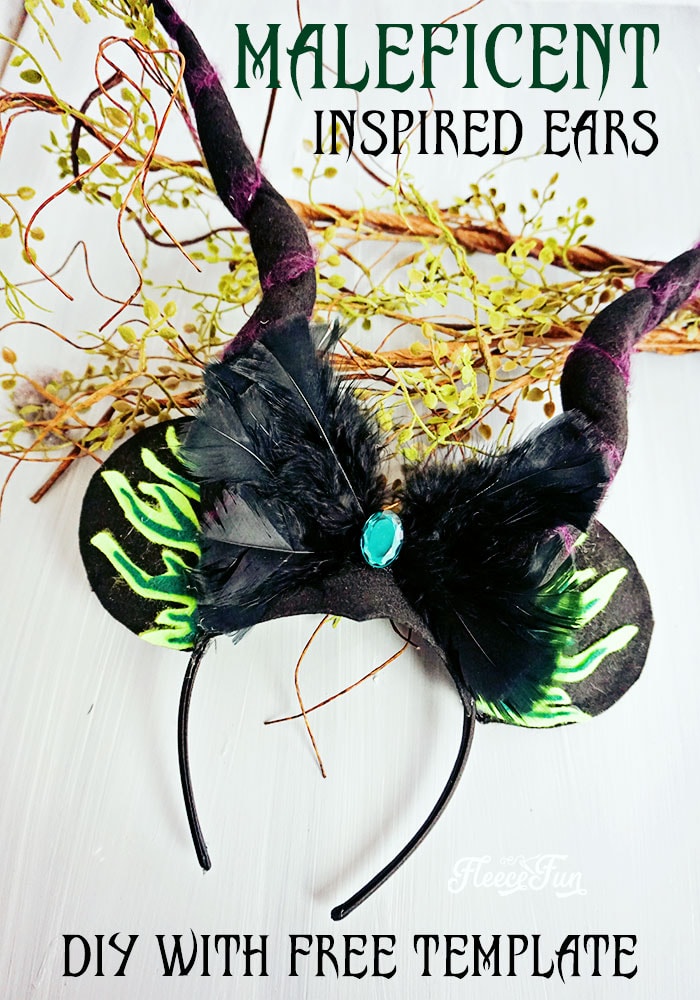
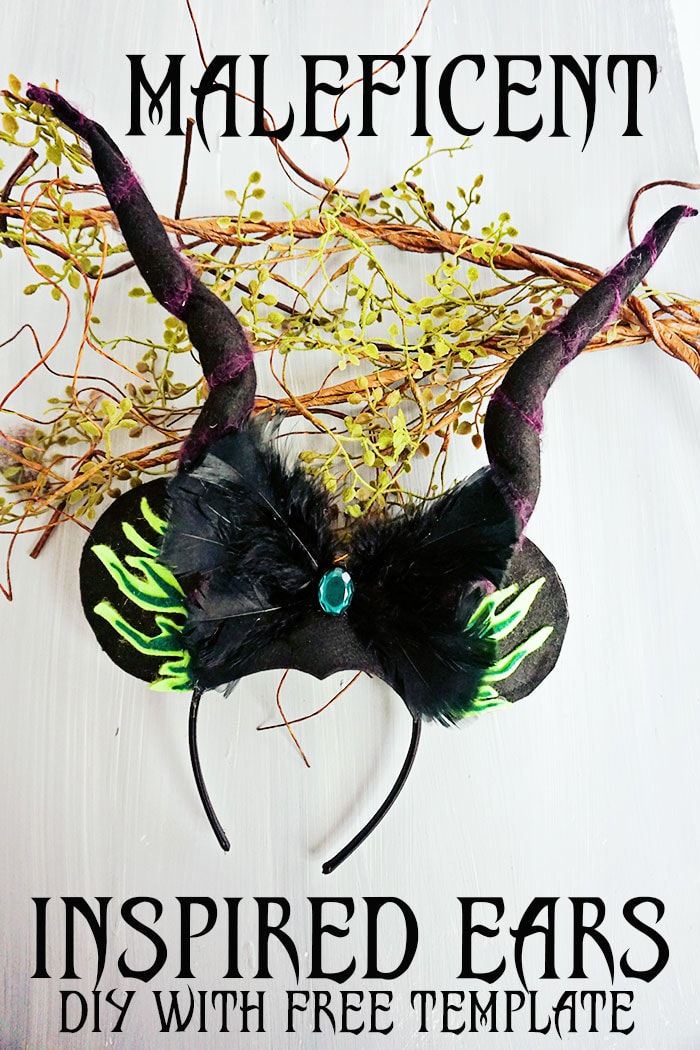
Minnie Ears DIY Maleficent Inspired Style (Free Template)
This content contains affiliate links or sponsored elements, read our Disclosure Policy.
Minnie Ears DIY: These Maleficent-inspired Minnie ears are perfect for chillin’ like a villain at your favorite Disney park or as a fun accessory for Mickey’s Not-So-Scary Halloween Party. The free printable template makes them easy to put together.

These Maleficent Minnie Ears are perfect for our trip to Walt Disney World. This year, we’re going to Mickey’s Not-So-Scary Halloween Party, and these Minnie ears would be perfect for it. With just a few materials, you can DIY your own Maleficent-inspired Minnie Ears!
By the way, if you’re thinking about a Disney vacation, my friends at Get Away Today would love to help you plan it. Use the code “FLEECEFUN” to get get an extra $10 off any 2-night or longer Southern California package (hotel and 2 ticket minimum) when you book here.
YOU WILL NEED:
- Black Headband
- Cardboard
- Purple yarn (mine was fuzzy)
- Black Craft Felt
- Dark Green Craft Felt
- Bright Green Craft Felt
- Small Portion of Polyfill
- Black Craft Feathers
- Green Fake Gem
- 26 Gauge Floral wire
- Fleece Fun’s free template (available at the end of the post)
Tools: - Scissors
- Wire Cutters
- Hot Glue Gun and Hot Glue
- Get the free pattern here
Minnie Ears DIY – Maleficent Inspired Style Tutorial:
Step 1 – Cut out the elements to the Minnie Mouse Ears
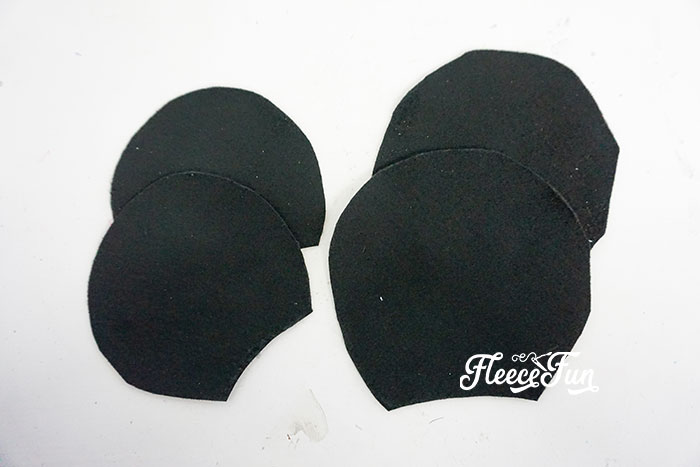
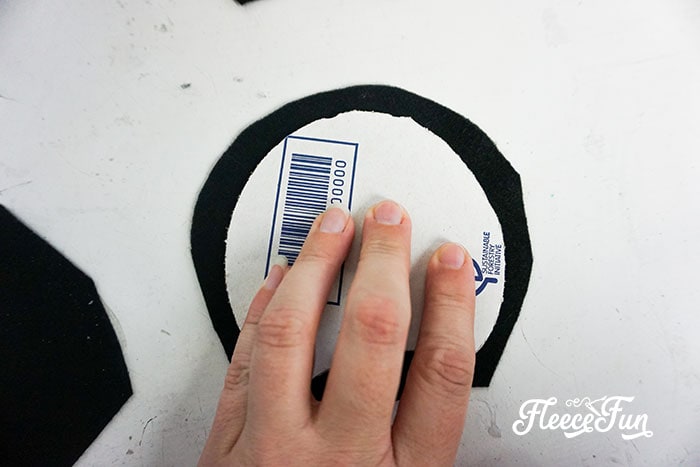
Using the template provided, cut two large circles from black felt.
Then cut down the circle template and use it to cut out two circles from cardboard and two circles from black felt.
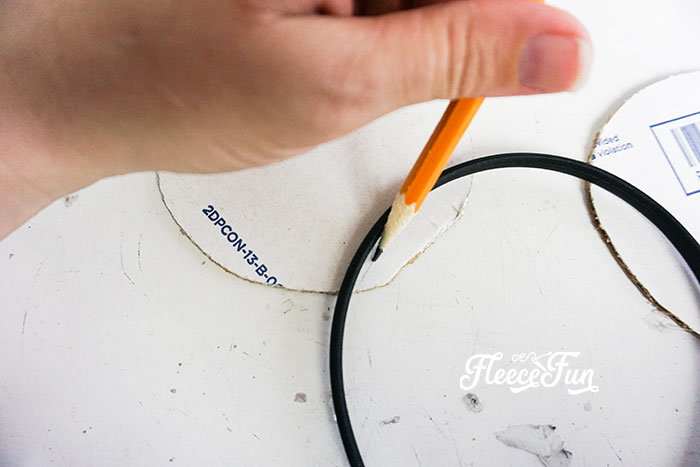
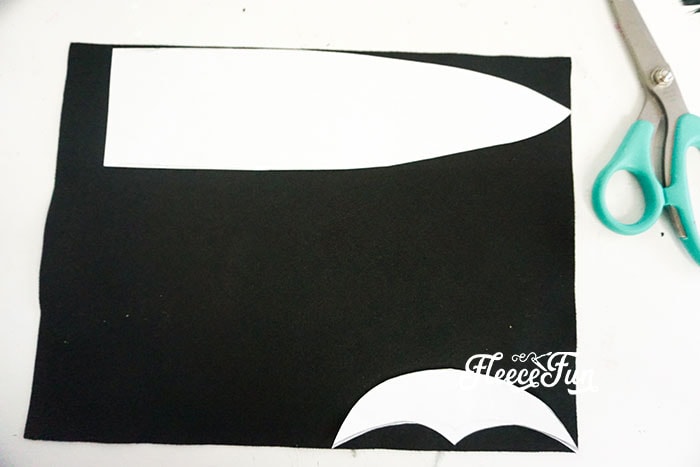
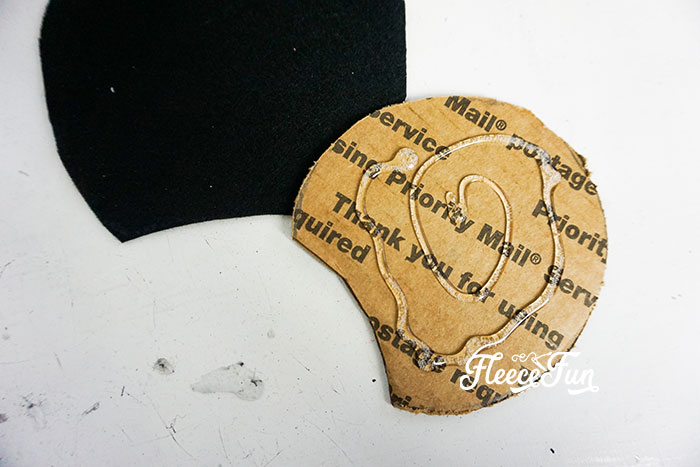
Lay the headband over the cardboard circles and sketch where you want the ears to sit on the headband.
Cut away the portion of the ears that is unnecessary.
Cut out the following:
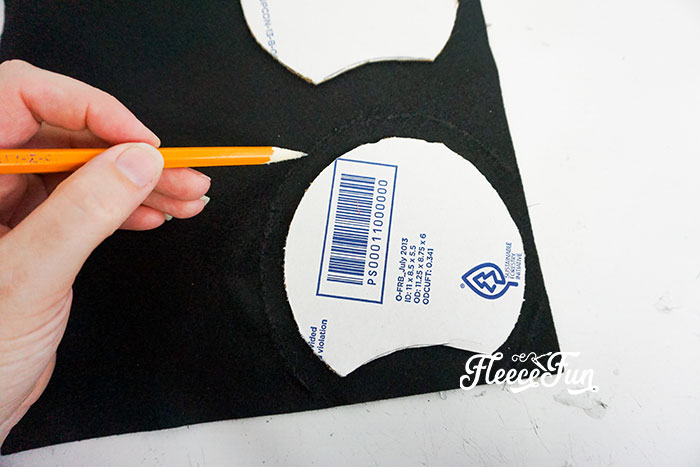
Lay the cardboard with the cutout on the large felt circle. There should be about 1/2 inch of extra fabric all the way around the outside edge of the ear. Cut the circle so it follows the curve you just cut out, leaving a 1/2-inch border to fold over the cardboard later.
Lay the cardboard on the smaller circle and cut out the bottom curve for the headband so they line up perfectly.
2 horn shapes from the printable pattern in black craft felt.
1 pointed head cover/crown from the printable pattern in black craft felt.
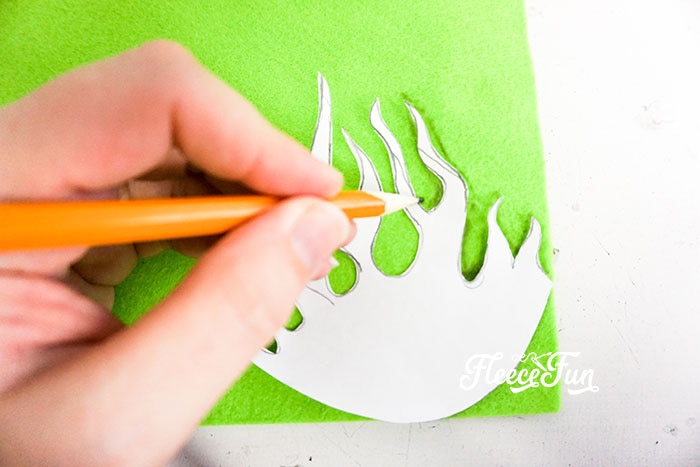
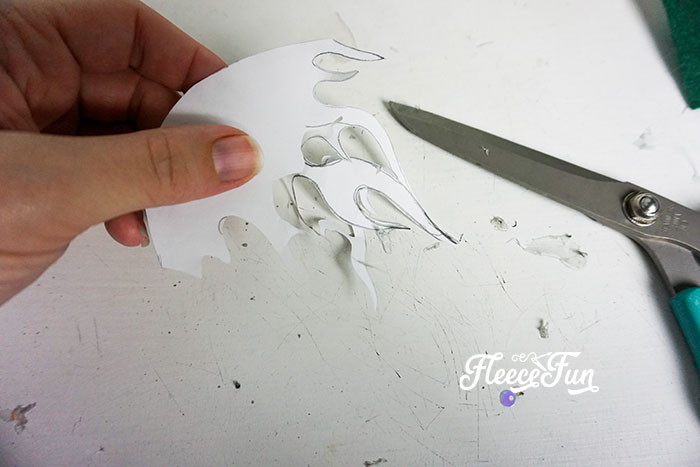
2 flames in bright green craft felt.
To make cutting the flames easier, just trace the pattern onto the felt and then cut them out.
2 flames in dark green craft felt, trimmed about 1/3 of the way down from the original printable pattern flame.
Step 2 – Make the Maleficent-inspired Ears
Lay the cardboard ear shapes face down onto the larger black felt ear cutouts.
Affix the felt to the cardboard both on the body of the ear.
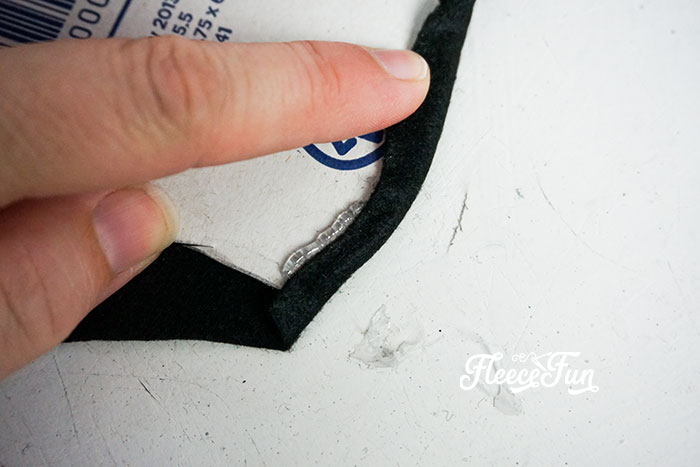
Then wrap the extra fabric for Minnie ears around to the front of the cardboard cutout and glue the edge down on the upper part of the ear only, leaving the bottom of the ear open. Do not glue the bottom (concave curve that follows the line of the headband) to the cardboard.
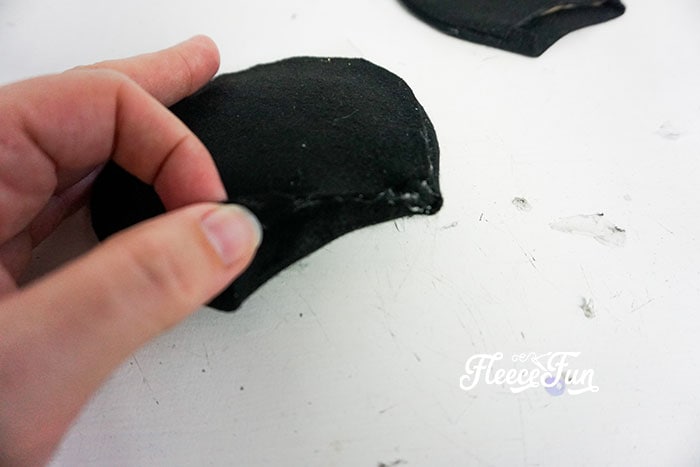
Affix the smaller black felt ear cutout to the front of the ear by gluing the edge down on the upper part of the ear only, leaving the bottom of the ear open. Do not pull the felt tight.
Repeat with the second ear.
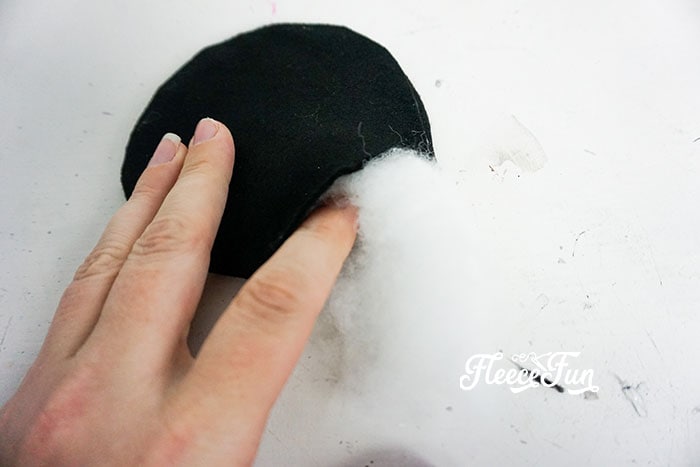
Work a small amount of polyfill into the space between the front piece of felt and the cardboard, smoothing it out. This will give the flames a little shape.
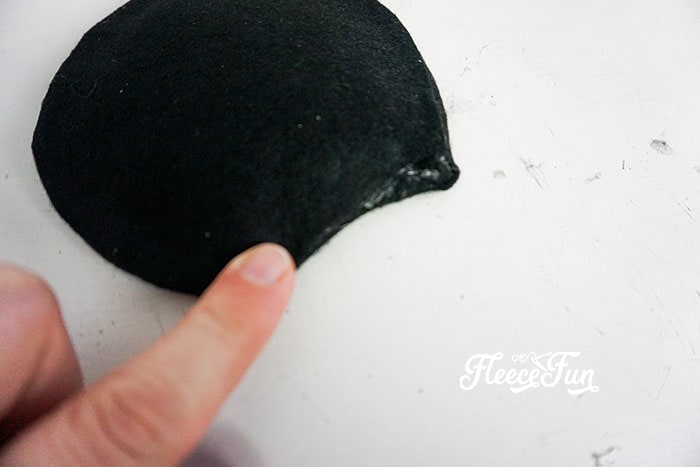
Finish affixing the fabric to the cardboard cutouts by wrapping the bottom of the loose fabric around to the back and hot gluing it in place.

While doing this, you may now pull the felt tight—though not super tight. You just want the fabric to be taut, not smashing the polyfill flat.
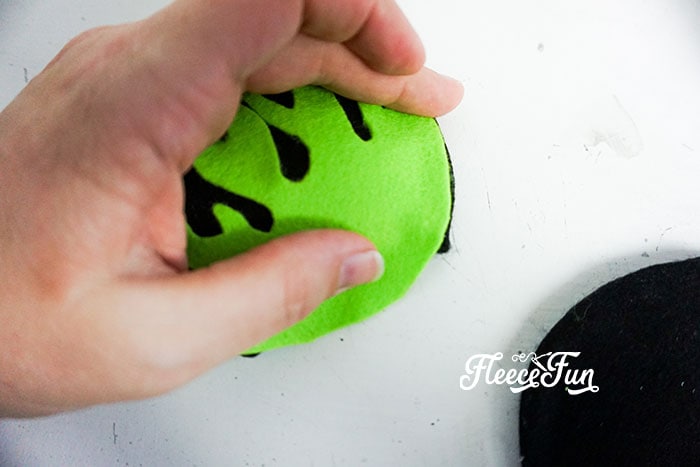
Affix the bright green felt flame cutout to the front of each mouse ear, taking care to trim the bottom only after the flame is attached so that the flame covers the entire bottom of the ear.
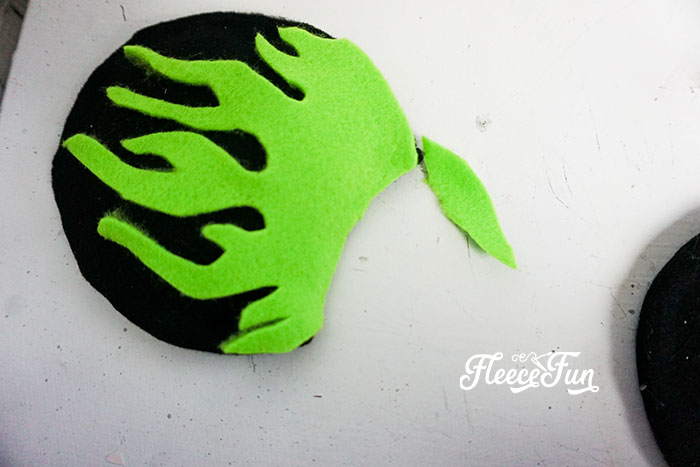
Cut off the excess fabric to follow the curve of the headband. Repeat with the dark green by affixing the dark green felt flame cutout on top of the bright green flame on each ear. Again, cut away the excess.
Set the Minnie Ears aside.
Step 3 – Make Maleficent’s Horns
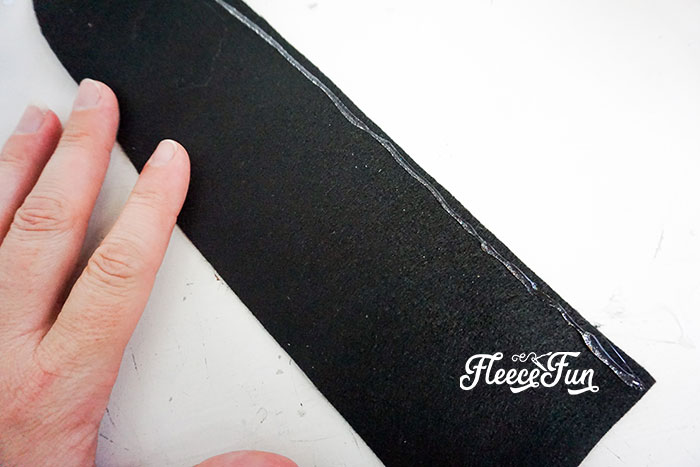
To make the horns, fold the horn shapes in half and hot glue them in place.
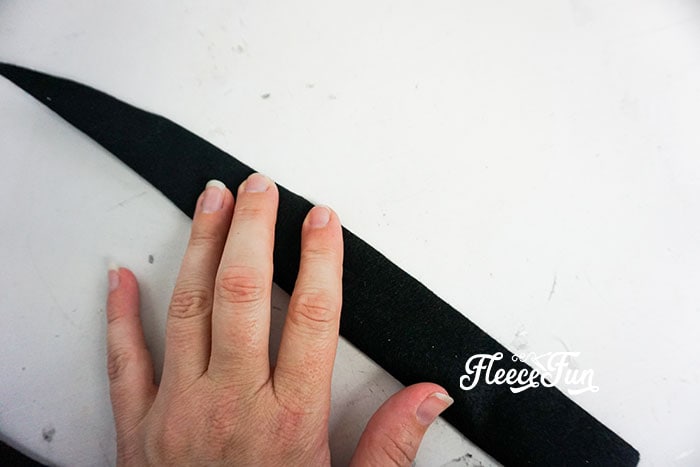
II found this easiest to do by working in 3–5-inch sections, beginning at the top.
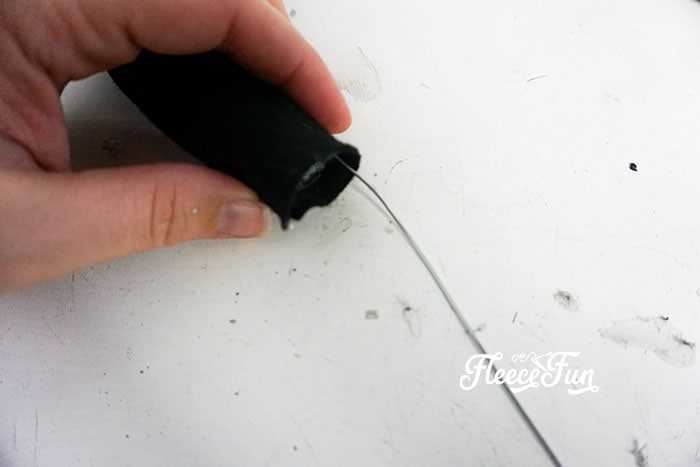
Slide a floral wire up into the cone shape.
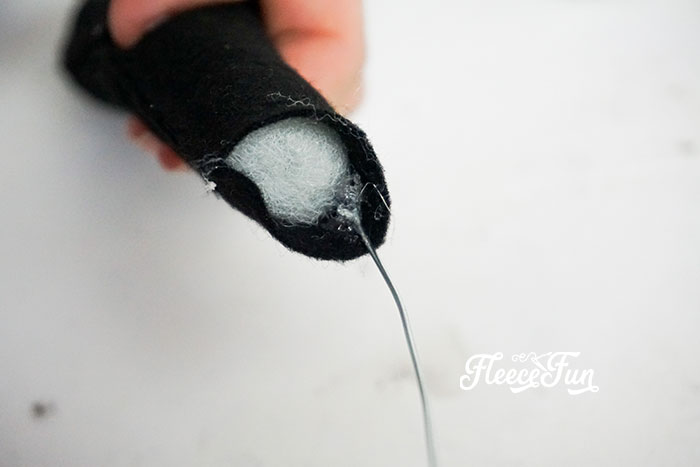
Work a small portion of polyfill into each horn, using a pencil to push it up into the point if necessary.

Fold the base of the horn closed and hot glue it shut.
Trim the exposed wire about 2 inches from the bottom of the felt horn shape.
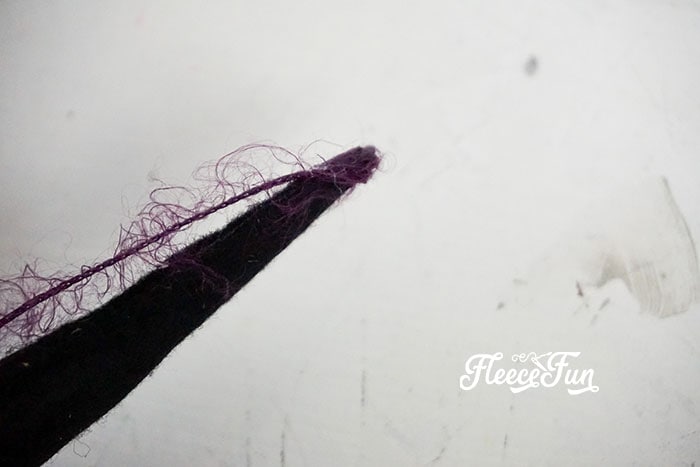
With a small amount of hot glue, affix one end of the purple yarn to the very tip of a horn.
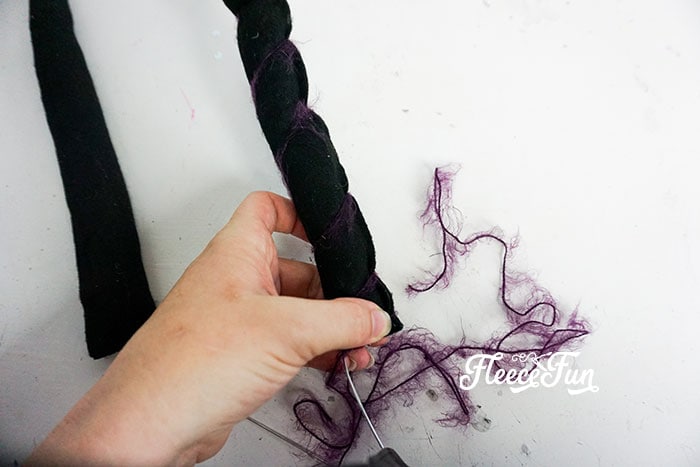
Wrap the yarn tightly around the horn in a very wide spiral, about 5 times around the horn.
Hot glue the purple yarn in place at the bottom of the horn and trim away any excess yarn.
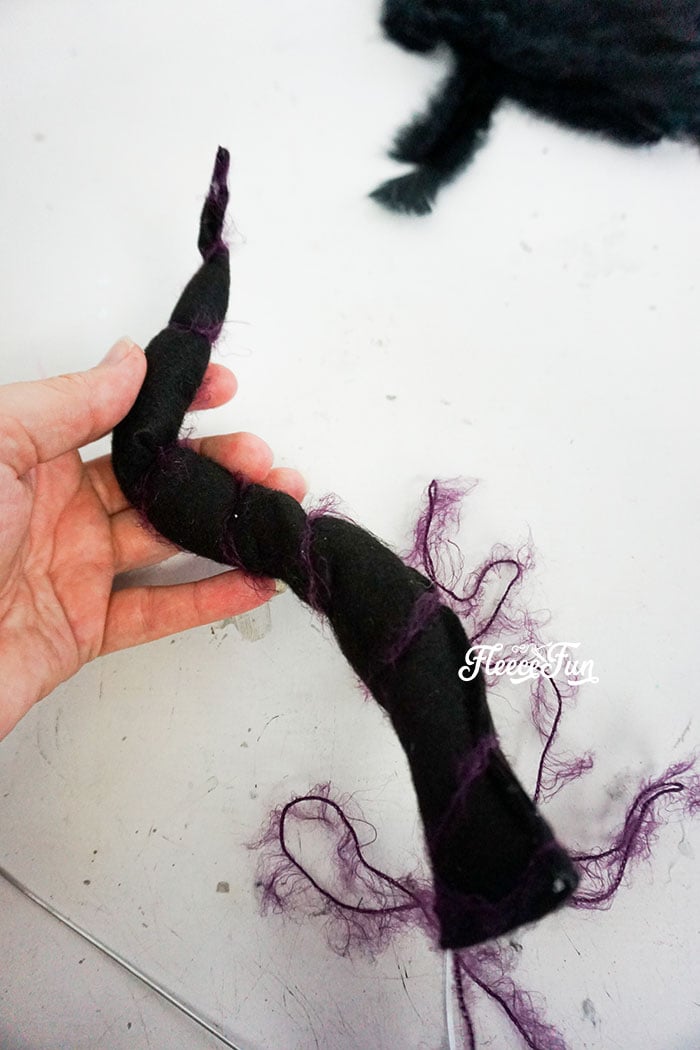
Bend the horn into the Maleficent shape.
Repeat with the second horn. Set the horns aside.
Step 4 – Make the Feather Bow
Find 10–20 feathers that are as straight and flat as possible.
Trim all of the feathers to the same length, about 5 inches long.
Pinch half of the feathers together at the end and hot glue them so that the feathers make a rough V shape.
Repeat with the other half of the feathers.
Hot glue the two V-shaped feather pieces together at the point, forming a bow.
With a strip of black craft felt about 1/2-inch wide, wrap it around the center and hot glue it in place to create a support for the feather bow.
Step 5 – Bring the Minnie Maleficent Ears Together
Start with the horns.
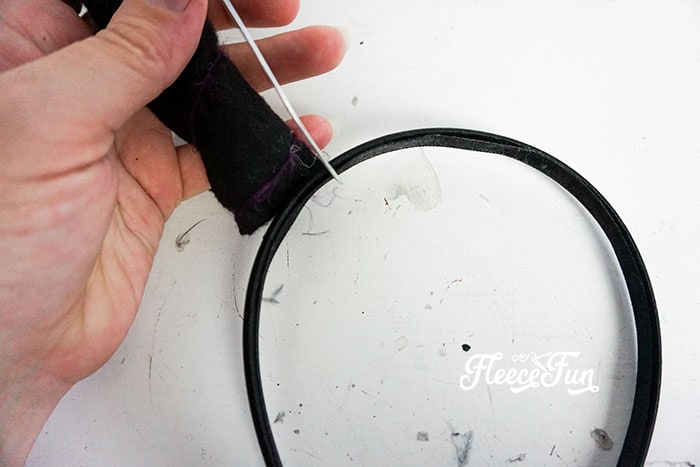
Wrap remaining exposed wire on the horn around the headband,

positioning the horn to sit just inside each ear.
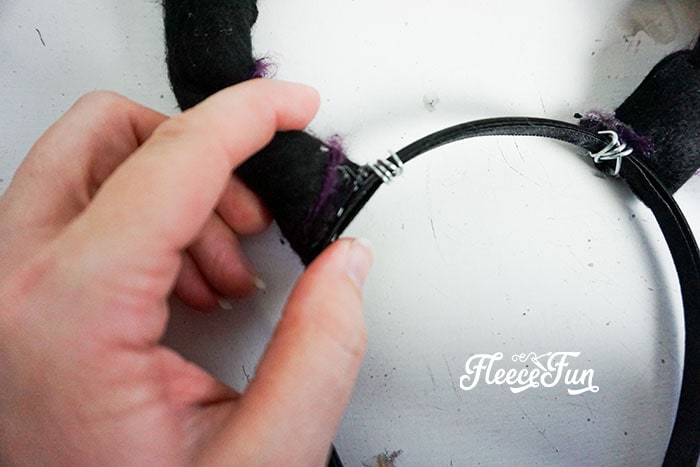
Hot glue each horn at the base to the headband. This will help stabilize the horns.
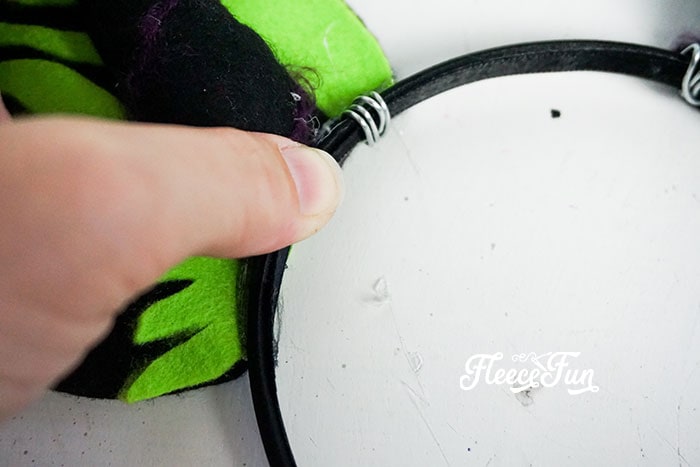
Affix each ear to the headband behind the horns.
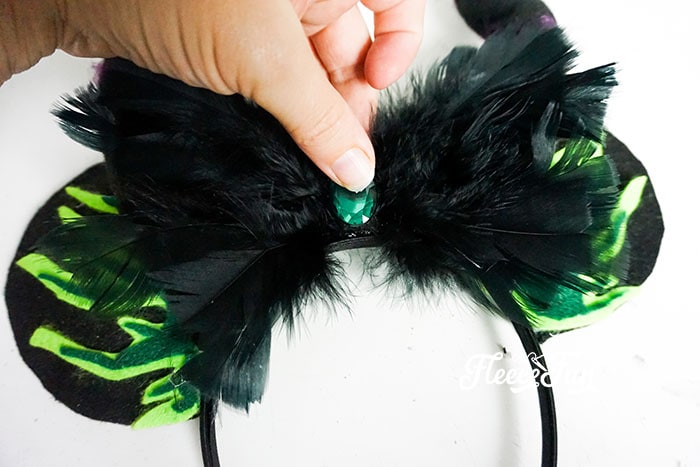
Affix the feather bow to the headband between the ears.
Hot glue the green gem to the center of the bow on the black craft felt.
Affix the headpiece/crown to the headband in front of the ears, curving the felt headpiece to follow the arch of the headband.
Allow the hot glue to dry completely.
Enjoy!
DOWNLOAD THE FREE Maleficent-Inspired Minnie Ears Template Here:
You can get a free copy of Adobe reader here. By downloading you are agreeing to pattern terms of use. Click the picture below or fill up the form to download the .pdf !

Love this Minnie Ears Maleficent-Inspired? See More Disney Crafts you’ll definitely LOVE!
- How To Make Forky From Toy Story
- Glowing Maleficent Staff DIY For The Mistress Of All Evil
- Saving for Disney DIY Disney Savings Jar
Other Disney Projects/Articles that you might enjoy:
- Can Renting DVC Points Save Money? Honest Review
- 15 Tips To Help A Child With Anxiety On A Disney Vacation
- Is Dining at Cinderella’s Royal Table Worth It? Get the Pros and Cons
- 7 Questions About Disney Cast Members (answered by a Former Cast Member)
- Why I went media Silent on my Disney Trip
- What We’re Not Teaching Our Princesses (and Really Need To)
- Disney Costume Tutorials
MORE HALLOWEEN CRAFT PROJECTS:
- Fall Fairy Costume DIY
- Trick or Treat Banner DIY
- How To Build a Pirate Ship Out Of PVC Pipe (Tutorial)
- DIY Mini Witch Hat (No Sew, Free PDF and SVG)
- DIY Halloween Garland – Cute and Funny Bats!
- Free Halloween SVG Decor – Easy And Fun To Make!
- Aladdin Magic Carpet Costume DIY (Free Pattern)
- Harry Potter Spell Book DIY
- Halloween Mason Jars or Witch Mason Jars (Free SVG File)
- No Sew Knight Costume DIY Tutorial
- Free Halloween Printable Treat Box
- Candy Corn Bowling activity/ printable
- All Hallows Eve Printable Party Pack
- Fabric Pumpkin
- Jack O’Lantern Finger Puppet
- Jack O’Lantern Tote
Want to learn more at Disney? Check out this Post on 10 Mistakes People Make at Disney Courtesy of Nerdy Mama.