
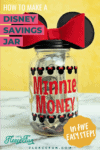
Saving for Disney DIY Disney Savings Jar
This content contains affiliate links or sponsored elements, read our Disclosure Policy.
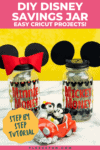
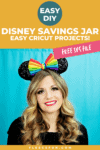

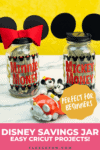
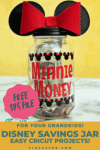
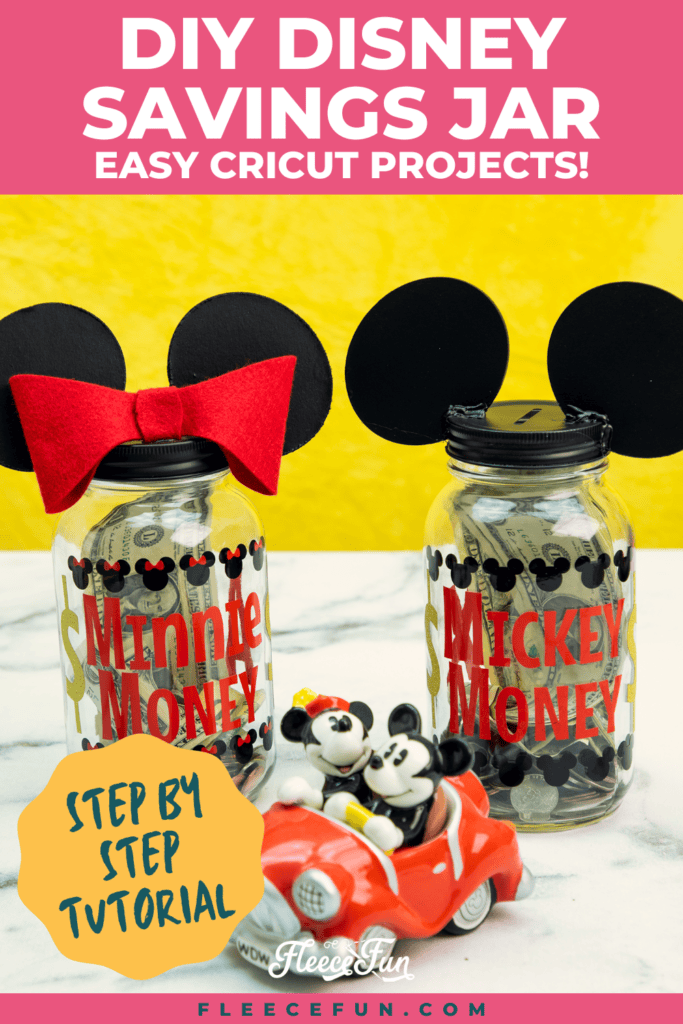
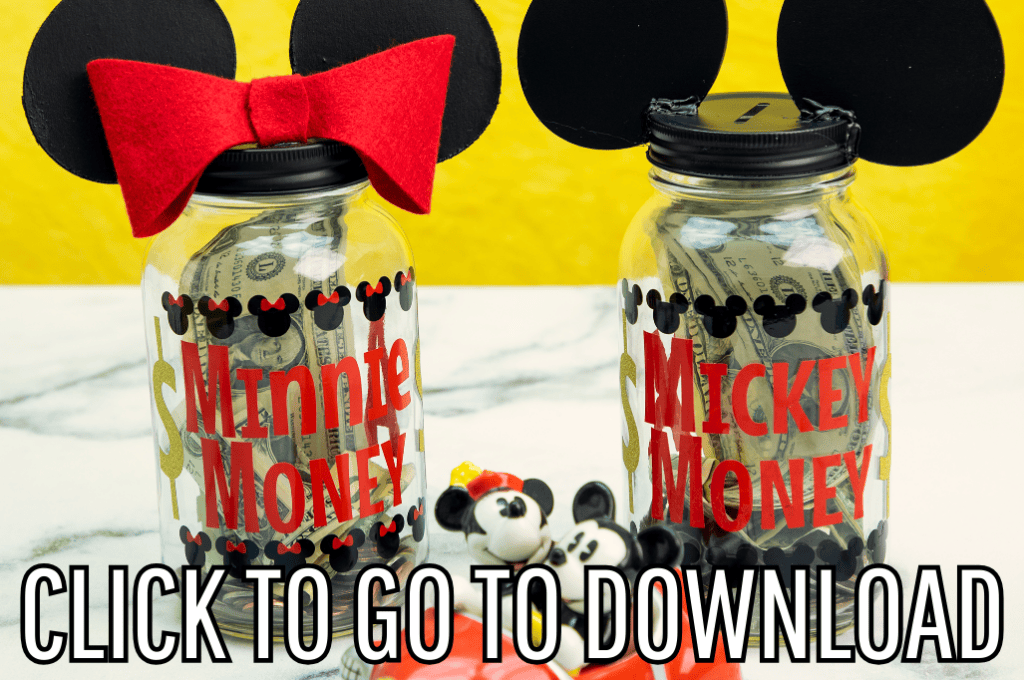
We are so excited for our trip to Disney World. This time around we decided to have the kids earn money all through the summer for their trip this fall! While we love taking our kids on fun trips, we also want them to learn to work and earn. We thought that this DIY Disney Savings Jar would be a great opportunity to teach them how to plan and save for our Disney trip. So to get them excited about the idea I made them these fun jars. Aren’t they cute? (I even made myself one!)
They are perfect for Saving for Disney. By the way my friends at Get Away Today have great Layaway plans – it’s a another great way that you can save for a Disney trip save for a Disney trip!
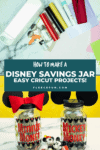
YOU WILL NEED:
- Cricut Maker
- Rotary blade
- Knife Blade
- Fine Point Blade
- FabricGrip Mat
- Permanent Vinyl
- StrongGrip Mat
- Permanent Vinyl (I used black, red, and glitter gold)
- Transfer tape
- Permanent Vinyl
- Red Felt
- Glue Gun
- Mason jar with a slotted lid (like these)
- Black spray paint
- Get the free pattern and SVG file here.
How to Make a DIY Savings Jar:
Step 1 – Cut out the pieces
While this project comes together quickly cutting out the elements is what can take the longest.
Cut out the the words, the mouse heads and tiny bows (if desired) out from vinyl.
Cut out the ears from Chipboard using the Knife Blade
Cutout a bow (if desired) from the felt. I used a pattern from Design space.
Step 2 – Weed the Vinyl
Weed the vinyl to the letters, mouse heads and bows (The Cricut BrightPad makes this easy). Add the transfer tape.
Step 3 – Make the ear cap
A couple of tips when it comes to making the lid.
First Make sure that the ears and on each side of the long side of the slot.
Before apply the words, find out twist on the lid so the ear will line up nicely with the writing. Then hot glue on the ears in place.
Then spray the lid and the ears black.
Allow the ears to dry. This makes the lid for the DIY Disney Savings Jar.
If you want to make it with a bow, put the bow together:
Glue each side into the center.
Then add the center piece.
Wrap it around the back and glue.
Then glue it onto the ears in front of the slot.
Step 4 – Add the Vinyl to the DIY Disney Savings Jar
Make sure have the correct side of the jar (the side that your lid will line up with).
Quick Tip
Make sure your jar is clean and wiped down before you begin.
Apply the “Mickey Money” (or Minnie Money) to the Jar first and center all the elements off of that.
Add the Mickey heads above and below the letters, centering them.
Add the bow to the Mouse heads and then add the money signs to each side of the words. Finally add a name to back if desired.
Step 5 – Bring the Disney Savings Jar all together
Add the lid to the jar and you’ve finished the DIY Disney Savings Jar Tutorial.
Quick Tip
Glue on the to prevent kiddos from taking money out! and be sure to check out Get Away today for their latest deals on Disney Trips! You might be closer to booking than you think!
GET THE FREE DIY Disney Savings Jar svg FILE BELOW:
I only approve of Adobe reader. By downloading you are agreeing to pattern terms of use. This file is for personal use only. Fill out the form to have it delivered to your inbox.
More Disney Crafts you’ll definitely LOVE!:
- How To Make Forky From Toy Story
- Glowing Maleficent Staff DIY For The Mistress Of All Evil
- Minnie Ears DIY Maleficent Inspired Style (Free Template)
Other Disney Projects/Articles that you might enjoy:
- Can Renting DVC Points Save Money? Honest Review
- 15 Tips To Help A Child With Anxiety On A Disney Vacation
- Is Dining at Cinderella’s Royal Table Worth It? Get the Pros and Cons
- 7 Questions About Disney Cast Members (answered by a Former Cast Member)
- Why I went media Silent on my Disney Trip
- Disney Costume Tutorials
love this Disney Savings Jar? You might like these fun Cricut DIYs!
- DIY Pineapple Décor
- Cute Craft Room Trash Can DIY
- DIY Felt Flower Art
- Valentine Cozy Home Sign DIY
- St. Patrick’s Day Upcycle Book Craft
- Patriotic Pinwheel Wreath DIY
- St. Patrick’s Day Ombre Shadow Box
- DIY Sewing Room Décor
More Cricut Projects!
- How to Get Started Cutting a Quilt with Cricut
- How to Get Started Quilting with Cricut
- DIY Birthday Crown (Free PDF & SVG)
- Freezer Paper Stencil for T-Shirts Tutorial
- See all of FleeceFun’s Cricut Tutorials!