
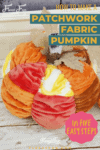
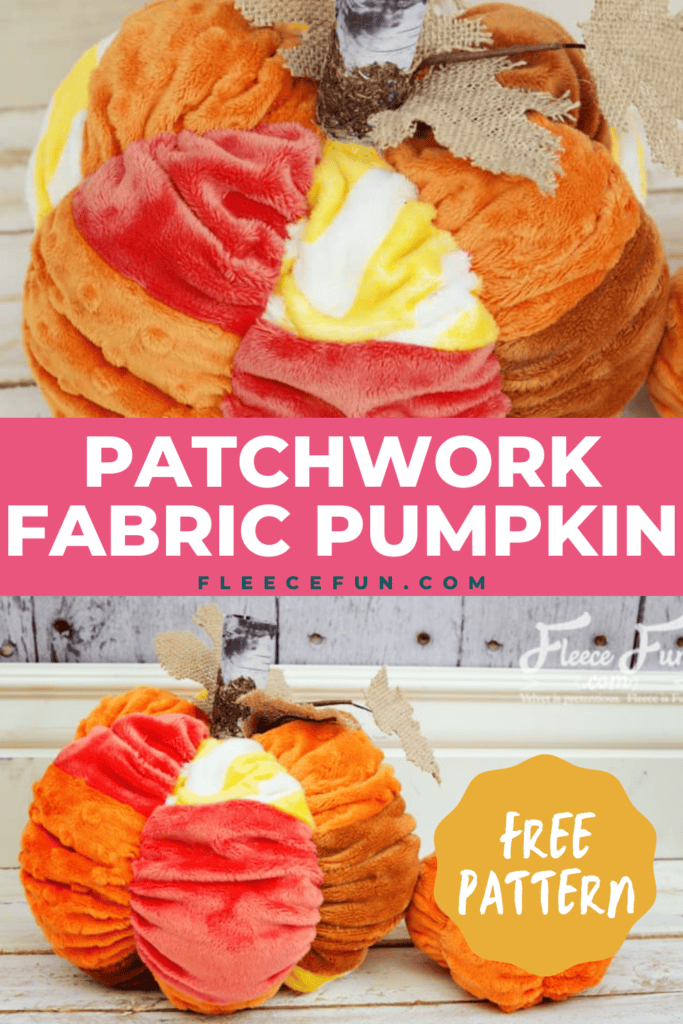
Patchwork Fabric Pumpkin Tutorial (FREE pattern)
This content contains affiliate links or sponsored elements, read our Disclosure Policy.
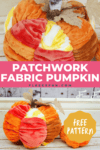


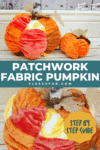
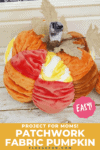
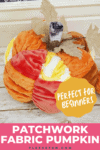
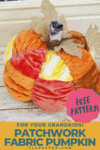

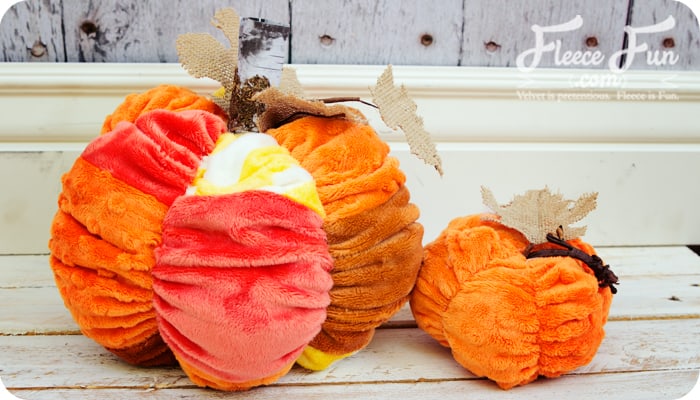
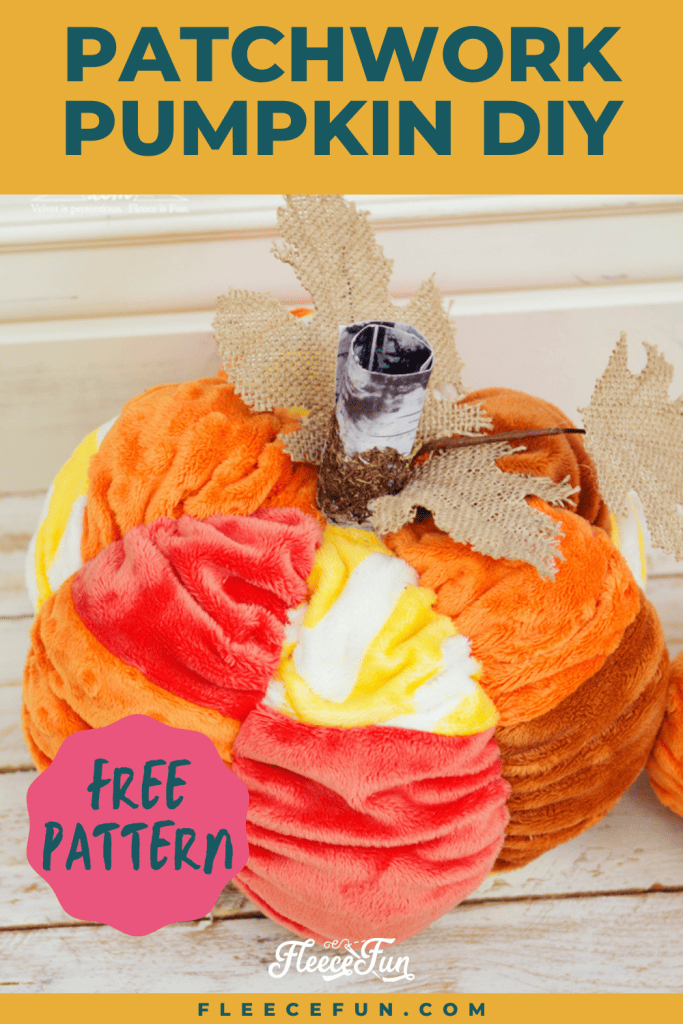
This cute pumpkin goes perfectly with last year’s Scrunched Pumpkin Pattern. This Patchwork Fabric Pumpkin Tutorial is cute, soft, fun, and best of all – if you have little kiddos it’s hard to destroy. (it’s been tested by my 2 year old).
As the crisp breeze of autumn rolls in, our minds start to shift towards cozy vibes of pumpkin patches, hay rides and hot cocoa. In the world of DIY sewing, fall is the perfect time to get creative and make something festive for your home décor. If you’re looking for a fun and unique project this season that will add some rustic charm to your space, you’re gonna love this one! I’ve got an easy-to-follow tutorial on how to sew a patchwork fabric pumpkin using our free pattern. This adorable little decoration will be a showstopper at any gathering or just give your living room that warm pumpkin spice touch it needs. So grab some fabric scraps, thread, needles and let’s get started!
YOU WILL NEED:
Some fabric places you can buy minky or cuddle scraps by the pound. For this project that’s what I did. I pulled scraps from a bin and saved a ton of cash.
- Fleece Fun’s Patchwork Pumpkin Pattern
- 1/4 yard fleece, cuddle or minky fabric
- Thread
- Needle
- Scissors
- Stick (bark like paper can be found in the floral section of a hobby store)
- burlap leaves (floral section of hobby store)
- batting/ beans or other filling
- Sewing Essentials (pins, scissors, etc.)
- Sewing Machine
- Get the free pattern here.
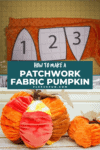
Patchwork Fabric Pumpkin Tutorial: Step-by-Step Guide
Step 1 – Cut Out Pieces and Begin Sewing
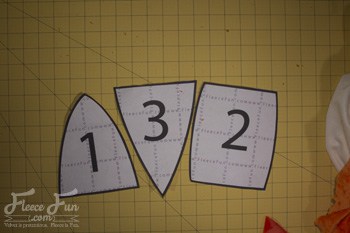
Print up and cut out the pumpkin pattern pieces.

In the pattern example I used 4 different fabrics, a minimum of 3 is suggested.

Cut 6 of each pattern pieces 1, 2, and 3 from different fabrics. You will make a total of 21. Note that wedge of the pumpkin is not symmetrical – be sure to mark the top with a pin.
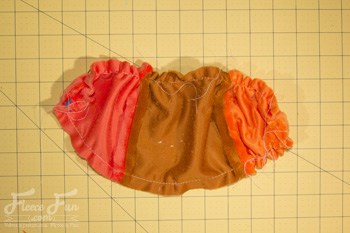
Step 2 – Assemble Each Fabric Wedge

Layout each wedge, alternating the fabrics in a pleasing manner.

Then using a half in seam allowance sew pieces 1 to 2 and 2 to 3 to form a wedge. Continue until you have made all 6 wedges.
Step 3 – Ruche the Pumpkin Wedges

To give the fabric pumpkin that nice ribbed look, we’re going to ruche the sides of each wedge. Sew a basting stitch along each side of the wedge, then gather. Repeat on all wedges.

note
Be sure to leave a pin at the top of each wedge to you know which is the top (piece 1).
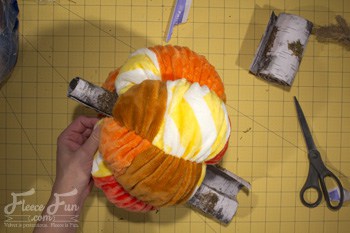
Step 4 – Sew and Assemble the Pumpkin

Pin and sew the wedges together, using a half inch seam allowance. Be sure to pin the tops ( the end marked with a pin) together.

Pin along the side and sew. Continue to build the pumpkin all the way around.

When you sew the last wedge to the first wedge, leave a 2 to three inch gap at the top for turning.
Step 5 – Turn and Complete the patchwork Fabric Pumpkin


Turn pumpkin right side out.


Stuff to desired firmness.

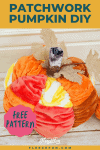
Place stem in the top and hand stitch the gap shut and secure the stem. Add leaves if desired.
You’re finished!
Download the free patchwork fabric pumpkin Pattern Below:
You can get a free copy of Adobe reader here. By downloading you are agreeing to pattern terms of use. Click the picture below to download the .pdf !
MORE FALL SEWING PROJECTS:
- Fall Cape for Girls
- Easy Apron Tutorial
- Pin the Tail on the Turkey Template
- Fall Cardigan for Girls
- Upcycled Sweater Skirt Tutorial
- Thankful Apron Pattern
- Autumn Leaves Pillow
Help! I keep trying to subscribe, but no confirmation email comes to my box! I don’t know if it’s the new Windows 10 or some other problem???
Hmm have checked your spam folder? Sorry for the trouble. If it isn’t in your spam folder email me.
so cute! Thanks a lot for this tutorial!
I cannot find the pattern for the scrunched solid color pumpkin! Help! Samdi
Sandi – click the picture that says “click here to download” you scrolled right past it to comment. 🙂