
Autumn Leaves Pillow Tutorial (Free Pattern)
This content contains affiliate links or sponsored elements, read our Disclosure Policy.
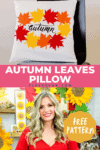


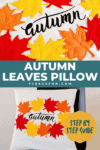


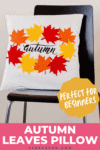
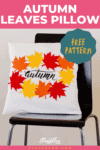
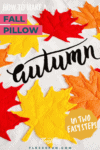
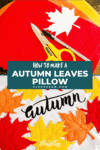
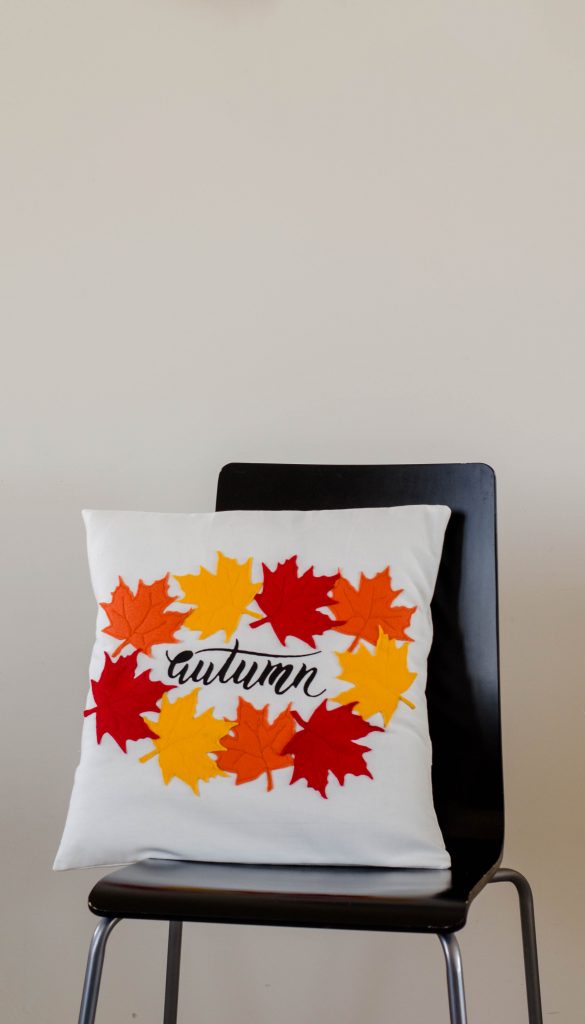
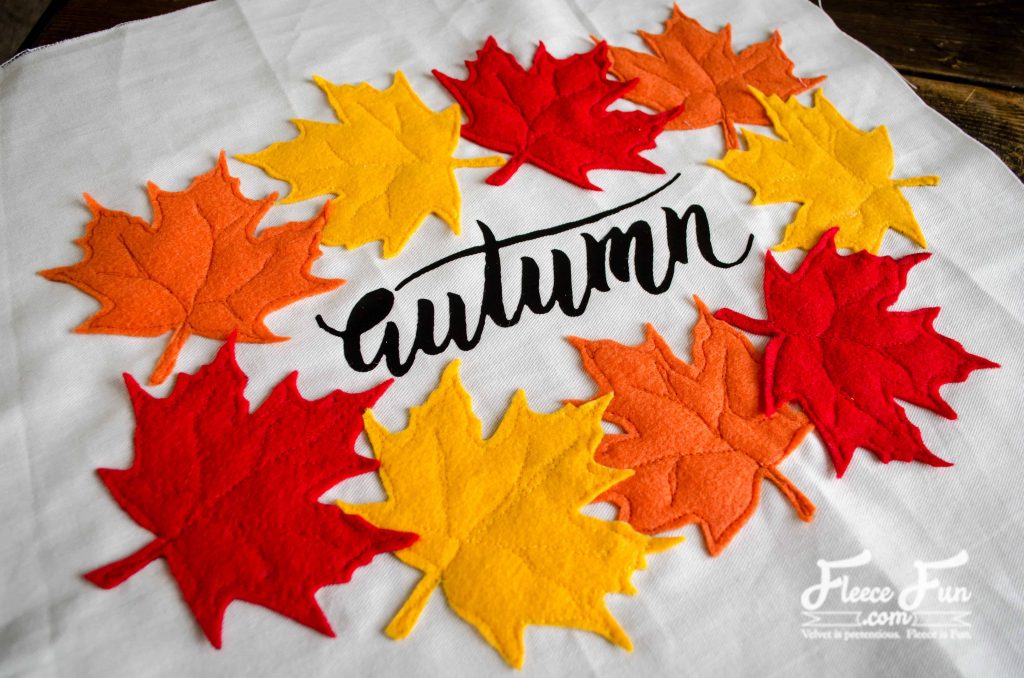
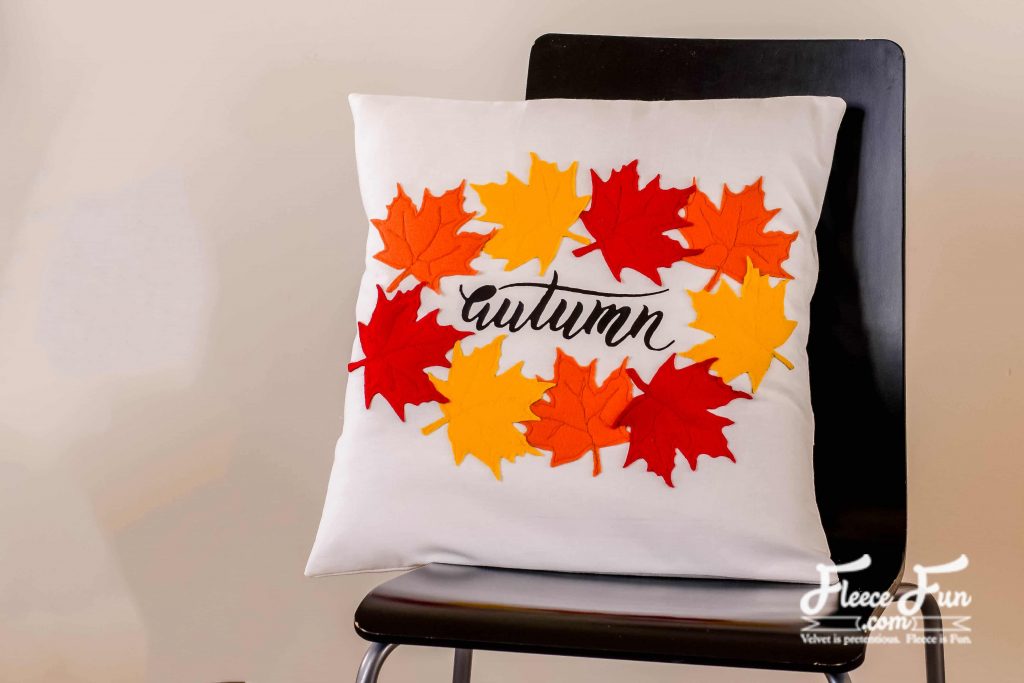
This Autumn Leaves Pillow Tutorial is perfect for bringing the color of the changing leaves into your home. With a few simple materials you can make this beautiful pillow. While I’ve chosen very traditional colors for this pillow the beauty of making your own Autumn décor is that you can make it any color you choose! Because of how we’re attaching the autumn leaves to the pillow they must be felt or fleece – basically a material that won’t unravel and doesn’t need the edges finished.

One of my favorite parts of the cooler weather is watching the leaves change color. We are lucky to live in a rural area, with our own little ‘forest’ in our back yard. This pillow is inspired by the changing maple trees, and is a fun way to bring the outside in!

The background of the pillow is a simple white cotton twill. I appliqued leaves in a variety of colors in an oval shape. I used some poly felt, but fleece works very well too! At the center of the pillow is the word ‘autumn’. I cut the lettering from heat transfer vinyl, but I will also show you how to do out with freezer paper and fabric paint if you don’t have a cutting machine.
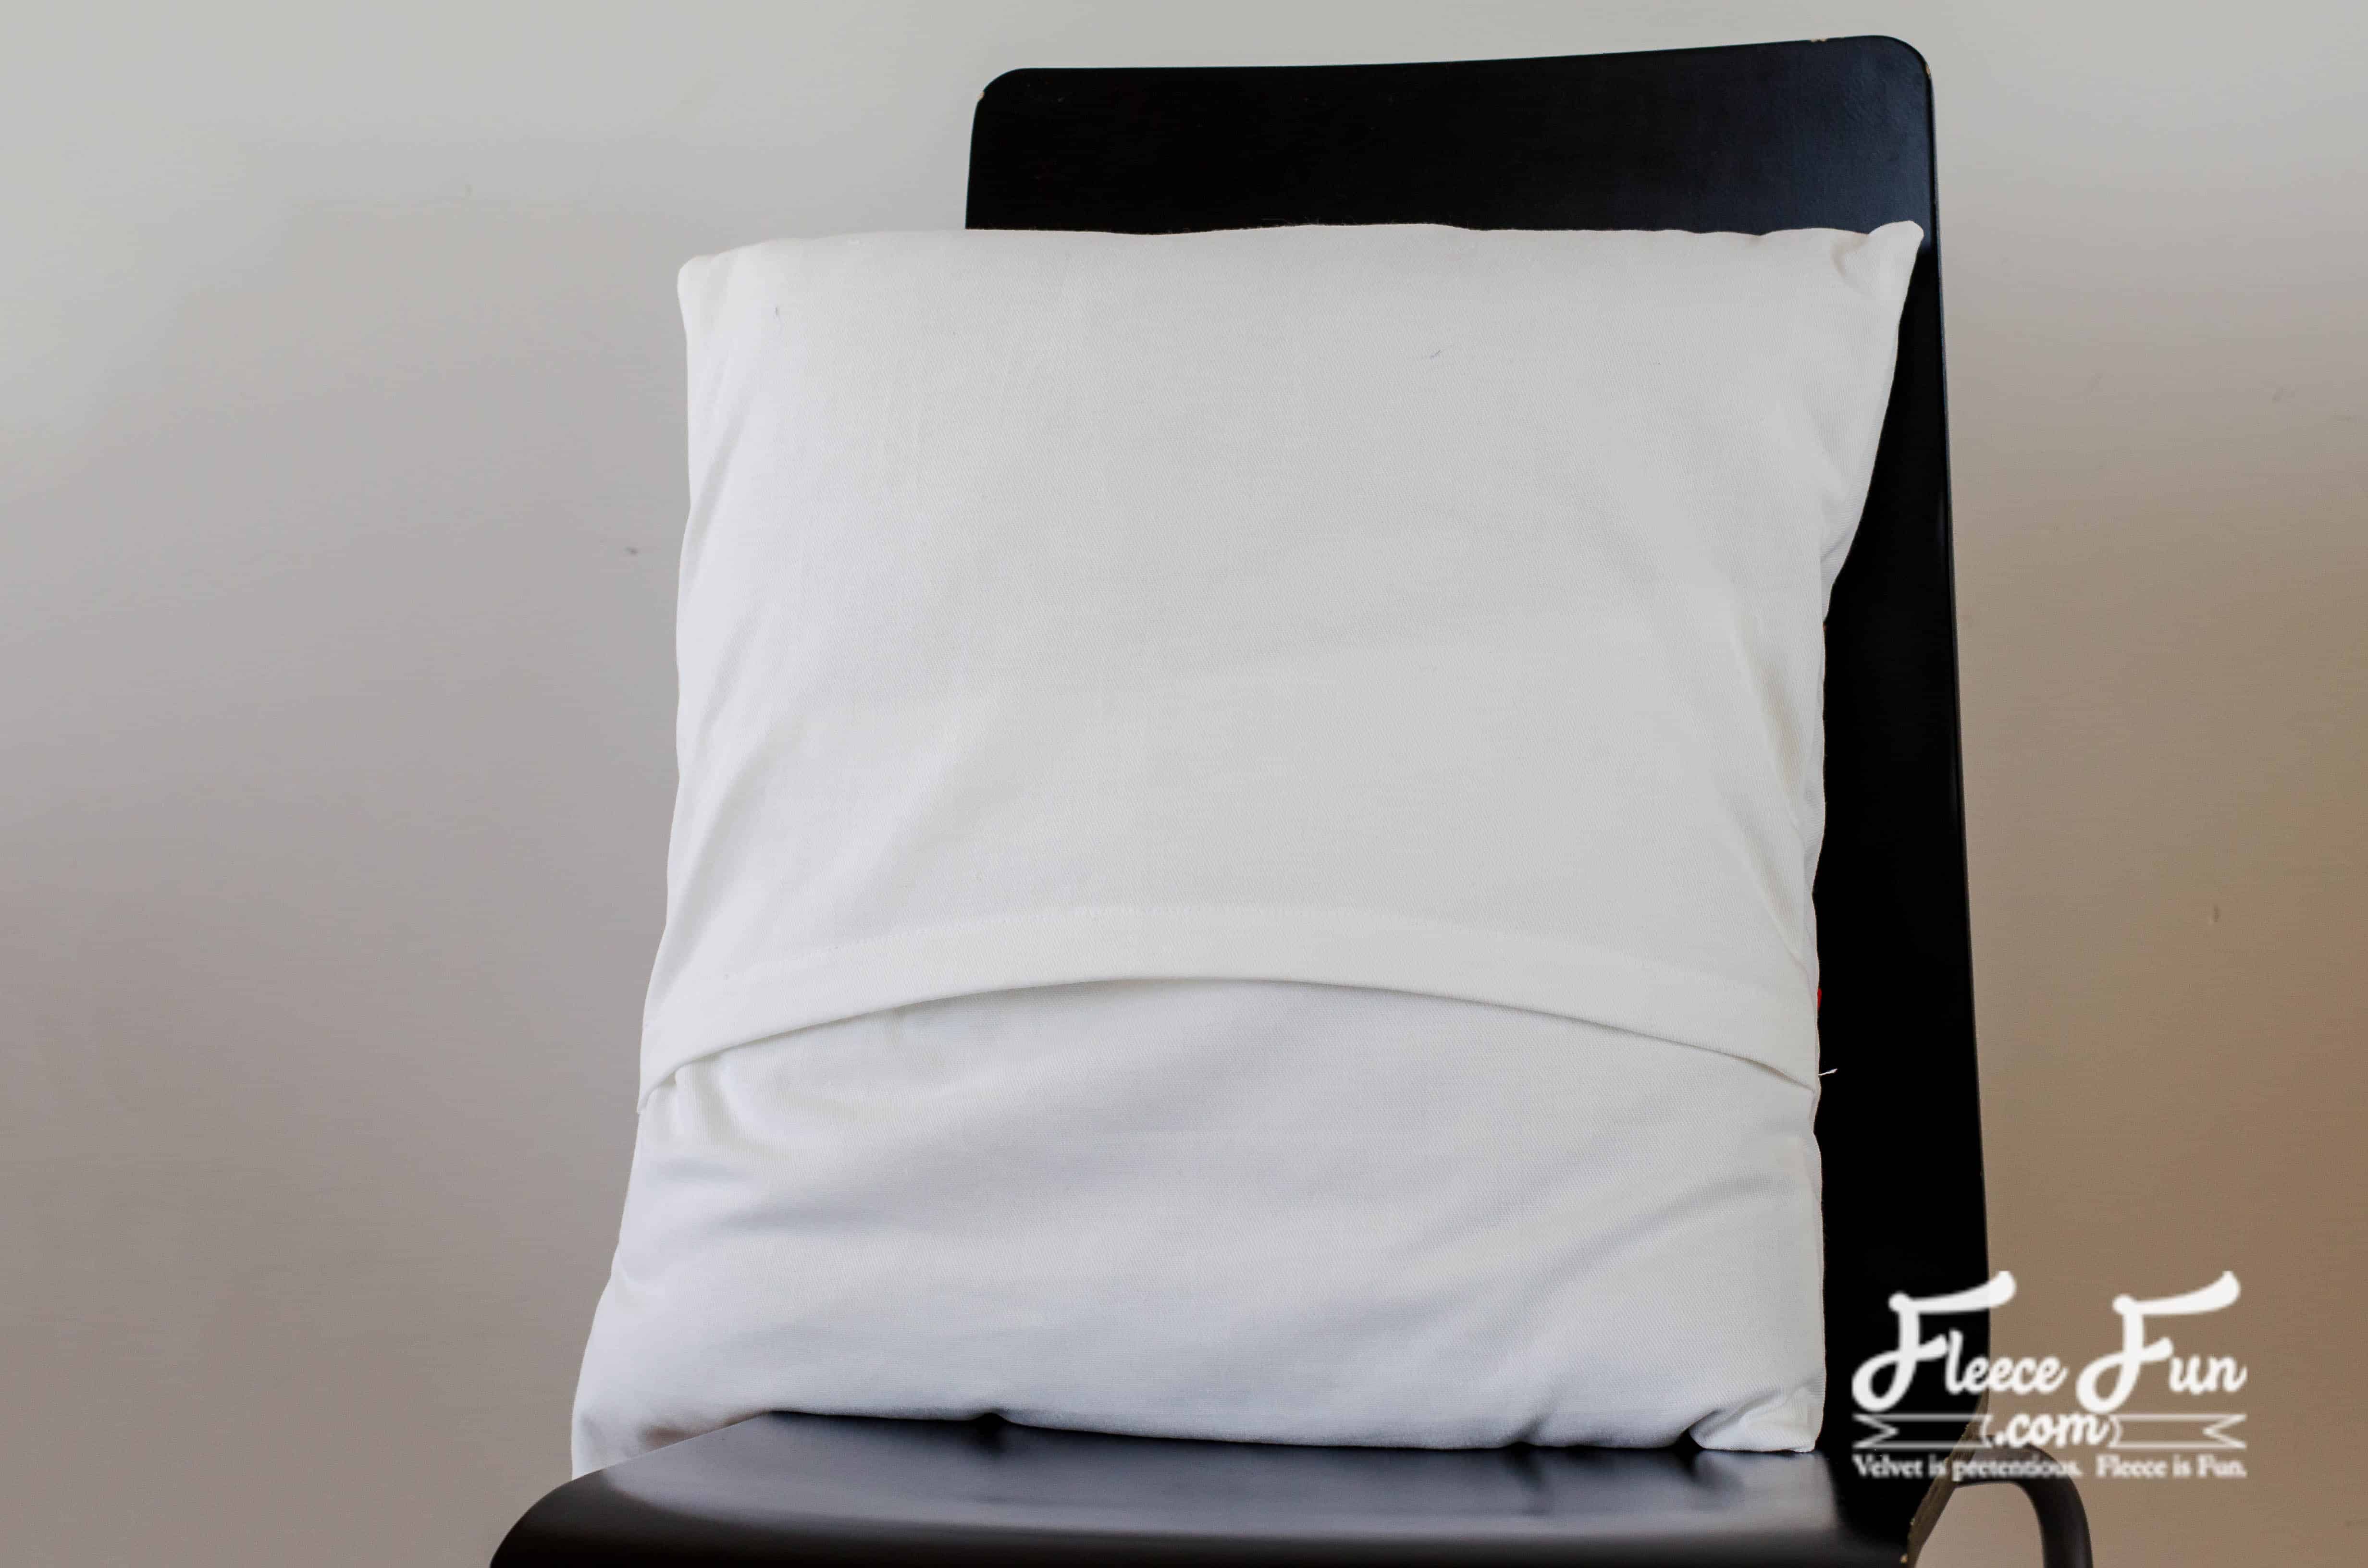
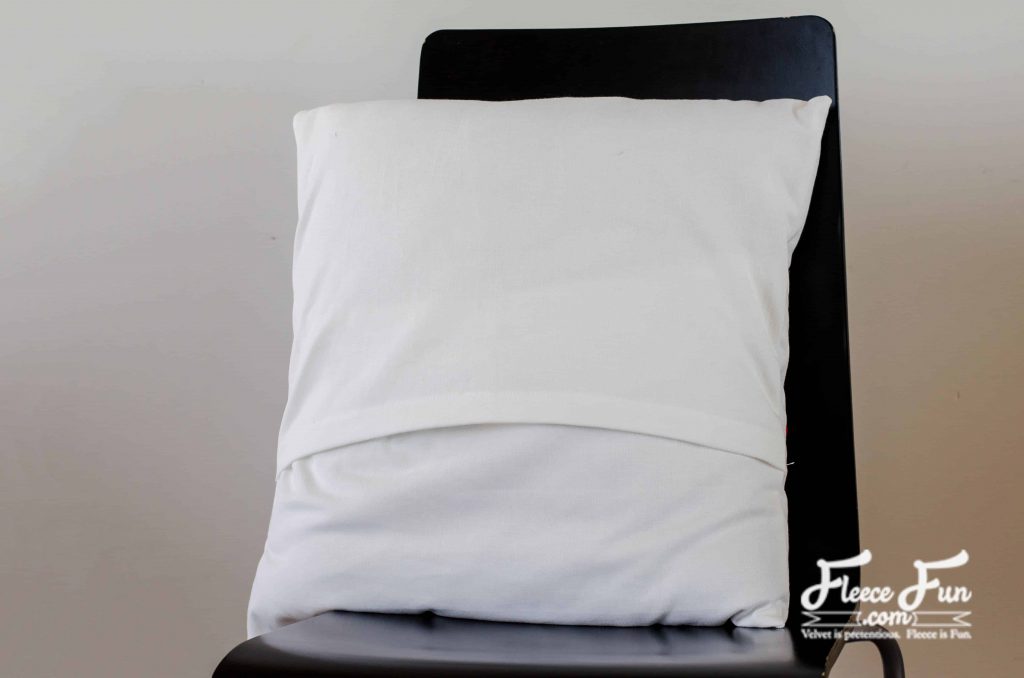
The back of the pillow is a simple envelope design so it is easy to insert the pillow form and even easier to sew!
YOU WILL NEED:
- 1 sheet EACH of red, orange, and yellow felt or scraps of fleece in these colors (I like to get my felt here)
- 1 yard woven fabric; I used an off white twill
- heat transfer vinyl OR freezer paper and fabric paint (you can see a tutorial on how to do that here)
- 18″ pillow form ( since this is an envelope pillow you can easily color a decorative pillow you already have!)
- Sewing Essentials (pins, scissors, etc.)
- a free motion foot can assist with this project
- Get the free pattern here.
Autumn Leaves Pillow Tutorial:
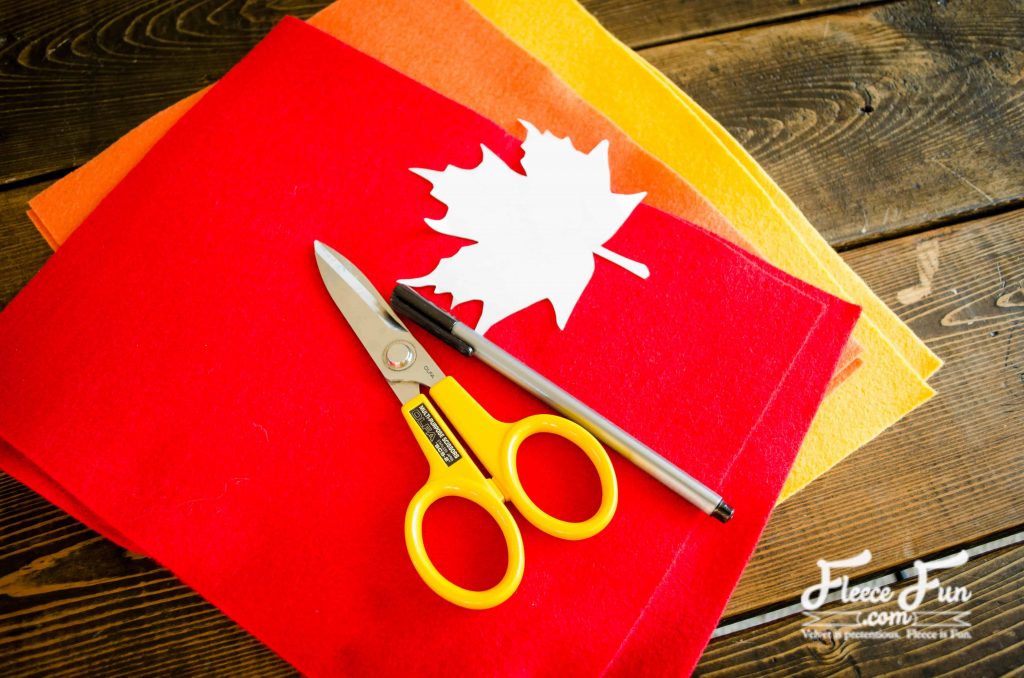
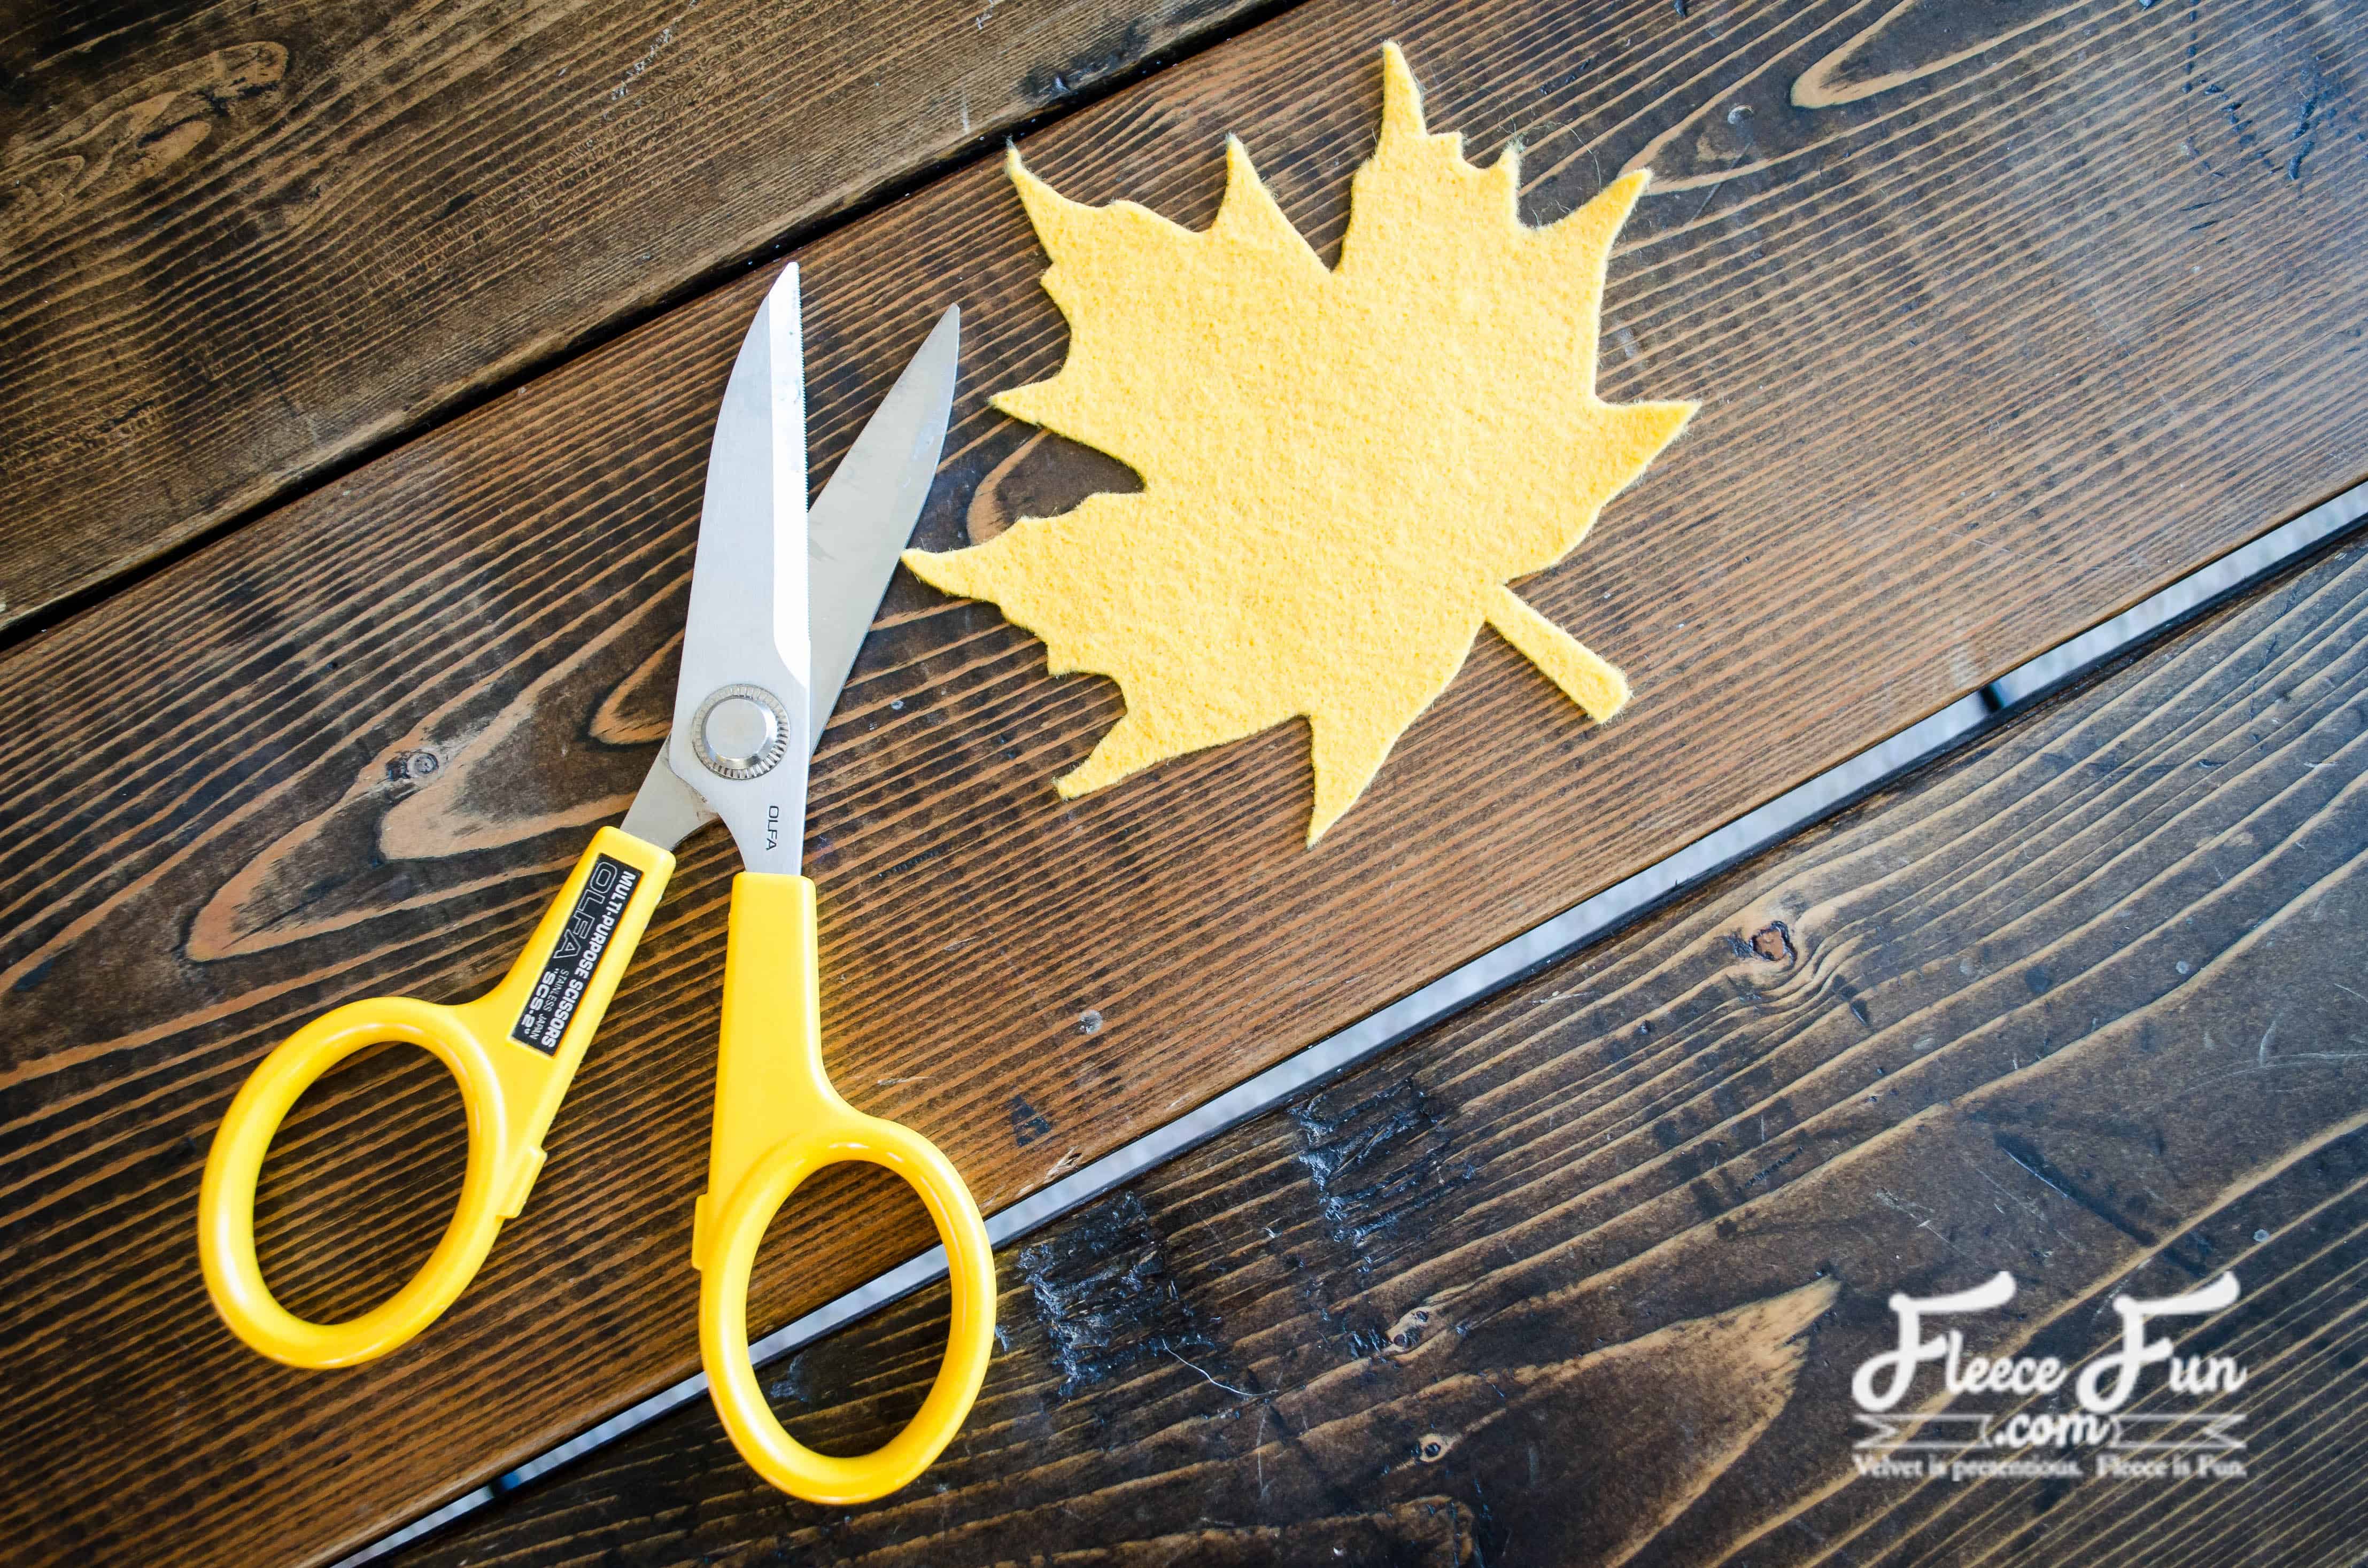
Step 1 – Cut Out the Fall Leaves using the free Pattern
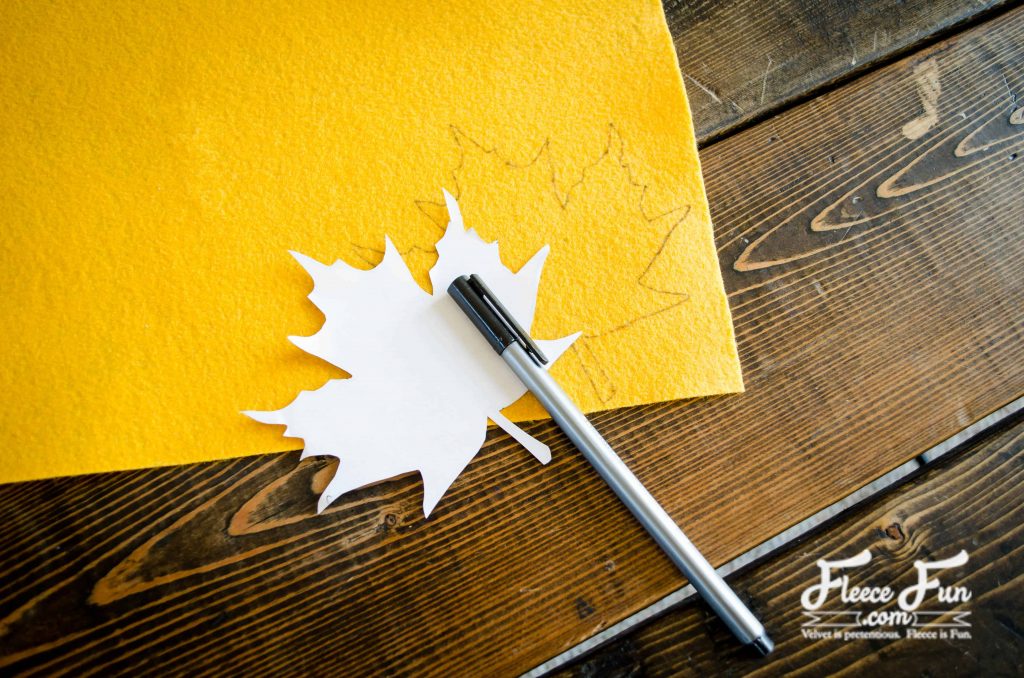
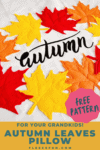
Using the template provided, cut 3 leaves out of each color. I find it easier to get clean lines by tracing the leaf then cutting it out.
Also, cut the following out of the woven fabric:
1 square 19″ x 19″
2 rectangles 19″ x 14″ each
Step 2 – Sew Your Autumn Leaves Pillow
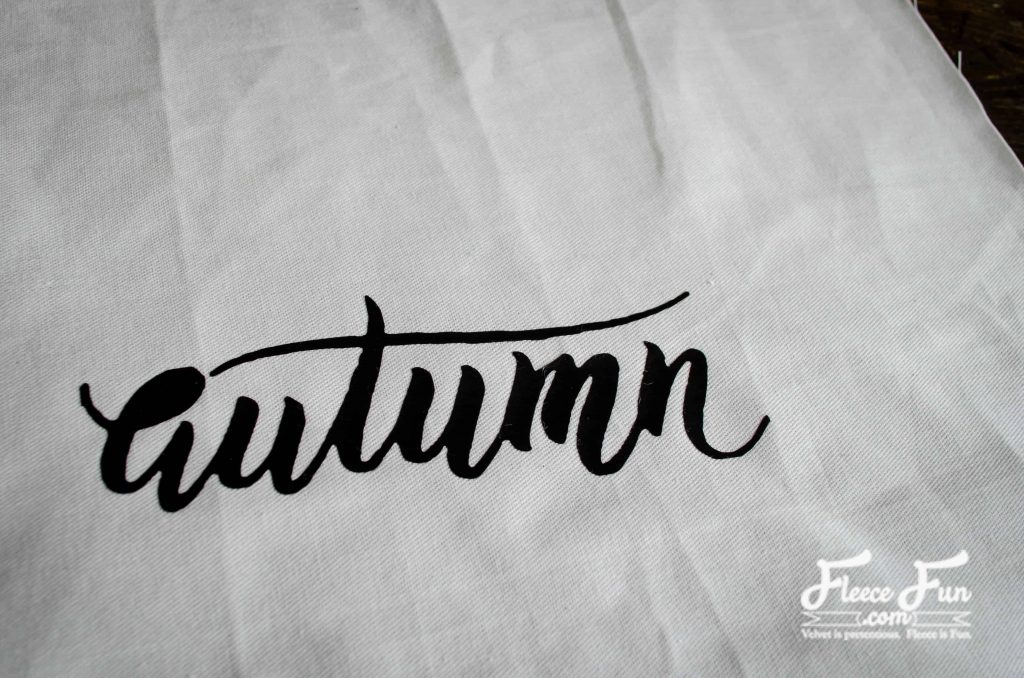
Cut the lettering out of heat transfer vinyl OR use a craft knife to create a stencil out of freezer paper and paint the word on the large square (tutorial for that here).
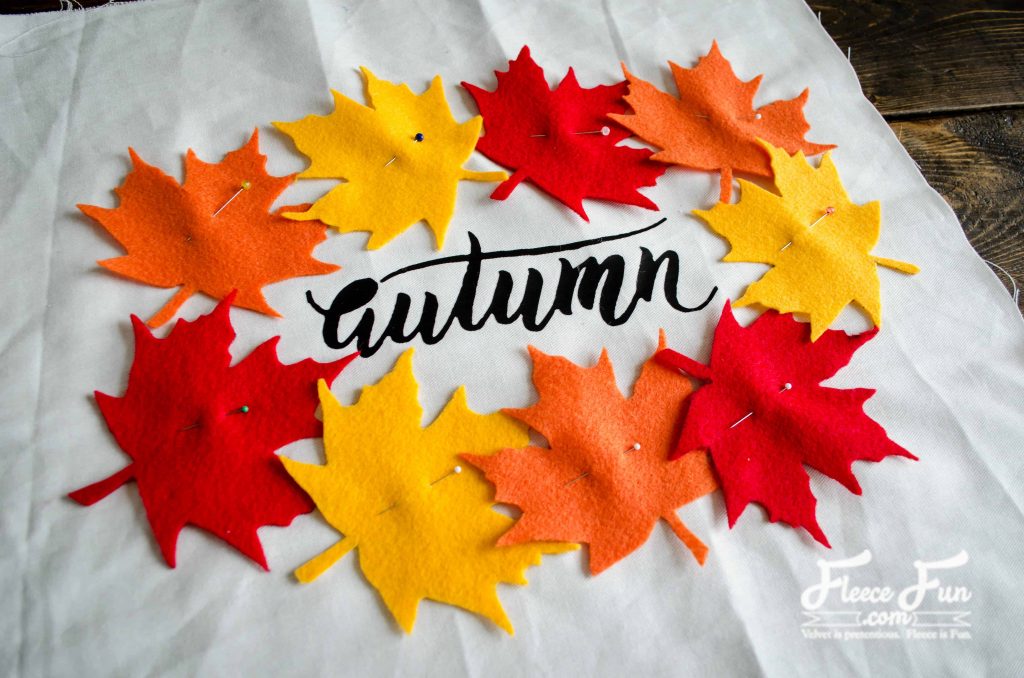
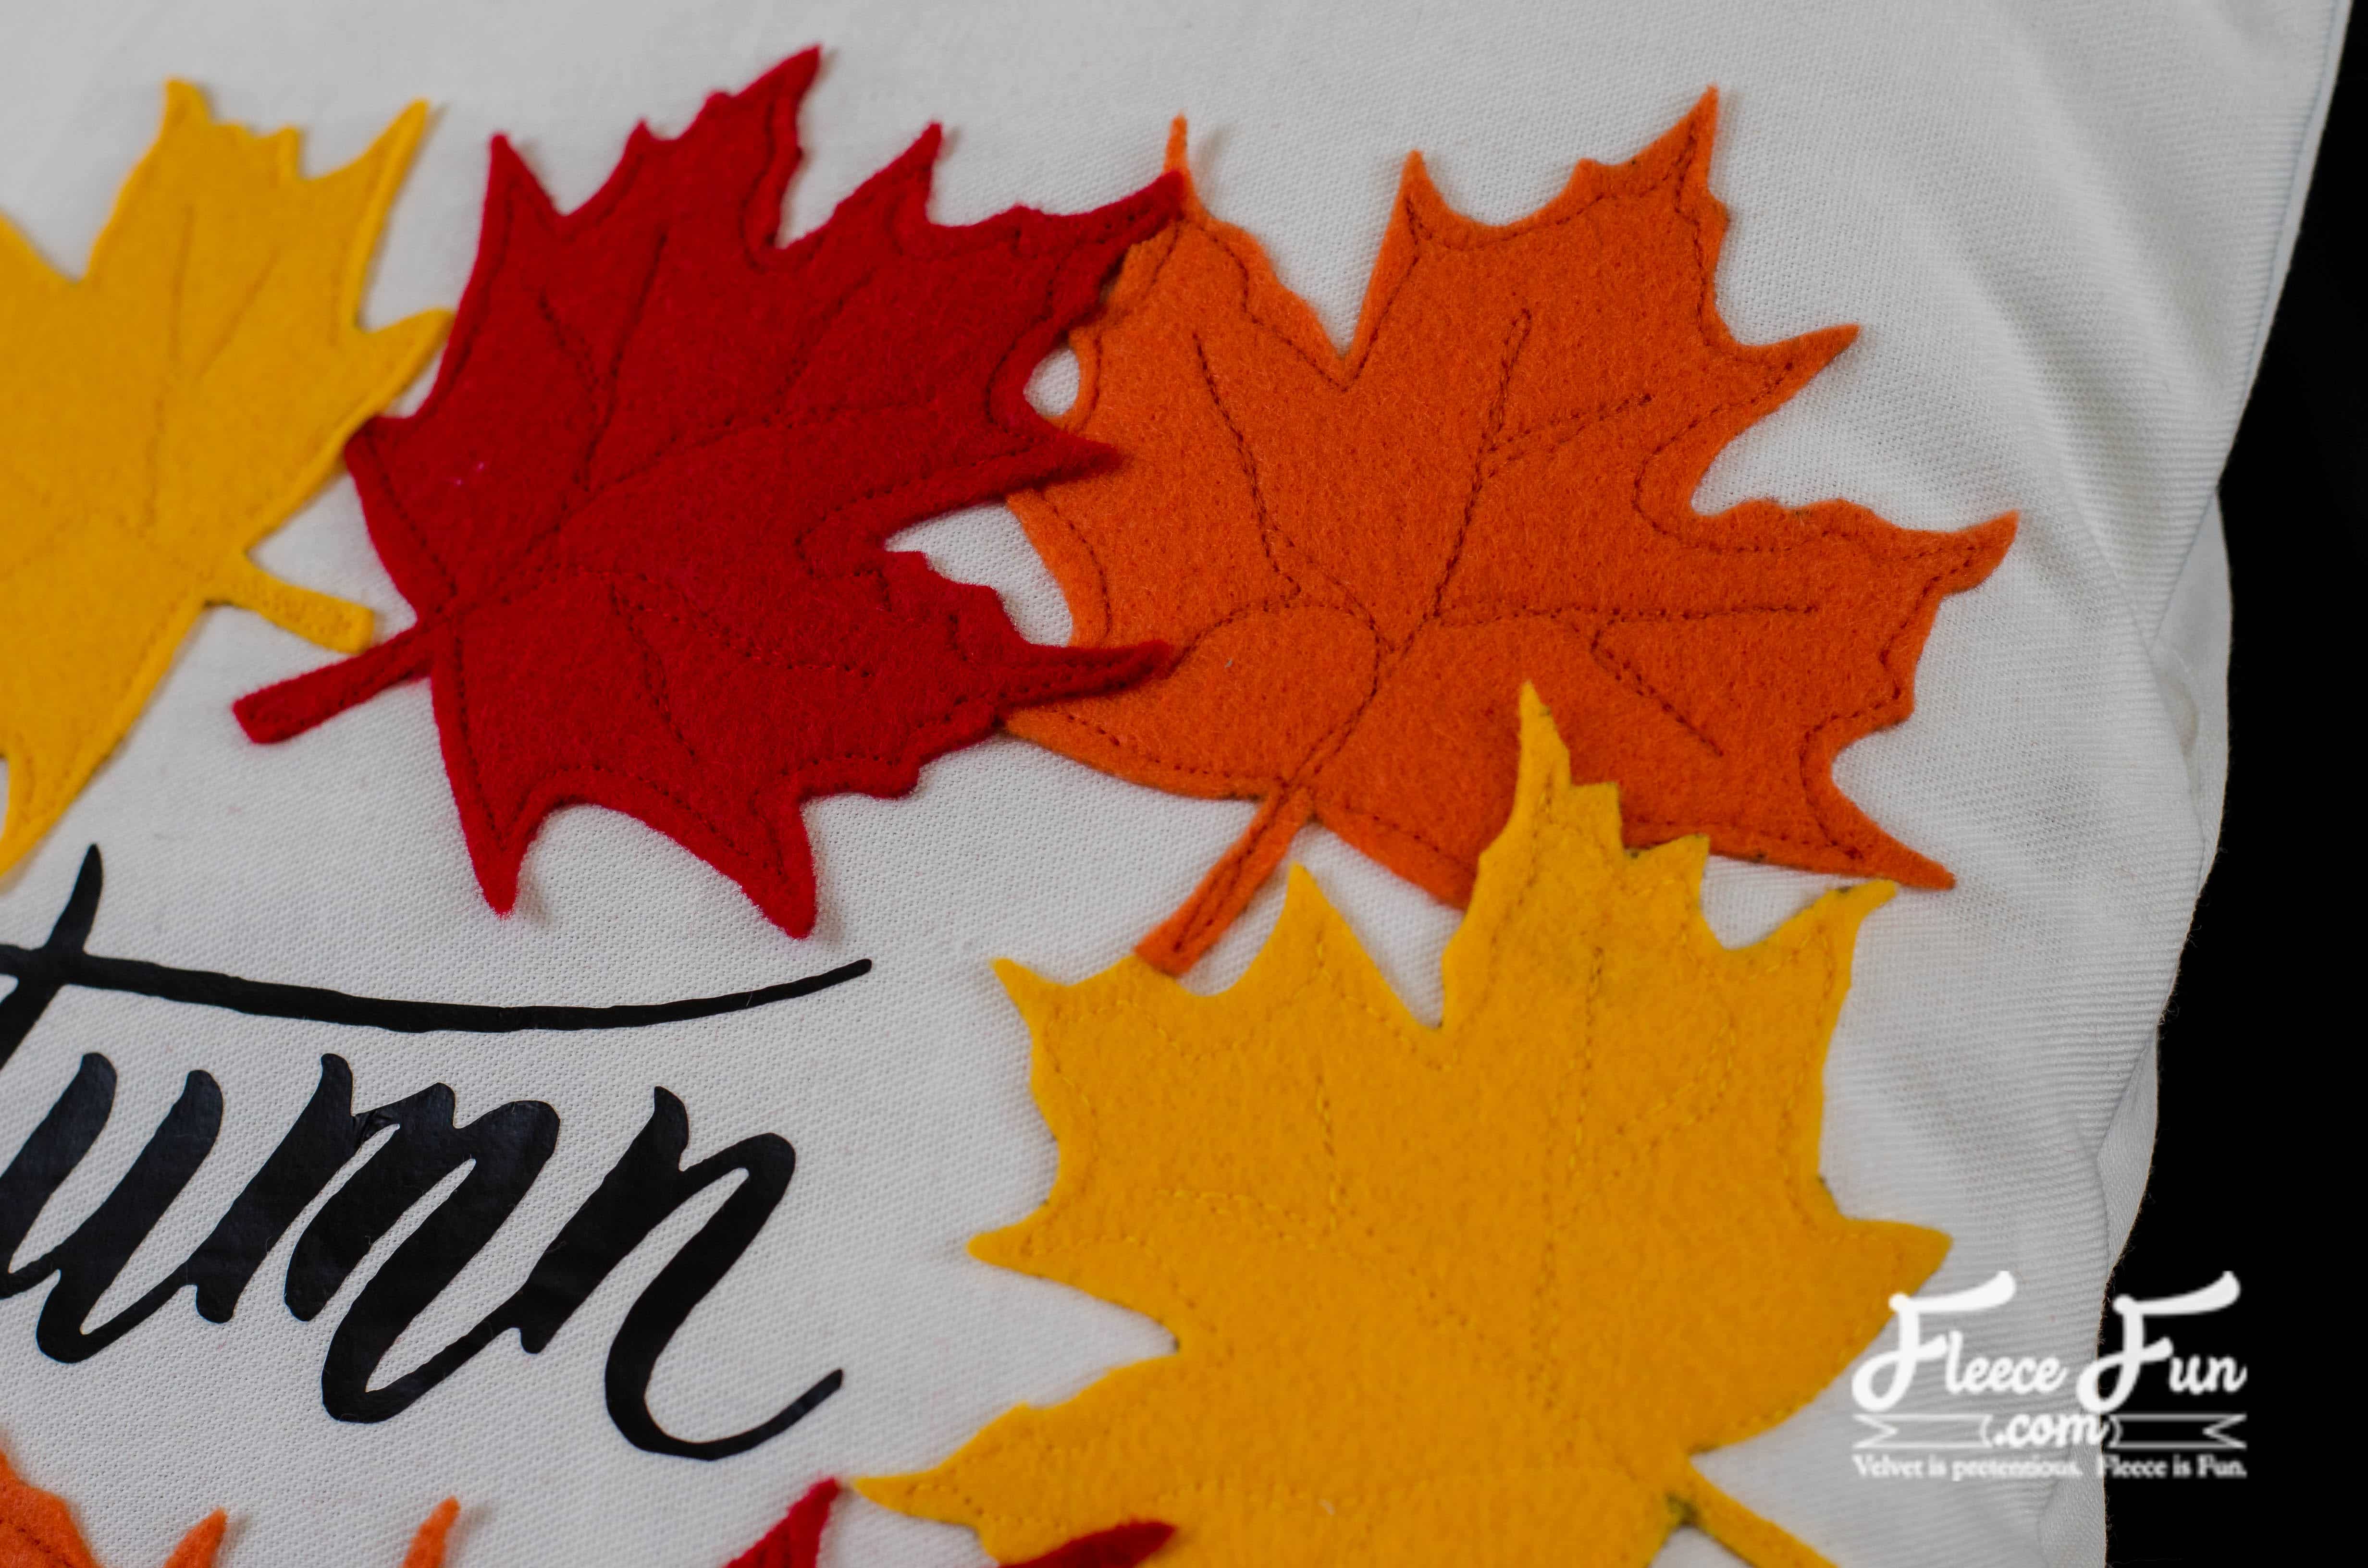
Arrange the leaf shapes in an oval, centering it on the large square. Be sure to stay away from the very outside edge where your seam allowance is. Pin the leaves in place.

Stitch the leaves in place around the outside edge. Optional: stitch the leaf veins in the center. I found it easiest to use my darning/free motion foot, but you can use your regular stitching foot too.
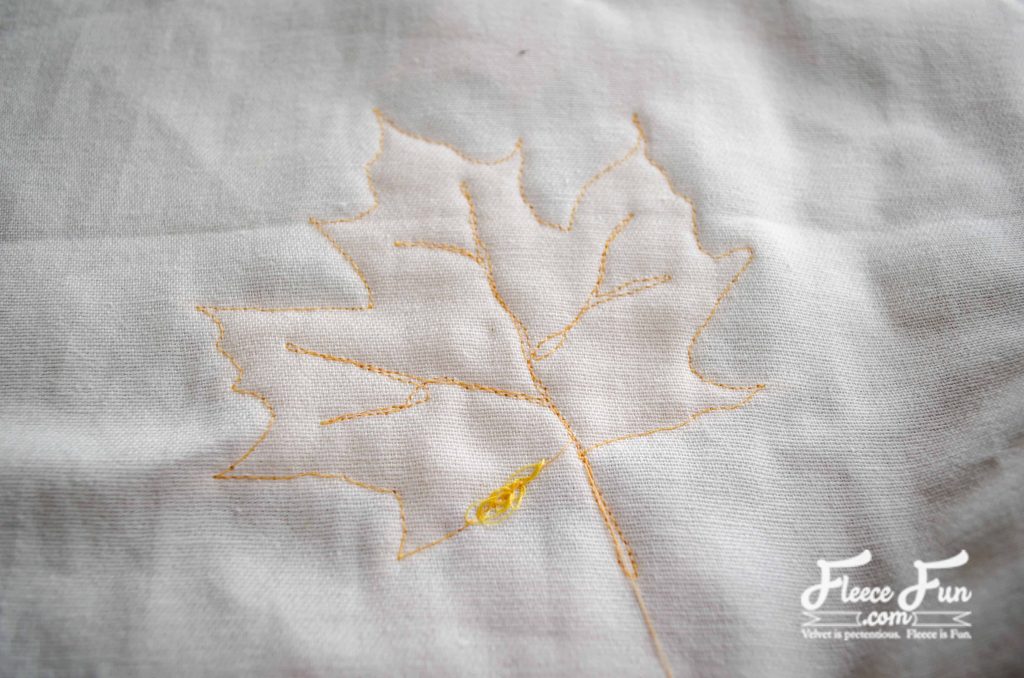
This is what it looks like from the back side.
Complete stitching all the leaves in place.
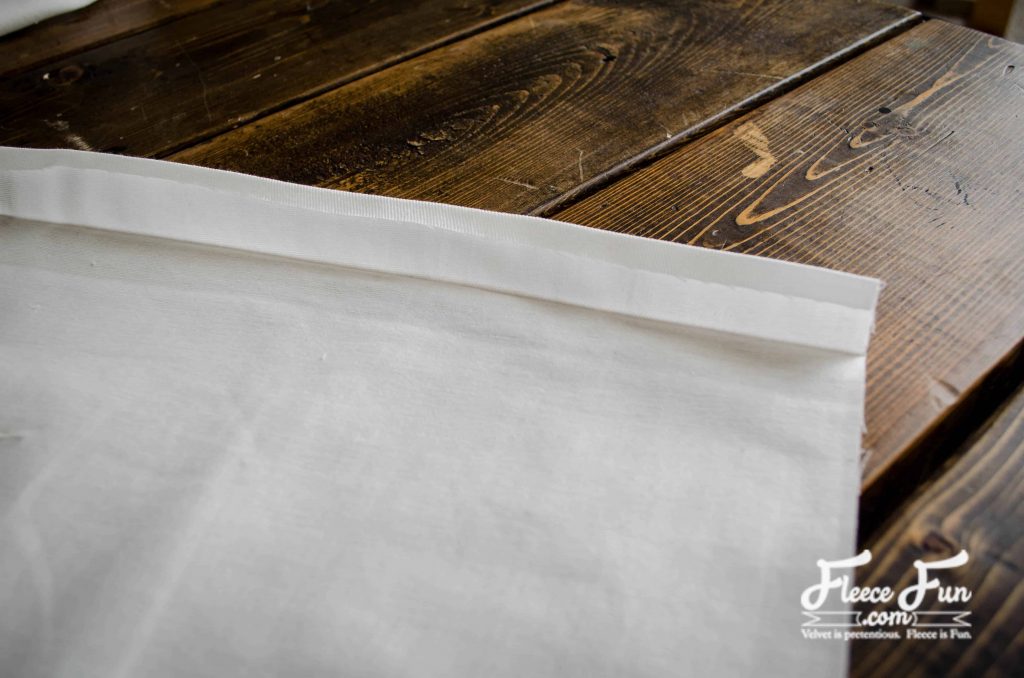
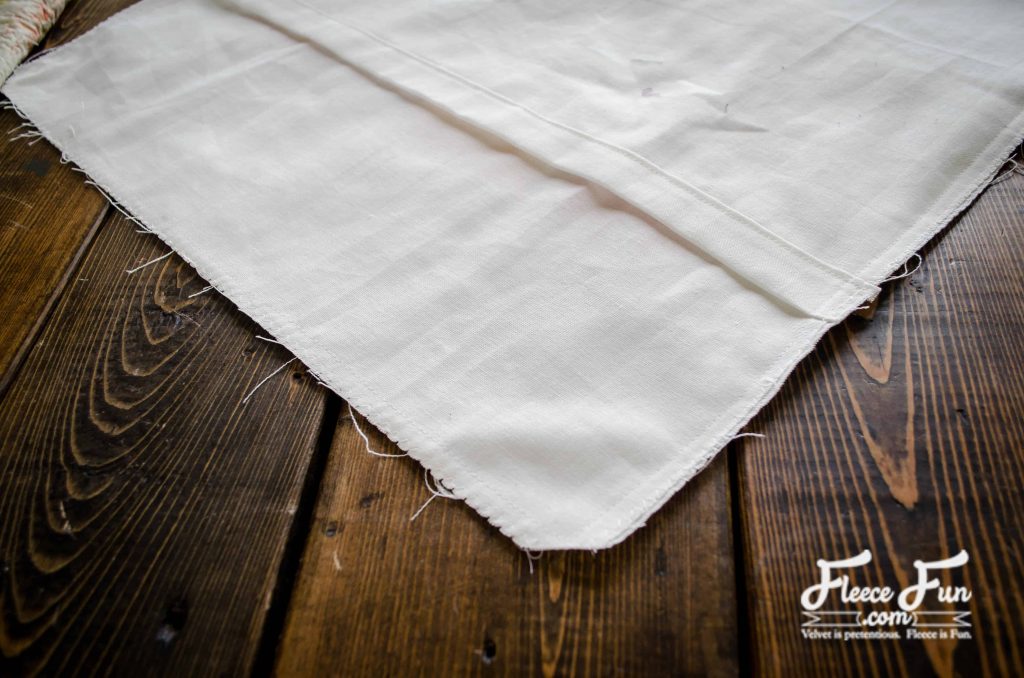
On one long edge of each of the rectangles, press 1/4″ to the wrong side, then 1″, to create a hem.
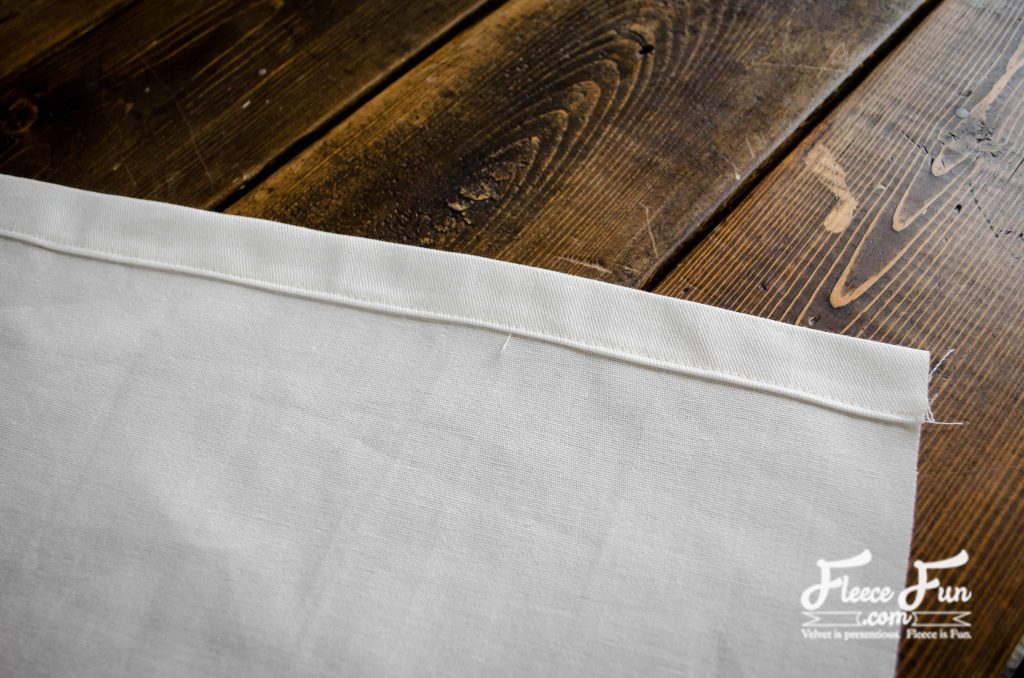
Topstitch in place.
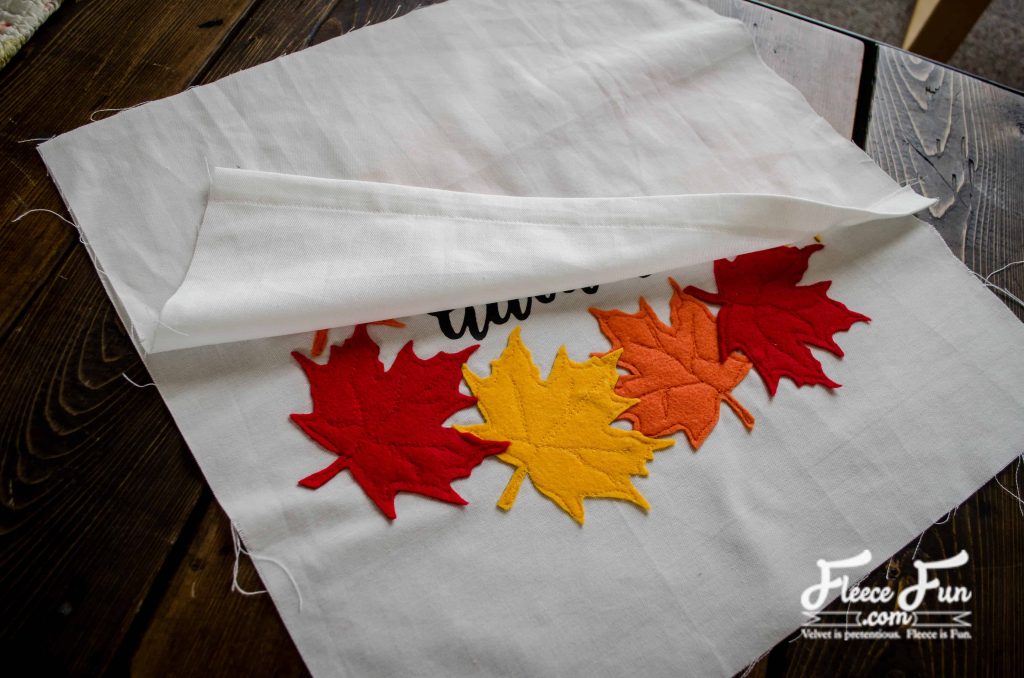
With right sides facing, pin both rectangles to the square with the hemmed edges in the center.

They will over lap to form the envelope to put the pillow through. Pin into place
Stitch around all 4 sides. Clip corners, finish off raw edges,
and turn right side out.
Now you are ready to insert your pillow form!

Download the Free Autumn leaves Pillow Pattern Here
Download the printable pattern piece by clicking on the image below.

More Thanksgiving tutorials:
- Giant Maple Leaf Template DIY
- Fall Tier Tray Décor (free SVG)
- Give Thanks Platter Decor
- Gather Banner DIY (Free SVG Files)
- Giant Paper Sunflowers
- Felt Sunflower DIY
- Free “Thankful” printable banner
- Thankful for Cake Toppers
- Fall Topiary Trees Craft
- Thanksgiving Printable to frame
- Thanksgiving Apron
- Idea for Thanksgiving- Thankful Tree
- See All of the Thanksgiving Projects Here
FALL SEWING PROJECTS YOU MIGHT ENJOY:
- Fall Cape for Girls Free Pattern and Tutorial
- Flannel Nightgown Pattern
- Patchwork Fabric Pumpkin
- Fall Cardigan for Girls
- Pin the Tail on the turkey game DIY
- Thankful Apron Free Pattern
- Hostess Apron Tutorial
- Upcycled Sweater Skirt
- See more Fall Sewing Projects here!