
Towel Bibs for Babies Bandana Style Ultimate DIY
This content contains affiliate links or sponsored elements, read our Disclosure Policy.
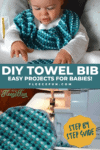

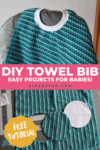
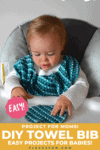
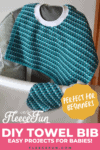

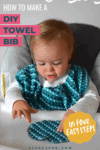
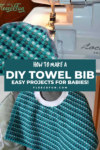
Easy sewing tutorial: This Towel Bibs for Babies Bandana Style Ultimate DIY shows you how quickly ( and cheaply) you can make adorable baby bibs that are cute and easily washable. Perfect for keeping baby tidy, this soft bib is sure to be a favorite.
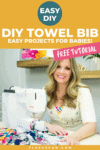
Hi there! My name is Kendall and I’m so excited to be a guest blogger with Fleece Fun. I work as a school psychologist by day, a crafter/sewist by night, and the mother of a super cute 1 year old girl, and wife to the best husband ever (he cooks!). I have my version of a “bandana” bib to show you.
My mom had bibs like these for me and they worked out great. I never find that the ones in the store really work well. Making them out of a towel means they are super easy to throw in the wash. I put the neck hole in the corner so that the side edges of the towel can go under the arms. Imagine if you were at a fancy restaurant with a cloth napkin that you tucked into your shirt, but better!
YOU WILL NEED:
- Small kitchen towel (mine is a square)
- Rib Knit (about 2.5” by 12”, see instructions)
- Paper, pencil, and either ruler or compass (for drawing circles)
- Scissors
- Sewing machine (serger if available)

Towel Bibs for Babies Bandana Style Ultimate DIY Tutorial
Step 1 – cutting a circle out from the towel
So for the bib, I found these square kitchen towels at my local grocery store on clearance for like $1.60 for two! Perfect.
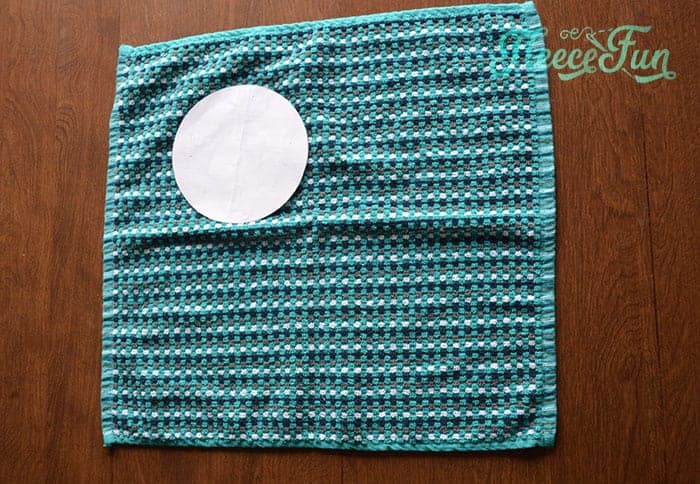
Next I cut out a paper circle that was 4.5’ in diameter. This can be done with a compass. You would set it to 2.25” as the radius, so that when it goes all the way around it will be 4.5” in diameter.
You could also use a ruler, draw a line 4.5” long. Then draw another 4.5” perpendicular line in the middle and use those lines to guide you to the shape of the circle.

My daughter has a small head, so this is a good size for her. If your child has a larger head, I would suggest going up to 5” or 5.5” in diameter.
After you cut out the paper circle, put it in the corner of the towel, leaving a couple inches of space between the circle and the edge of the towel. Cut out the circle.
Step 2 – making the neckband
Next step of this Towel Bibs for Babies tutorial is cutting out the piece of rib knit. I am going to explain the math involved in case your neck hole is a different size than mine. So I have a circle with a diameter of 4.5”. When cutting a neckband, you want the fabric length to be about 80% of the length that you are covering, plus seam allowance (.5” total).
Here’s the math since it’s a circle:
The formula for the circumference of a circle (the distance around) is πd (pi times diameter). π (pi)=3.14 and d=the diameter of the circle. Since I used a 4.5” diameter circle, I would multiply 4.5 by π, which equals 14.13. Now I need to multiply 14.13 by 80% to get the length I need. 14.13 x 0.80 = 11.3” Don’t forget to add the seam allowance back! 0.5” 11.8”
To make it easy, I am going to cut my rib knit to a length of 11.75 (11 3/4) inches, and a width of 2.5”.
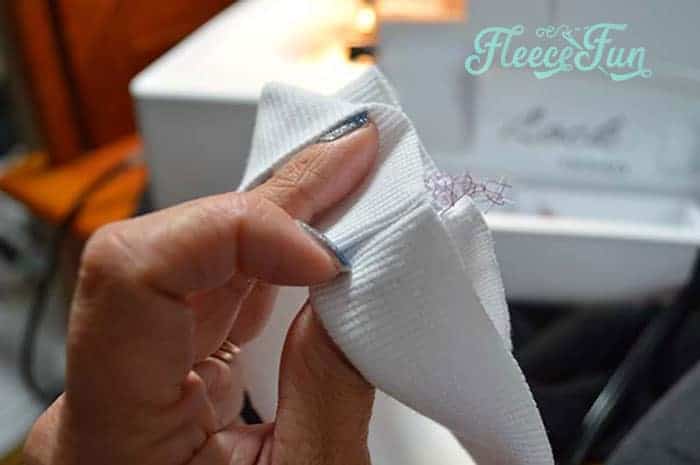
Now, fold the rib knit in half long ways and sew the 2.5” sides together to form a circle. Fold the rib knit in half, wrong sides together.
Step 3 – sew the neckband on the Towel Bib for Babies
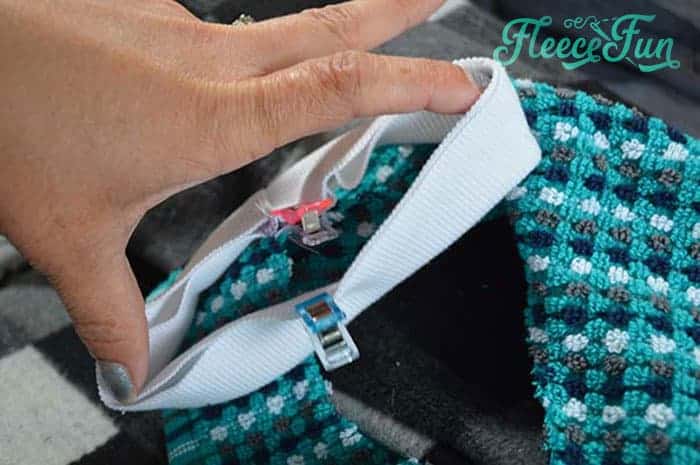
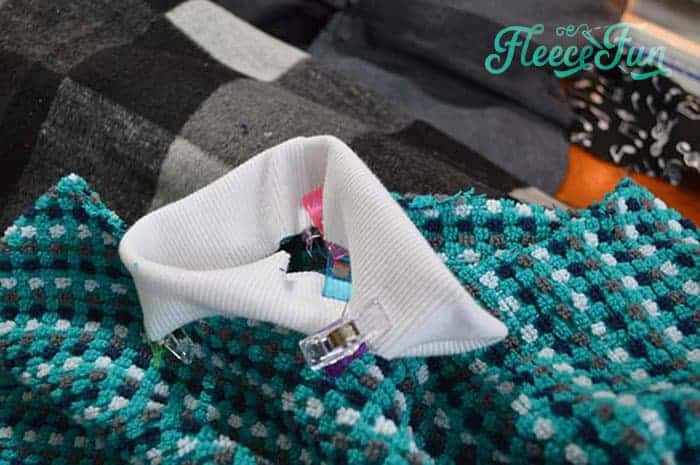
Now we have to pin the rib knit to the circle, which is another new skill to learn. We are going to pin in quarters and then stretch the rib knit as we sew in between the pins.
First, we need to find four opposite edges of the circle in the rib knit.
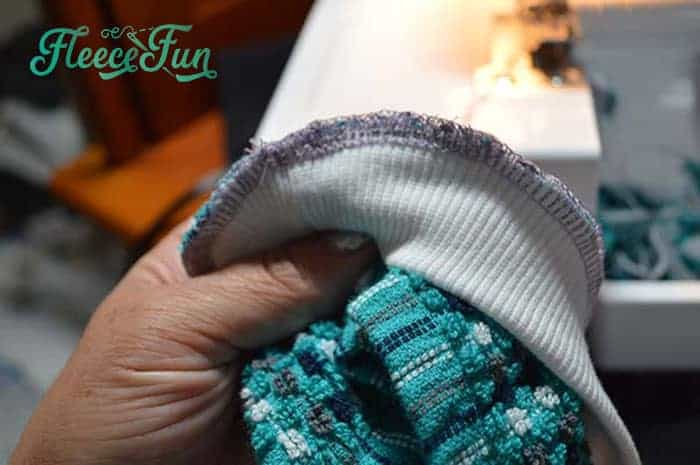
Put a marker pin where the seam is. Using that as a guide, find the point opposite it by pulling it back. Now fold the knit in half, matching those points in the middle and put a marker pin on the two parts of the circle where the folds are. (where my thumb and finger are in the picture).
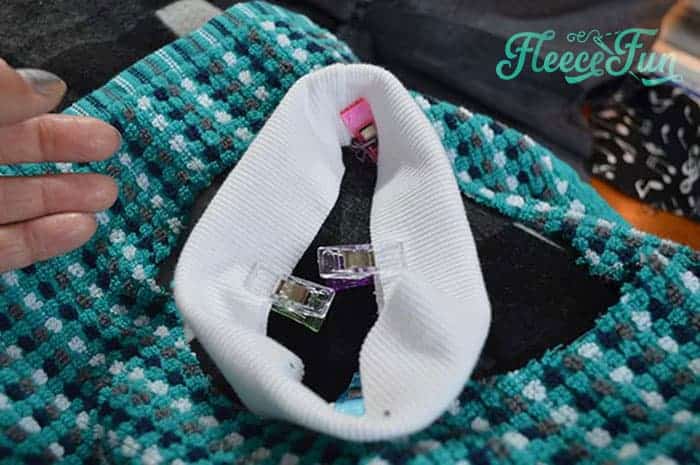
Now we have to do the same thing with the neck hole of the towel, find the four opposite points and pin the rib knit to those points, using the marking pins you used on the rib knit.
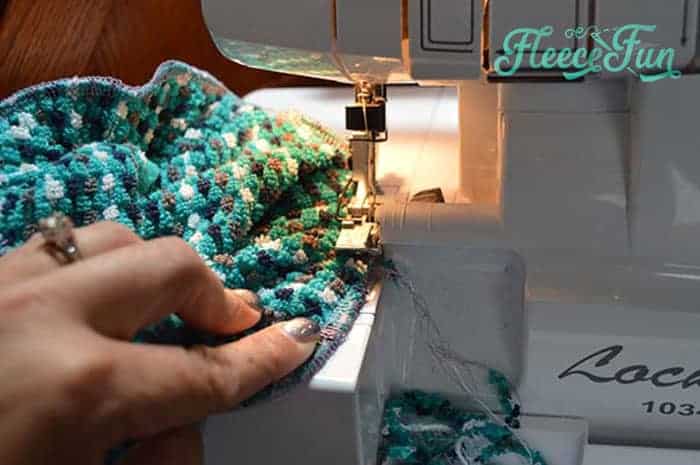
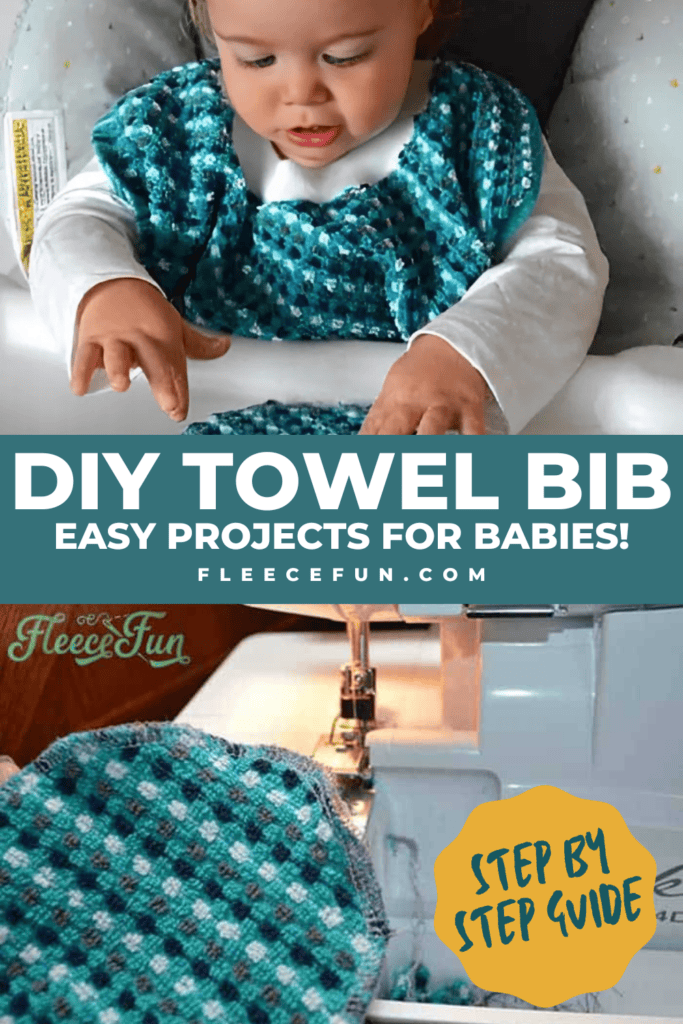
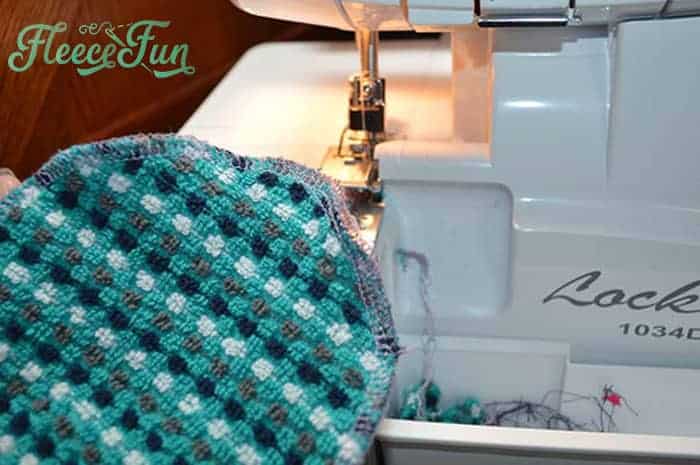
Once it’s pinned, we get to sew it together! I have a serger, so I sewed it together using that, with about ¼” seam allowance. If you do not have a serger, sew the pieces together using either the stretch stitch (lightning bolt-looking one) or the zig zag stitch.
We want the stitching to stretch with the fabric when putting it over the little’s head! Remember to stretch the rib knit in between pins. This keeps it taught and prevents the neck hole from sagging.
Step 4 – sew and finish the baby bib
If on a sewing machine, make sure to backstitch at the beginning and end. If you have a serger, you can serge back over where you started and overlap 1-2”.
Then, with the needles down in the fabric, lift the presser foot. Now run out extra stitches while pulling your work away from the machine. Then you can cut off the tails without worrying that the stitching will fray.
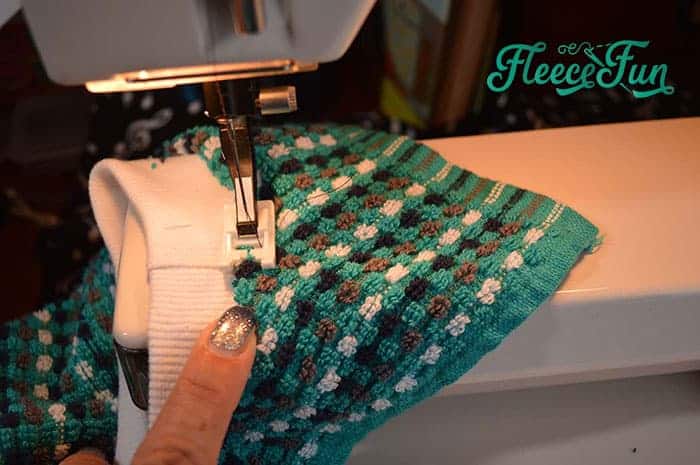
Now that the rib knit collar is attached to the towel, you can take your work to the sewing machine and topstitch around the top to tack down the seam allowance. I used the stretch stitch here.
After you’ve top stitched, the Towel Bibs for Babies Bandana Style Ultimate DIY is done!
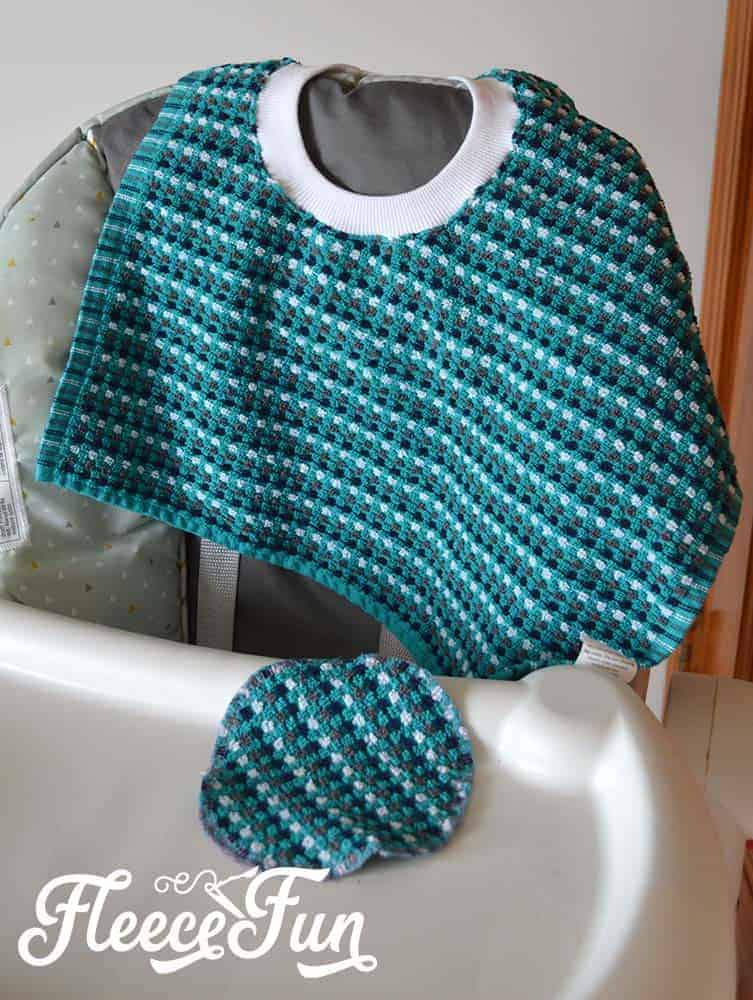
But wait, there’s a bonus! Remember that circle that you cut out of the middle of the towel for the neck hole? You can serge or zig zag stitch the edges to create a matching baby cloth. It’s the perfect size for wiping faces after a messy lunch.
Extra Bonus: Nursing Cover
For the Nursing Cover:
- ¾ -1 yd knit fabric (at least 50% 2-way stretch)
- Sewing machine
So this one is really easy. Head to the fabric store and pick out a really cute print that you might like to wear and purchase ¾ of a yard to 1 yard. When you get home, put right sides together and sew the short edges together, the selvedge ends. Voila! Nursing cover!
You can wrap it around your neck twice to wear as a fashion infinity scarf. Then unwrap it, and put one arm through and you have a nursing cover! This worked great for me. Since it was just some fabric, it was easy to stuff in the diaper bag if I decided I didn’t want to wear it for the day. Plus, it’s cheap enough to make that you could make in a few different colors for different looks! I ended up with three that I kept in different places.
More Baby Bibs and Burp Cloths Patterns:
- Bib with Pocket Tutorial
- Muslin Baby Bib Pattern and Tutorial
- Baby Bib Tutorial – A Handmade Gift Idea by Ula from Lulu Celeste
- Free Baby Burp Cloth Pattern
- Easy Baby Burp Cloth Tutorial
- How to Make a Pacifier Clip
More Adorable Baby Projects!:
- No-Sew Baby Car Seat Canopy Tent How-To
- Easy Crochet Edge for Baby Blanket
- Free Diaper Bag Tutorial
- Toddler Bean Bags – Handmade Gift Idea by Chrissy from Muse Morning
- Fleece Eggs and Fleece Basket Pattern
- Kawaii Candy Corn Softie
