
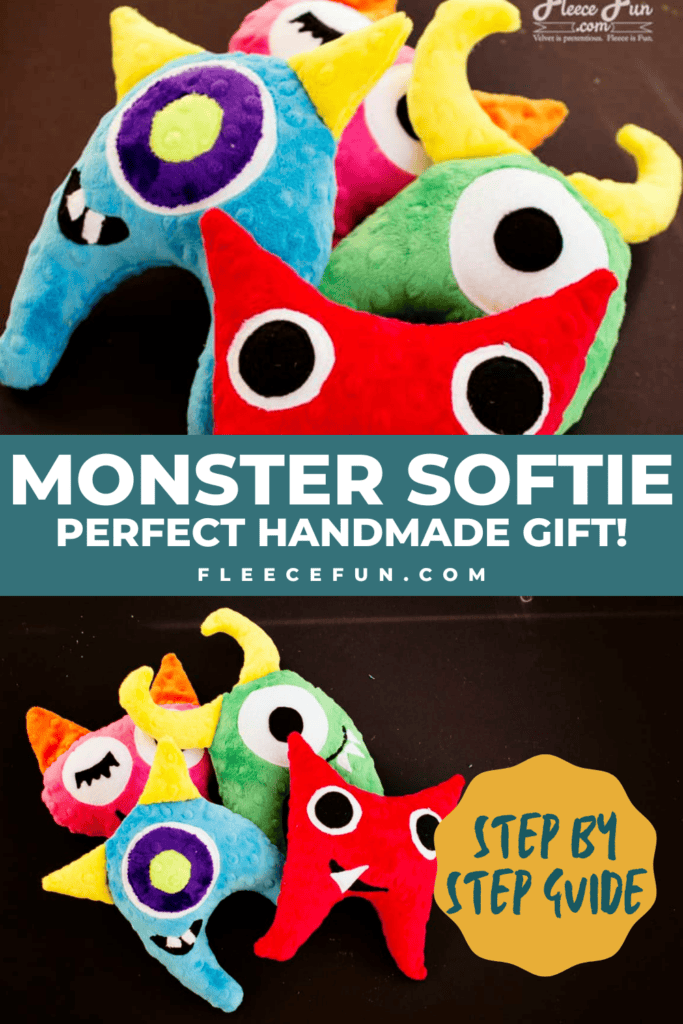
Monster Softie Pattern (Free with video tutorial)
This content contains affiliate links or sponsored elements, read our Disclosure Policy.
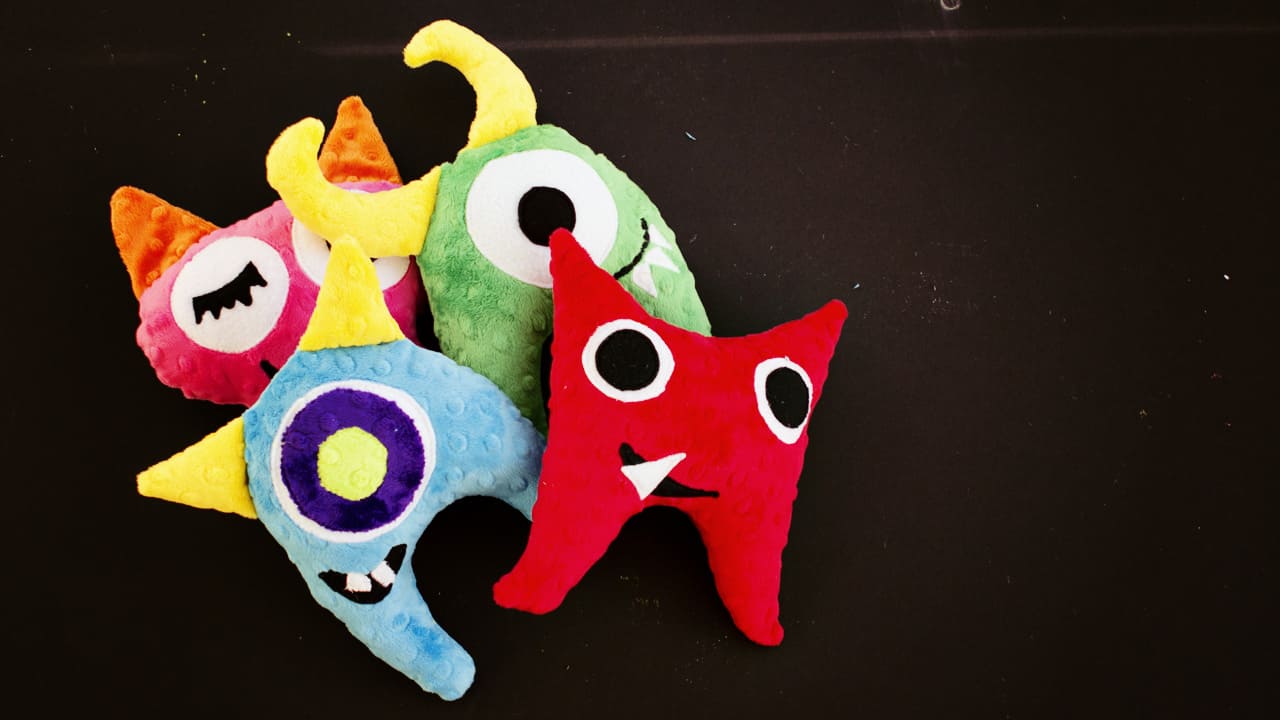
This Monster Softie Pattern free is the perfect little hand made gift for the little monster in your life. Easy to make, you get to design how you want the monster to look!
YOU WILL NEED:
- scrap white fleece
- scrap black fleece
- empty cereal bag (optional, but fun)
- Pen
- Sewing Essentials (pins, scissors, etc.)
- Circle cutter (if desired)
- Glue stick
- Batting/stuffing
- Get the free pattern here.
Monster Softie Pattern Video Tutorial below:

Monster Softie Pattern Tutorial:
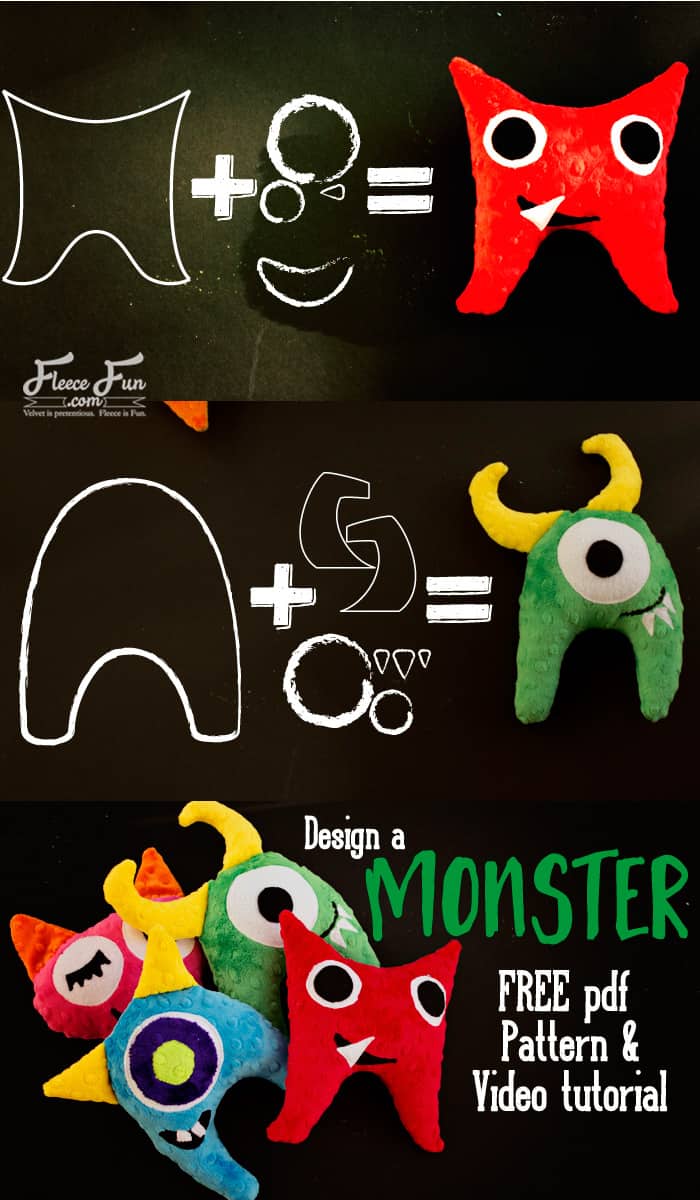
1- Assemble and cut out the Pattern
You can find instructions on how to assemble the pattern here.
Assemble the Monster Softie Pattern. Now it’s time to design your monster! Choose the body, then the horns, then the eyes, mouth and teeth. Now choose the fabric that you want to use for each of those items.
Next Cut out the pieces – cut two of the body. (check the nap of the cuddle to make sure it’s going in the same direction.
Cut out the horns (cut the amount specified on the pattern, cut out same from cereal bag if desired.)
Cut out the eyes, pupils, mouth and teeth from the free Monster Softie Pattern.
Note
You can use a circle cutter to make this part easier. Also feel free to free hand parts if you like! The pattern is only a suggestion.
2 – Applique the Face
After cutting out the monster softie pattern, assemble the eyes first. Temporarily adhere the inner eye to the outer eye using a glue stick. Sew on using a medium zig zag stitch along the edge. Repeat for the rest of the eye.
Now using the glue stick, glue the eye to the body exterior. Sew on using a zig zag stitch along.
Use this same method apply the mouth to the body and then the teeth.
3 – Begin to make the monster softie pattern Horns
With right sides together and plastic on the outside sew the horns together using a .5 inch seam allowance. Clip ends to make sharp points and turn right side out. Stuff with a little batting if desired.
4 – Baste the Horns to the body
Using a.25 inch seam allowance baste the horns in place to the body.
5 – Bring all the monster softie pieces together
Using a .25 inch seam allowance. With right sides together sew the front of the body to the back, leaving a 3 inch gap for turning.
6 – Finishing up
Clip the curves and corners. Turn right side out and stuff. Hand sew the gap shut. You just completed the tutorial for the Monster Softie Pattern.
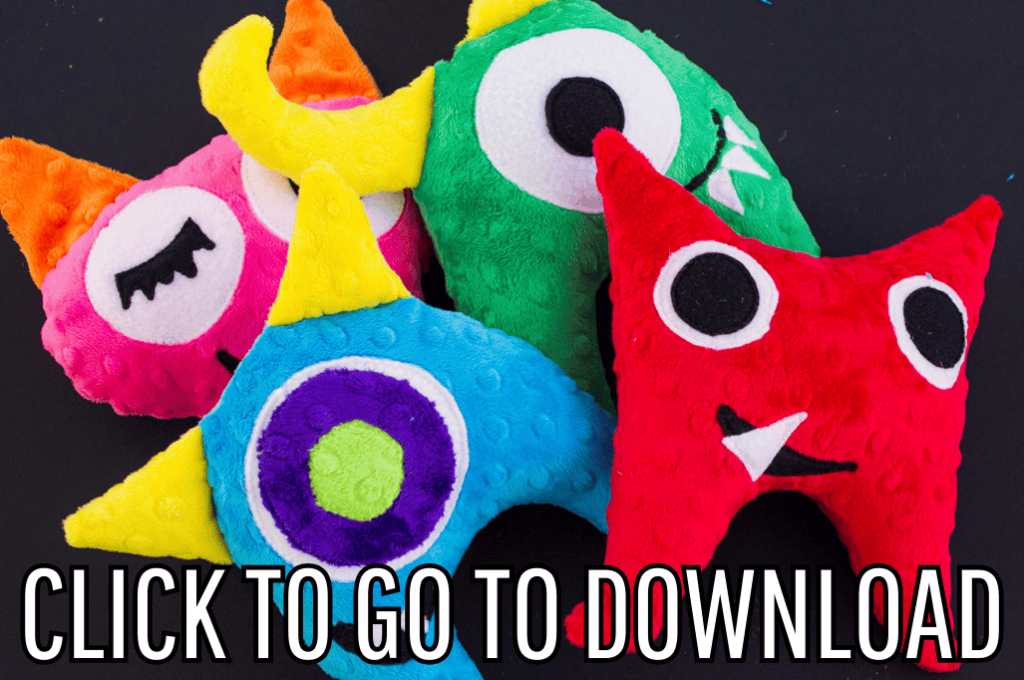
Download the free pattern, tutorial below!
You can get a free copy of Adobe reader here– it is the ONLY reader I recommend. By downloading you are agreeing to pattern terms of use. Click the picture below and fill up the form to download the Monster Softie Pattern .pdf !
Fun Baby Softies and Toy Tutorials:
- Sunshine Softie – Free Baby Toy Sewing Pattern
- Ladybug Softie
- ABC Baby Blocks Free Pattern and Tutorial
- Softie Book Baby Toy Tutorial
- How to Make a Softie Baby Block
- Fun Felt Guitar Softie Toy (Free Pattern)
- Easy Block Pillow Tutorial
- Monster Finger Puppets Tutorial
- Pumpkin Finger Puppet Tutorial
- Toddler Bean Bags – Handmade Gift Idea by Chrissy from Muse Morning
- Fleece Eggs and Fleece Basket Pattern
- Kawaii Candy Corn Softie
- Reindeer Softie
- My Little Pony Inspired Stick Ponies
- DIY Nursery Wall Hanging – Lovely Rainbow with Cloud
- You can see more of my Doll and Toy Patterns here!
More Adorable Baby Projects!:
- Bib with Pocket Tutorial
- Baby Car Seat Canopy Tent Cover How-To
- How to Make a Baby T-Shirt Tutorial (Free Pattern)
- Baby Knit Sundress Tutorial (Free Pattern)
- How to Make a Pacifier Clip
