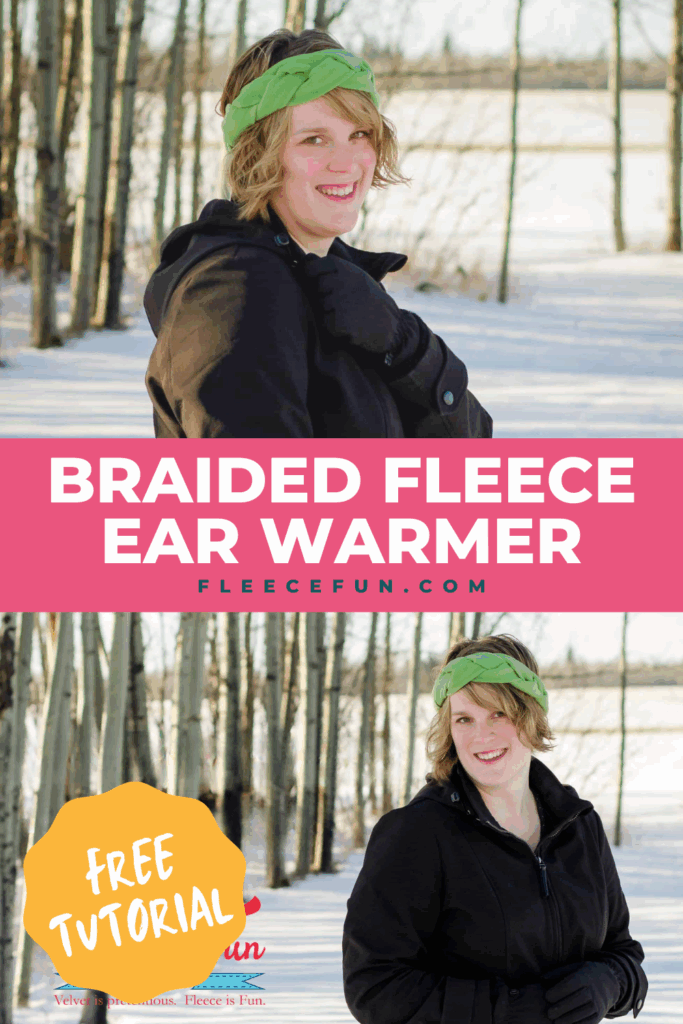
Braided Fleece Ear Warmer Free Tutorial
This content contains affiliate links or sponsored elements, read our Disclosure Policy.


This braided fleece ear warmer is simple to make and a great variation of traditional ear warmers. With this easy-to-follow tutorial, you’ll be able to make several in one sitting.
YOU WILL NEED:
- 1/4 yard of fleece. I used microfleece, but regular fleece, french terry, cuddle fleece, thermal knit, or any other knit fabric will work.
- ribbon – any type, this will be used to turn the tubes and will not be in the finished ear warmer
- Sewing Essentials (scissors, pins, etc.)
Braided Fleece Ear Warmer step-by-step tutorial:
step 1 – Cut the Fleece Strips
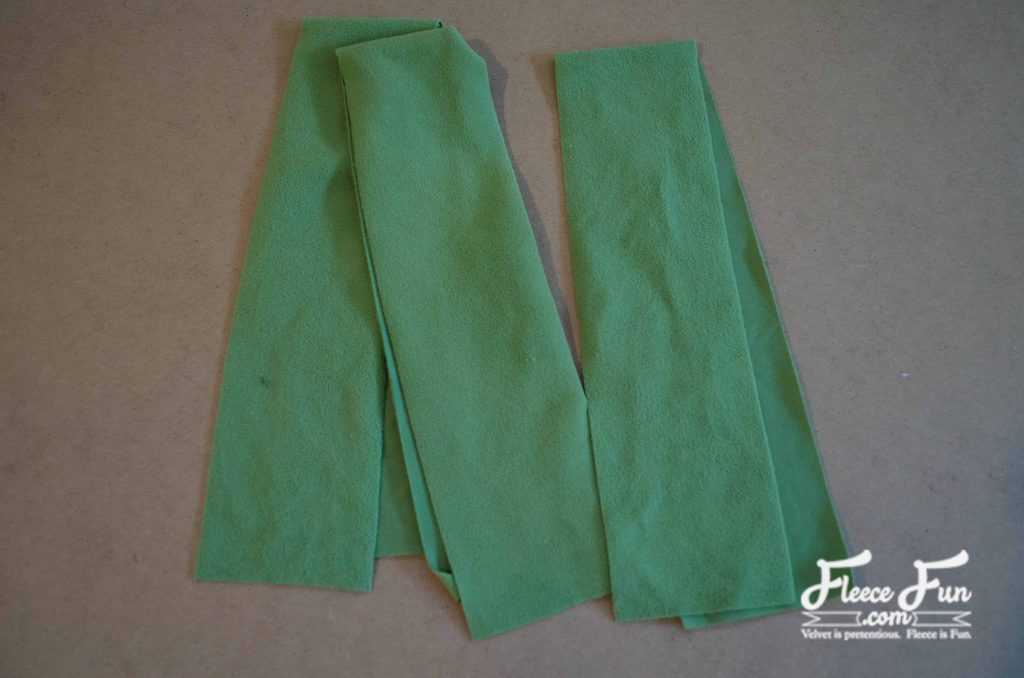
Cut 3 long strips of fleece, 27″ by 3.5″, so that the greatest amount of stretch goes with the long edge.
Step 2 – Sew the Fleece Tubes
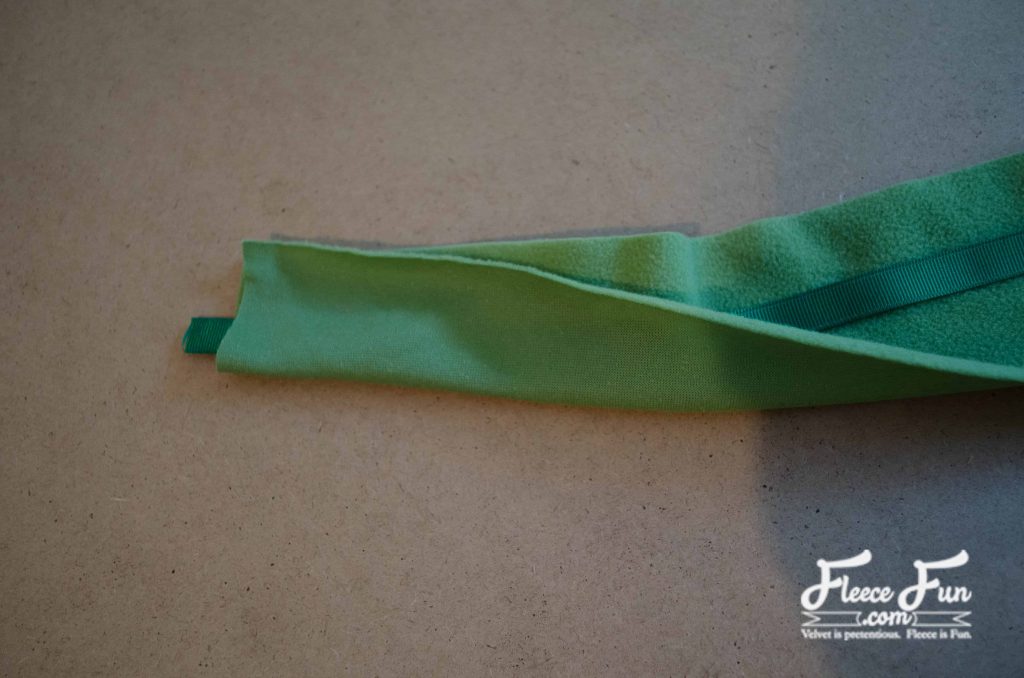
Fold each strip in half, right sides together, so that the long edges meet. To make it easier to turn, place a ribbon, about the same length as the strip, inside the folded fleece.
Sew across the top of the folded tube, catching the end of the ribbon. Pivot at the corner, and sew down along the long edge. Be very careful not to sew over the ribbon at any point. We are halfway through the Braided Fleece Ear Warmer tutorial!
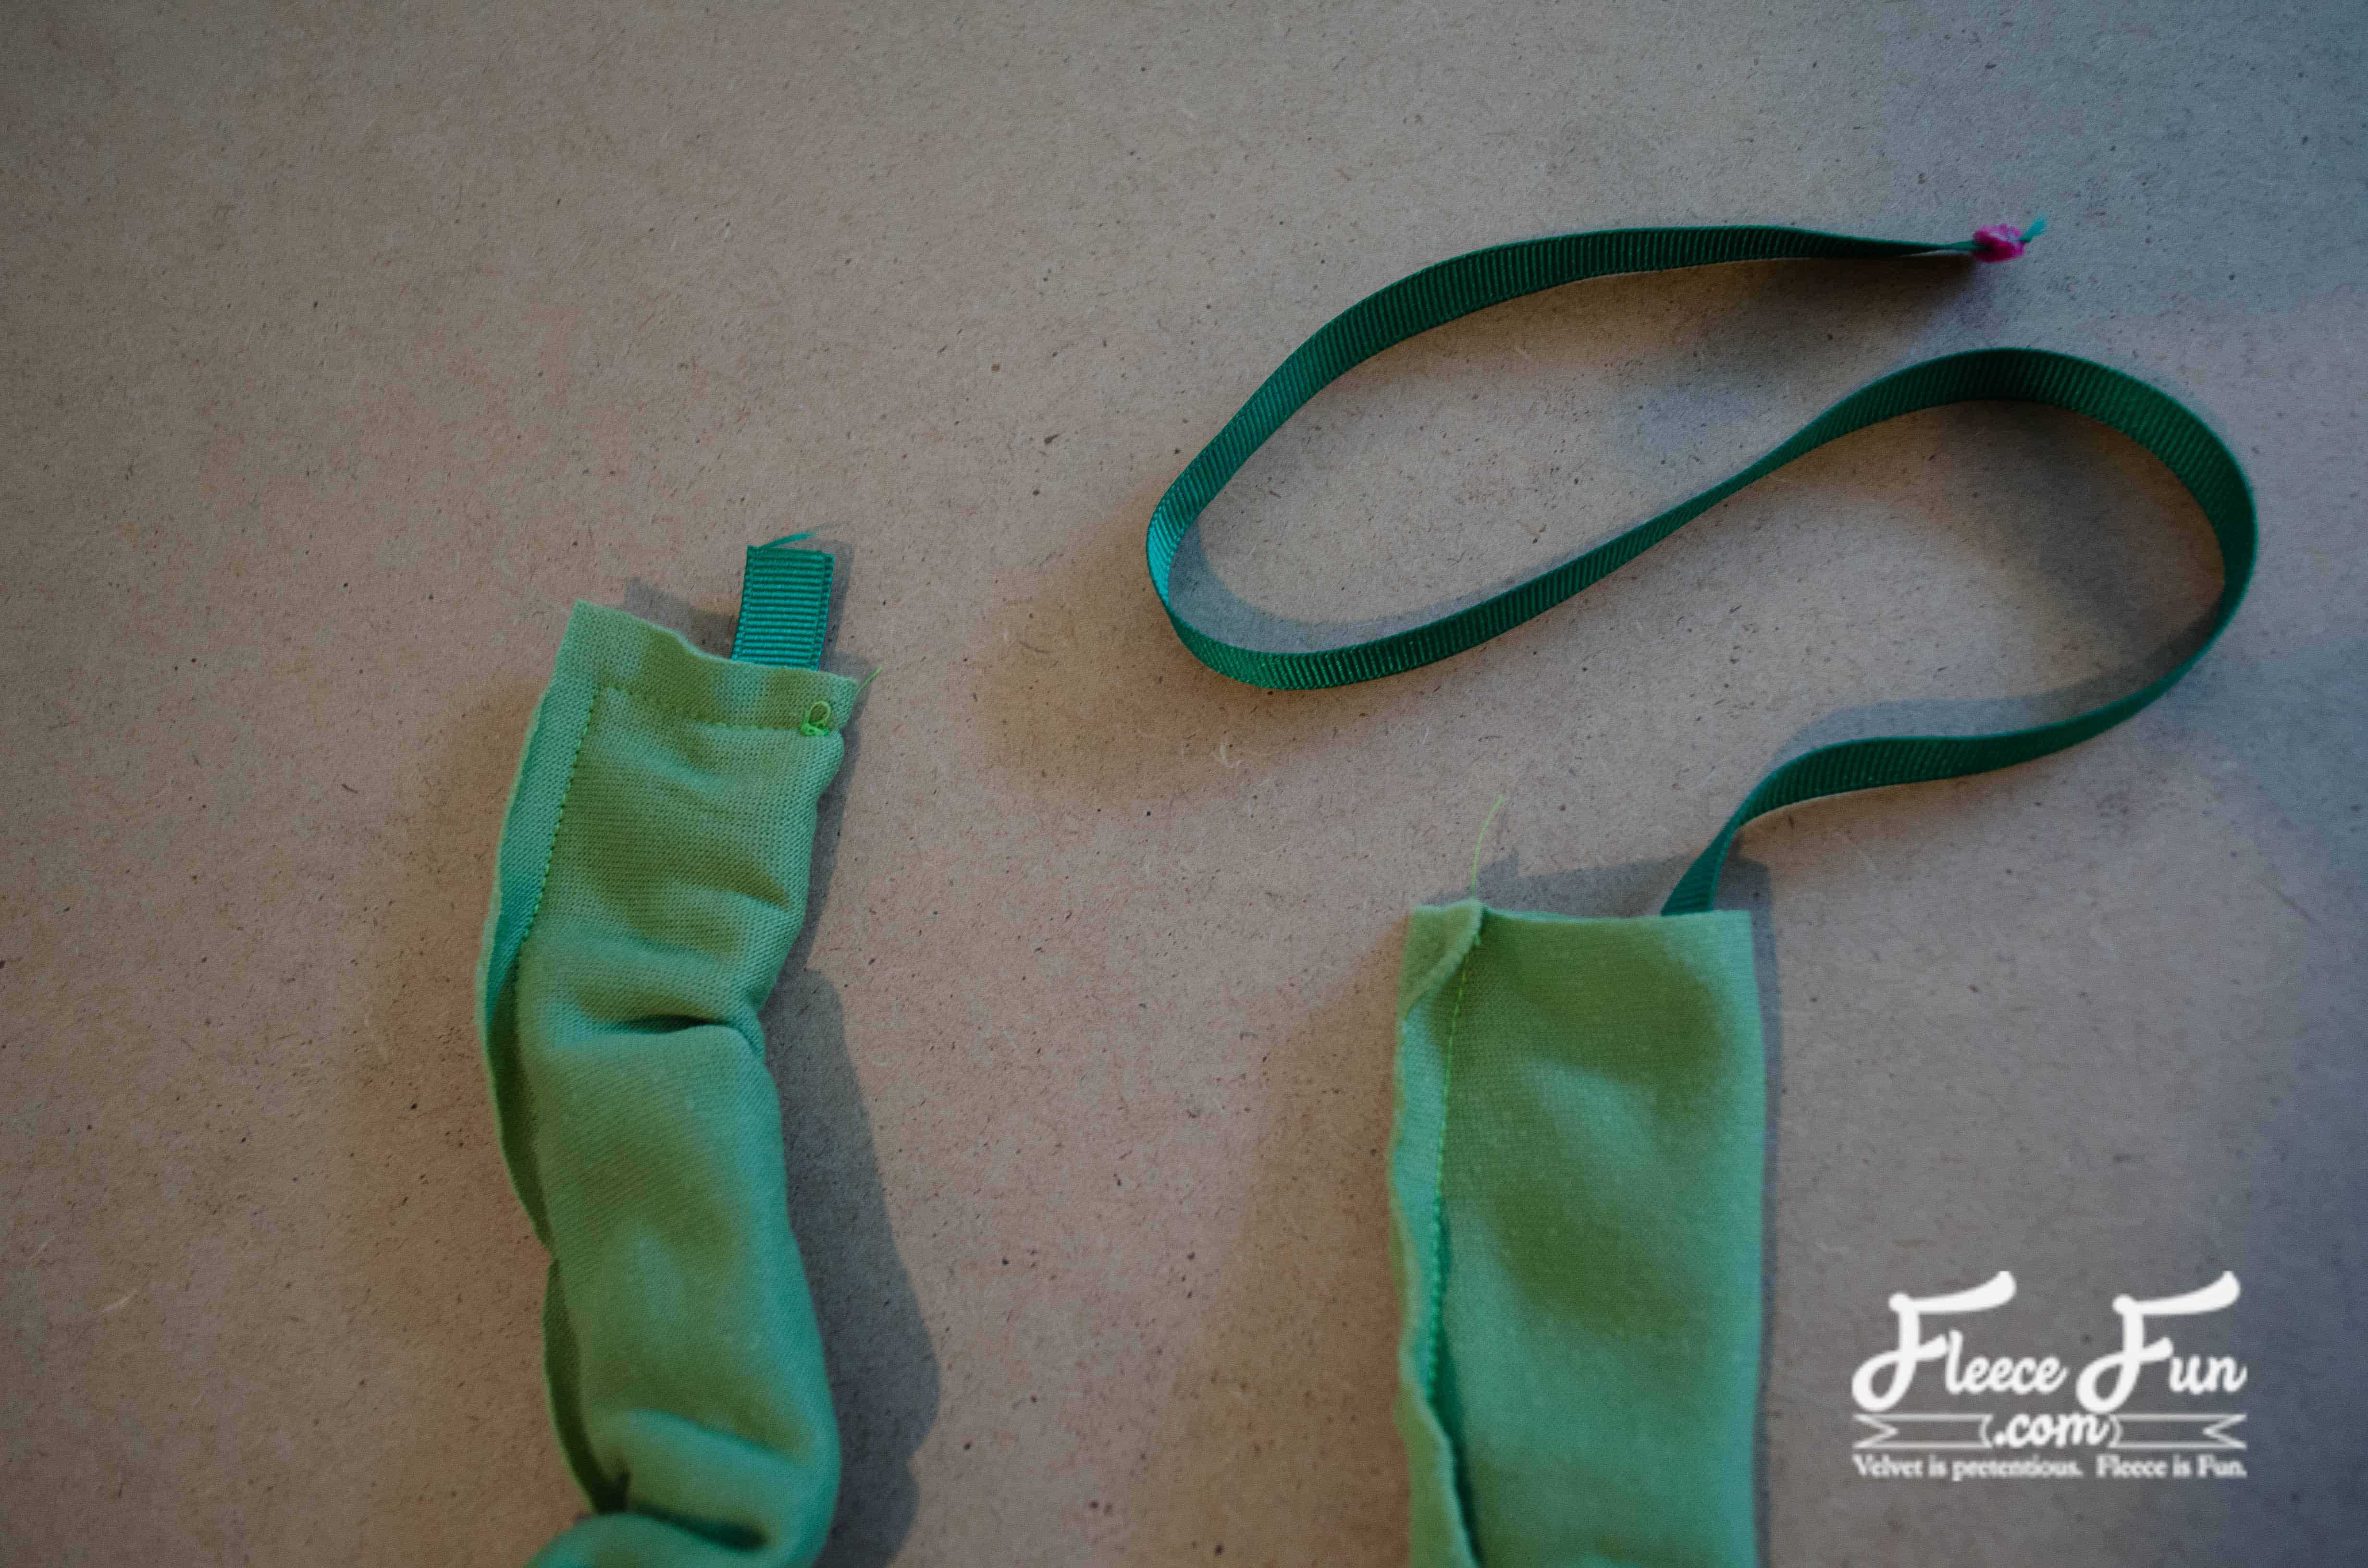
Step 3 – Loop and Shape the Tubes
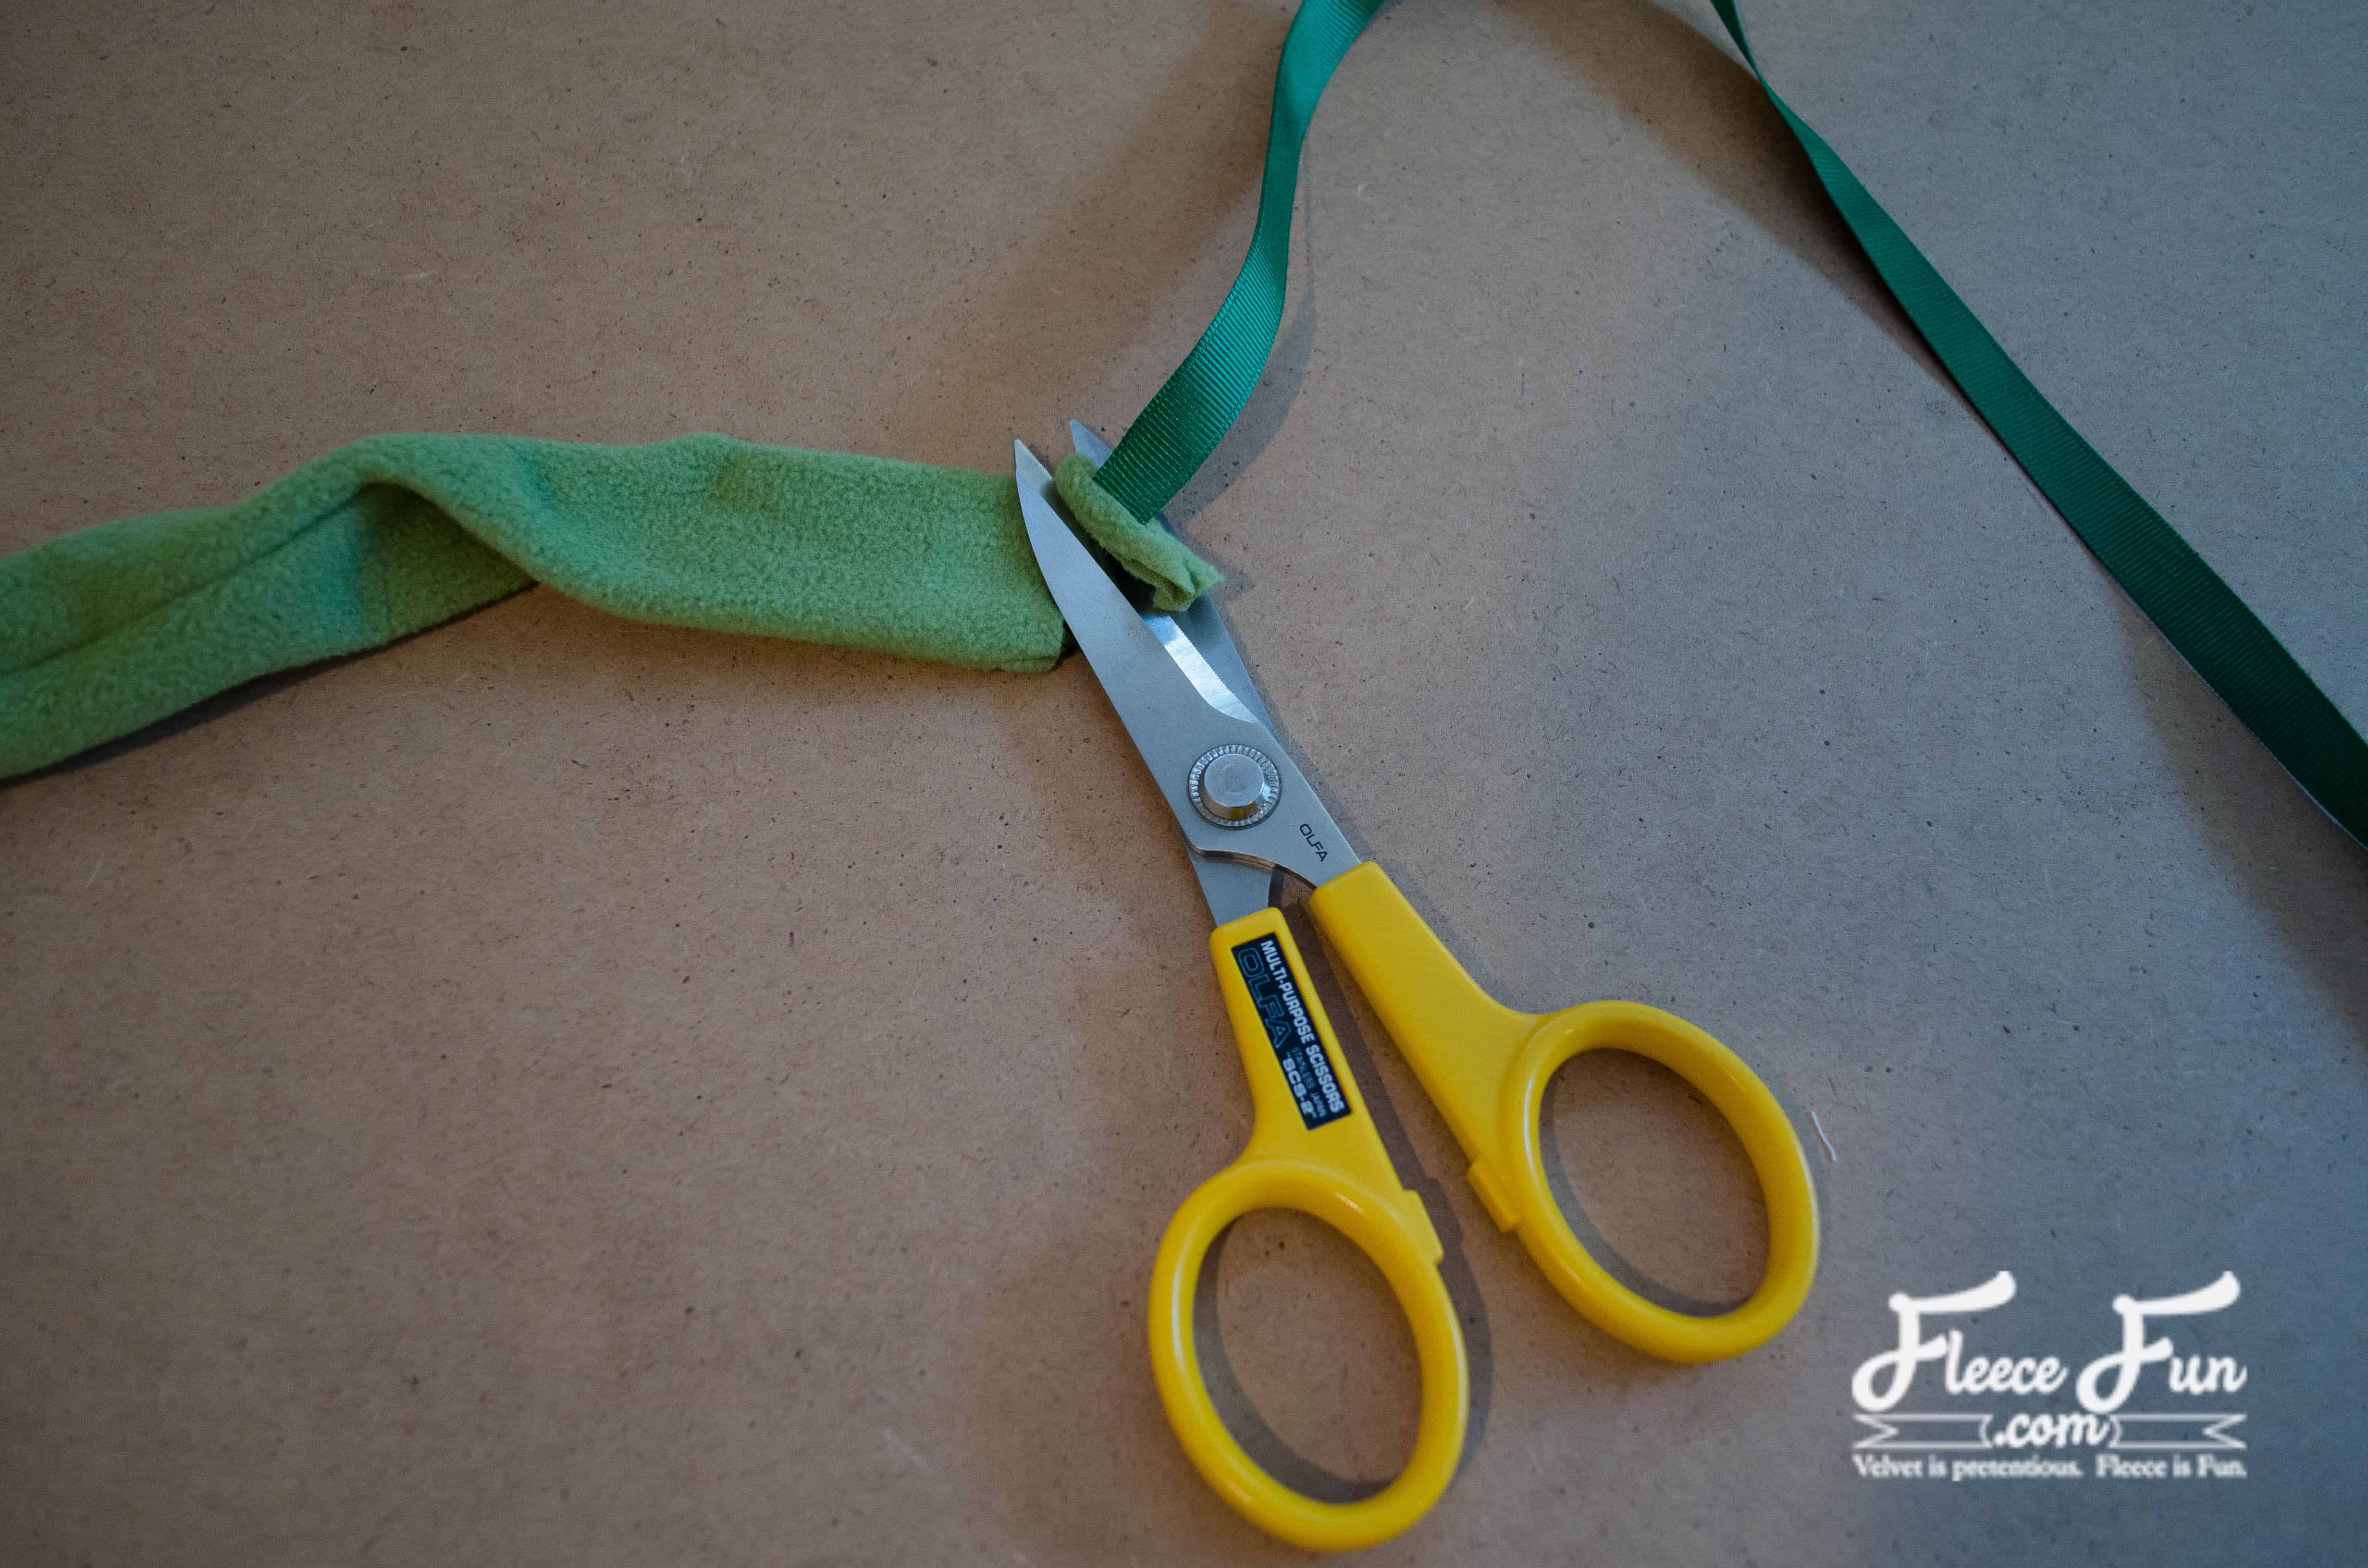
Take hold of the loose end of the ribbon and pull — this will turn your tube right side out. Cut off about 1/2″ at the top to remove the ribbon. You can reuse the ribbon for each of the tubes, and then use it for another project.
Rotate the tube so that the seam is centered on the back. Repeat with the other two tubes. I gently steamed each tube to flatten it (be careful — fleece will melt with a hot iron!)
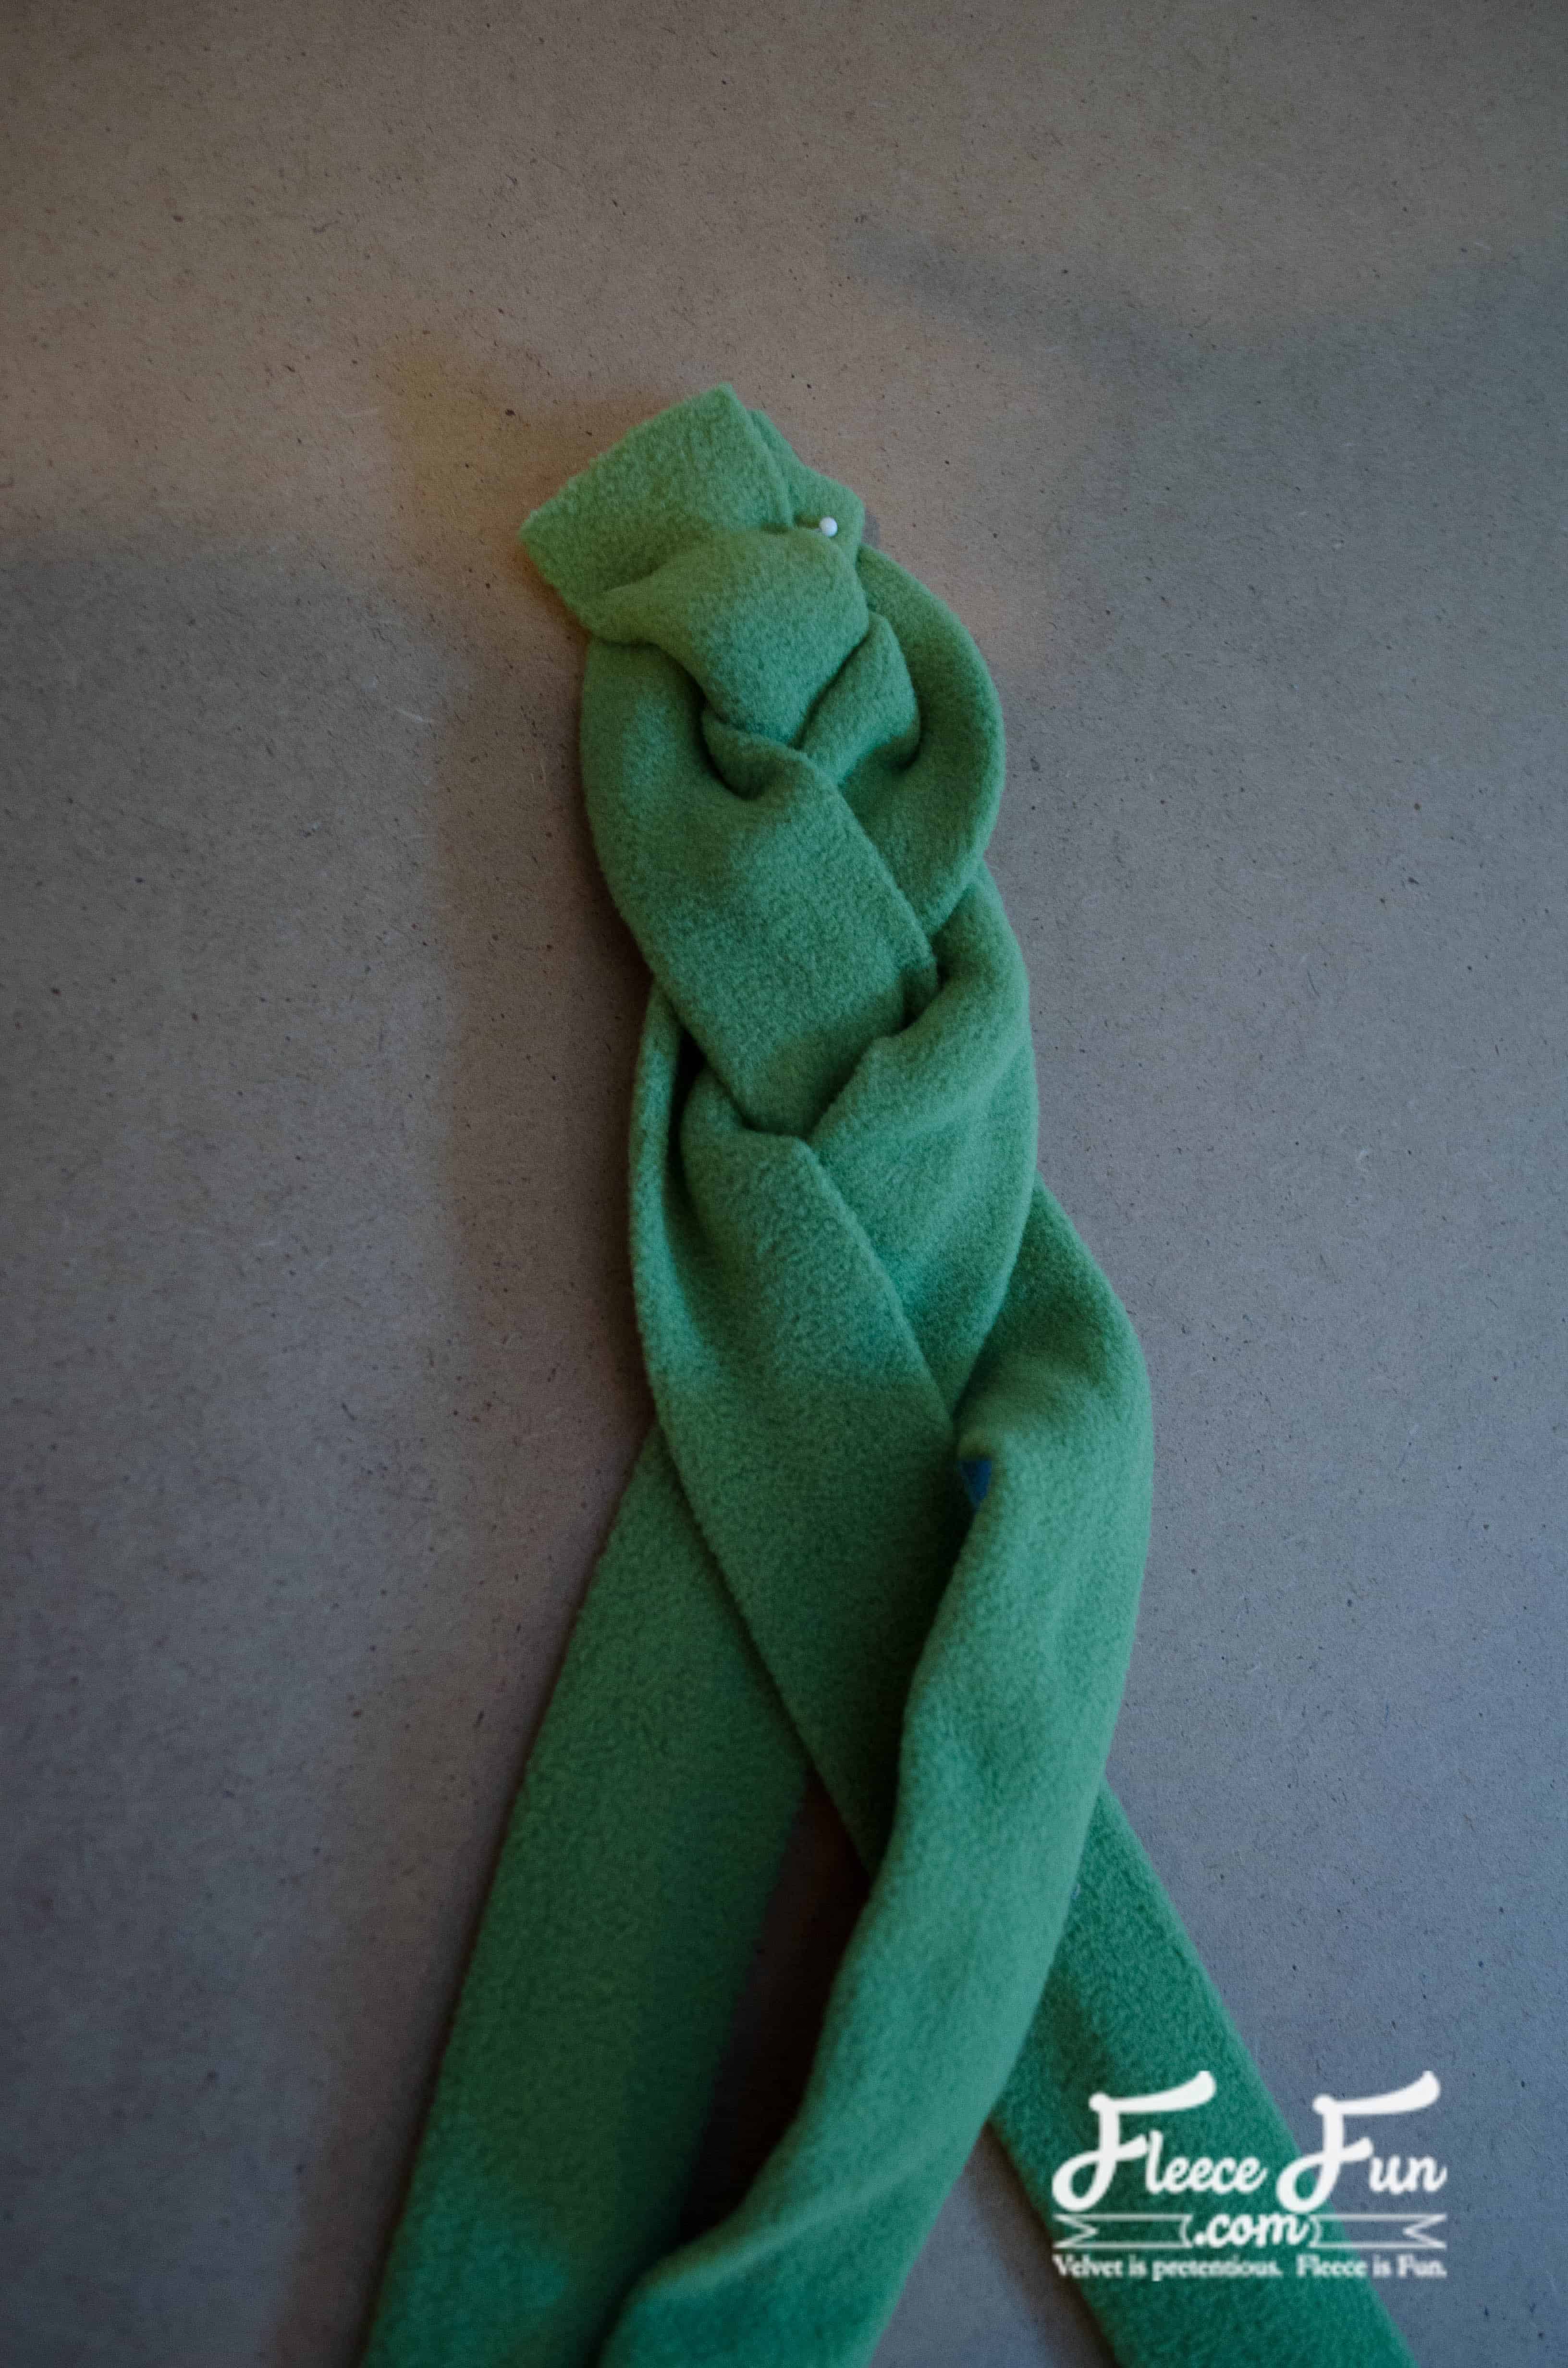
Line the tubes up on top of each other with the seams facing down. Pin the ends together. Braid the tubes together, being careful not to pull too tight or twist the tubes. When you get to the end, pin the three tubes together.
Try on the ear warmer. The length given will fit a medium-to-large women’s head. If it is too big, simply trim off a bit at the end and re-pin.
Step 4 – Braid and Finish the Ear Warmer
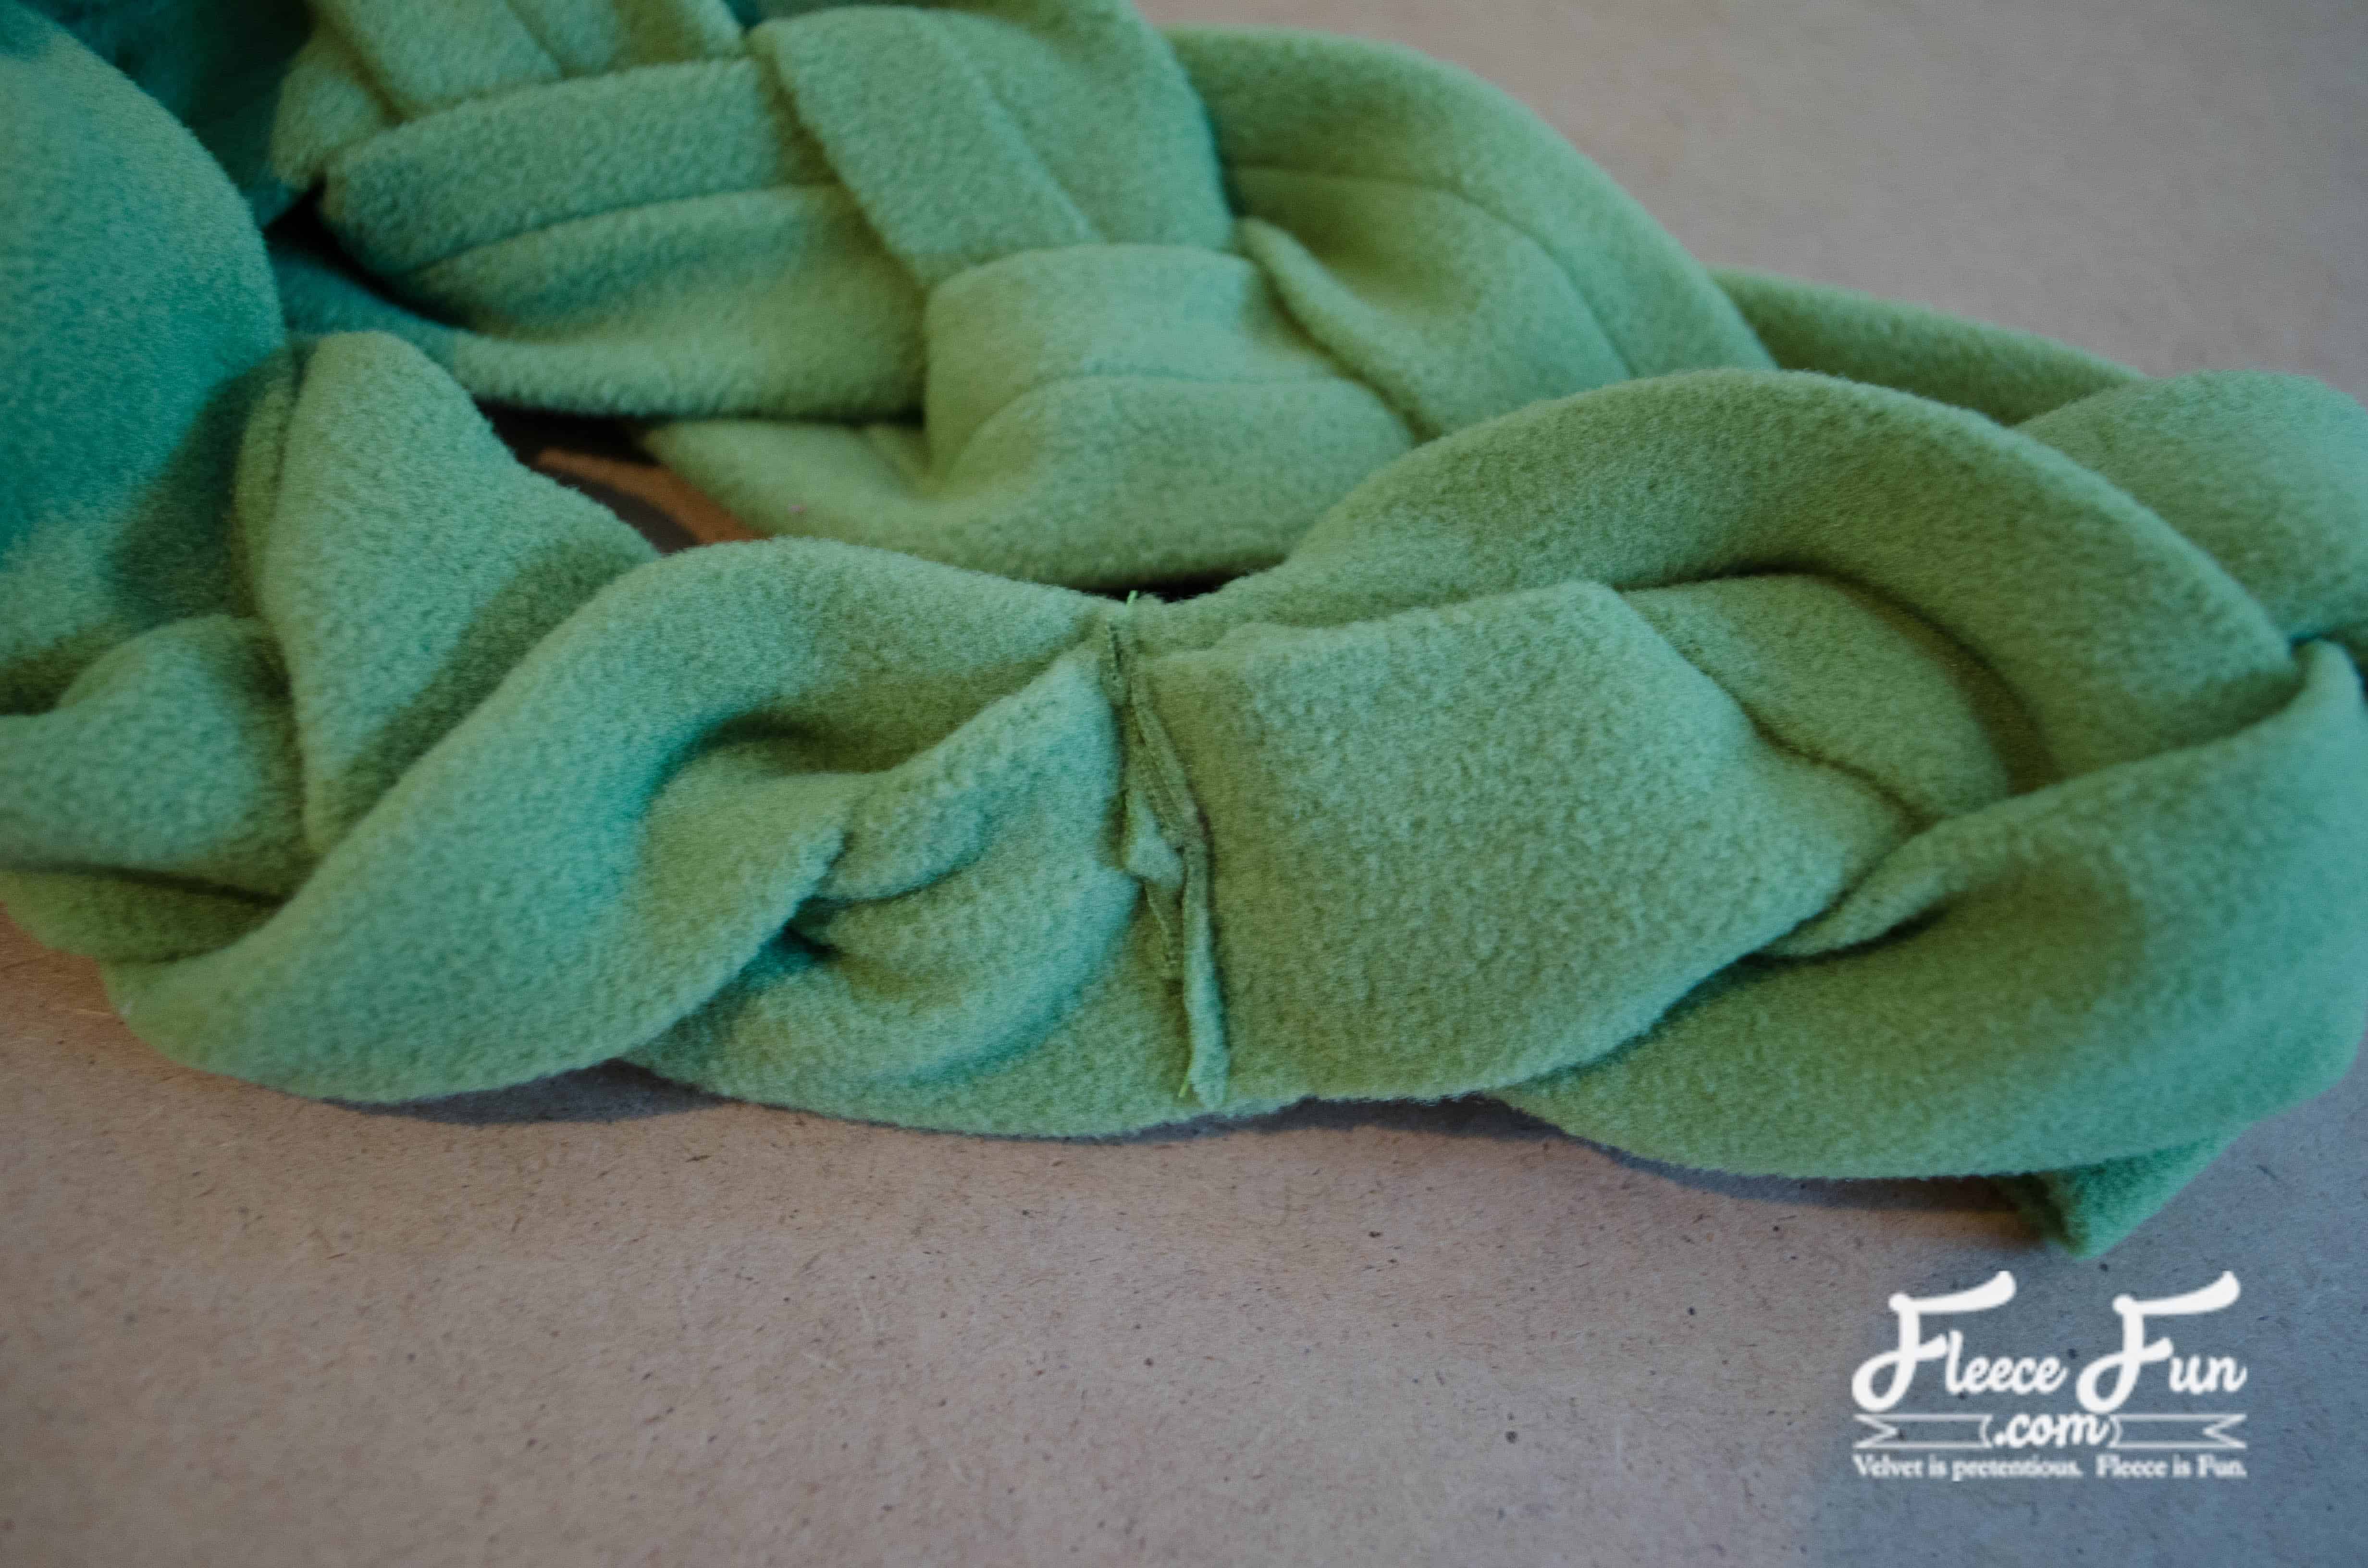
Overlap the two ends and stitch in place. Trim off the excess seam allowance. You can leave the ends as is, or cover it up with a fleece flower (free pattern here).
love this Braided Fleece Ear Warmer? see more Projects for Women!
- Convert Prom Dress to Skirt Tutorial
- Easy Women’s Skirt Sewing Tutorial
- Half Circle Skirt Pattern for Women
- Ladies’ Kimono Robe Tutorial
- All of the Skirt Patterns on Fleece Fun
Other Projects You’ll Love!
- Women’s Fleece Vest Pattern
- Circle Skirt Pattern for Girls
- Fall Cape for Girls
- Shorts Pattern for Kids (Sizes 5–14)
- How to Make Kids’ Shorts (Free Pattern)
- All of Fleece Fun’s Adult Patterns
More Ear Warmer DIYs: