
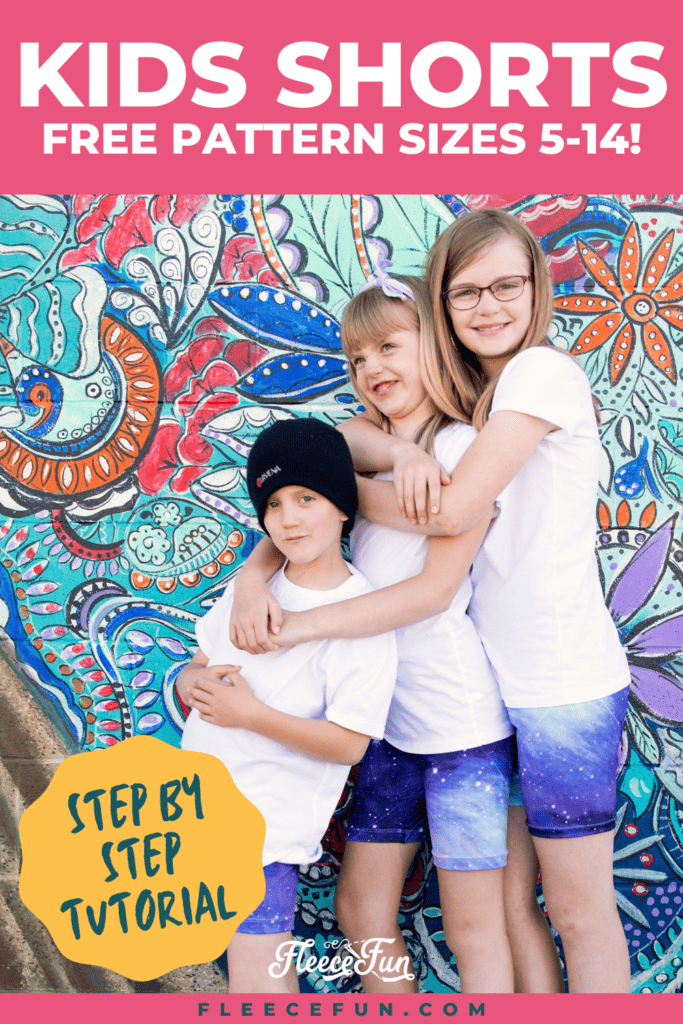
Shorts Pattern (FREE – Child sizes 5 to 14)
This content contains affiliate links or sponsored elements, read our Disclosure Policy.


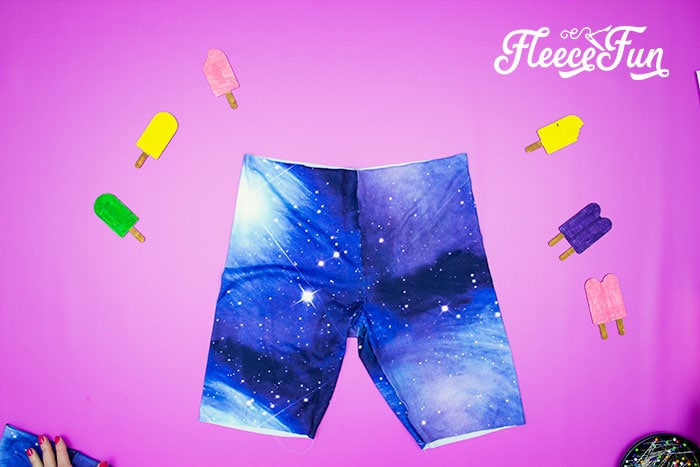
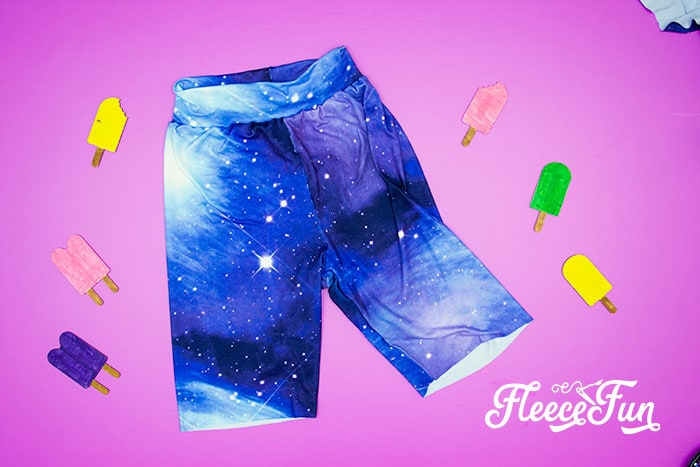
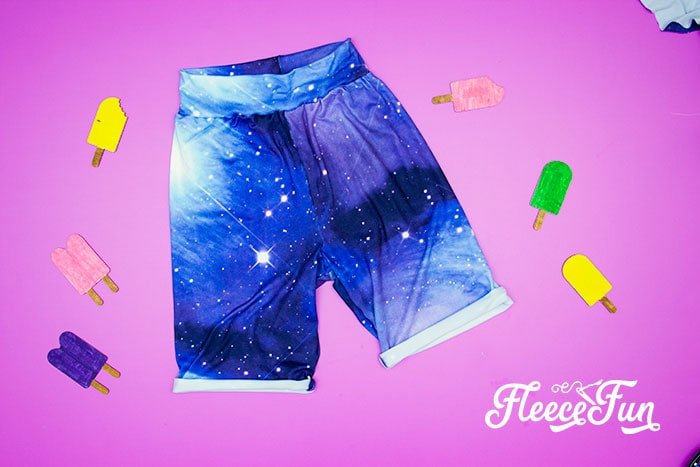
This free shorts pattern is perfect for children during the hot summer months. With a few materials you can make these shorts for your little boy or girl. Designed so no elastic is needed, these shorts are comfortable and fast the sew! Make several pairs in one sitting.
This shorts pattern is designed to sit at the waist (so a little higher than some pants) and a longer length to make them perfect for play! No tugging the shorts up or down. Perfect for the kid that wants to climb, jump and run through summer.
I took my kiddos out and about and they had fun with our little photo shoot.
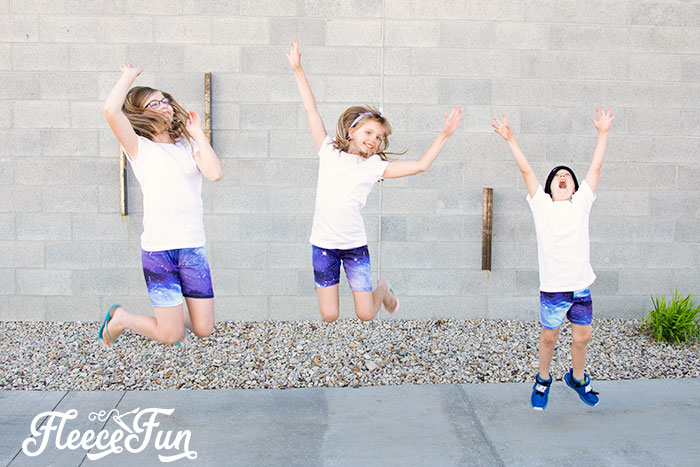
They loved how comfortable they are and they all wanted some made from the galaxy fabric!

They are perfect for playing in!

This basic shorts pattern comes in a range of sizes (child 5 to 14) I made a few shorts for my 12 year old then I cut down the pattern for my 10 year old and then cut the pattern down for my 7 year old. So if you plan it out you can make several sizes easily from one pattern.
Hate The Ads?
This pattern with video and printable pattern is available in the Makers Studio. The Maker’s Studio is an ad free experience, no video ads, no forms, no zip files, just creating.

YOU WILL NEED:
This pattern will not work with a fabric just because it’s a knit. It needs to have the spandex for the waistband.
- 1 Yard Brushed Knit (Polyester/ spandex combination with a 30 – 50% stretch) It’s really important that the fabric have spandex in it and a good stretch.
- Jersey Ballpoint needle (this really is the secret to sewing with knits, and it’s a must – you can’t cheat on this one)
- Double Jersey ball point needle (optional)
- Thread
- Sewing Essentials
- Get the free pattern here.
Quick Tip
Wash and dry the fabric before using to as soon as you’re finished sewing you can give it to your kiddo!
Shorts Pattern Video Instructions:

Shorts Pattern Written Instructions:
Step 1 – Cut out the short Pattern
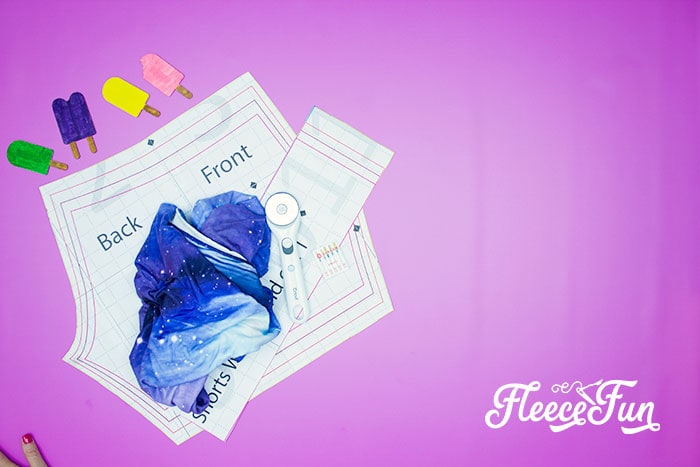
Assemble and cut out the pattern in the desired size. You can find pattern assembly instructions here.

On doubles fabric. Cut out 2 of the main shorts body. Make sure that the stretch goes across the body of the shorts.
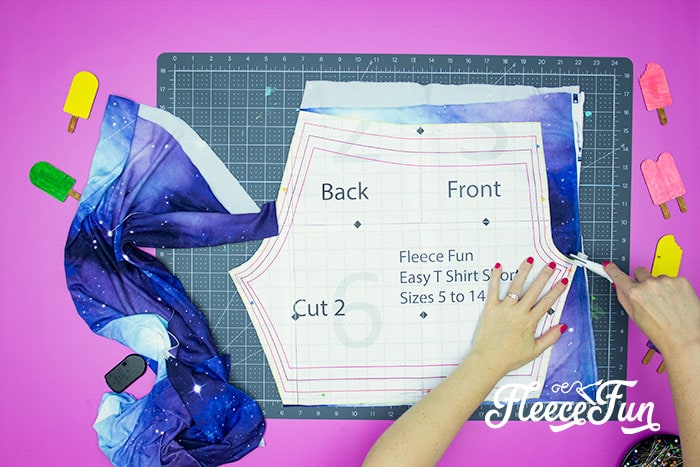
Cut out 1 of the waistband.
Quick Tip
Use a rotary blade to cut out the shorts will make a smoother line. And you can fold the pattern in half and cut it out on the fold to make it easier or fit the fabric better.
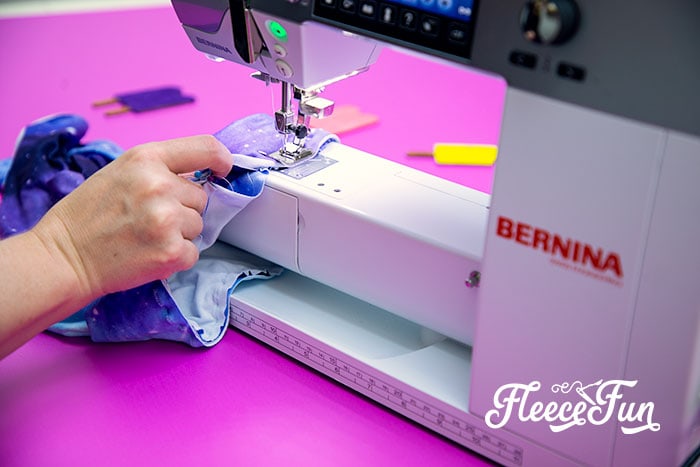
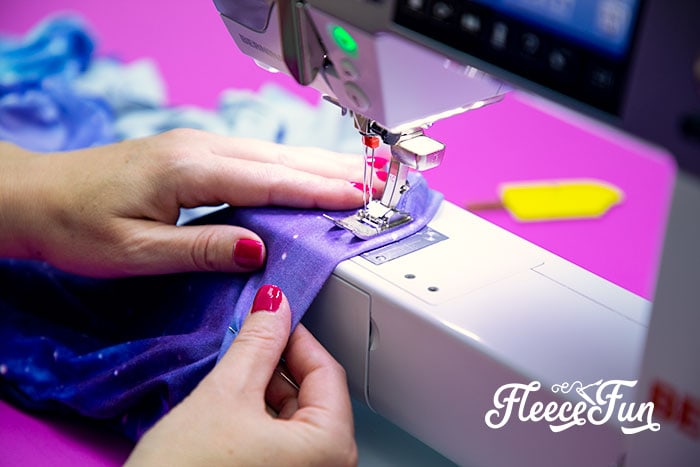
Step 2 – Begin to sew the DIY shorts

With right sides of the fabric together sew the front and back seams to the shorts using a stretch stitch and a 3/8 seam allowance. For this type of fabric I like to use the “Lightning bolt” stitch. But if your machine doesn’t have that a zig zag stitch will work great!
Quick Tip
To keep track of which side it the back place a pin or make a mark on the back of the shorts.
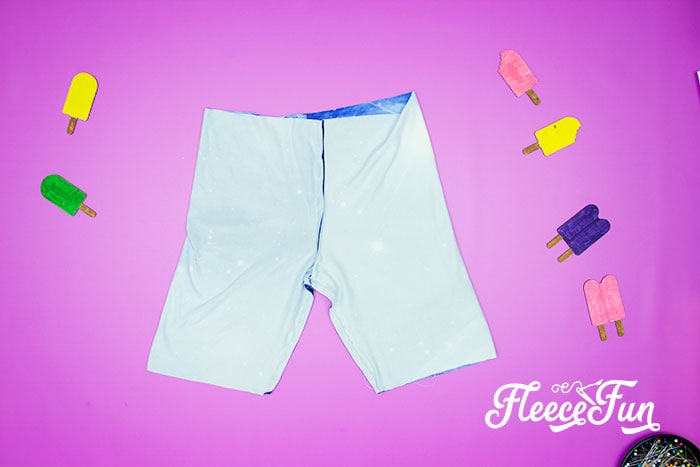
Step 3 – Sew the inside seam to the easy shorts pattern

Flip the shorts so the seams we just sewed (which are the front and back seam) are touching and pin the inside seam. Sew the inside leg seam together using a 3/8 seam allowance and a stretch stitch.
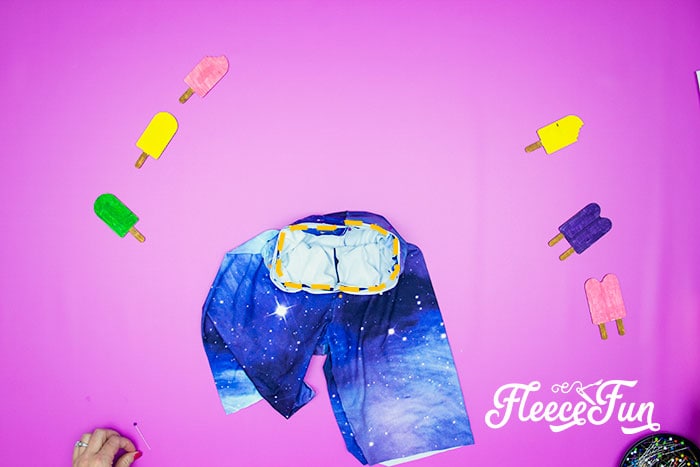
Step 4 – Make the waistband to the child shorts
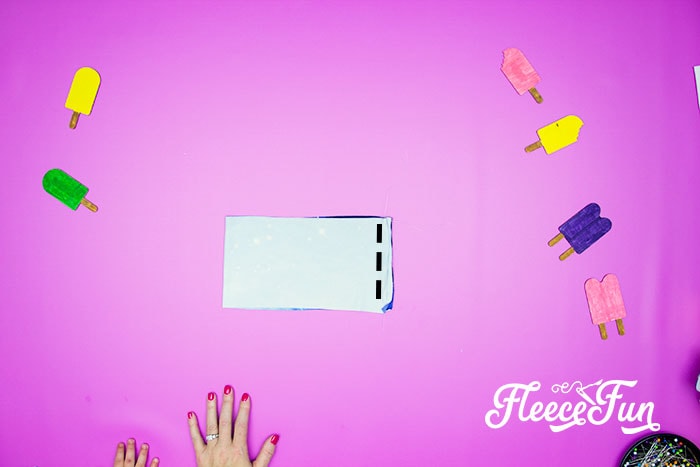
Fold the waistband in half (right sides touching) and sew the ends together (forming a loop) using a 3/8 seam allowance and a stretch stitch.

Fold the waistband over so WRONG sides are touching and it’s in half lengthwise.
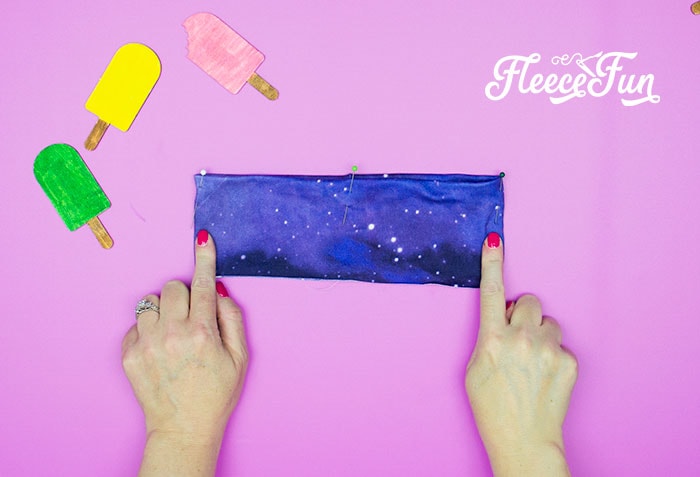
Now it’s time to mark the band so it is evenly distributed into quarters. Place pins at each side and one across from the back seam.
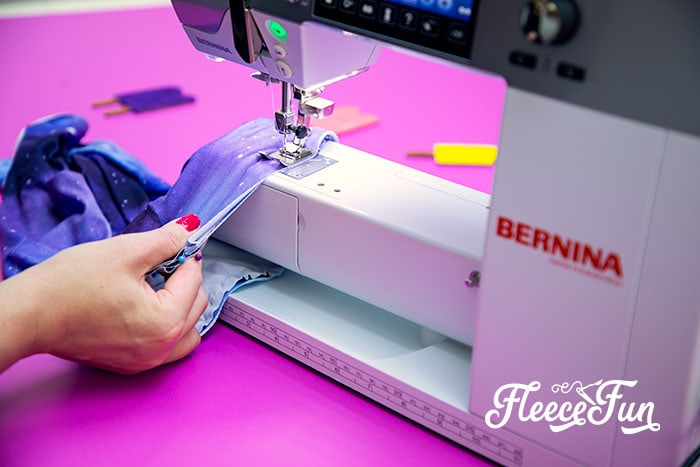
Step 5 – Add the waistband to the kid shorts pattern
Turn the shorts right side out. Mark the side with a pin – the front and back seams will be the other markers.
Take the waistband (with the raw edges facing up and put it around the shorts.) Pin the quarters together – Making sure the back seam of the waistband lines up with the back seam of the shorts.
The shorts top will be larger than the waistband (this is on purpose). Pin the quarter points together. Sew around the waist using a stretch stitch and a 3/8 seam.
You’ll notice how the fabric under (the shorts top) is longer. To make the two pieces the same length gently pull the top and stretch so they are the same length.
Sew all the way around the waist gently pulling the top fabric (the waistband) to be the same length as the shorts underneath.
Flip the band up. Now if you want you can be finished – the bottom of the shorts doesn’t have to be finished. After you wash it the bottom will roll up a little and that’s it or..
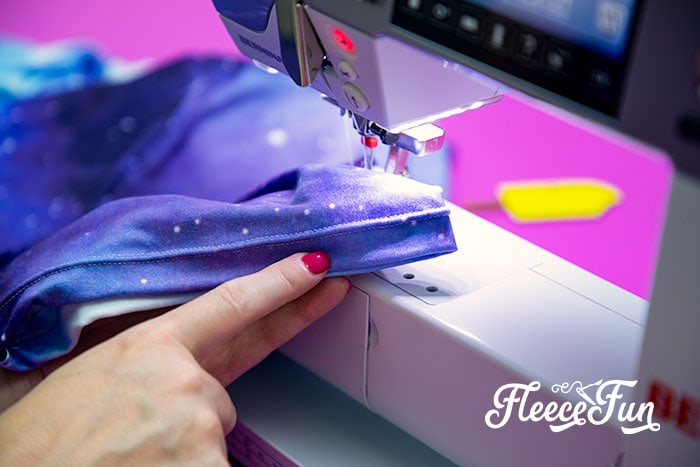
Step 6 – Finish the short bottoms
There are a couple of different ways you can do this.
Turn the bottoms up to make a “cuff” and tack the cuffs down with a couple of stitches.
Or if you want to get extra fancy.
Turn the shorts under an inch and top stitch in place using a double needle.
The truth is that it really isn’t much more work if you’re used to sewing with a double needle and it does look really nice.

That’s it! You just made comfortable shorts for your kid. The great part about this pattern is that once you’re used to sewing the band, they sew up very quickly. Wahoo ready for summer!
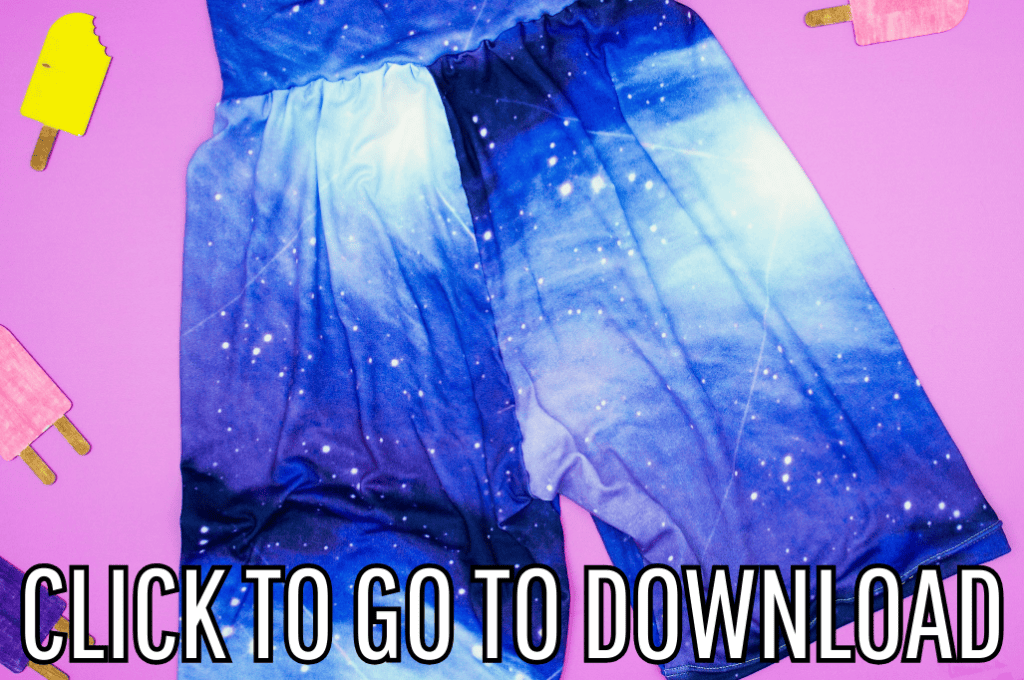
GET THE FREE shorts SEWING PATTERN BELOW:
Adobe reader is the ONLY reader I recommend. By downloading you are agreeing to pattern terms of use. Fill out the form below to get the pattern!
Fun Sewing Projects for Summer!:
- How to Make Shorts (Kids Pattern Sizes 5-14)
- Free Shorts Pattern for Toddlers
- Baby Knit Sundress Tutorial
- Girl’s Skirt Pattern
- How to Make a Towel Wrap Tutorial
- How to make a Teepee for Parties!
More Projects YOU MIGHT LIKE!
- Convert Prom Dress to Skirt Tutorial
- Easy Women’s Skirt Sewing Tutorial
- Half Circle Skirt Pattern for Women
- Ladies’ Kimono Robe Tutorial
- Braided Fleece Ear Warmer
- All of the Skirt Patterns on Fleece Fun

I have been following you for years. I find your patterns difficult to find. I scroll and scroll through unnecessary ads, etc. I wanted to try your knit shorts pattern but never did find it.
Hi Rebecca,
It’s where it always is – at the end of the post with the picture that says click to download. :)Thanks for following!
Looks like a great pattern, thank you, but I think the instructions would not be very clear to a beginner. In Steps 2 and 3, you refer to sewing up the ‘sides ‘ of the shorts and then flipping the shorts so the ‘side’ seams are touching. These are not in fact the side seams but the front and back centre seams, aren’t they? Perhpas you can change the instructions? Otherwise, a great new pattern to have.
I love these shorts. Is there an adult size pattern?
Hi Suzanne!
I don’t yet 🙁 . It took me a while just to get the kids sizes out. To be honest I don’t think I’ll get to an adult size this summer. Making patterns is hard.
Love the pattern and fabric. Couple questions, do you need a stretch kind of thread? I figured you would’ve mentioned it but just checking. Lastly, how do you know if you have a stretch stitch? I have a bernina quilting edition?
Hi Rachel!
I didn’t use stretch thread and it worked great. I am positive that your machine has this stitch. On my Bernina it’s stitch #11 and in the manual it’s called “Super Stretch Stitch”. Hope that helps! If you cant seem to find it I have used the “Overlock” stitch on this pattern and it worked fine – I just preferred the super stretch stitch. If all else fails you can always zig zag!
Super Cute and easy too! I made a pair out of Mystique performance fabric. My Granddaughter is going to love them!
Thank you dearly for your hard work and letting us have the patterns. I also appreciate the videos. I have had a hard time finding where to download the pattern. I just read in the comments that I am not alone. I will scroll to the end and try again.
Greetings from a Carolina girl living in Switzerland.
CIndy
You need to fill out the email form and the link will be sent to your inbox.
Your patterns are what I need as I am a beginner sewer. thank ou.