
Fleece Headband Ear Warmer Pattern (Free, sew and no sew)
This content contains affiliate links or sponsored elements, read our Disclosure Policy.

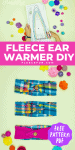


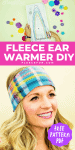

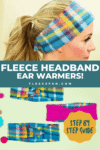
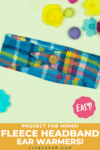

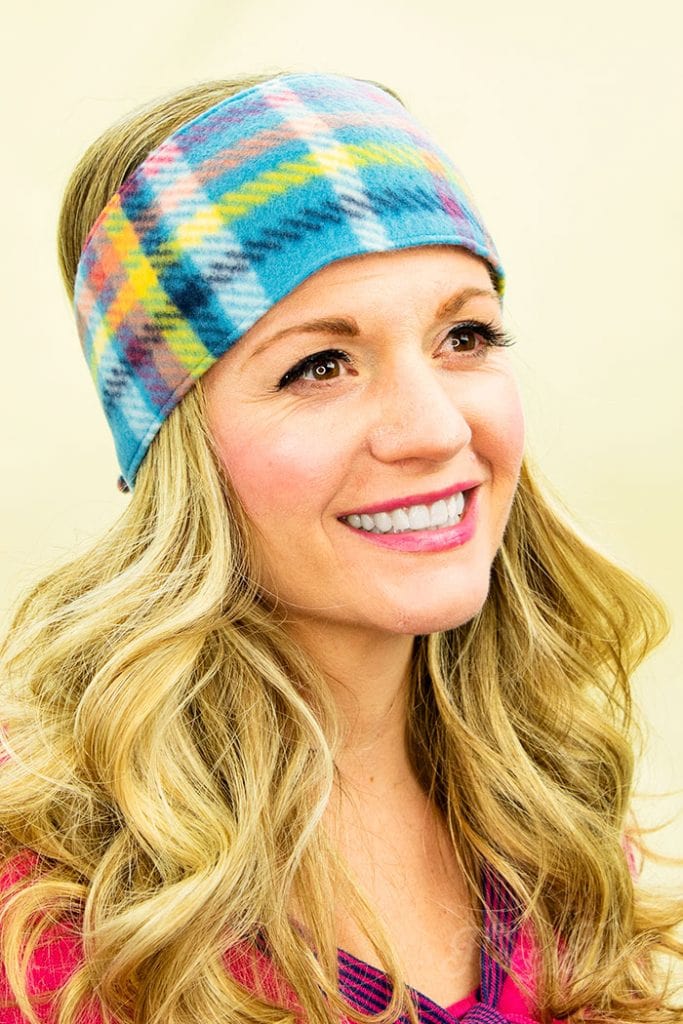
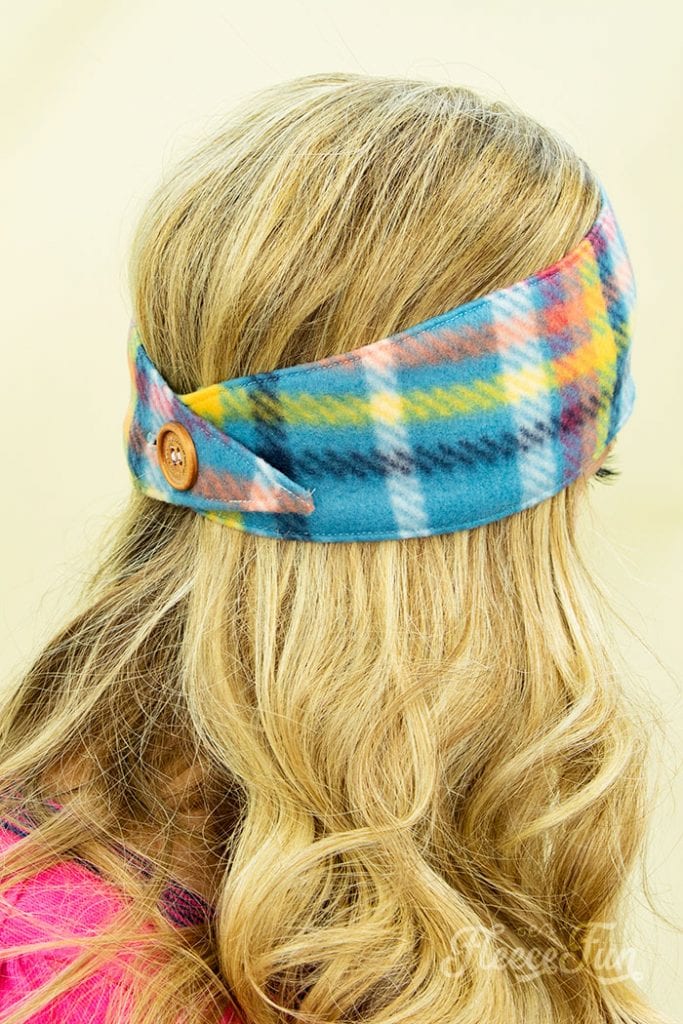
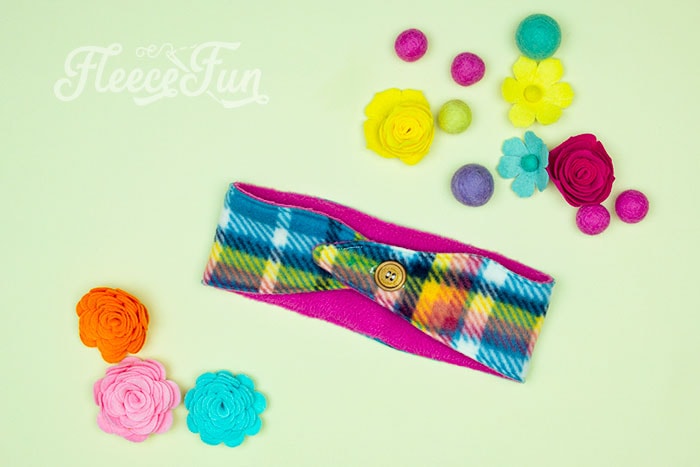
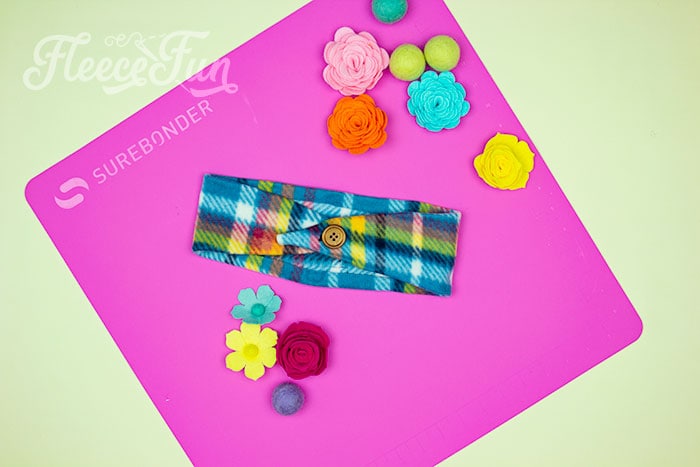
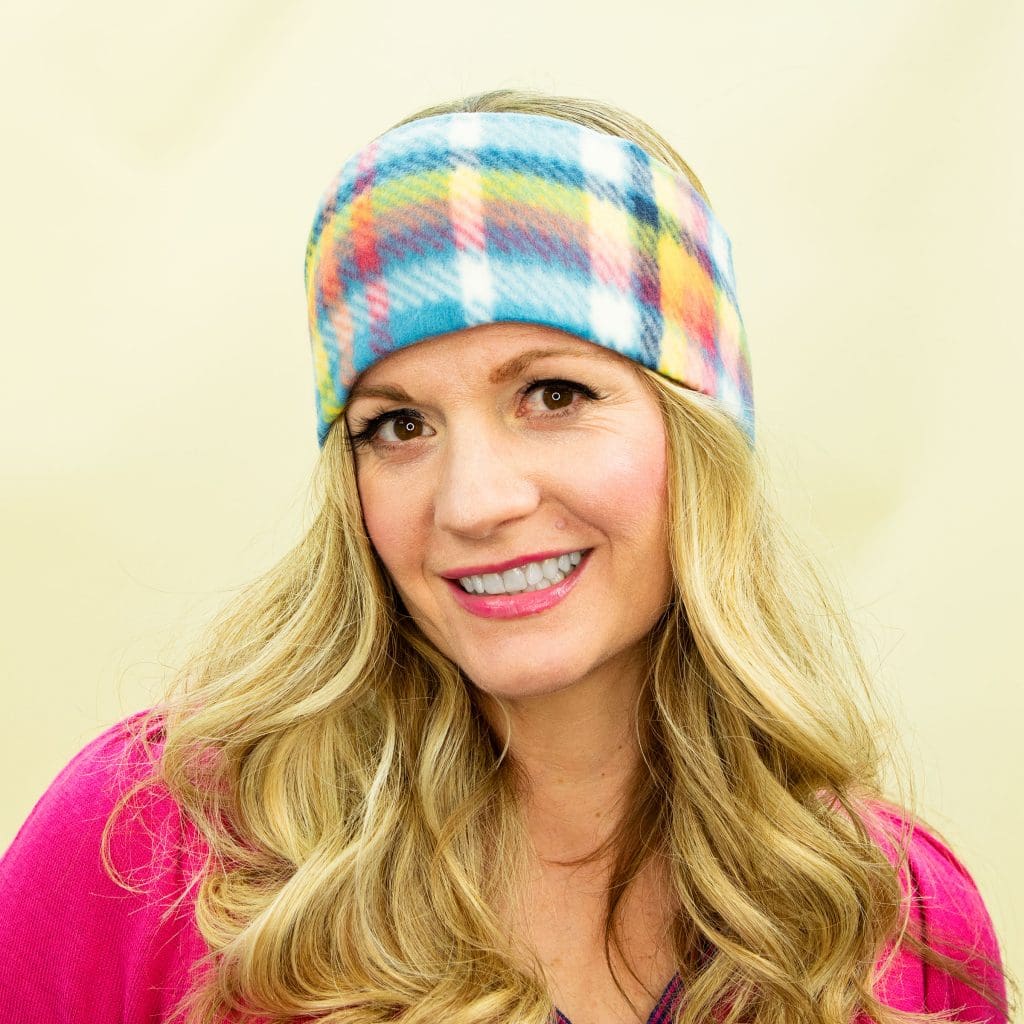
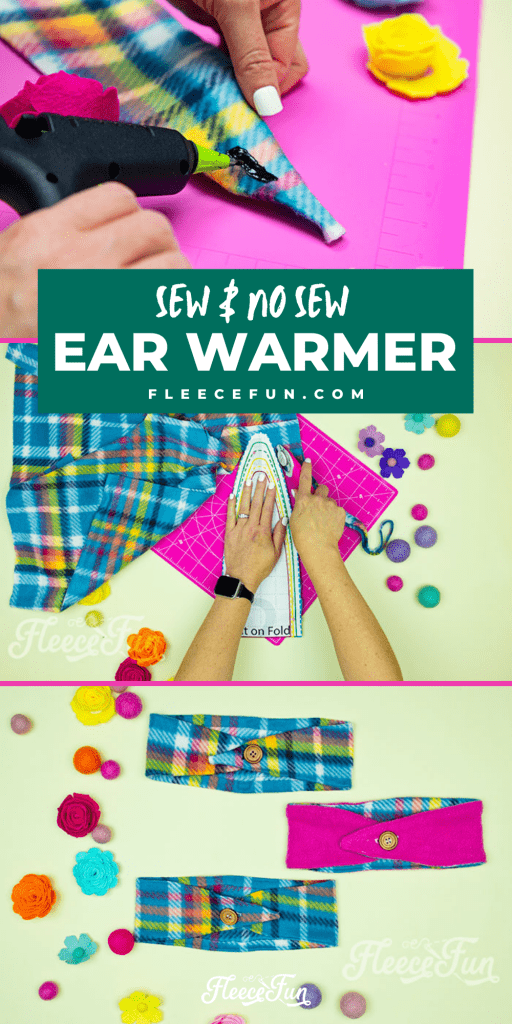
This Fleece Headband Ear Warmer Pattern (Free) is an easy sewing project. This DIY headband can also be a no sew fleece project. You can make a beautiful headband that is stylish and warm for everyone you know since this pattern comes in baby to adult.

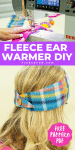
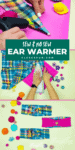
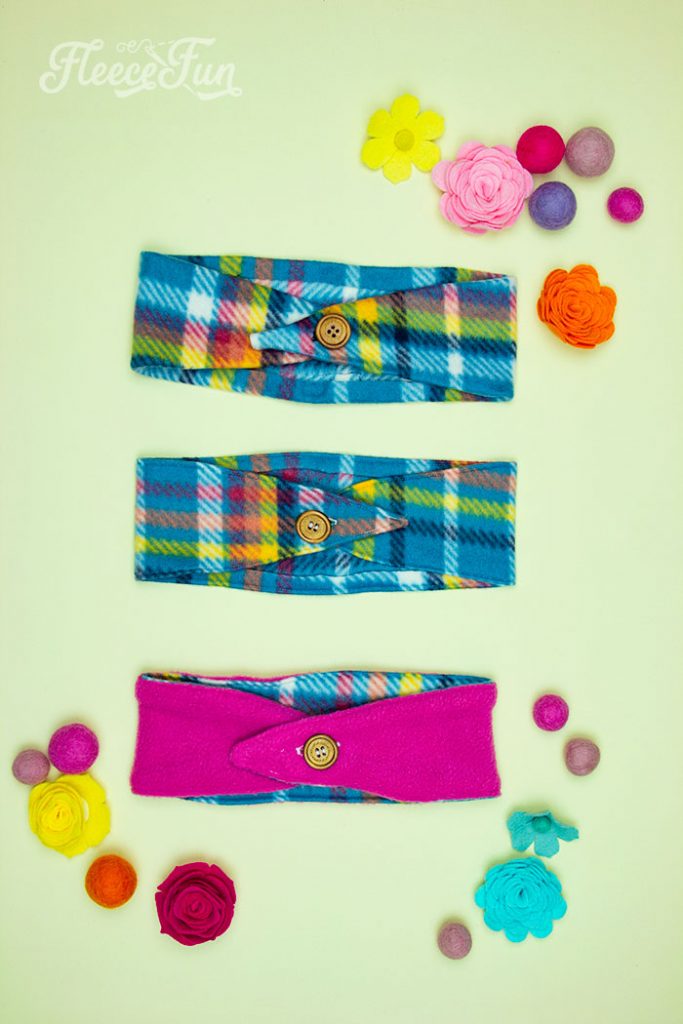
The Fleece Headband Pattern Ear Warmer makes a great scrap buster. With this one free fleece sewing pattern I’ll show 3 different ways you can use it. You can make a regular one, a reversible one, and a no sew version from this free sewing pattern.
Hate The Ads?
This pattern with video and printable instructions is available to members of the Maker’s Studio. The Maker’s Studio is an ad free experience, no video ads, no forms, no zip files, just creating.

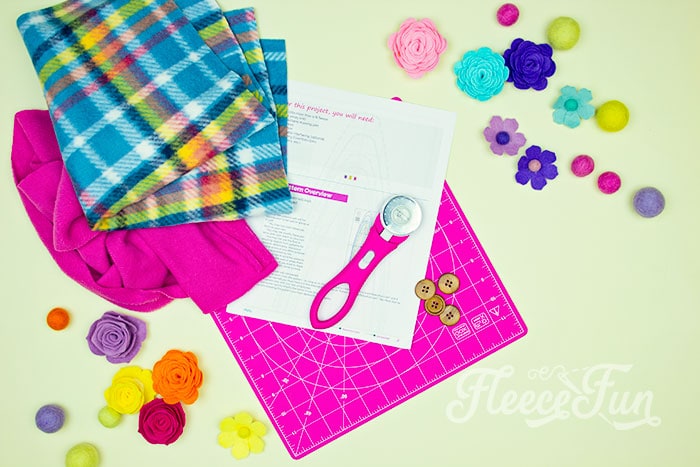
YOU WILL NEED:
- a little more than 1/8 fleece yard (or jersey knit)
- Washable marking pen
- Thread
- button
- Fusible interfacing
- Seam Gauge
- Sewing Essentials (pins, scissors, etc.)
For the no sew version:
- a little more than 1/8 fleece
- Fabric glue stick (like these)
- Glue Gun
- button
- For flower instructions go here.
- Get the free pattern here.
Quick Tip
Look through the remnant bin for some fabric deals!
DIY Fleece Headband Ear Warmer Video Tutorial Here

Fleece Headband Pattern Ear Warmer tutorial
Step 1 – Cut out the Free Fleece Headband Ear Warmer Sewing Pattern
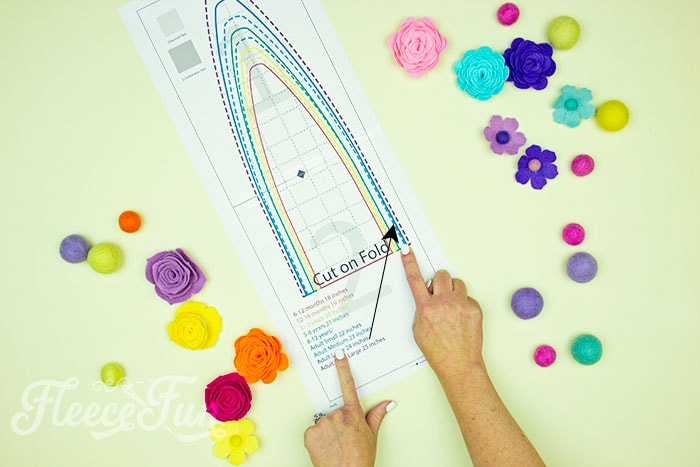
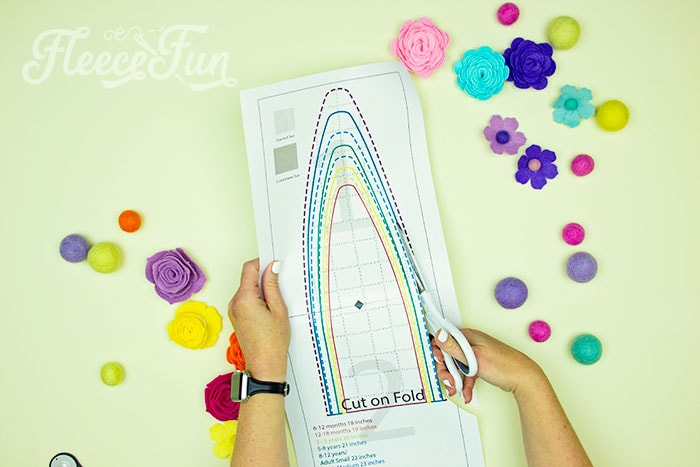
Print up the pattern (you can get assembly instructions here). Make sure that the pattern is printing to scale. Find the size that you want to make the corresponding line.
Cut down the pattern piece to the size you’re making.
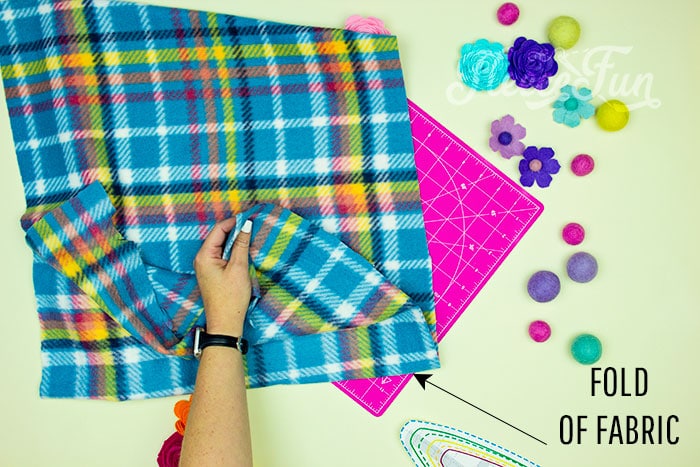
Fold over fabric – so you can place the pattern on the fold.
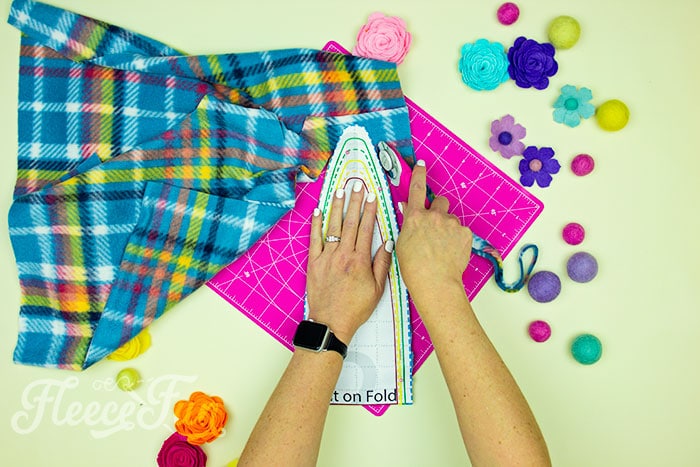
Cut out 1 of the pattern for the no sew and single layer versions.
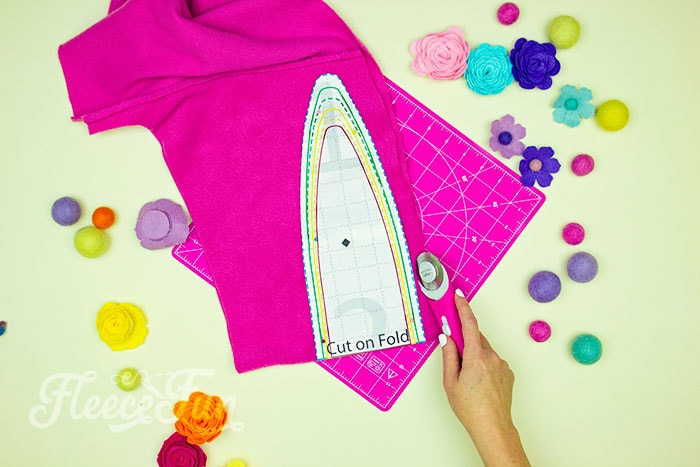
For the double thick or reversible fleece ear warmer cut out one more of the pattern from a different color of fleece. Cut out a rectangle of fusible interfacing (two if making the reversible version) that is a little larger than your button.
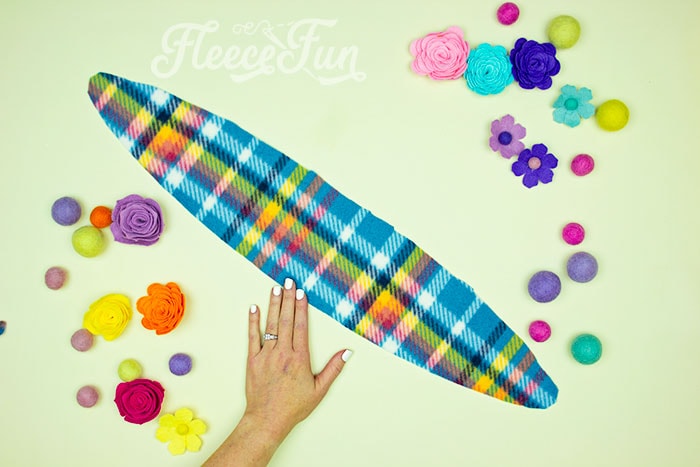
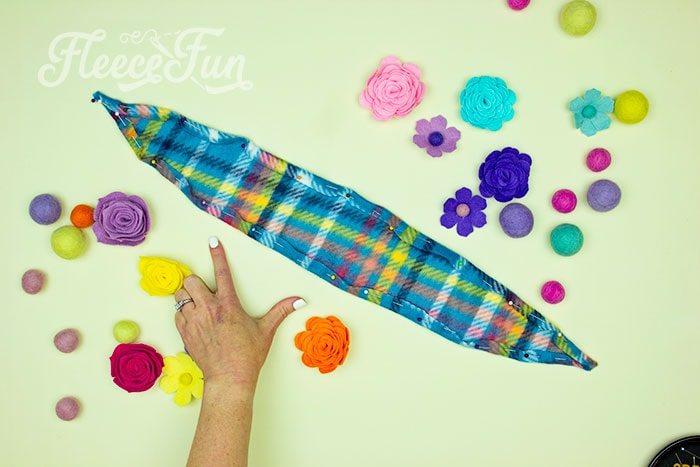
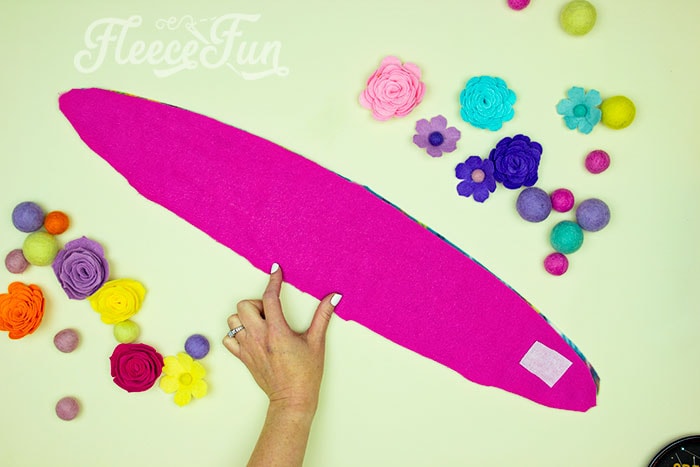
This is the shape the headband should be when unfolded after being cut out.
Step 2 – Sewing Your Fleece Headband Ear Warmer
Single layer:
To finish the edges of the head band we need to turn them to the wrong side. If it’s hard to tell the right and wrong side of your fleece there’s an easy trick:
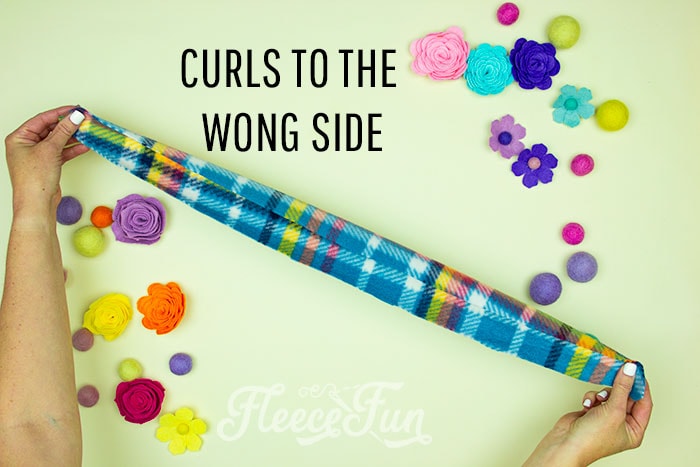
The fleece will curl into the wrong side. Set the fleece ear warmer pattern with the right side touching the work surface, the wrong side facing up.

Turn the edge up .5 inch to the center along both sides.
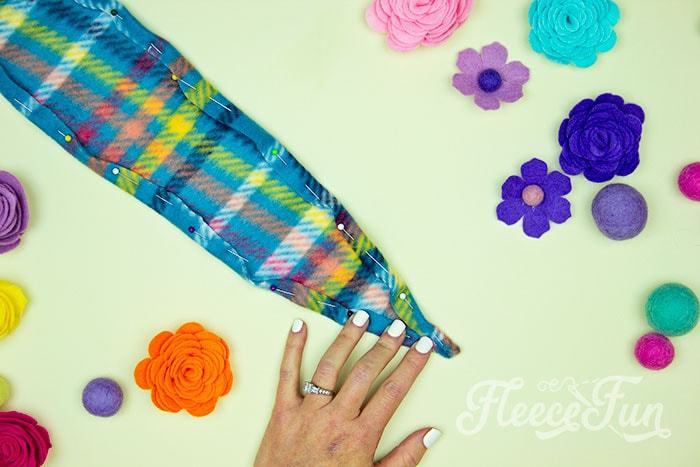
Pin into place.
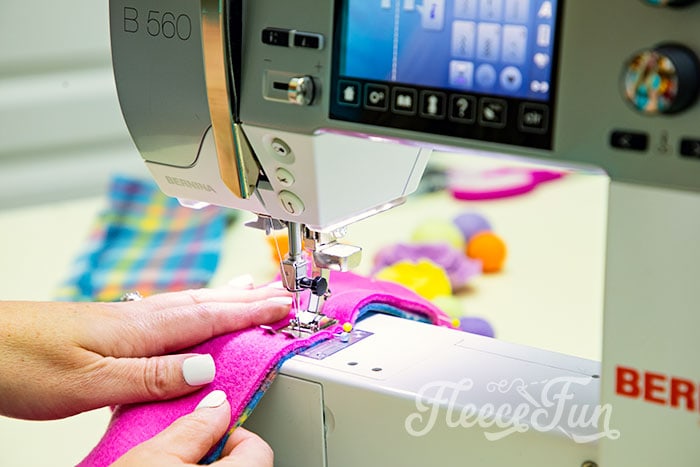
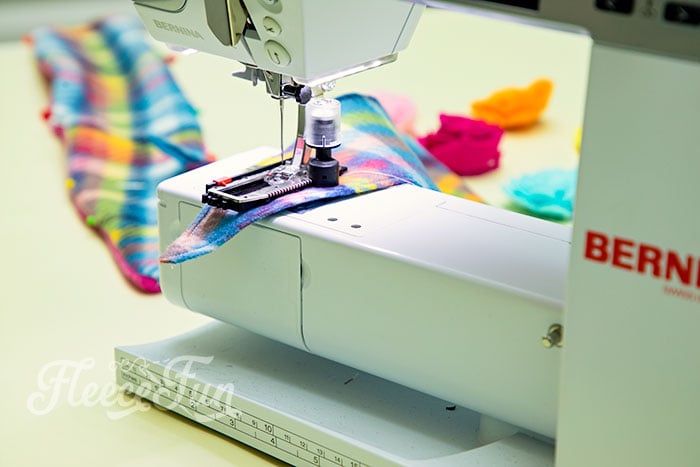
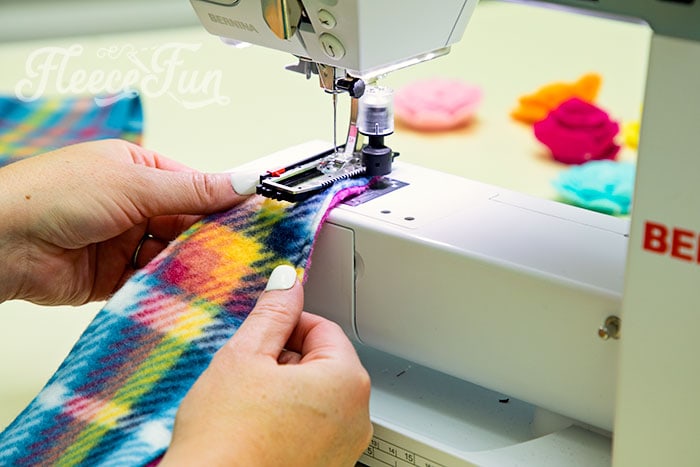
Top stitch all the way around the Ear Warmer headband.

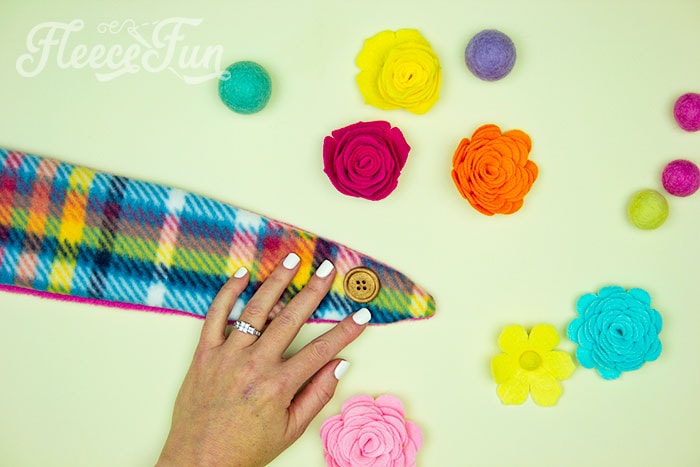
Place the rectangle of interfacing at one end.
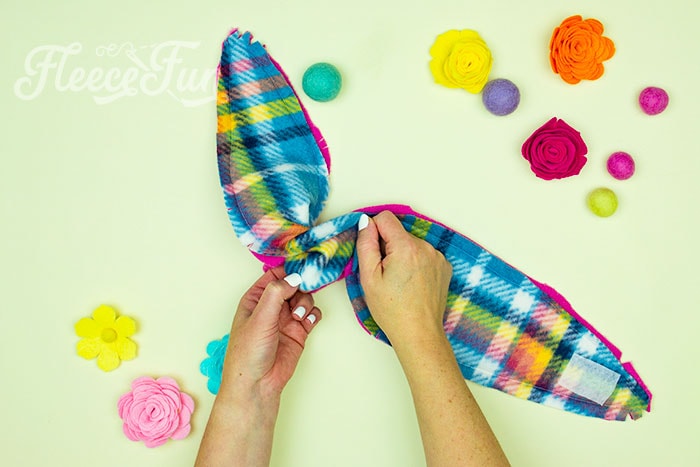
Reversible/ double layer:
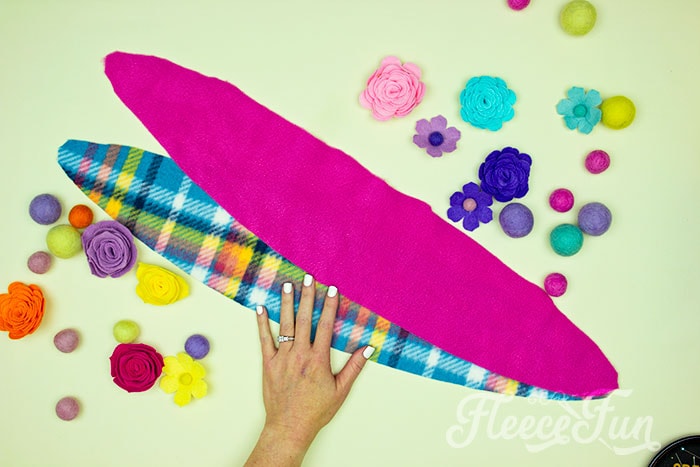
Gather the two pieces for the reversible fleece ear warmer headband.
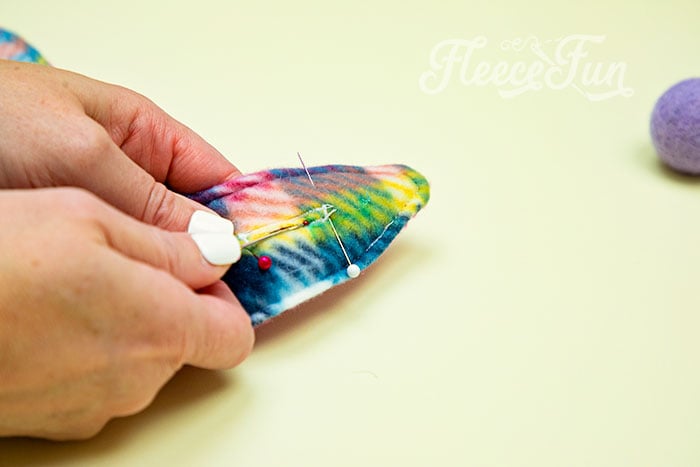
Pin, and sew all the way around the headband with a .5 inch seam allowance, leaving a 3 to 4 inch gap for turning.
Before we turn it there’s a few things we need to do.
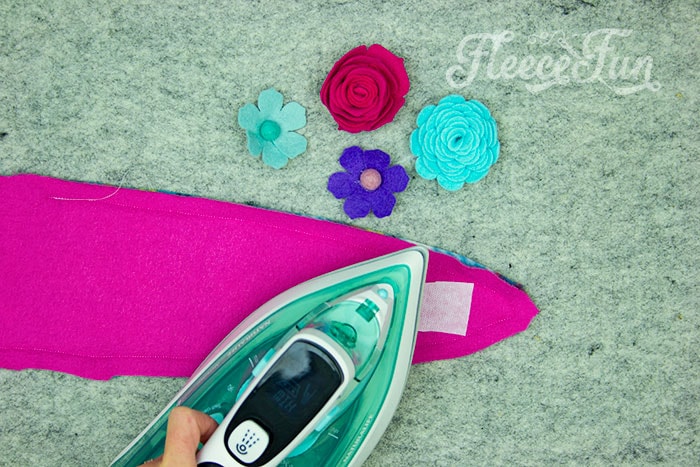
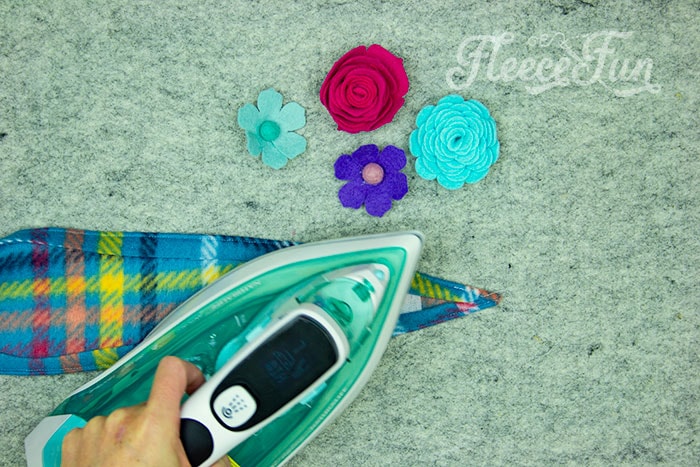
On the wrong side of the fleece. Iron on the interfacing at on end.
Do it to each side in roughly the same place.

Clip the curves.
This will help with the turning of the fleece sewing project.
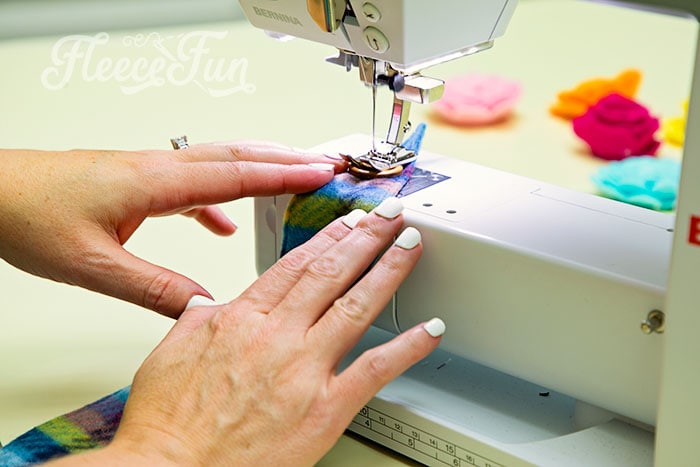
Turn right side out.
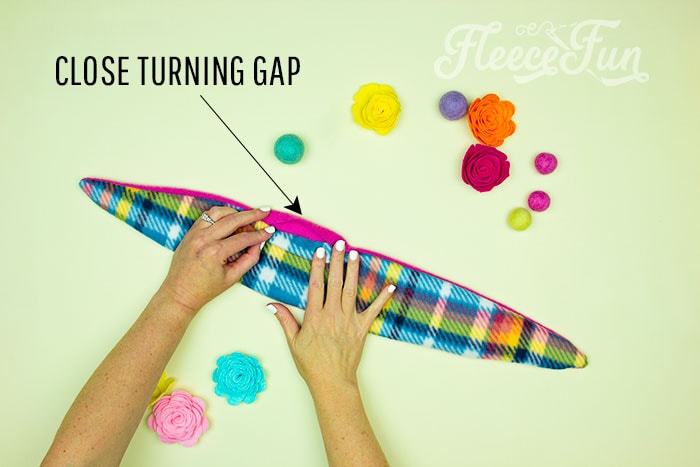
To close the turning gap, pin into place and top stitch around the head band, sewing the gap shut in the process.
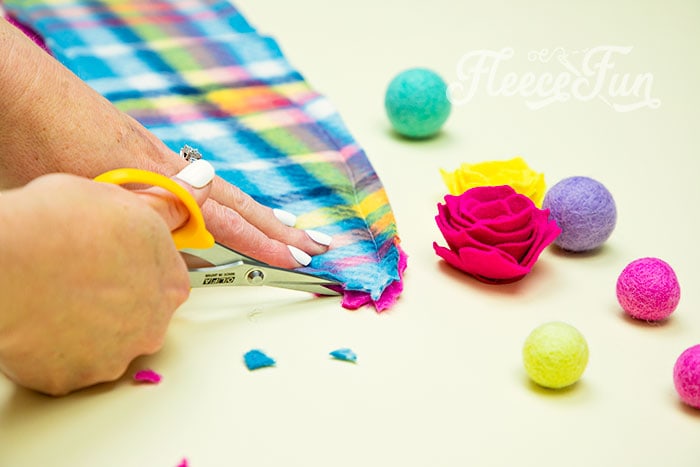
No sew fleece ear warmer:
Grab your cut out pattern piece. Using the curl test make sure that the wrong side is facing you and the right side is facedown on the work surface.
In order to make this washable I recommend these glue sticks. Get your glue gun heating up.

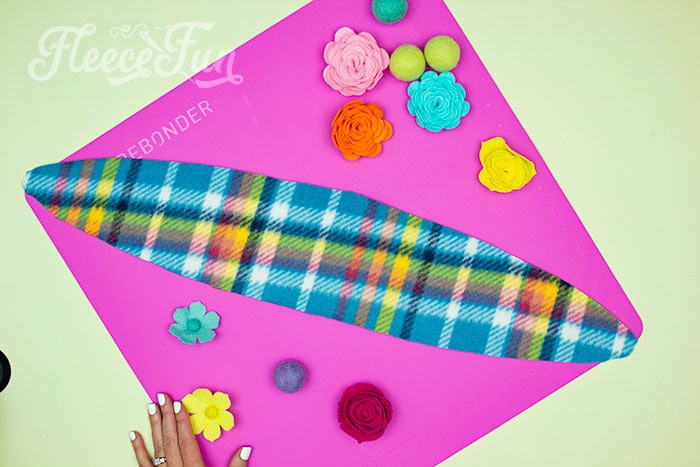
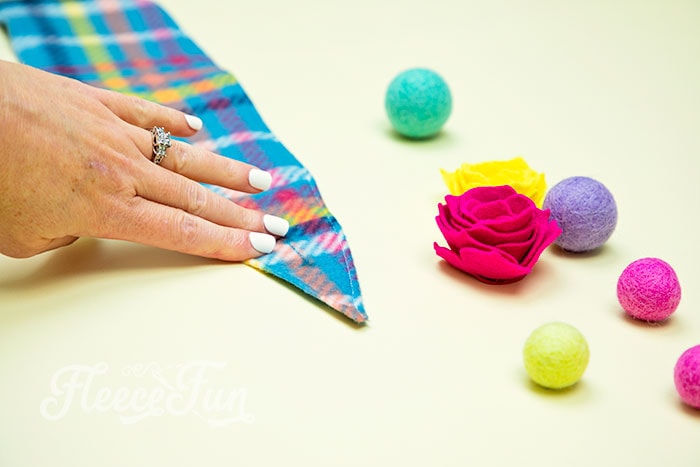
Using a hem gauge turn the edge over .5 inch and glue down on each side.

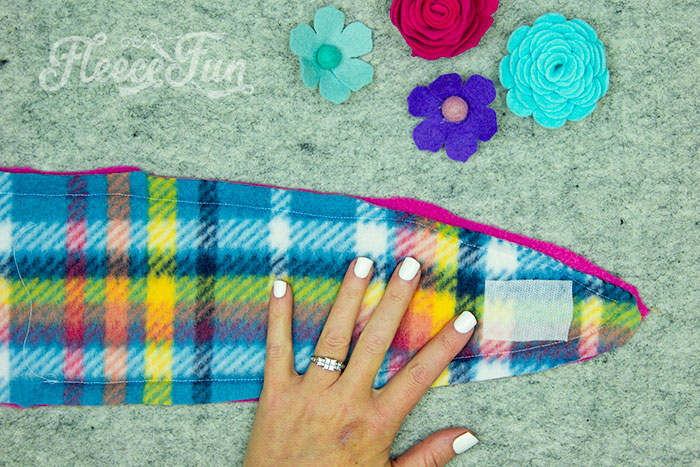
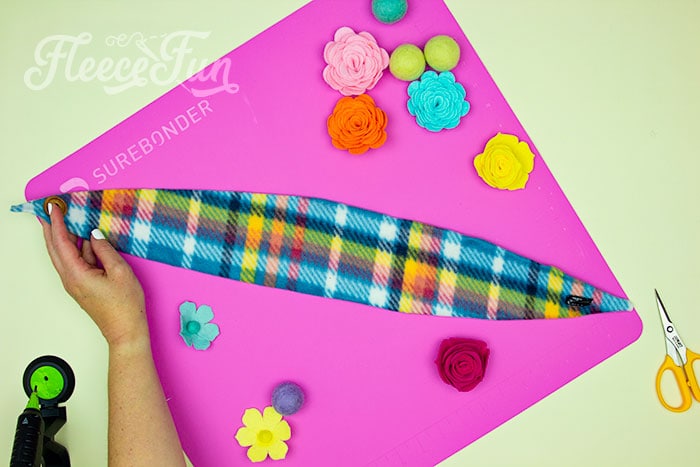
It should look like this when you’re done.
Step 3 – Add the button hole and button to the fleece ear warmer headband
It’s time for the button and button holes. If button holes make you nervous check out my tutorial here.
Single layer:
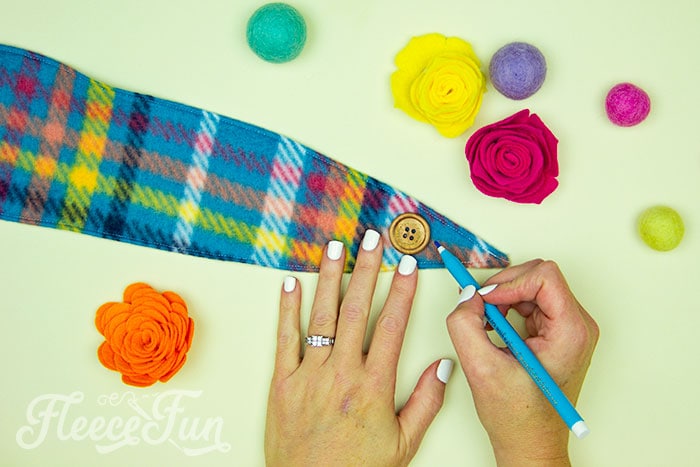
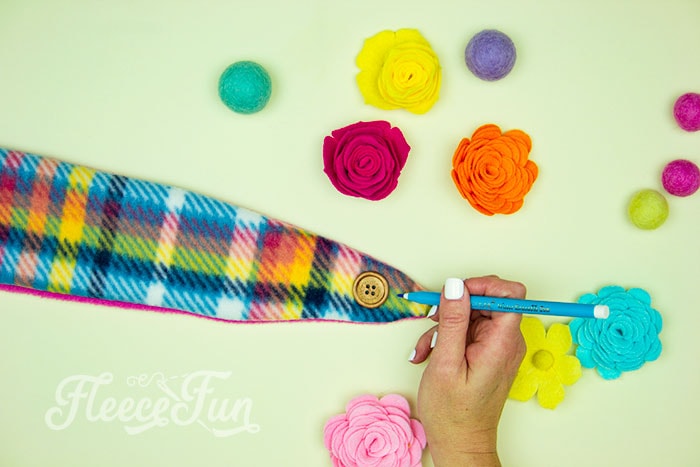
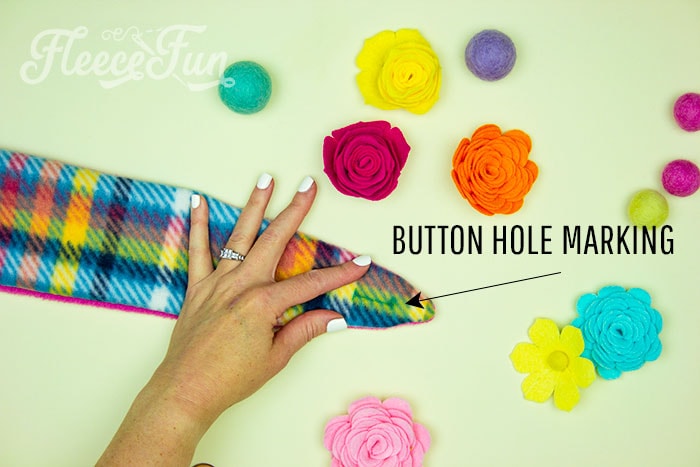
Measure and mark your button hole. I like to place mine about 1.5- 2 inches from the end. To get and idea of where you want it you can place it on your head and mark, if you’re making it as a gift I recommend adding two buttons to the headband so there’s some size adjustment possible. Mark the top of bottom of the button hole.
Then draw a line from one marking to the other for you to follow.
Add the button hole.
Open the button hole.
Layout and mark where you want your buttons to be on the other side. They will be on the right side of the fabric.
Sew on.
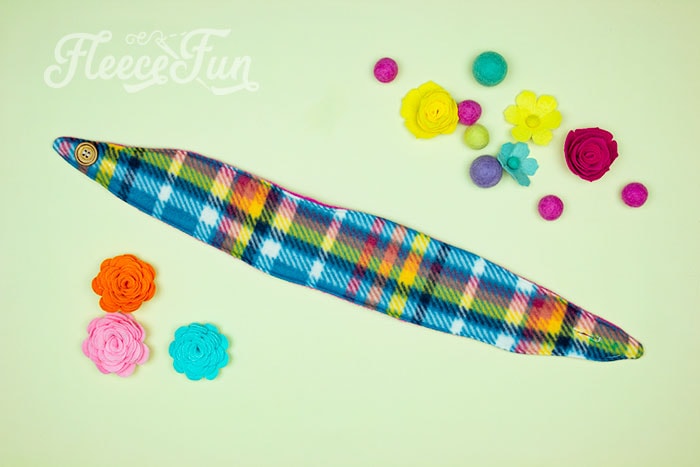
That’s the single layer version Finished!
Reversible/ double layer:
Like the single layer version find the placement of the button hole. You can do this by placing it 1.5 – 2 inches from the end or by placing it on the head of the person you’re making it for and marking it.
Mark the top and bottom of the button.
Draw a line between the two marking to follow for your button hole.
Sew on the button hole.
Open the button hole.
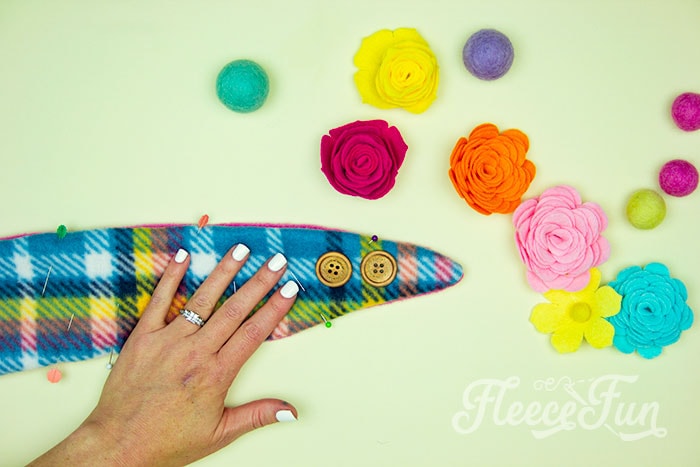
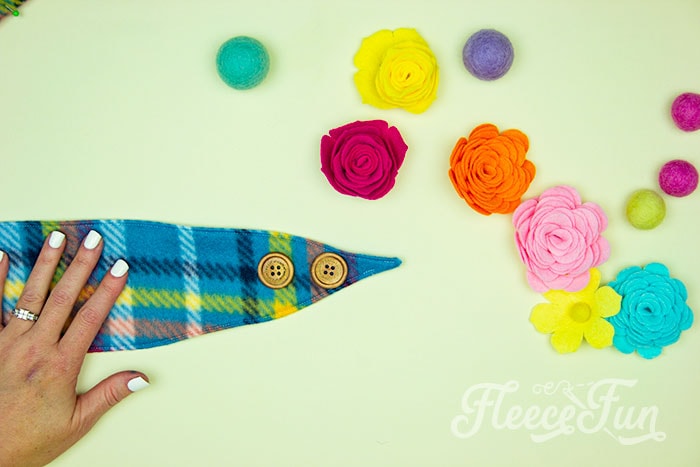
For the double layer fleece headband you have some options. You can either place two buttons on one side for size adjustment or…

You can place one button on one side and
one on the other to make it reversible.
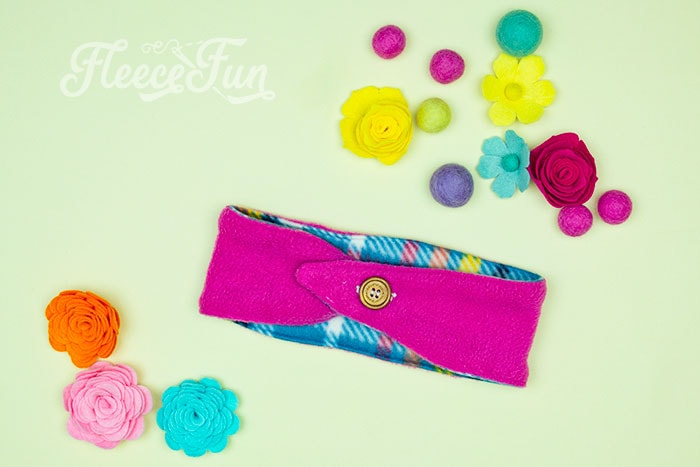
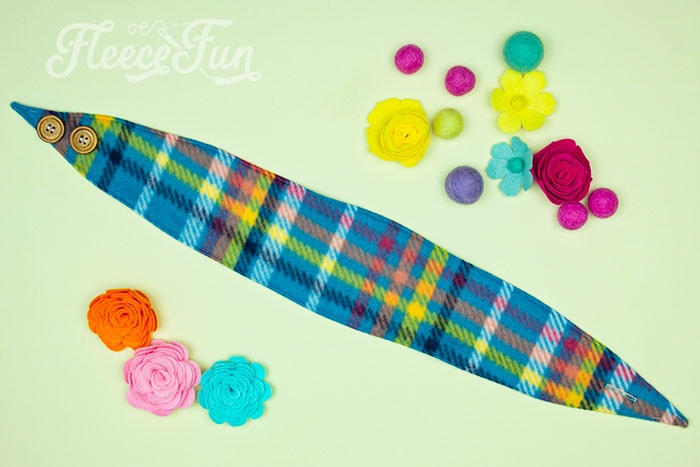
That’s the reversible band completed.

No sew fleece ear warmer:
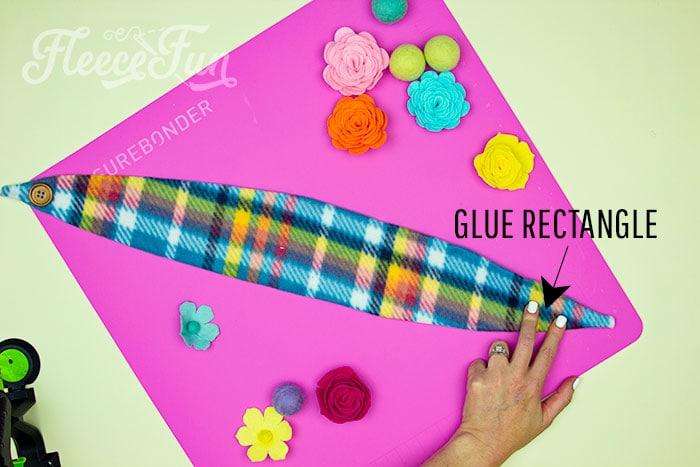
For the no sew fleece ear warmer pattern we’ll fake a button hole by making a glue rectangle at one end.
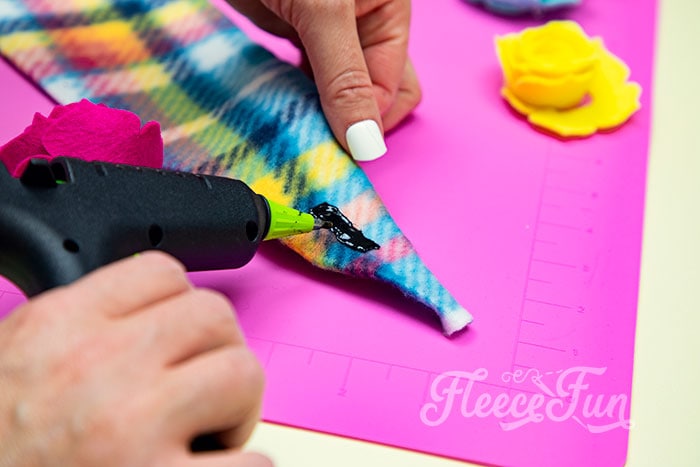
The glue rectangle will serve as a button hole and keep the fabric from warping badly. Make the rectangle that is the slightly larger than height of the button and allow the glue to cool completely.
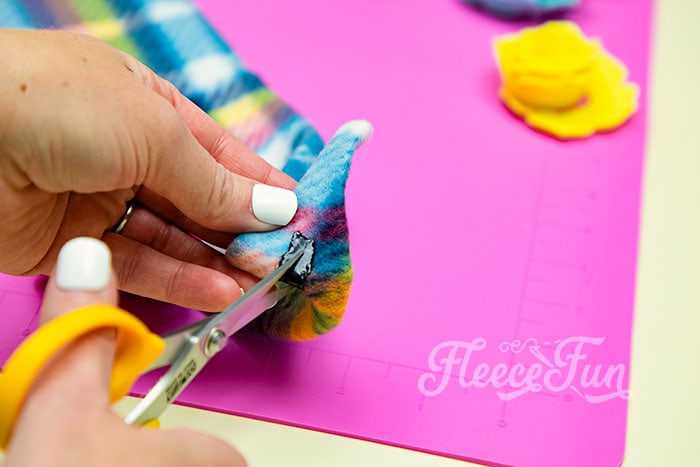
Snip a slit through the middle of the rectangle that is large enough for the button to go through.
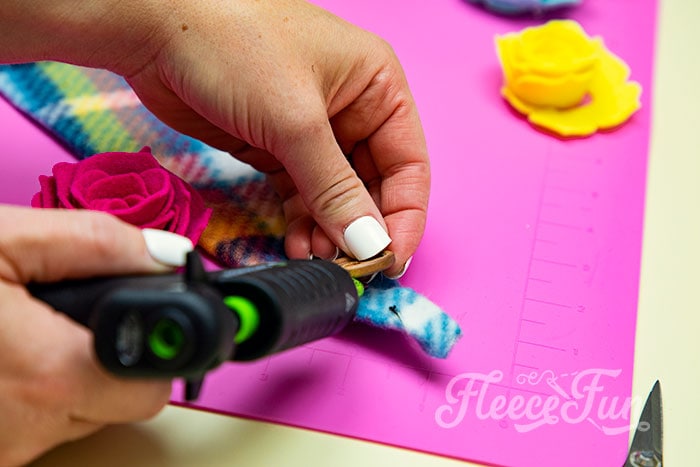
Glue the button to the other end of the no sew fleece project.
Make sure that you just glue the center.
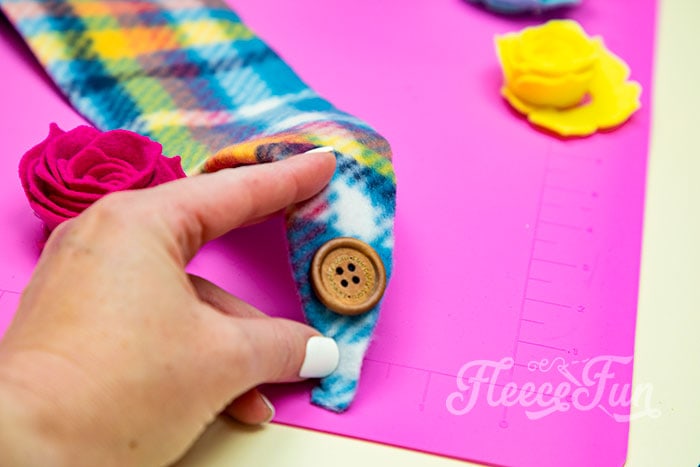
When it’s completed it should look like this.
That’s the no sew version finished!
If you want to dress up the headband you can add flowers – like this or this one.
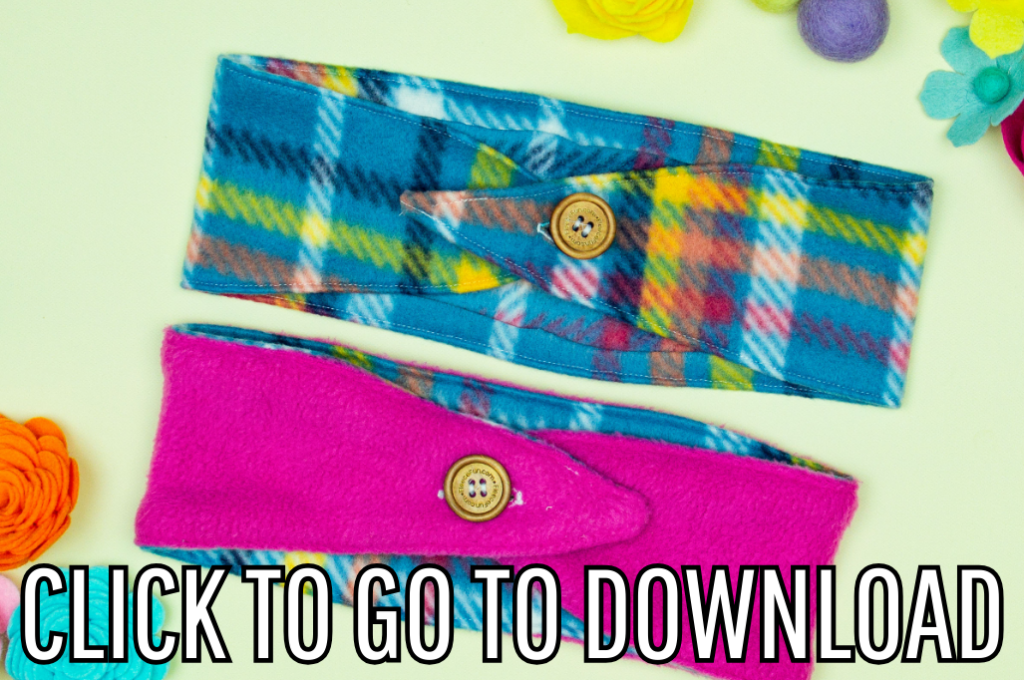
Download the free pattern by filling out the form.
You can get a free copy of Adobe reader here. By downloading you are agreeing to pattern terms of use. Click the picture below or fill up the form to download the .pdf!
More Ear Warmer DIYs:
More Fleece Sewing Projects:
- Bow Ear Warmer Headband
- Fleece Scarf with Pockets
- Red Riding Hood Cape
- Washable Duster
- Warm Mittens
- Easy Fleece Blanket
- Quick Sew Hobo
- Child’s Fleece Robe
- Child’s Fleece Pants
Here’s the original or “Classic” Fleece Flapper Headband Pattern:
1 – cut and sew the headband
Cut out pattern piece.
Optional – on one end of the band iron a scrap of fusible interfacing to reinforce where you will put your button or button-like hole. See flapper headband slim pattern for picture.
Turn edges under a half inch. Using a .25 seam and straight stitch around the band.
2 – Add button and button (like) hole
At one end of the headband and using the button as a guide mark the top and bottom of the button. Move one dot a third closer (the fleece will really stretch since we haven’t reinforced it and we’re not making a button hole).
Draw a straight line between the dots (this will help you make a neater box).
I am feeling lazy so I’m not doing a button hole today. Just make a small box using your guides with a zigzag stitch. Snip a slit in your box. Sew the button to the other side of the headband and your done!
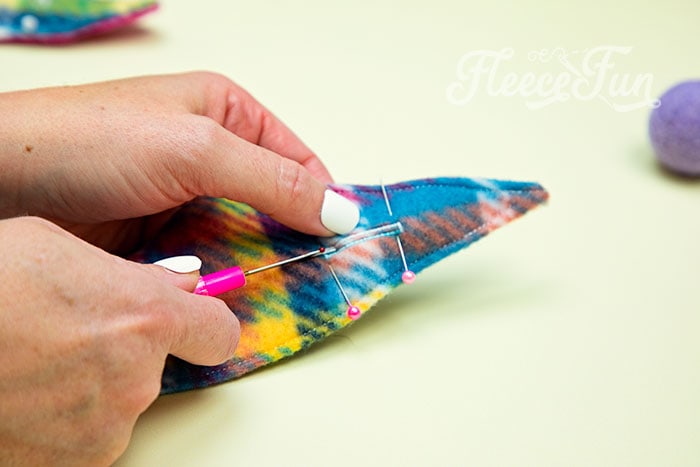
3 – If you want to add a flower
I like to make the flowers removable so you can wash the headband (make build up). Sew a small triangle (like you did for the button only much smaller – see my thumb?). And Cut a slit. Now your flower can slide perfectly into place!
Download the free pattern below.
You can get a free copy of Adobe reader here. By downloading you are agreeing to pattern terms of use. Click the picture below or fill up the form to download the .pdf !
Hai Mam,
You are a genius. Very good work this, I like you and your products . Very good
L loving you mam
God bless you mam
Shiny
Is there another link to the flower pattern? The one listed is giving me a 404 Error code, sadly. Thank you for the headband pattern though!
LA
Sorry the link is broken here’s the page – http://www.fleecefun.com/no-sew-satin-clip-and-other-fun-accoutrements-how-to.html
I just made this about an hour ago – doubled the fabric (sewing it right sides together) so there were no visible seams, and it would be a little warmer for my aunt in New England. I absolutely LOVE it! Thank-you for the idea – it’s wonderful!
I was wondering what type of fleece you used anti-pill or blizzard fleece and what are the differences?? Thanks so much!
I have used both. Both have an upside and downside. Blizzard tends to be cheaper, but can “Pill” ( get faded or rough looking). anti pill costs more and (in theory) not pill. It’s really a mantter of preferences ( and pocket money). Both work great with this pattern.
– Angel
Hi Angel, the adult pattern is not downloading. can you please send it to me? i would love to try to make that.
I am sorry the issue has been fixed!
Will this work with flannel as well?
This pattern takes into account that the band will have a little more give as fleece has some stretch to it – it can work – but the placement of the button hole and button will need to be spot on for it to fit comfortably.
Thank you for your quick response!