
Fleece Ribbon Throw Tutorial
This content contains affiliate links or sponsored elements, read our Disclosure Policy.
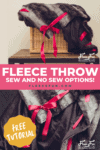

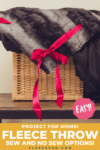

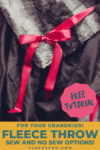
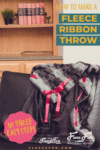
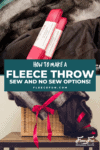
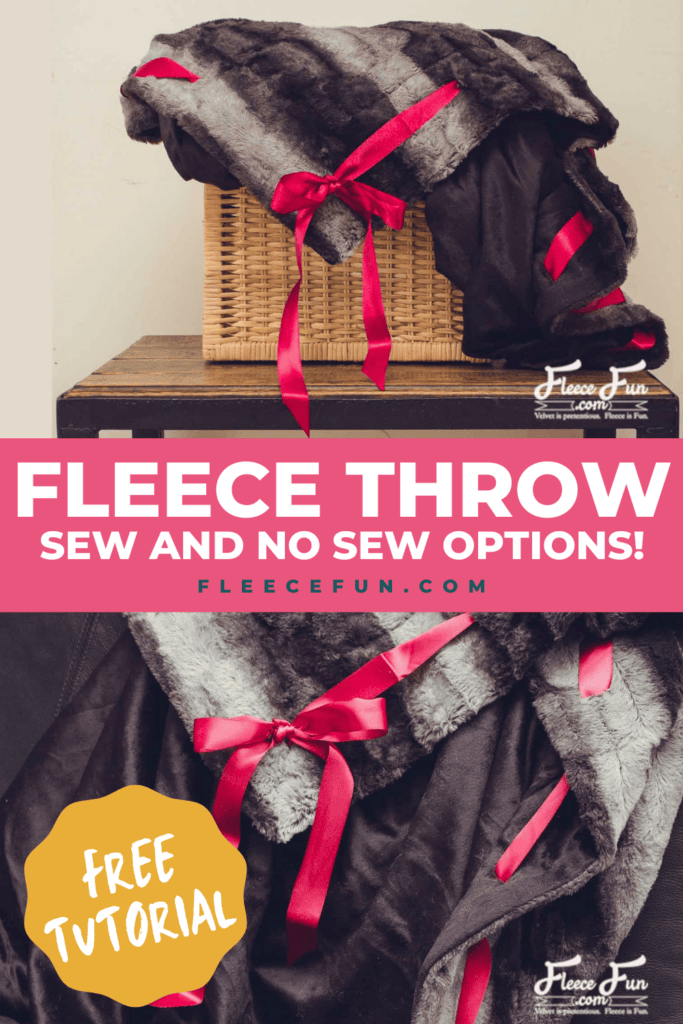
This wonderful and elegant fur fleece ribbon throw is easy to make and perfect for curling up under with a good book. A few simple materials you can easily follow this fleece ribbon throw tutorial.
YOU WILL NEED:
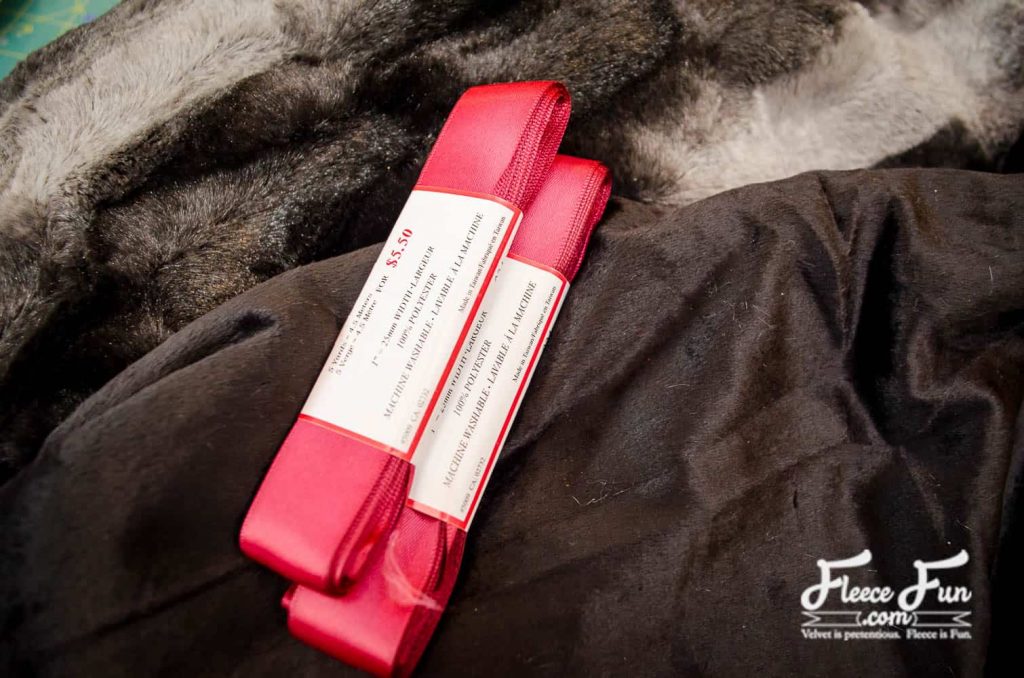
- 7 yards 1″ satin ribbon
- sew version:
- 1 3/4 yard each of cuddle fleece in two colors or prints
- no sew version:
- ready made fleece throw, approximately 60″ square
- fray check or fabric glue
- Rotary cutter, ruler and mat (available here)
- Sewing Essentials (scissors, pins, etc.)
Fleece Ribbon Throw Tutorial (sew version)
Step 1 – Align and Trim the Fleece Squares
With right sides together, lay the fleece squares on top of each other, raw edges aligned. If there is any excess on one piece, trim it to match the other.
Stitch around the perimeter, leaving a 4″ opening for turning.
Clip the corners and turn right side out.
Step 2 – Stitch the Edges
Hand stitch the opening shut OR topstitch around the perimeter of the throw.
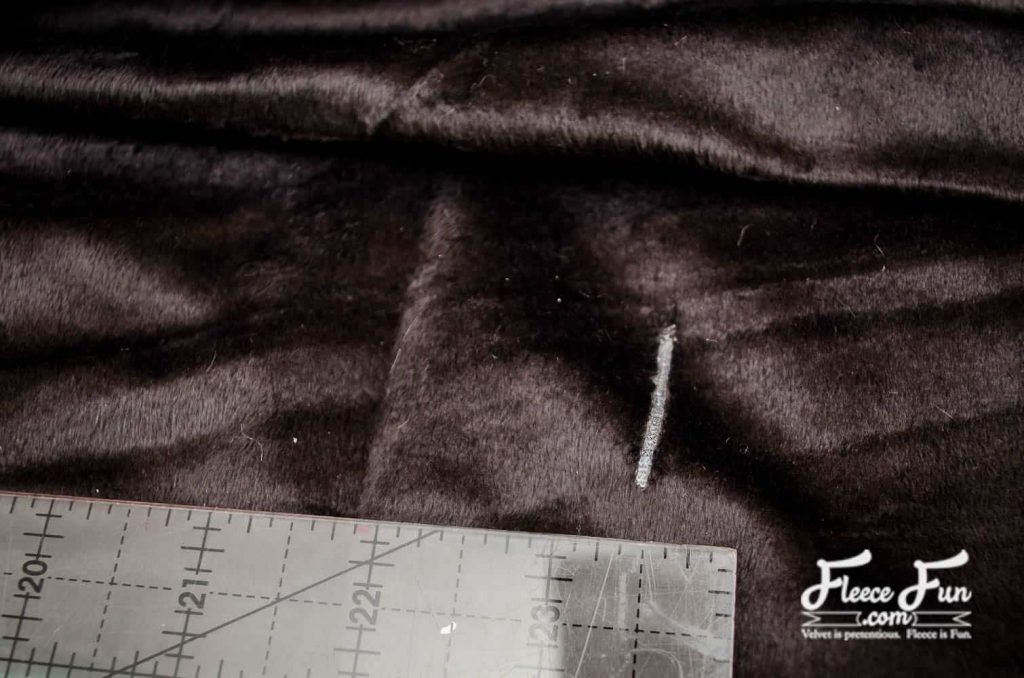
Mark 1″ lines around the perimeter of the Fleece Ribbon Throw, approximately 1.5″ away from the edge in even increments.
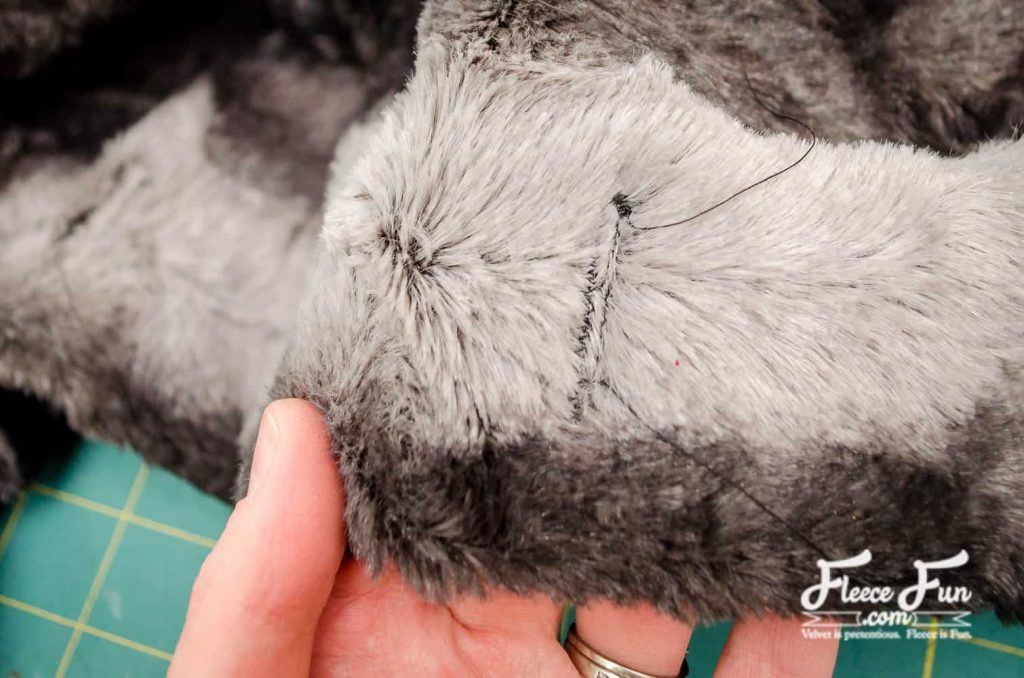
Stitch buttonholes on the markings. If your machine does not like stitching buttonholes through fleece fabric, simple stitch a narrow rectangle with your regular pressure foot.
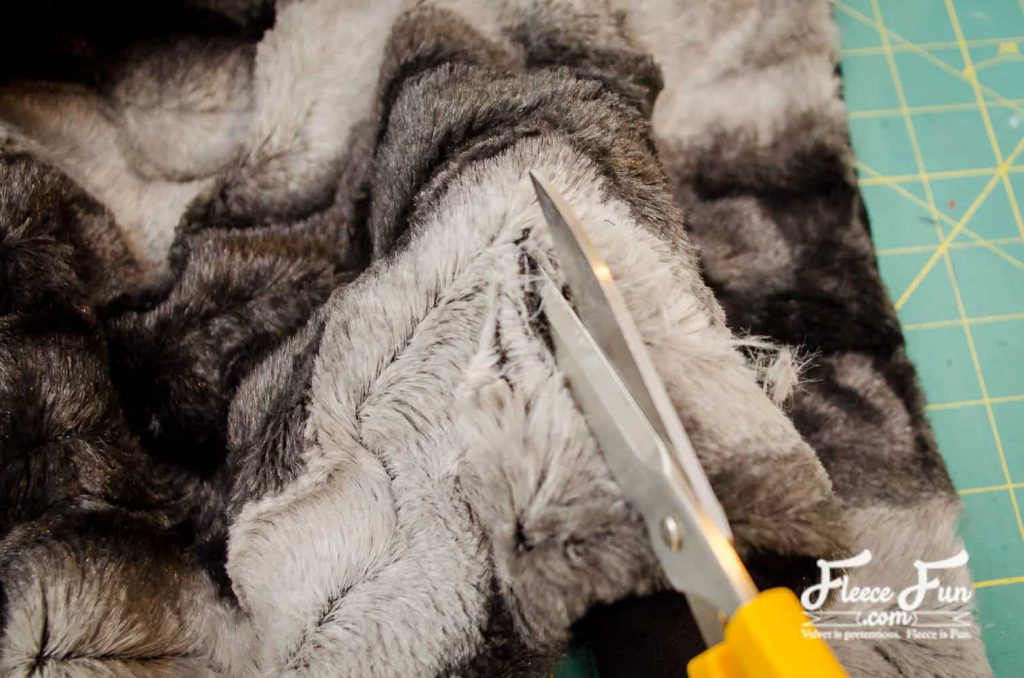
Carefully cut through both layers of the throw.
Step 3 – Thread the Ribbon and complete the Fleece Ribbon Throw
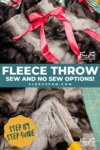
Thread the ribbon through the buttonholes.
Tie excess ribbon in a bow at one corner.
No Sew Version of the Fleece Ribbon Throw
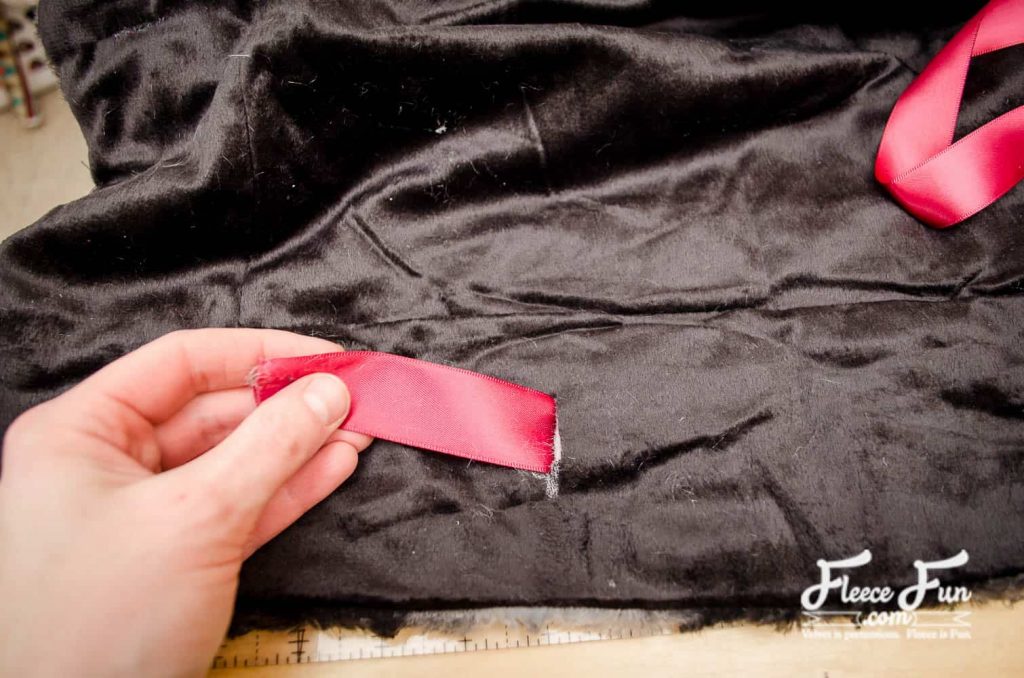
Step 1 – Mark and Cut the Edges
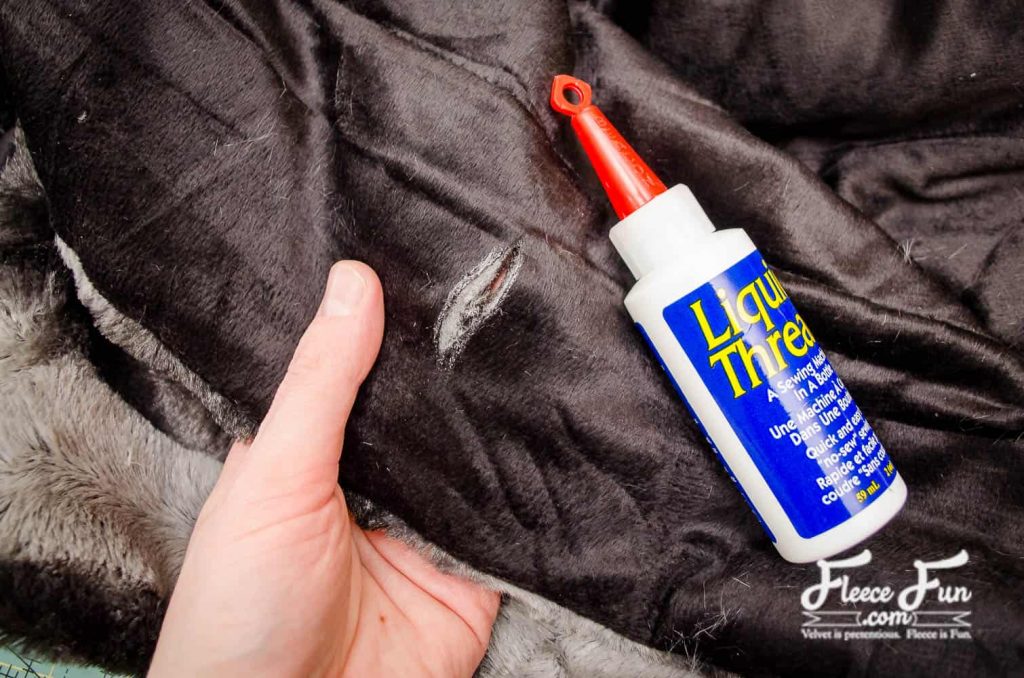
Mark 1″ lines around the perimeter of the throw, approximately 1.5″ away from the edge in even increments. Carefully cut through both layers of the throw. Seal the edges with fray check or fabric glue.
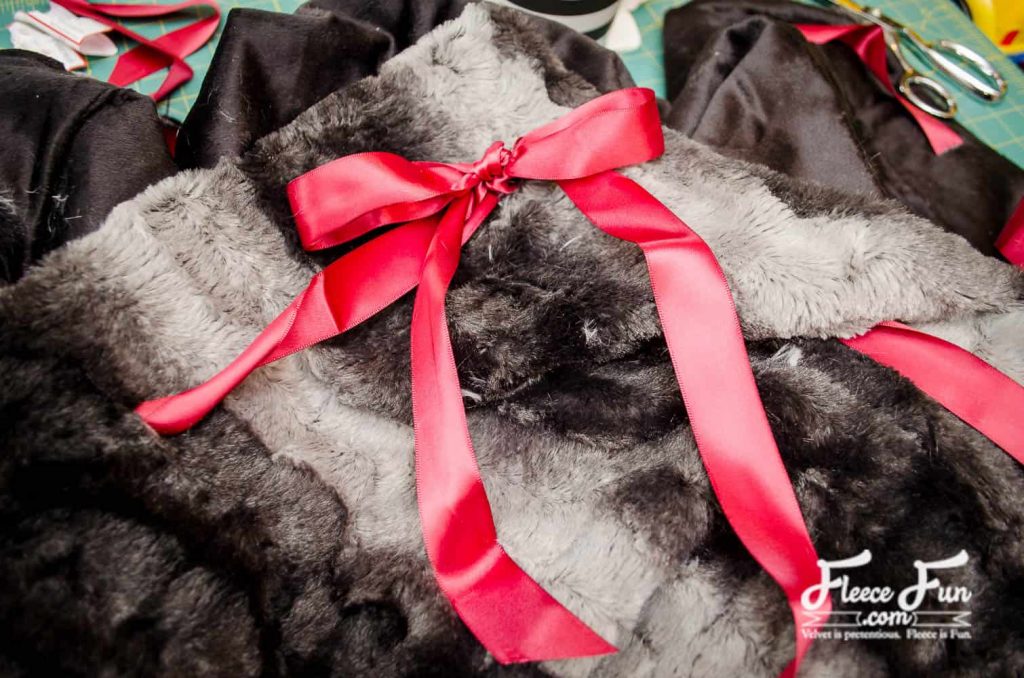
Step 2 – Thread the Ribbon
Thread the ribbon through the holes as shown above to complete the no sew Fleece Ribbon Throw.
More Blanket Tutorials:
- Hooded Fleece Blanket DIY (Child and Adult)
- No Sew Blanket Tutorial (with Flannel!)
- How to Make a No Sew Tie Quilt
- How to Make a No Sew Fleece Tie Blanket (better method with templates!)
- Duvet Cover
- Stitch ‘n flip quilt
- Rag quilt (Easy Beginner’s Guide)
- How to crochet the edge of a Fleece Blanket
- Fleece Blanket with a Satin Binding
- Self Binding Fleece Blanket
- How to use the Tie Blanket Ruler!
- You can see all of the blanket tutorials here
Additional Fleece Sewing Projects:
- Bow Ear Warmer Headband
- Red Riding Hood Cape
- Washable Duster
- Warm Mittens
- Easy Fleece Blanket
- Quick Sew Hobo
- Child’s Fleece Robe
- Child’s Fleece Pants
