
Tie Blanket Ruler or Tie Blanket Template Instructions
This content contains affiliate links or sponsored elements, read our Disclosure Policy.


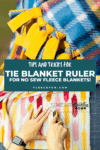
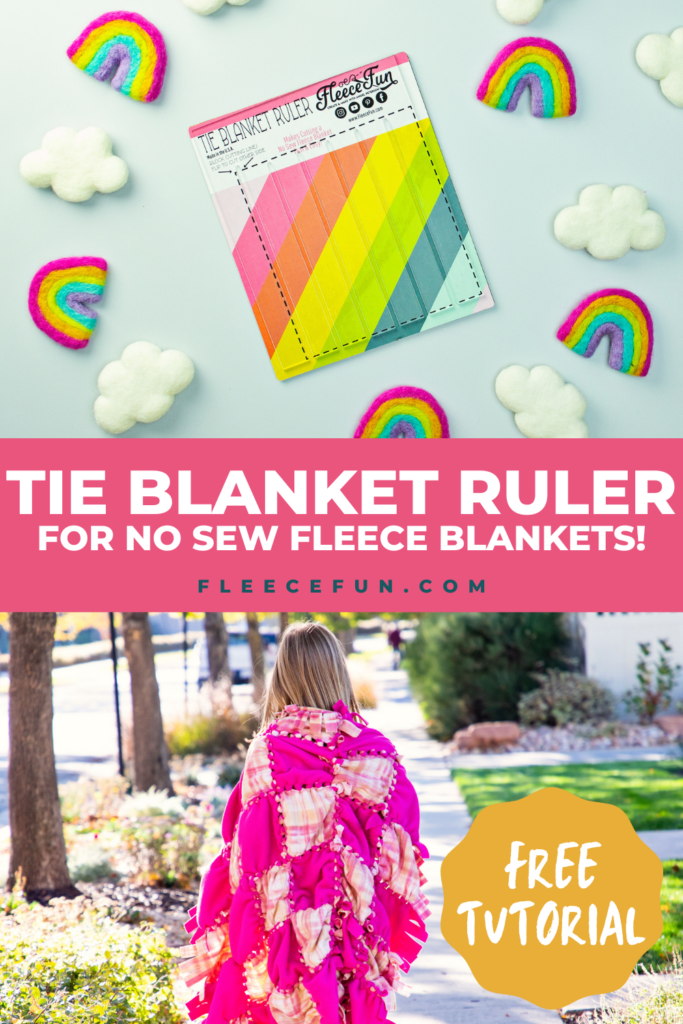
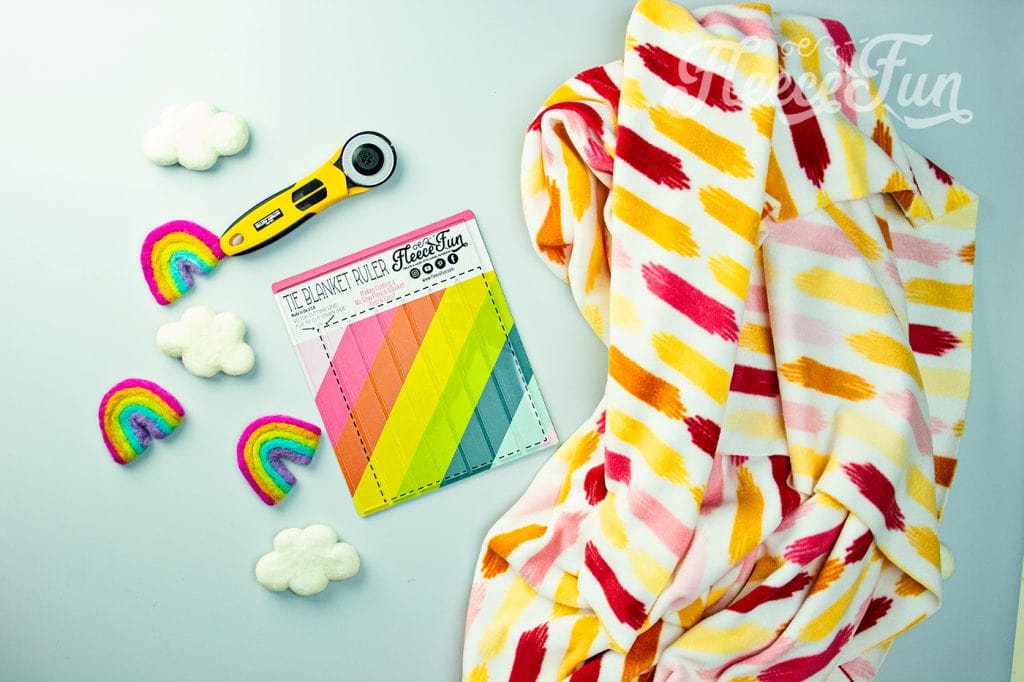
Learn how to use Fleece Fun’s Tie Blanket Ruler with this handy tutorial. While tying no sew fleece blankets is easy – CUTTING the thing is and entirely different matter. It takes forever to measure, mark and cut the blanket to get to the tying part of the project!
But thanks to this handy Tie Blanket Ruler or Tie Blanket Template (that also happens to be patent pending) you can cut down the cutting and marking to a fraction of the time.

YOU WILL NEED:
- Rotary Cutter and Mat
- Fleece Fun’s Handy Tie Blanket Ruler
- Fleece In 2 colors in the yardage of the size of blanket you desire to make:
- Baby size blanket – 1 yard of fleece in each color (36 by 52 inches)
- Child size blanket – 1 ½ of Fleece in each color for (60 by 48 inches)
- Pet size blanket – 1 yard of fleece in each color (36 inches by 52 inches) for medium to large animals and 3/4 yard (27 to 48 inches for smaller animals)
- Throw Size Blanket – 2 yards of Fleece in each color (60 by 72 inches ) for a generous throw I prefer this size since tying the blanket make it smaller and shorter
Tie Blanket Ruler or Tie Blanket Template Instructions

Step 1 – Cut off the selvedges
For demonstration purposes, I’m keeping the my blanket on the really small/ doll size side. But the same principles shown here apply no matter the size of the blanket.
Using the long side of the ruler cut off the selvedges – these are the sides of the fabric that have writing on it and sometimes has a different texture or tiny holes in the fabric. The selvages are on both edges of the fleece remove it. Make sure the blanket is the proper length and width for what you want to make.
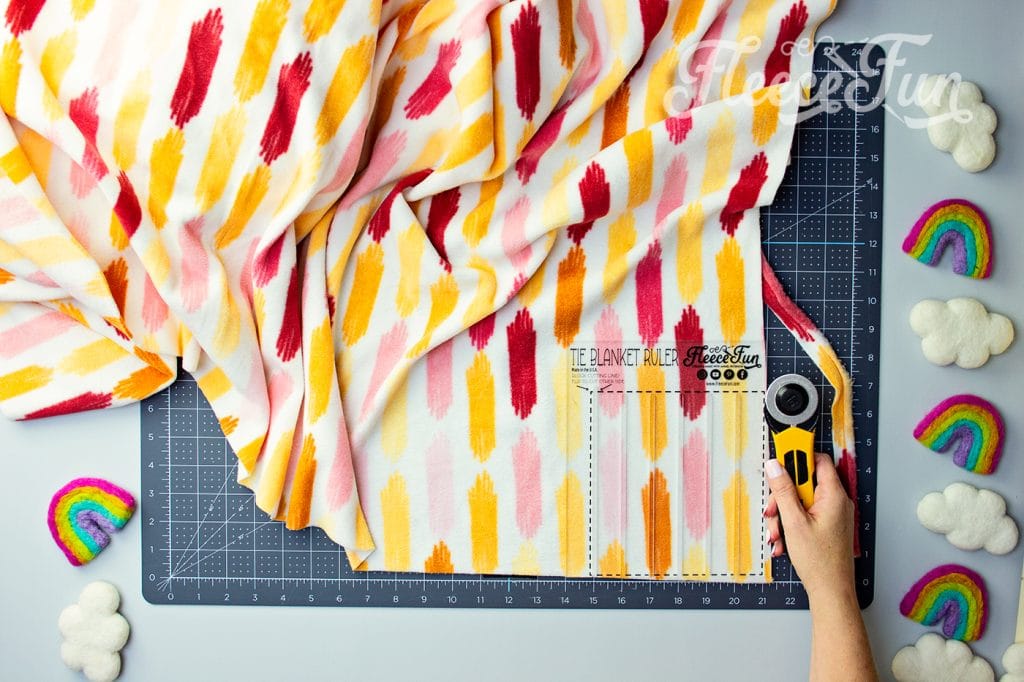
Step 2 – Cut Out the Corners using the Tie Blanket Ruler
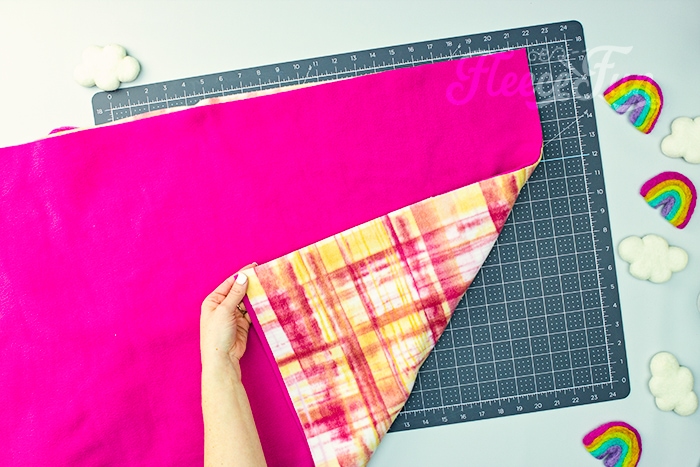
If you are a making a two layer blanket, lay the to layers on top of each other – right sides facing out and wrong sides touching.
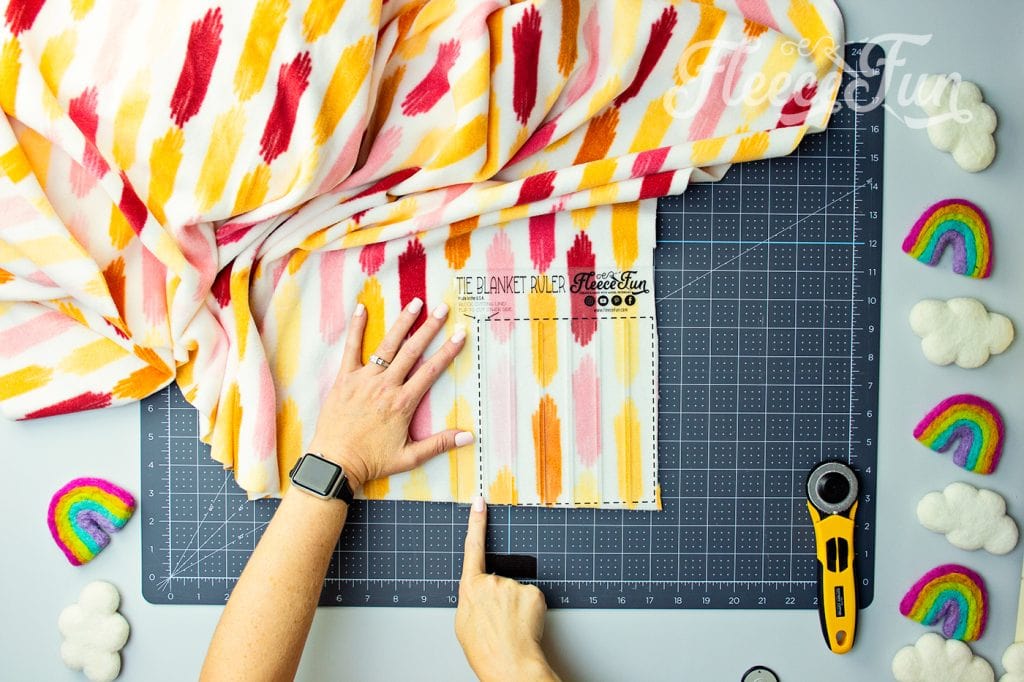
To cut out the corners to the blanket, lay the rule along the edge so the edge so the tines are touching one side and the right edge is touching the right.
The dashed lines on the ruler will help you picture the block we’re about to cut out.
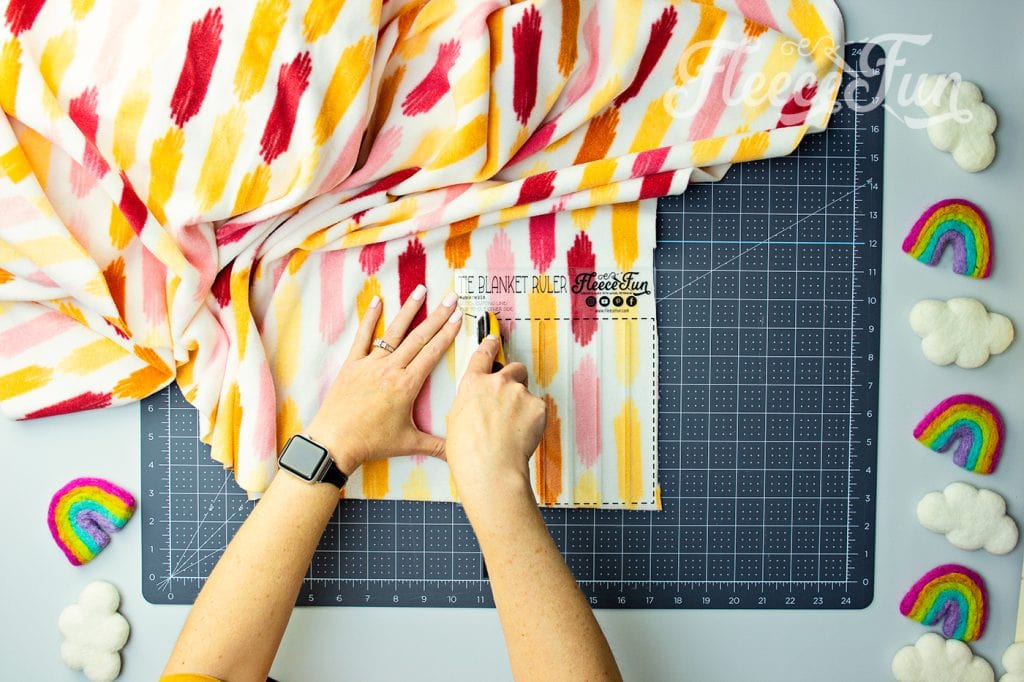
Using the line labeled “the block cutting line”, cut down this line firmly, cutting through all the layers of fabric. Take care to be mindful where the blade is and not to cut yourself.

Next flip the template over and rotate it 90 degrees counter clockwise. The tine edge is now touching the right edge of the fabric. See how the block etched into the ruler is there to show you the block?
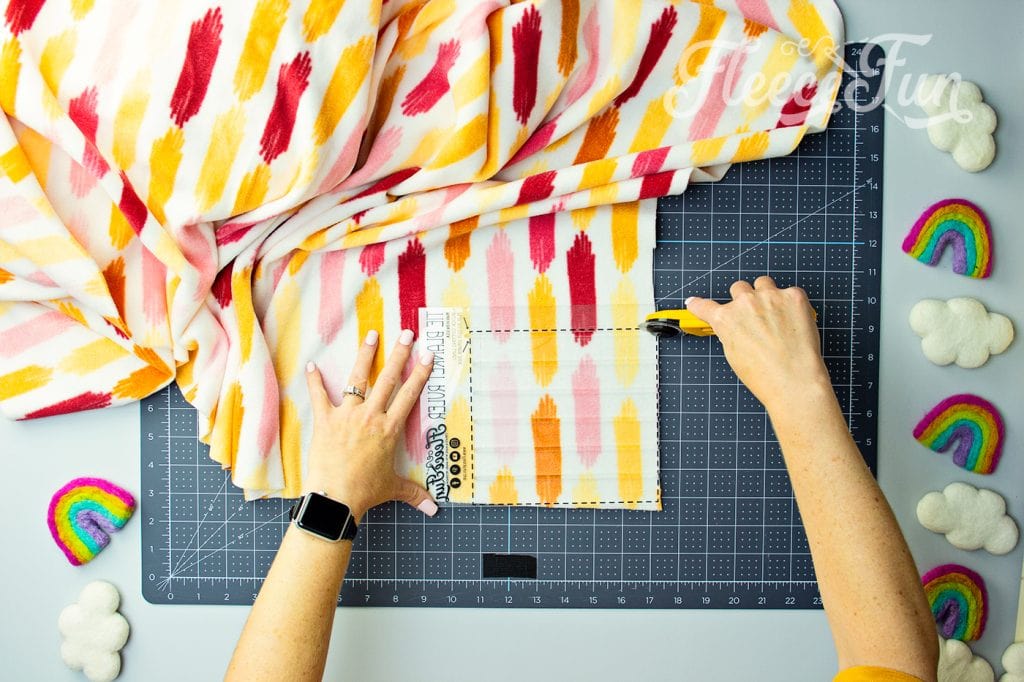
Now cut down the block cutting line.
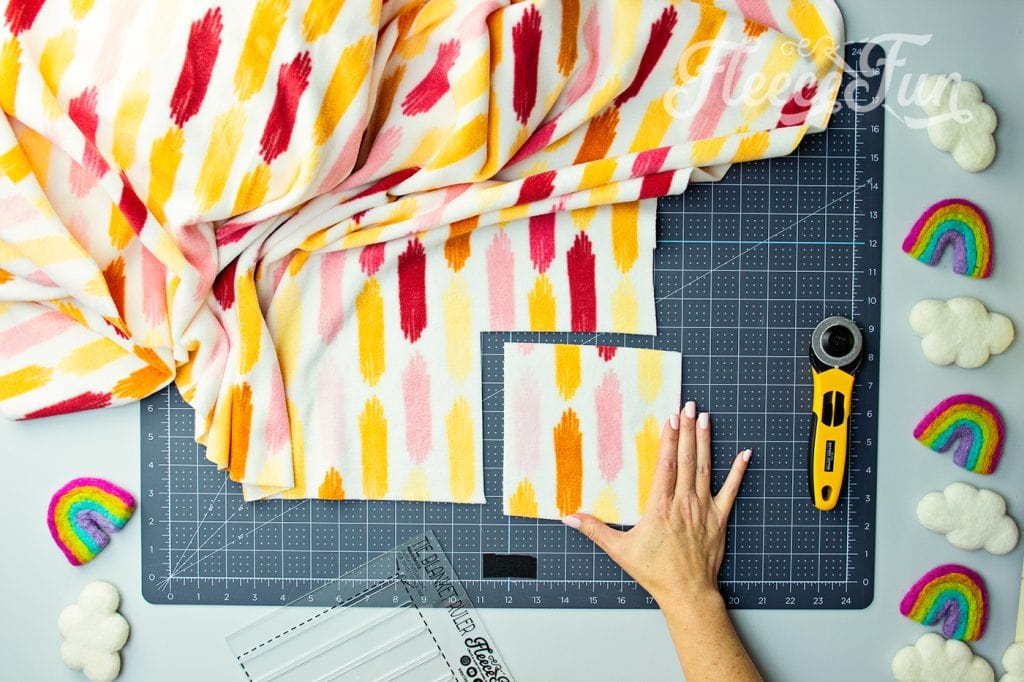
Move the ruler, the corner block is now cut out. remove the block, it is not needed.
Repeat this process so all 4 corners of the blanket have the block cut out. The blanket is now ready for the ties to be cut.
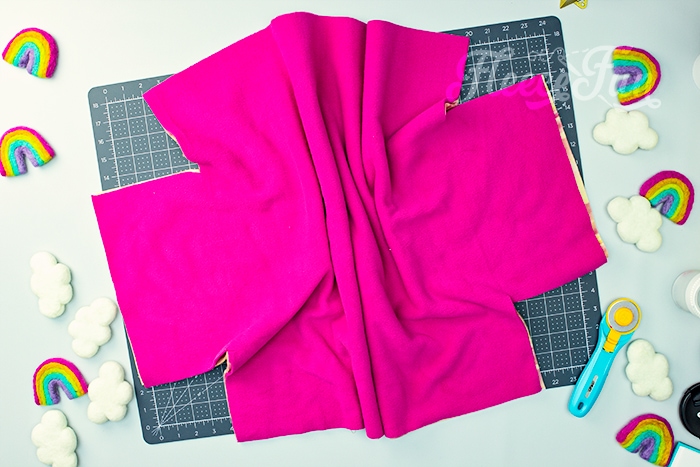
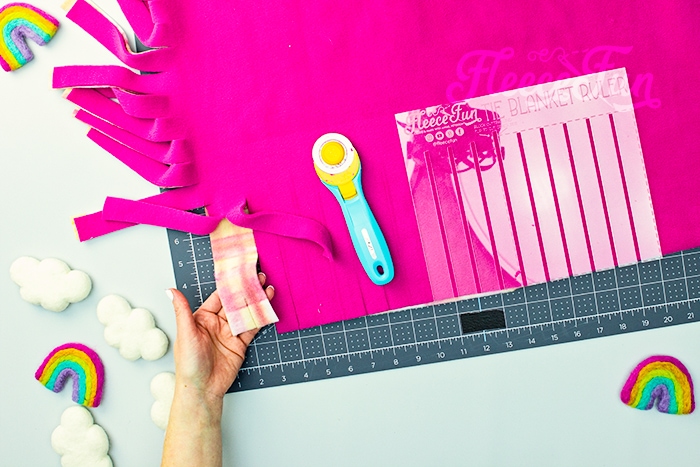
Step 3 – Cut the ties to the no sew Fleece Blanket using the template
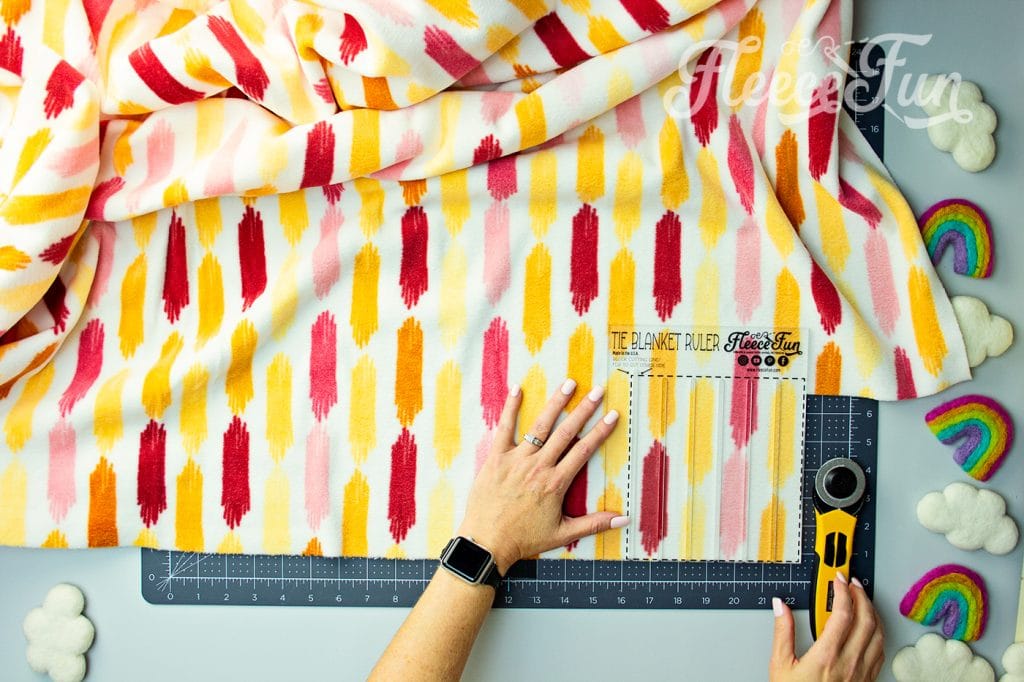
Using Fleece Fun’s Tie blanket ruler – lay the bottom on the edge of the fabric, with the Right or Left side lined up with the edge of where the corner block was cut.
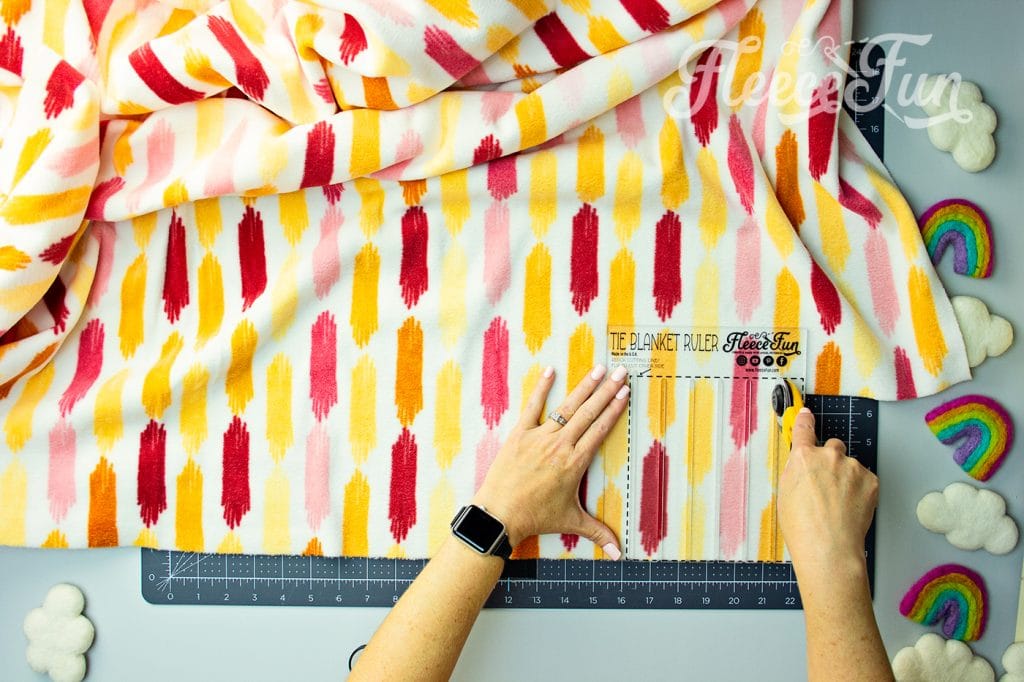
Using a rotary blade, cut firmly down each space inside the ruler, cutting through both layers of fabric. When the last space is used, reset the ruler, lining up the edge with the last strip that was cut and continue on until reaching the end.
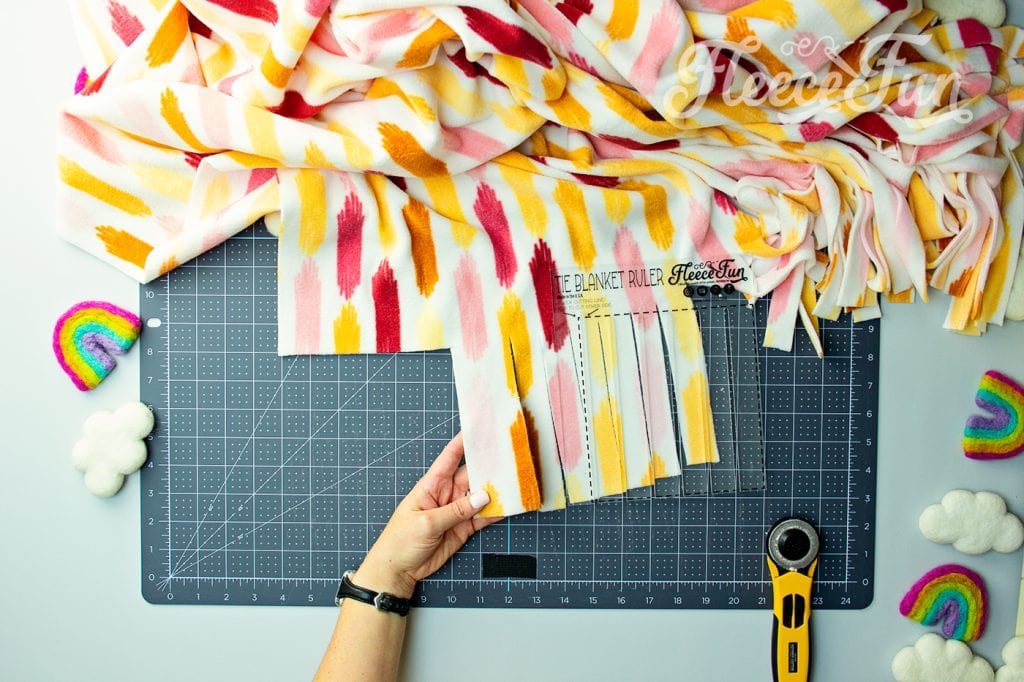
Continue until you reach the next corner. The last strip/ fringe most likely won’t line up perfectly.
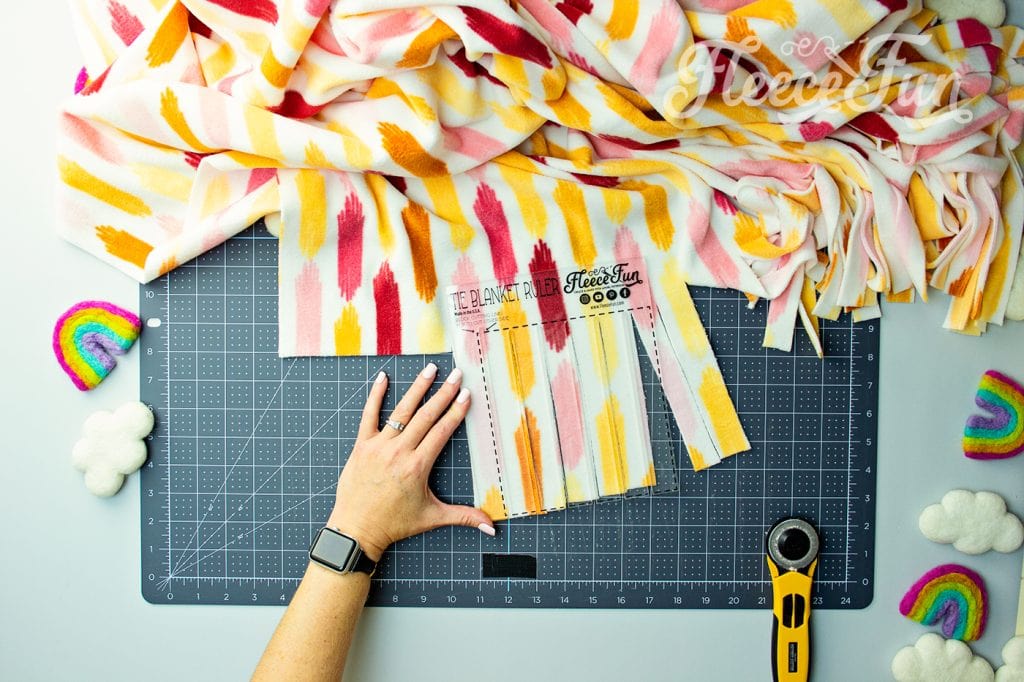
Use the one and a half rule – If the size of the strip is more than one and half times larger than the strips cut it in half, if it’s less – just leave it a little fatter than the others.
STEP 4- TIE THE TIES TO THE FLEECE BLANKET
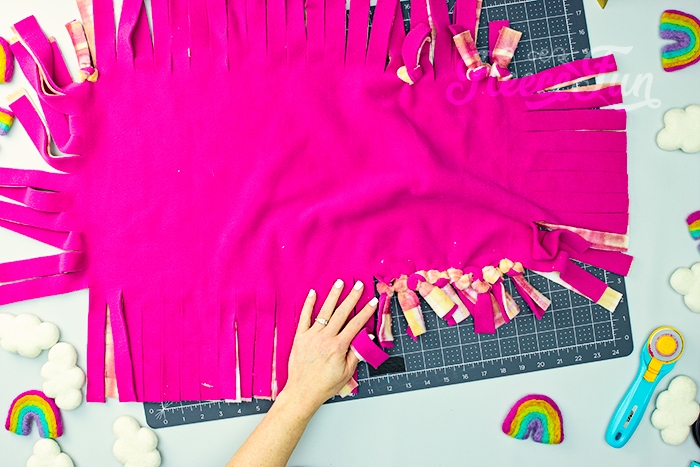
Start by gathering two ties that are sitting on top of each other. Keep them together. Wrap them around two fingers to form a loop. Pull the ends through this loop making it so the bottom fabric sits on top for a nice contrast. For a more detailed explanation with more pictures – check out this tutorial.
Trouble Shooting:
When using the Tie Blanket Ruler, sometimes the fleece won’t cut all the way through. It most likely means 1 of 3 possibilities:
- Your rotary blade is dull. When was the last time you switched out your blade? That could be the culprit.
- Not enough pressure on the blade while cutting. Be mindful that you giving enough pressure so that is can cut through two layers.
- The fabric was wrinkled/ bunched not allowing for a clean cut. Make sure everything is laid out flat and nice for cutting.


Fixing a missed cut is easy, just line up the Tie Blanket Ruler and cut it again. If it’s on the second layer and first was cut, move it out of the way so you can see the second layer and cut it.
MORE FLEECE BLANKET TUTORIALS:
- Hooded Fleece Blanket DIY (Child and Adult)
- How to Make a No Sew Tie Quilt
- Duvet Cover
- Stitch ‘n flip quilt
- Rag quilt (Easy Beginner’s Guide)
- How to crochet the edge of a Fleece Blanket
- Fleece Blanket with a Satin Binding
- Self Binding Fleece Blanket
- Fleece Ribbon Throw
- You can see all of the blanket tutorials here
MORE NO SEW PROJECTS:
- No Sew Hobo purse
- Satin Flower hair clip
- No Sew Fleece Flower
- No Sew Art Smock
- Ragged Tassels (Cute for decorating)
- The Lucet Scarf
- No sew baby car seat Canopy
- No sew cape
