
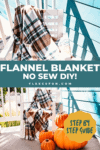
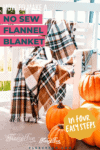
No Sew Blanket Tutorial (with flannel!)
This content contains affiliate links or sponsored elements, read our Disclosure Policy.


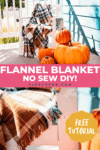

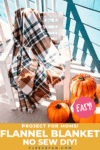
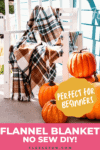
When the temperatures start to dip, there’s nothing quite like wrapping up in a cozy blanket, especially one you’ve made yourself. You probably love the idea of crafting something beautiful but might be a little intimidated by the thought of sewing. That’s why I’m so excited to share this simple tutorial on making a no-sew flannel blanket. This project is perfect for anyone who wants to create something special without the fuss of needles and thread.
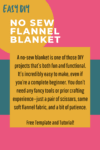
A no-sew blanket is one of those DIY projects that’s both fun and functional. It’s a perfect gift idea for friends or family, especially during the holiday season. Plus, the best part is that it’s incredibly easy to make, even if you’re a complete beginner. You don’t need any fancy tools or prior crafting experience—just a pair of scissors, some soft flannel fabric, a way to fasten the fabric and a bit of patience.

In this tutorial, I’ll guide you through the step-by-step process of making your own no-sew blanket. Whether you’re looking to add a personal touch to your home decor or want to create a thoughtful handmade gift, this project is sure to deliver. The finished product is a light, cozy blanket that’s perfect for those chilly evenings when you want to snuggle up with a good book or a cup of tea.
More no sew blanket ideas
Want even more no sew blanket ideas? I have the classic no sew fleece tie blanket tutorial. Want a great way to use up fleece scraps? I have this scrappy no sew fleece tie quilt tutorial. Or if you want something very different I have this no sew fleece ribbon throw tutorial here.
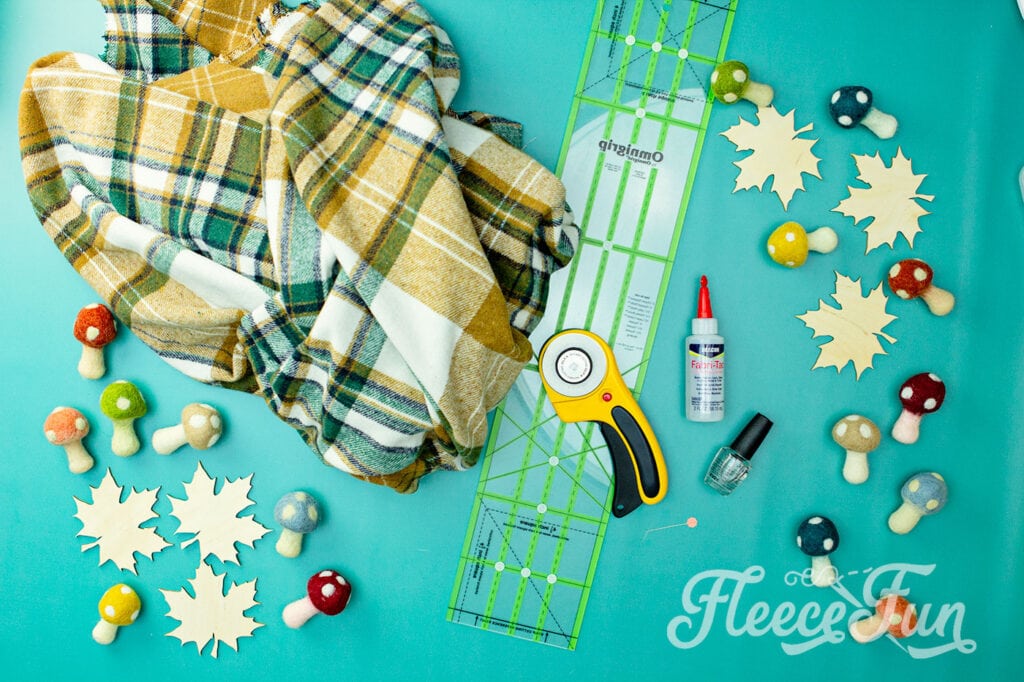
YOU WILL NEED:
Please note that the paper you print the printable on will affect the color nicer paper ( i.e. more expensive paper) tends to yield better results.
- 2 yards of flannel (preferably plaid)

- Rotary cutter, ruler and mat (or sharp scissors)
- Fabric-Tac glue (or clear nail polish in a pinch)
- pin or needle
So, if you’re ready to get started with a fun and rewarding craft, grab your supplies and let’s begin. Trust me, once you see how easy and satisfying it is to make your own no-sew blanket, you’ll want to make one for everyone you know!

No Sew Blanket Tutorial (with flannel!)
Step 1 – Pick out the Right Kind of Fabric for the no Sew Blanket
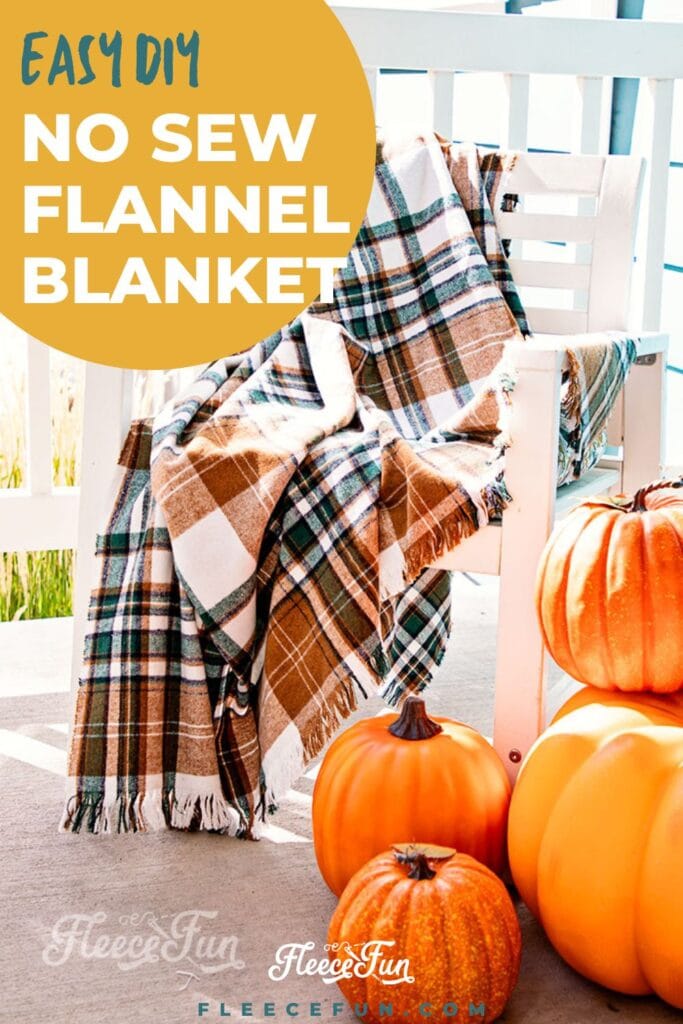
Part of this project being successful relies on picking out the right type of fabric. This project will only work with a specific type of fabric – flannel. While you can do this with a plain flannel I’ve found that it looks best in a beautiful plaid pattern as it makes it very easy to see all the fringe.
Quick Tip
Don’t wash the fabric before doing this project. It will tighten up the threads and make it harder to work with. By not washing the flannel the threads will be looser and easier to pull.
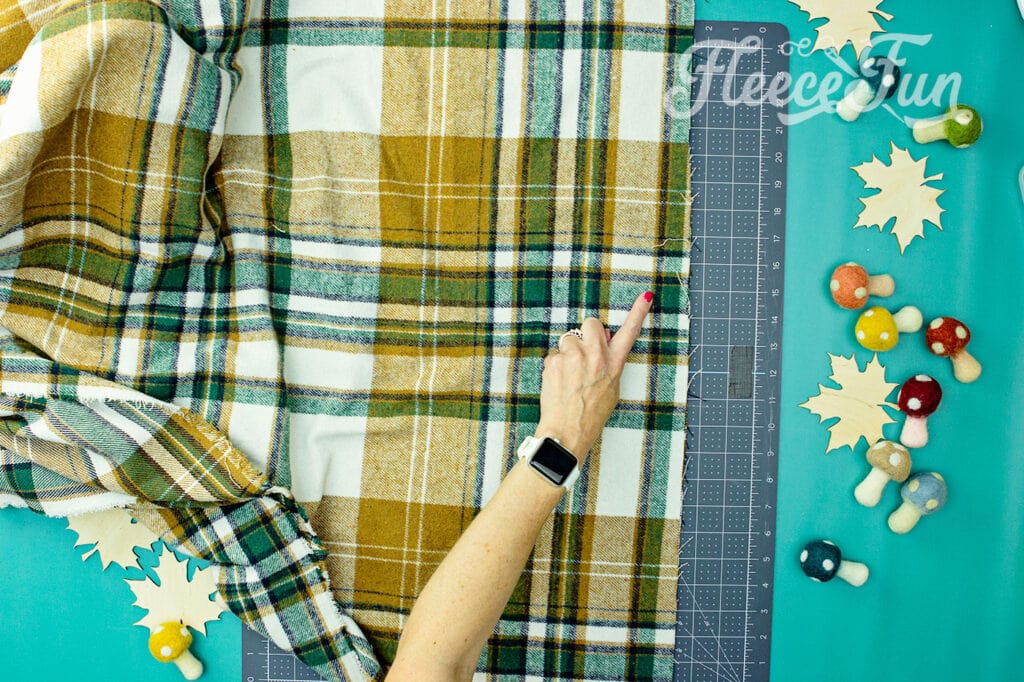
Step 2 – Prep the raw edges to make the fringe
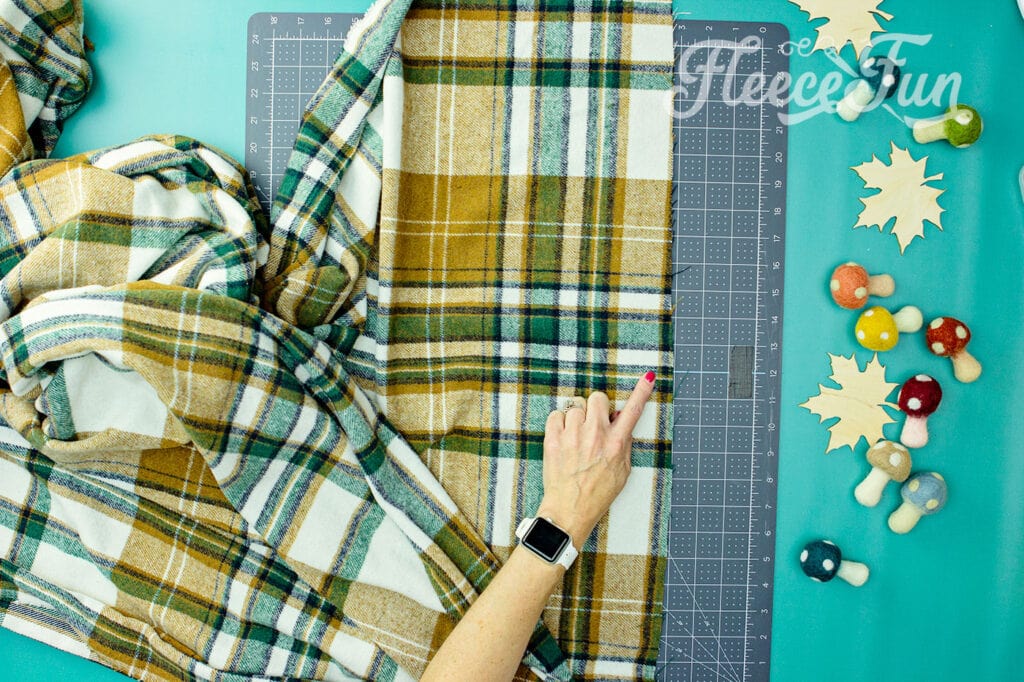
The straighter and cleaner the cut of the fabric the easier it will be to make the edges fringe. Depending on how sharp the scissors were at the store (or how skillful the worker) the edge might have a very jagged cut. We’ll need to clean this up before making the fringe ends.

The plaid lines will serve as a guide to your cut. We’re going to pick on to be the guide and cut to it. While this might make the bottom uneven, once we get the fringe it will look even. So it’s better to use the plaid as a guide.
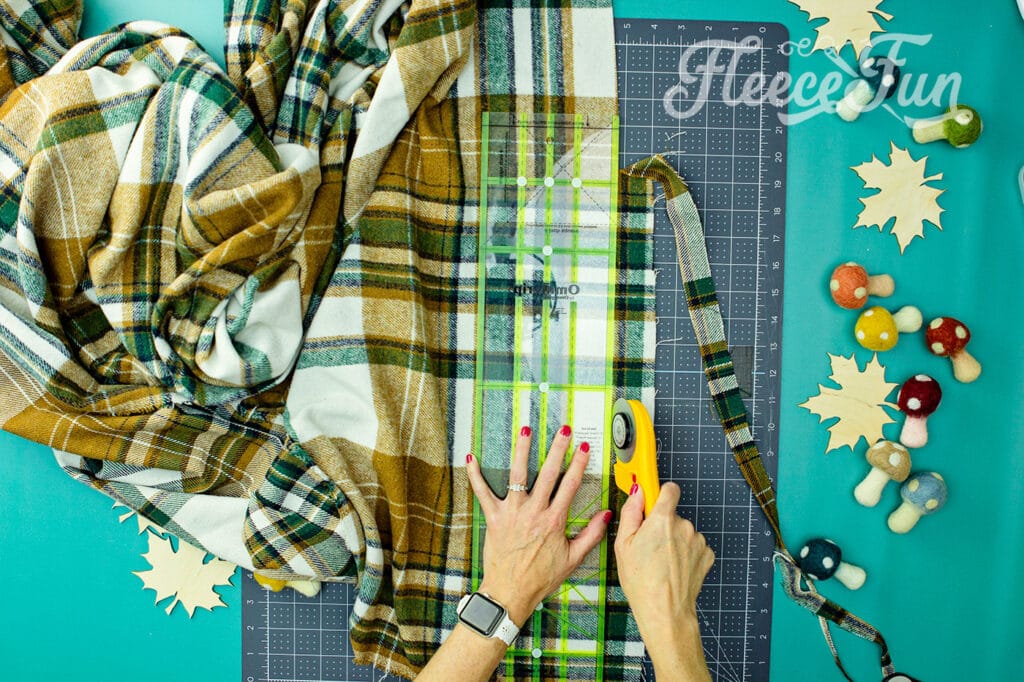
I love the crisp line a rotary cutter gives. A nice clean line will make it easier to pull the fringe. But if you don’t have access to a rotary cutter a good pair of scissors cut along the line will work as well. The goal is for the line to be as straight as possible. Not jagged.
You’ll do this for each end of the fabric. Don’t cut off the selvedges (this is the fabric that is opposite the fold and has a slightly different texture than the rest of the fabric). We’re leaving them on since they won’t fray and finish those long sides of the blanket.
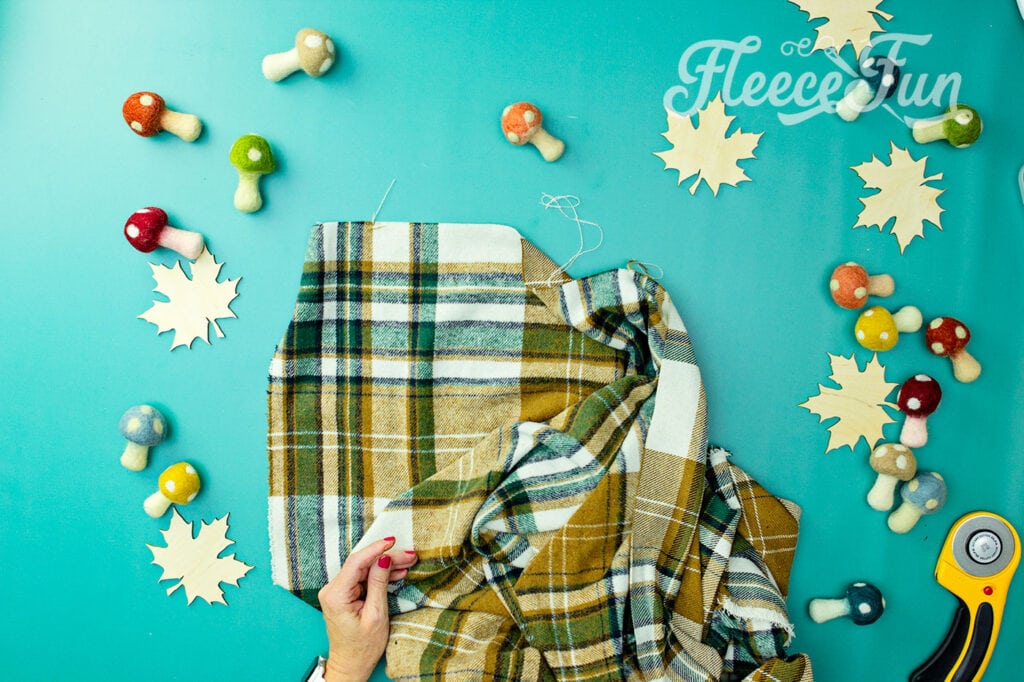
Step 3 – Fray the ends of the no sew blanket

Taking you handy pin, it’s time to purposely fray the ends of the flannel blanket to make to make the fringe.
This step takes a little time. It’s a good project to do while watching a movie or listening to a podcast.
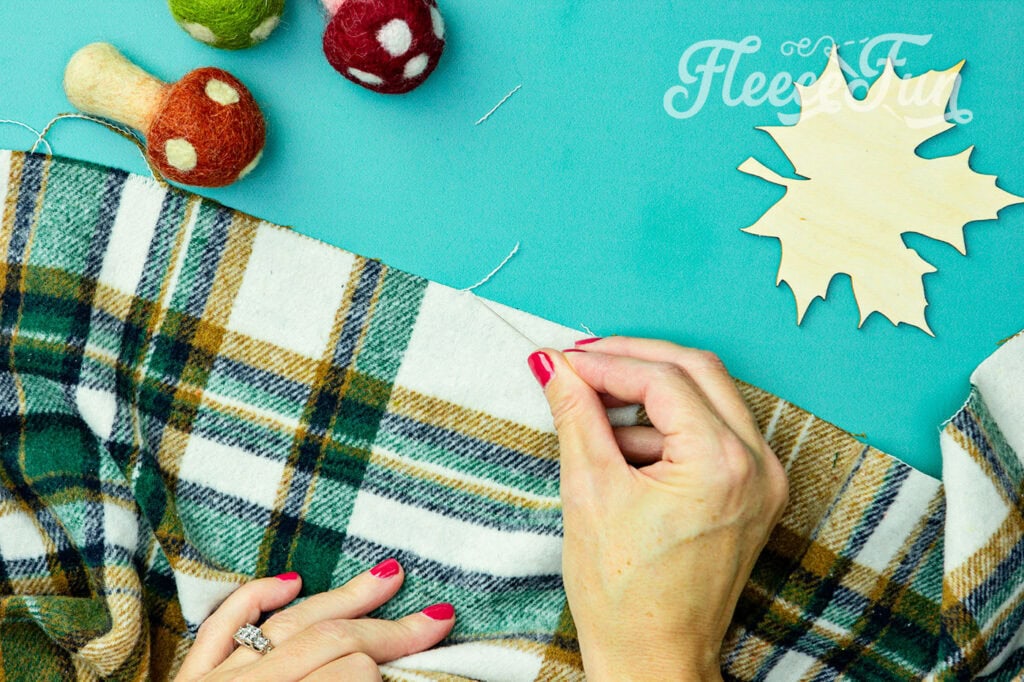
Using your pin, pick off the top thread of the end that we just cut. Gently pull on the string, unraveling it from the blanket.
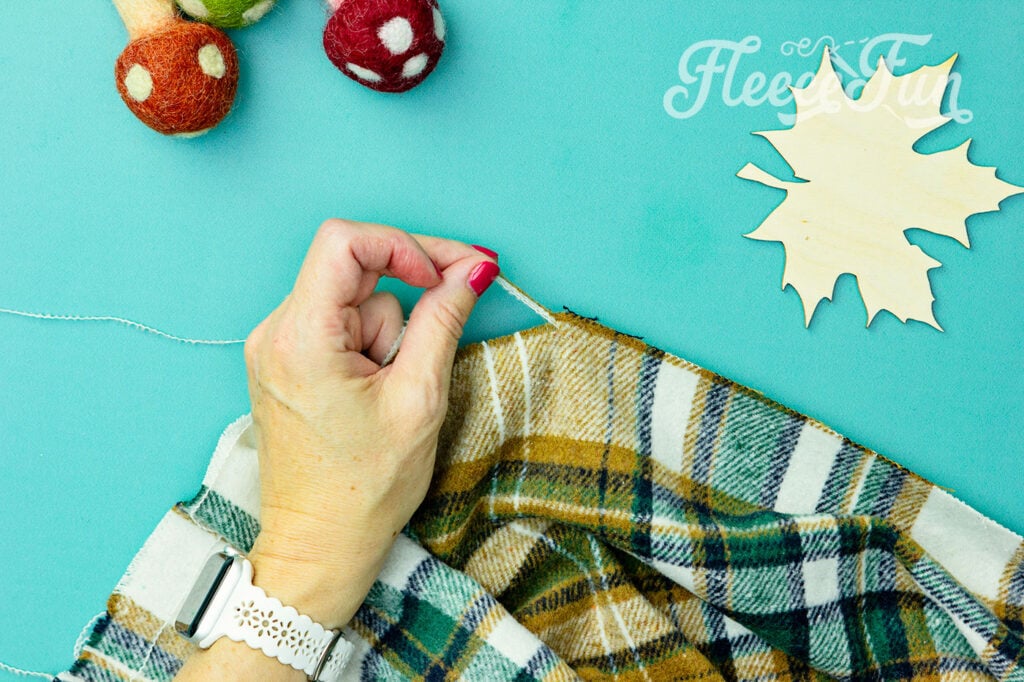
I’ve found that it’s better to do one thread as a time as trying to do more than that you get stuck easily and it’s doesn’t unravel.
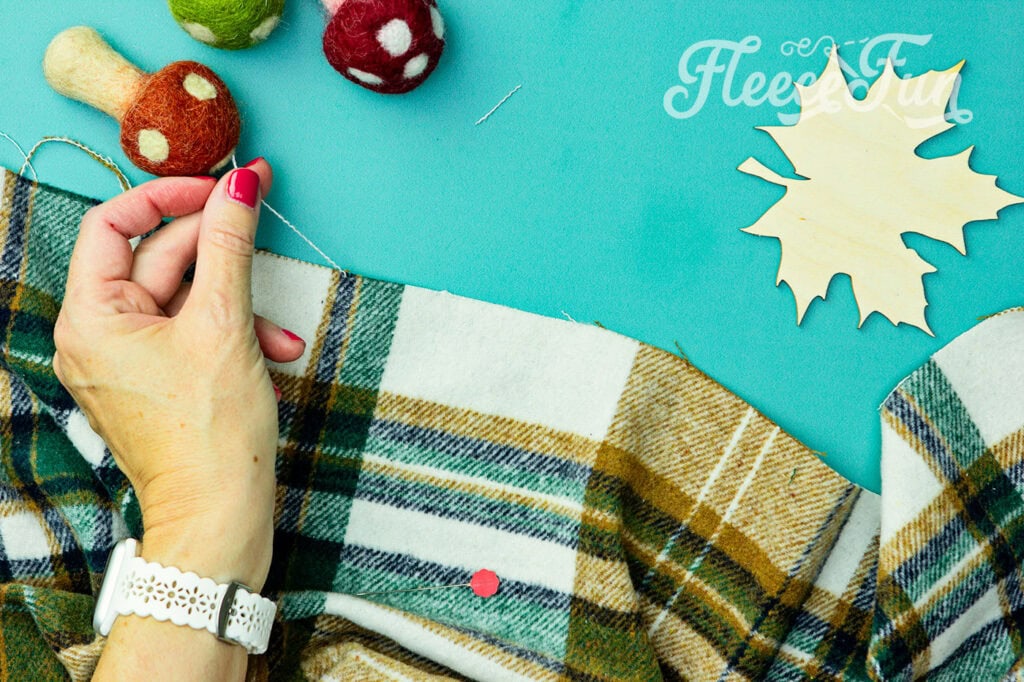
Gently pull it across, if your thread sticks or break, just use the needle to pick back up where you left off.
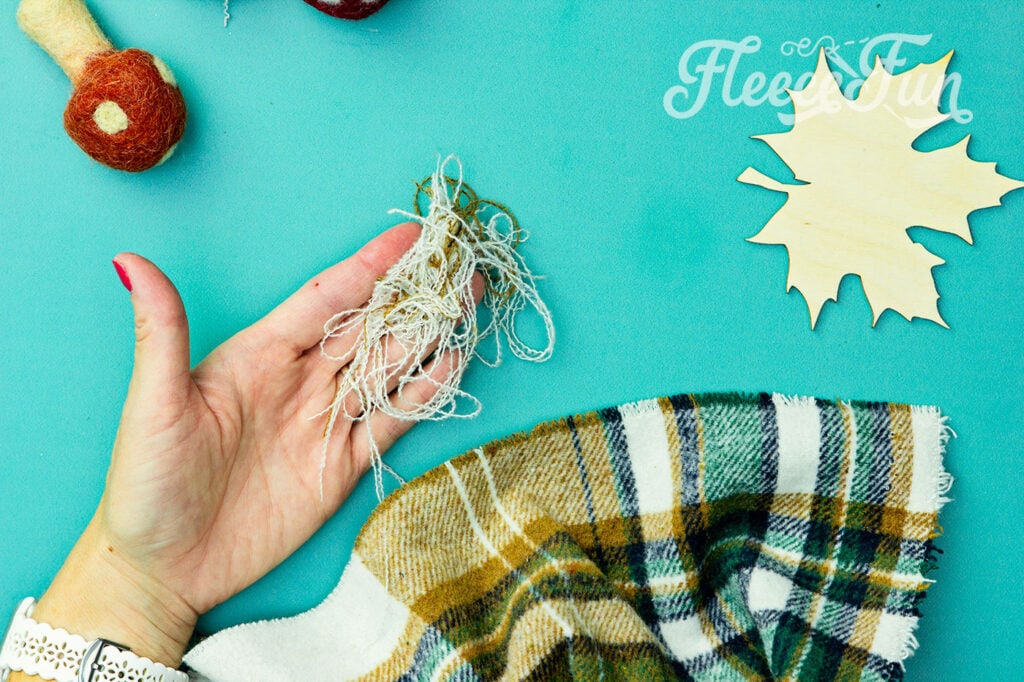
At first it will seem like you’re hardly making progress. But keep at it. Eventually you will see Fringe!
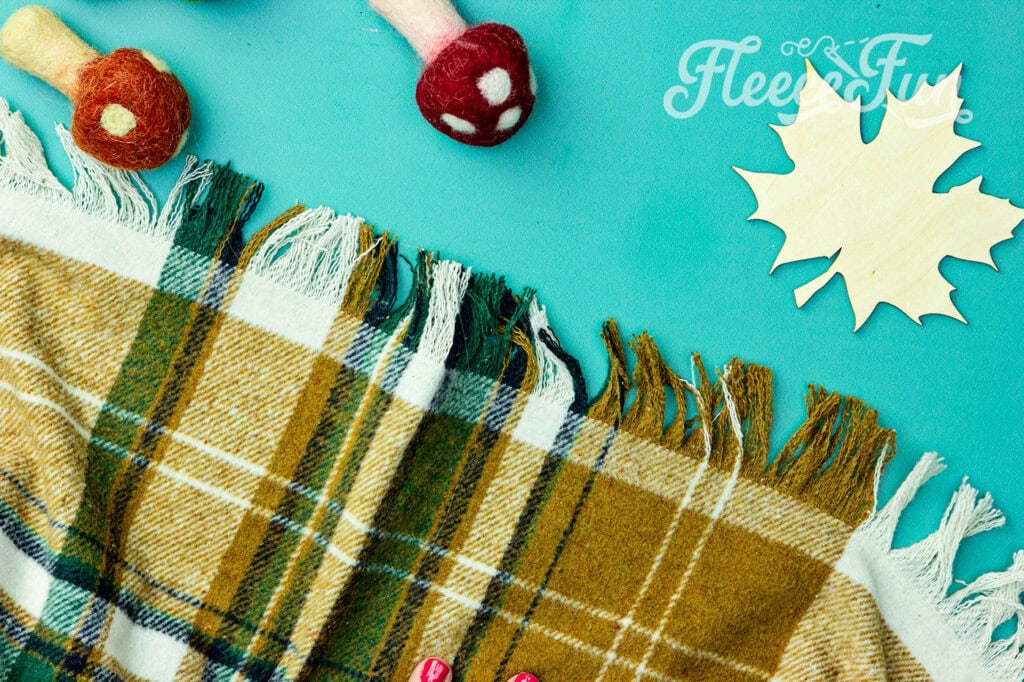
I like my fringe to be about 1 1/2 to 2 inches long. Any more than that and it seems to easily tangle.
Fringe the other end of the blanket as well.
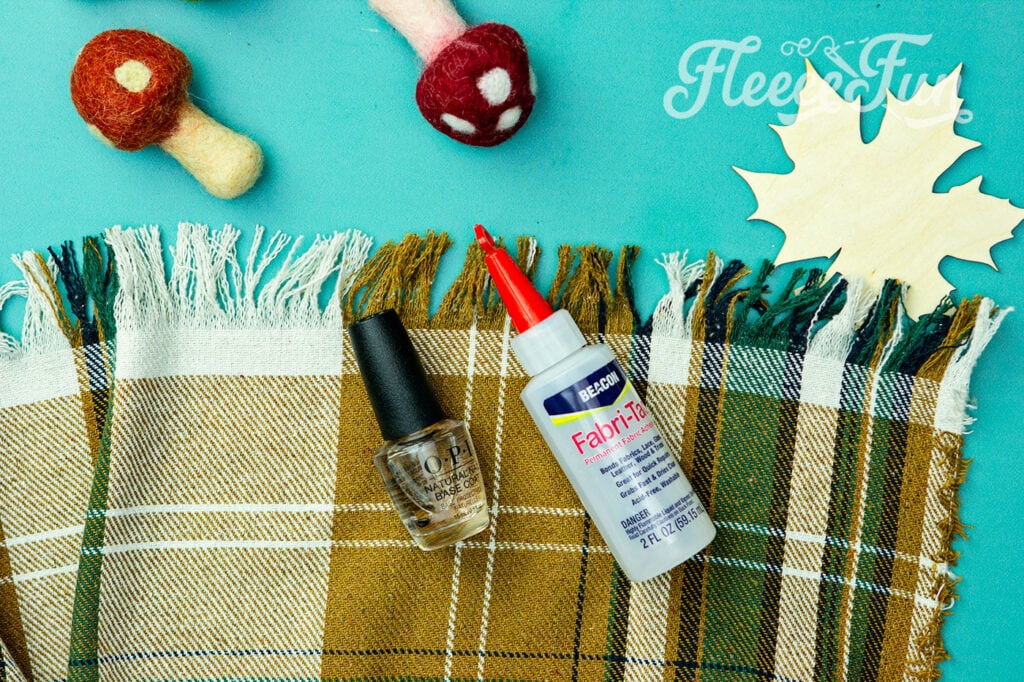
Step 4 – Make your no sew blanket washable
As mom I believe that things should not just be pretty, but also washable. So we’re going to make sure our nice work looks good but can be used over and over.
I have three solutions for your blanket.
The first is to use some clear nail polish
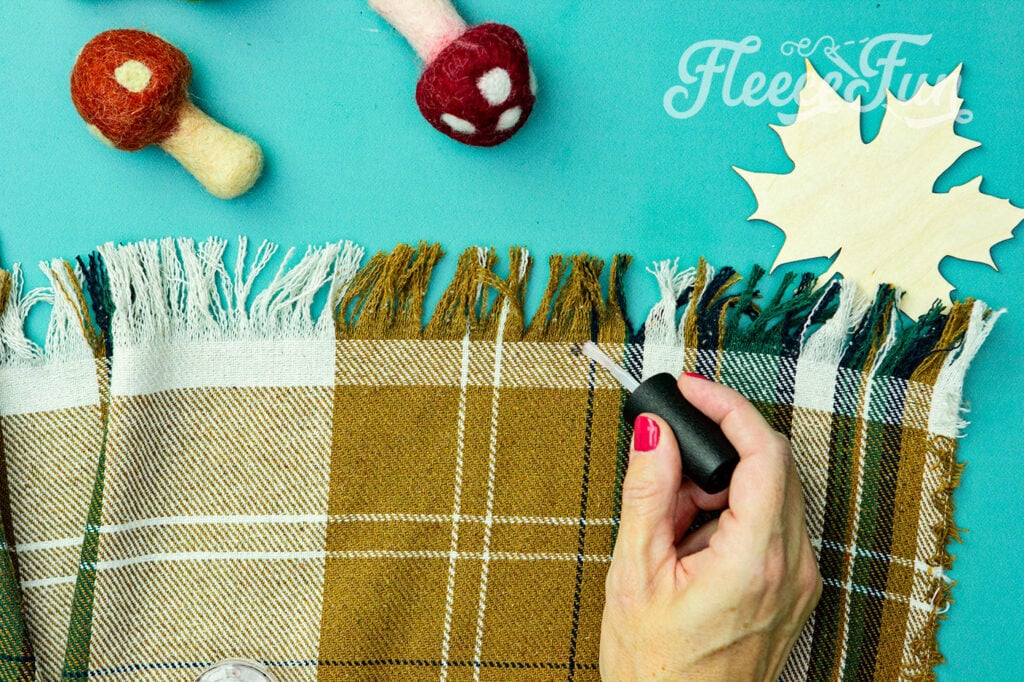
Being mindful that the polish doesn’t leak to the other side gently brush the polish along the edge of the blanket, just below the fringe to lock the fabric in place. Let it dry for 24 hours before washing (gentle cycle)
Method 2 ( preferred)
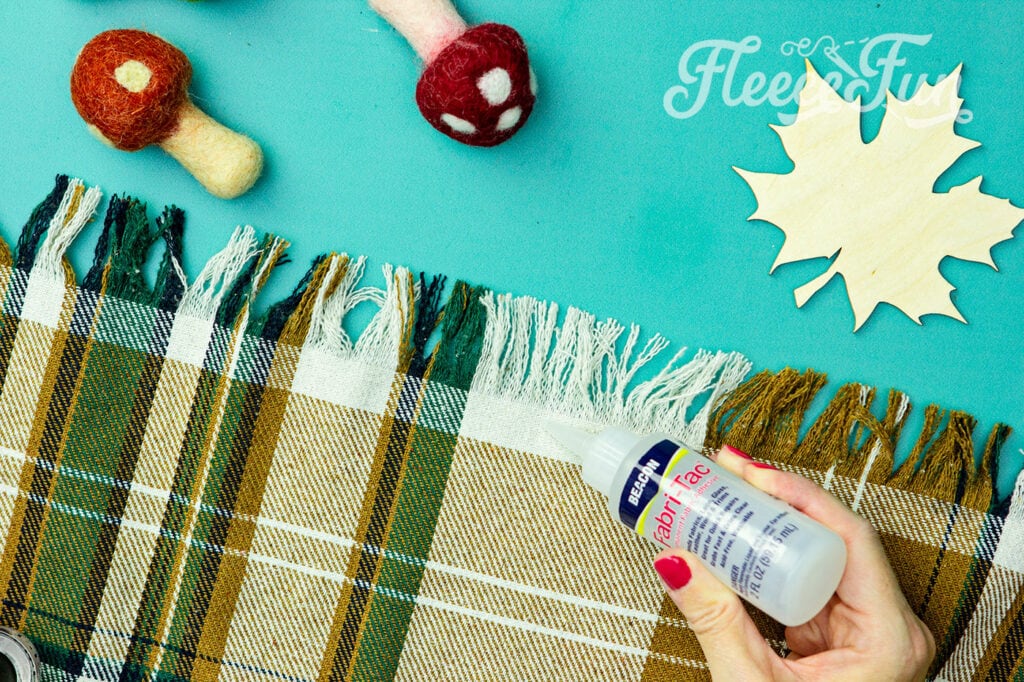
Using Fabri-Tac, glue along the edge just below the fringe.
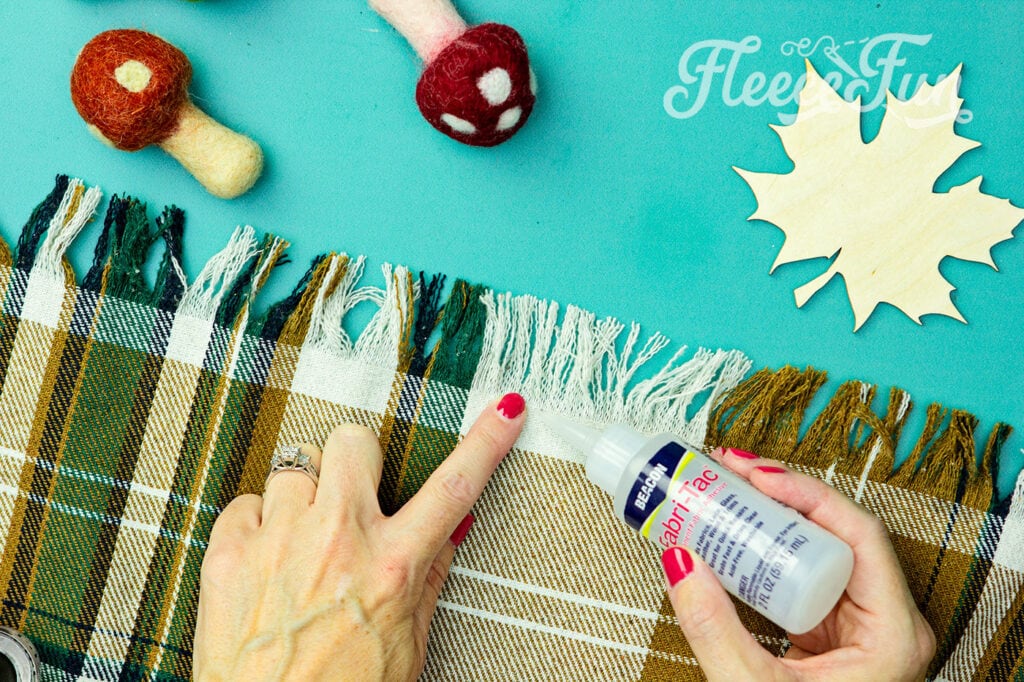
Pushing the glue in between the fibers as you go. Let it dry for 24 hours before washing (gentle cycle)
Method 3
Just sew a slip zig stitch across the blanket locking the threads into place. But since this is a no sew tutorial it’s technically cheating!
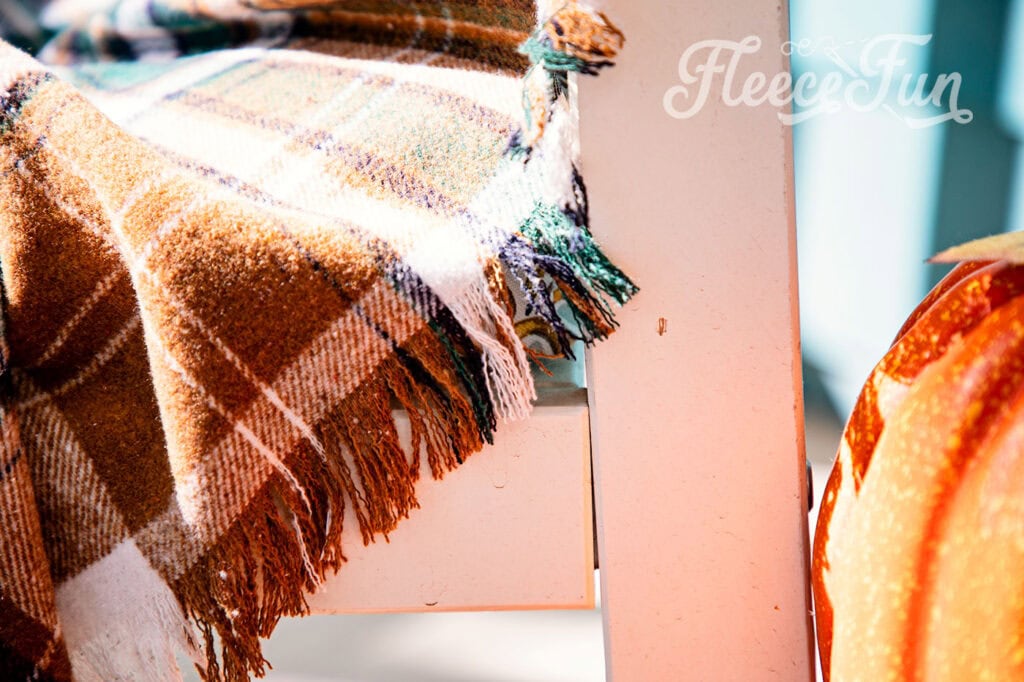
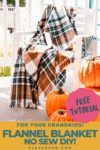
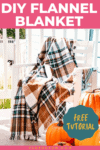
Now you have a beautifully fringed blanket that nice and light. Perfect for early fall. It also just looks nice draped over a chair or couch.
MORE BLANKET TUTORIALS:
- How to Make a No Sew Tie Quilt
- Traditional Fleece Tie Blanket (with templates and 3 methods!)
- Duvet Cover
- Stitch ‘n flip quilt
- Rag quilt (Easy Beginner’s Guide)
- How to crochet the edge of a Fleece Blanket
- Fleece Blanket with a Satin Binding
- Self Binding Fleece Blanket
- Fleece Ribbon Throw
- You can see all of the blanket tutorials here