
Waterproof diaper changing mat tutorial
This content contains affiliate links or sponsored elements, read our Disclosure Policy.
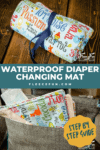
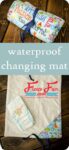
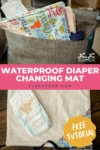
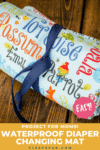
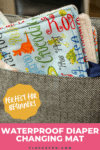
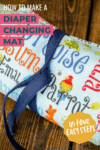
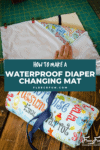
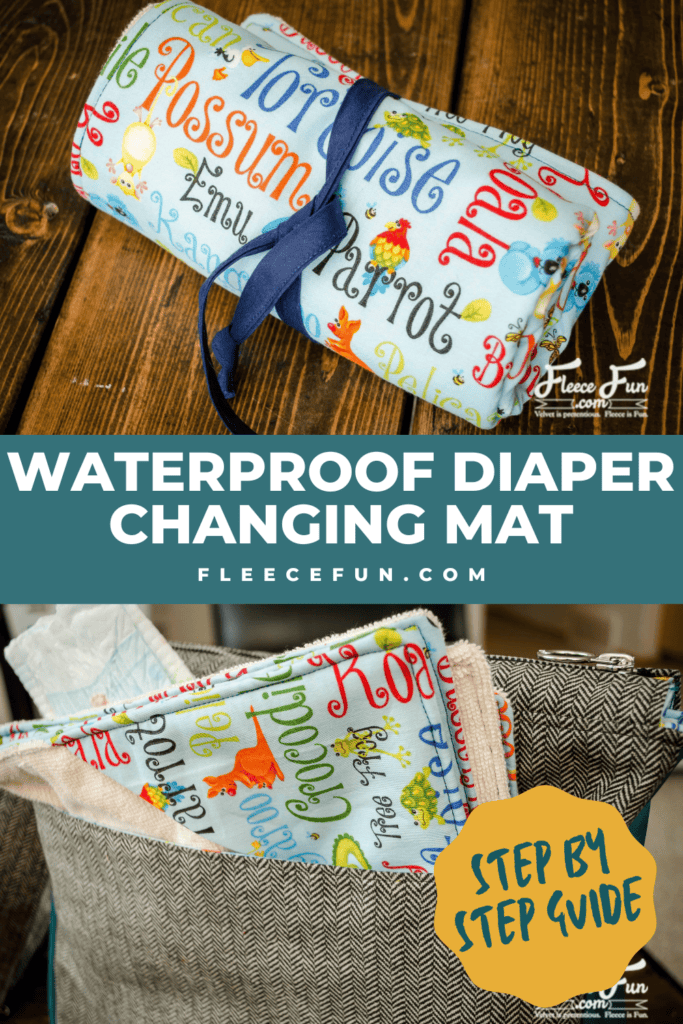
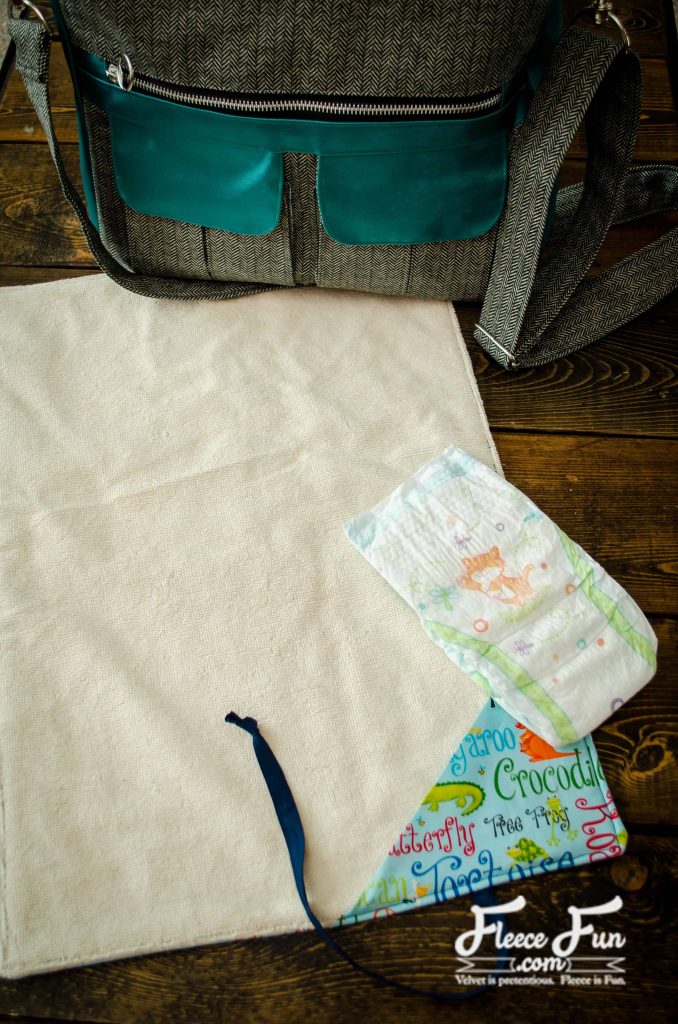
This waterproof diaper changing mat tutorial is perfect for slipping into a purse when you and your baby are on the go! With a few simple materials you can make this useful baby accessory.
A new nephew in our family means time to sew baby gifts! I sewed a diaper bag for my nephew, but wanted to add a change mat, so I came up with this tutorial.

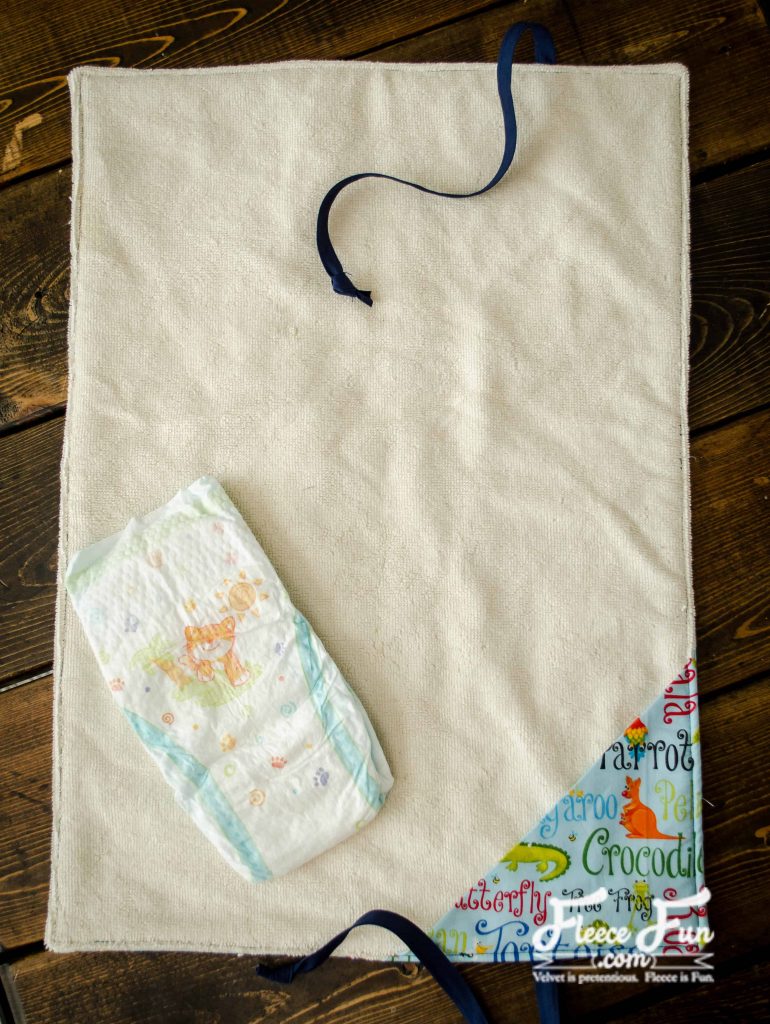
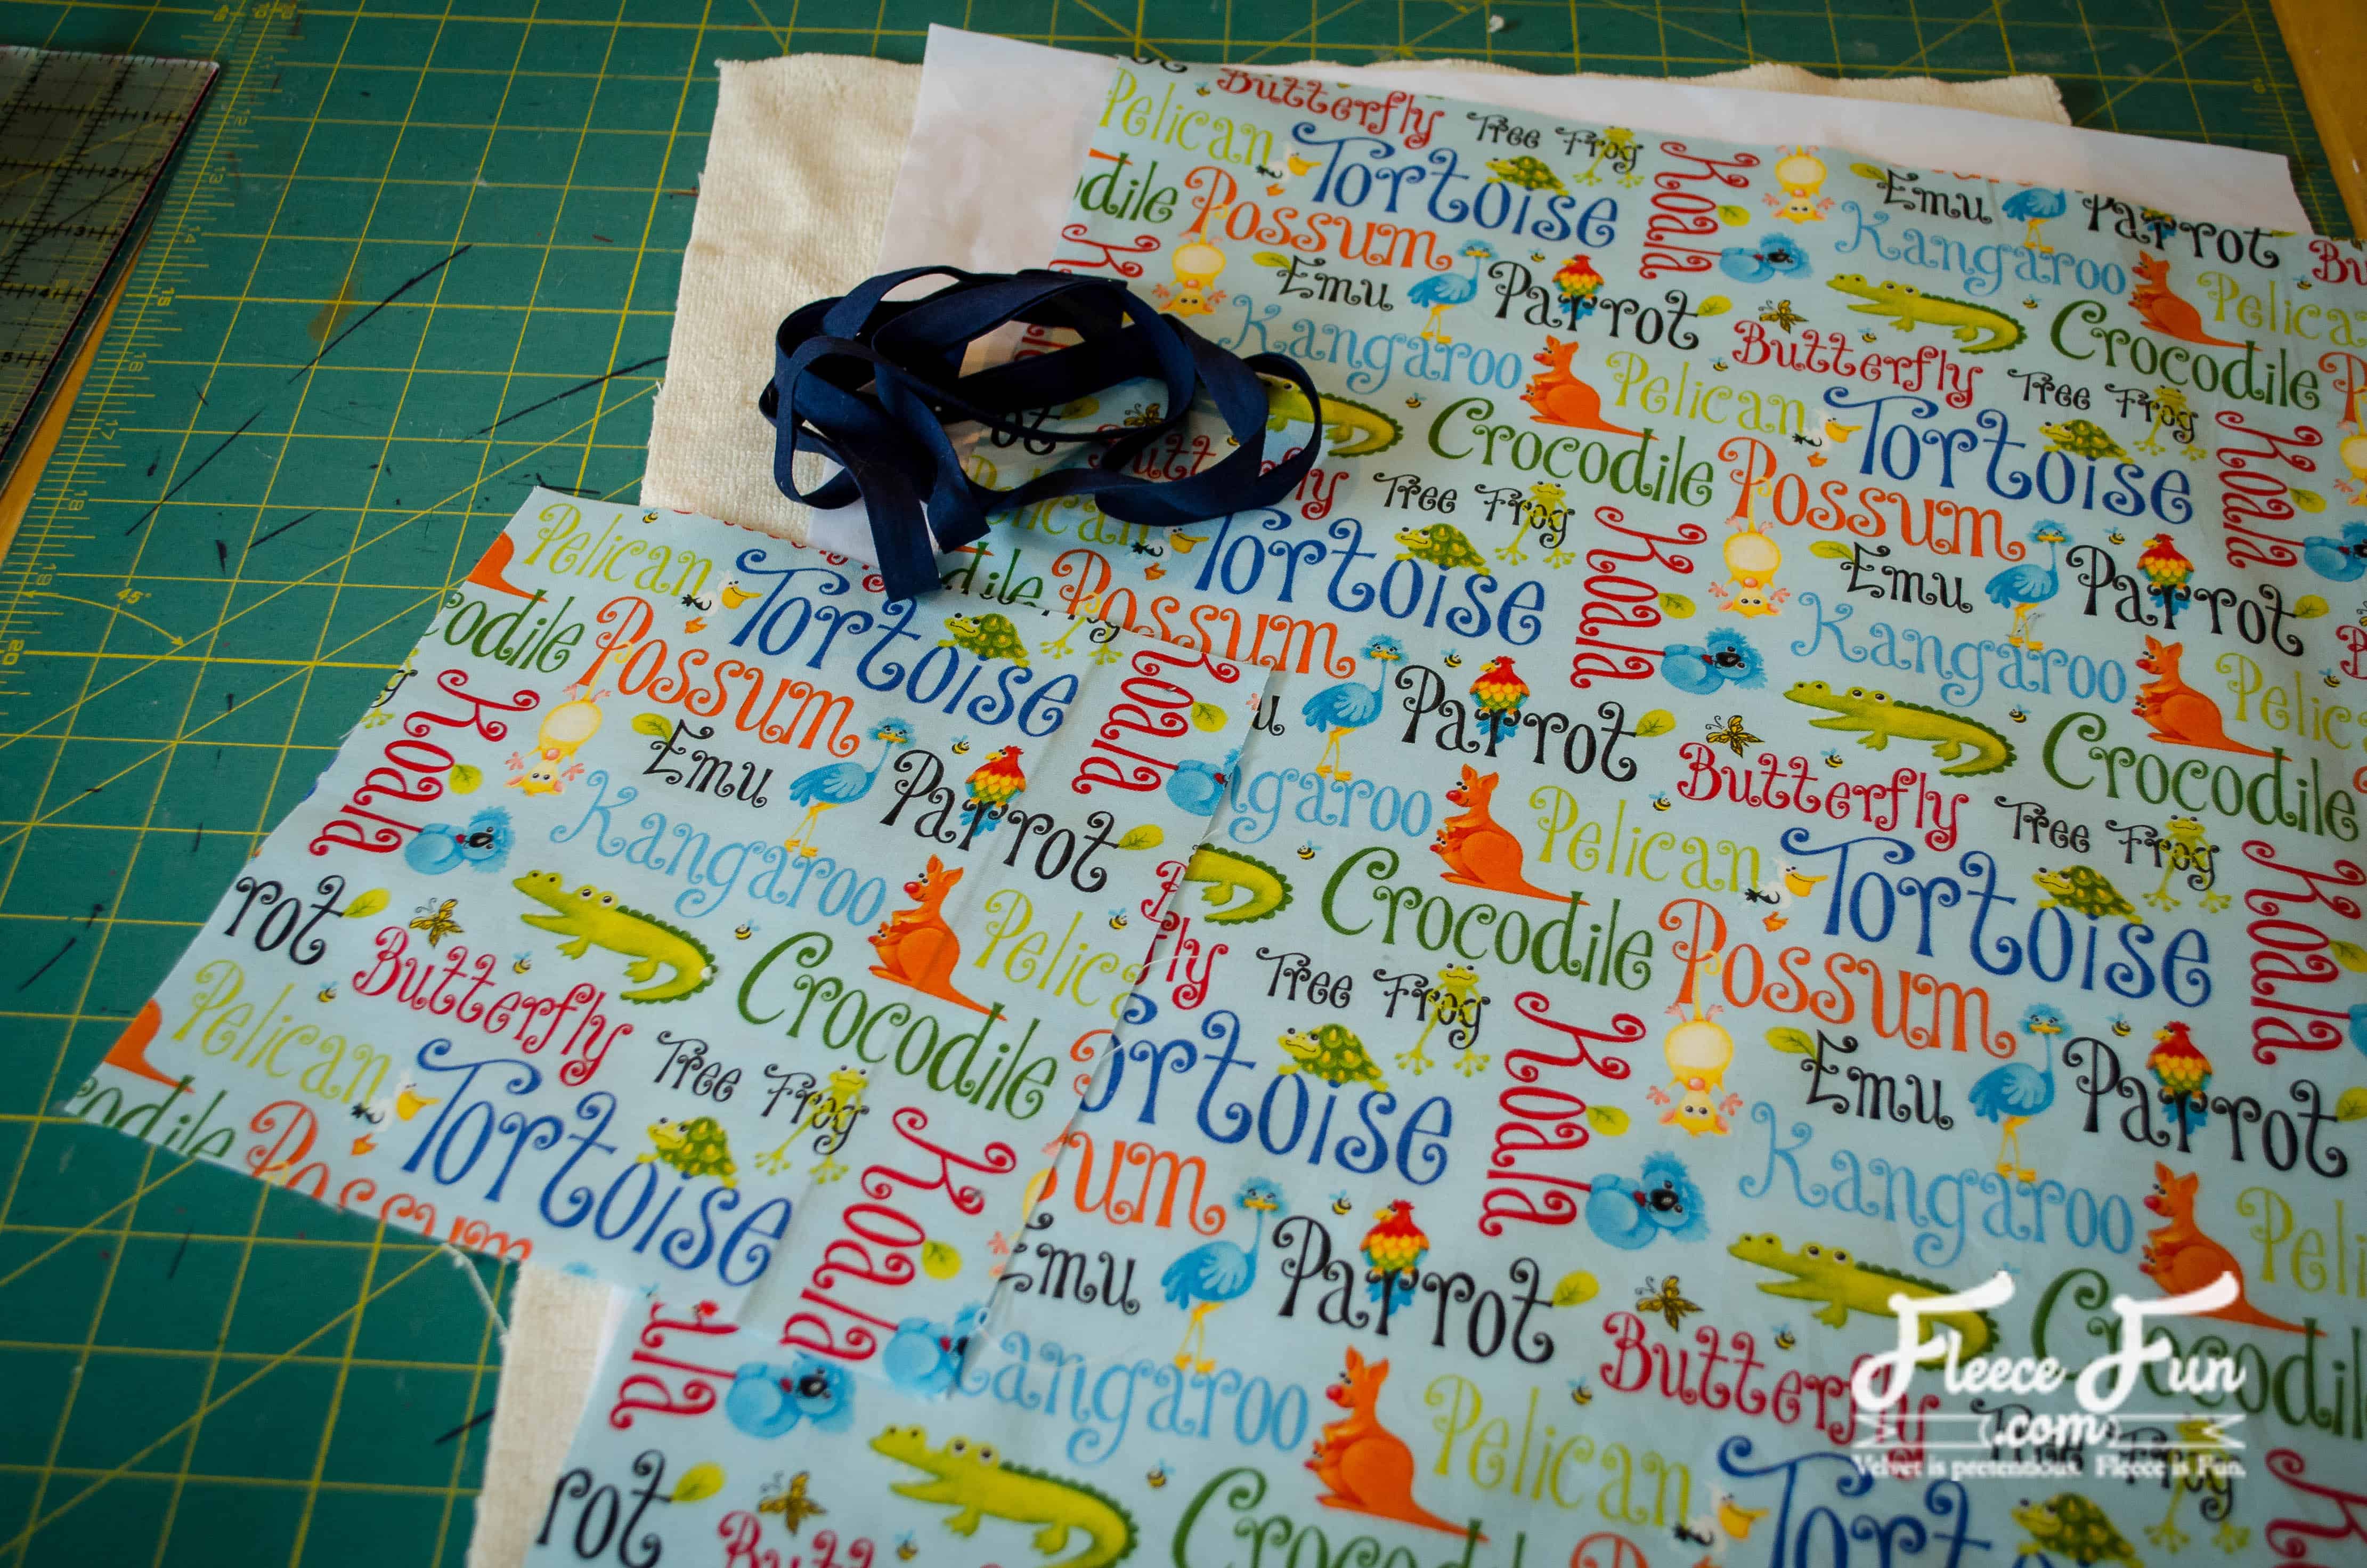
This change mat is the perfect opportunity to use up small amounts of fabric from your stash. I used a fun quilting cotton that was also used as the lining of the diaper bag. The other side is a soft terry cloth. If you don’t have terry cloth in your stash, you can use a cotton sweater fleece or recycle a small hand towel. The terry cloth soaks up any messes, but there is also a hidden water proof layer inside to protect the surface your baby is laying on.
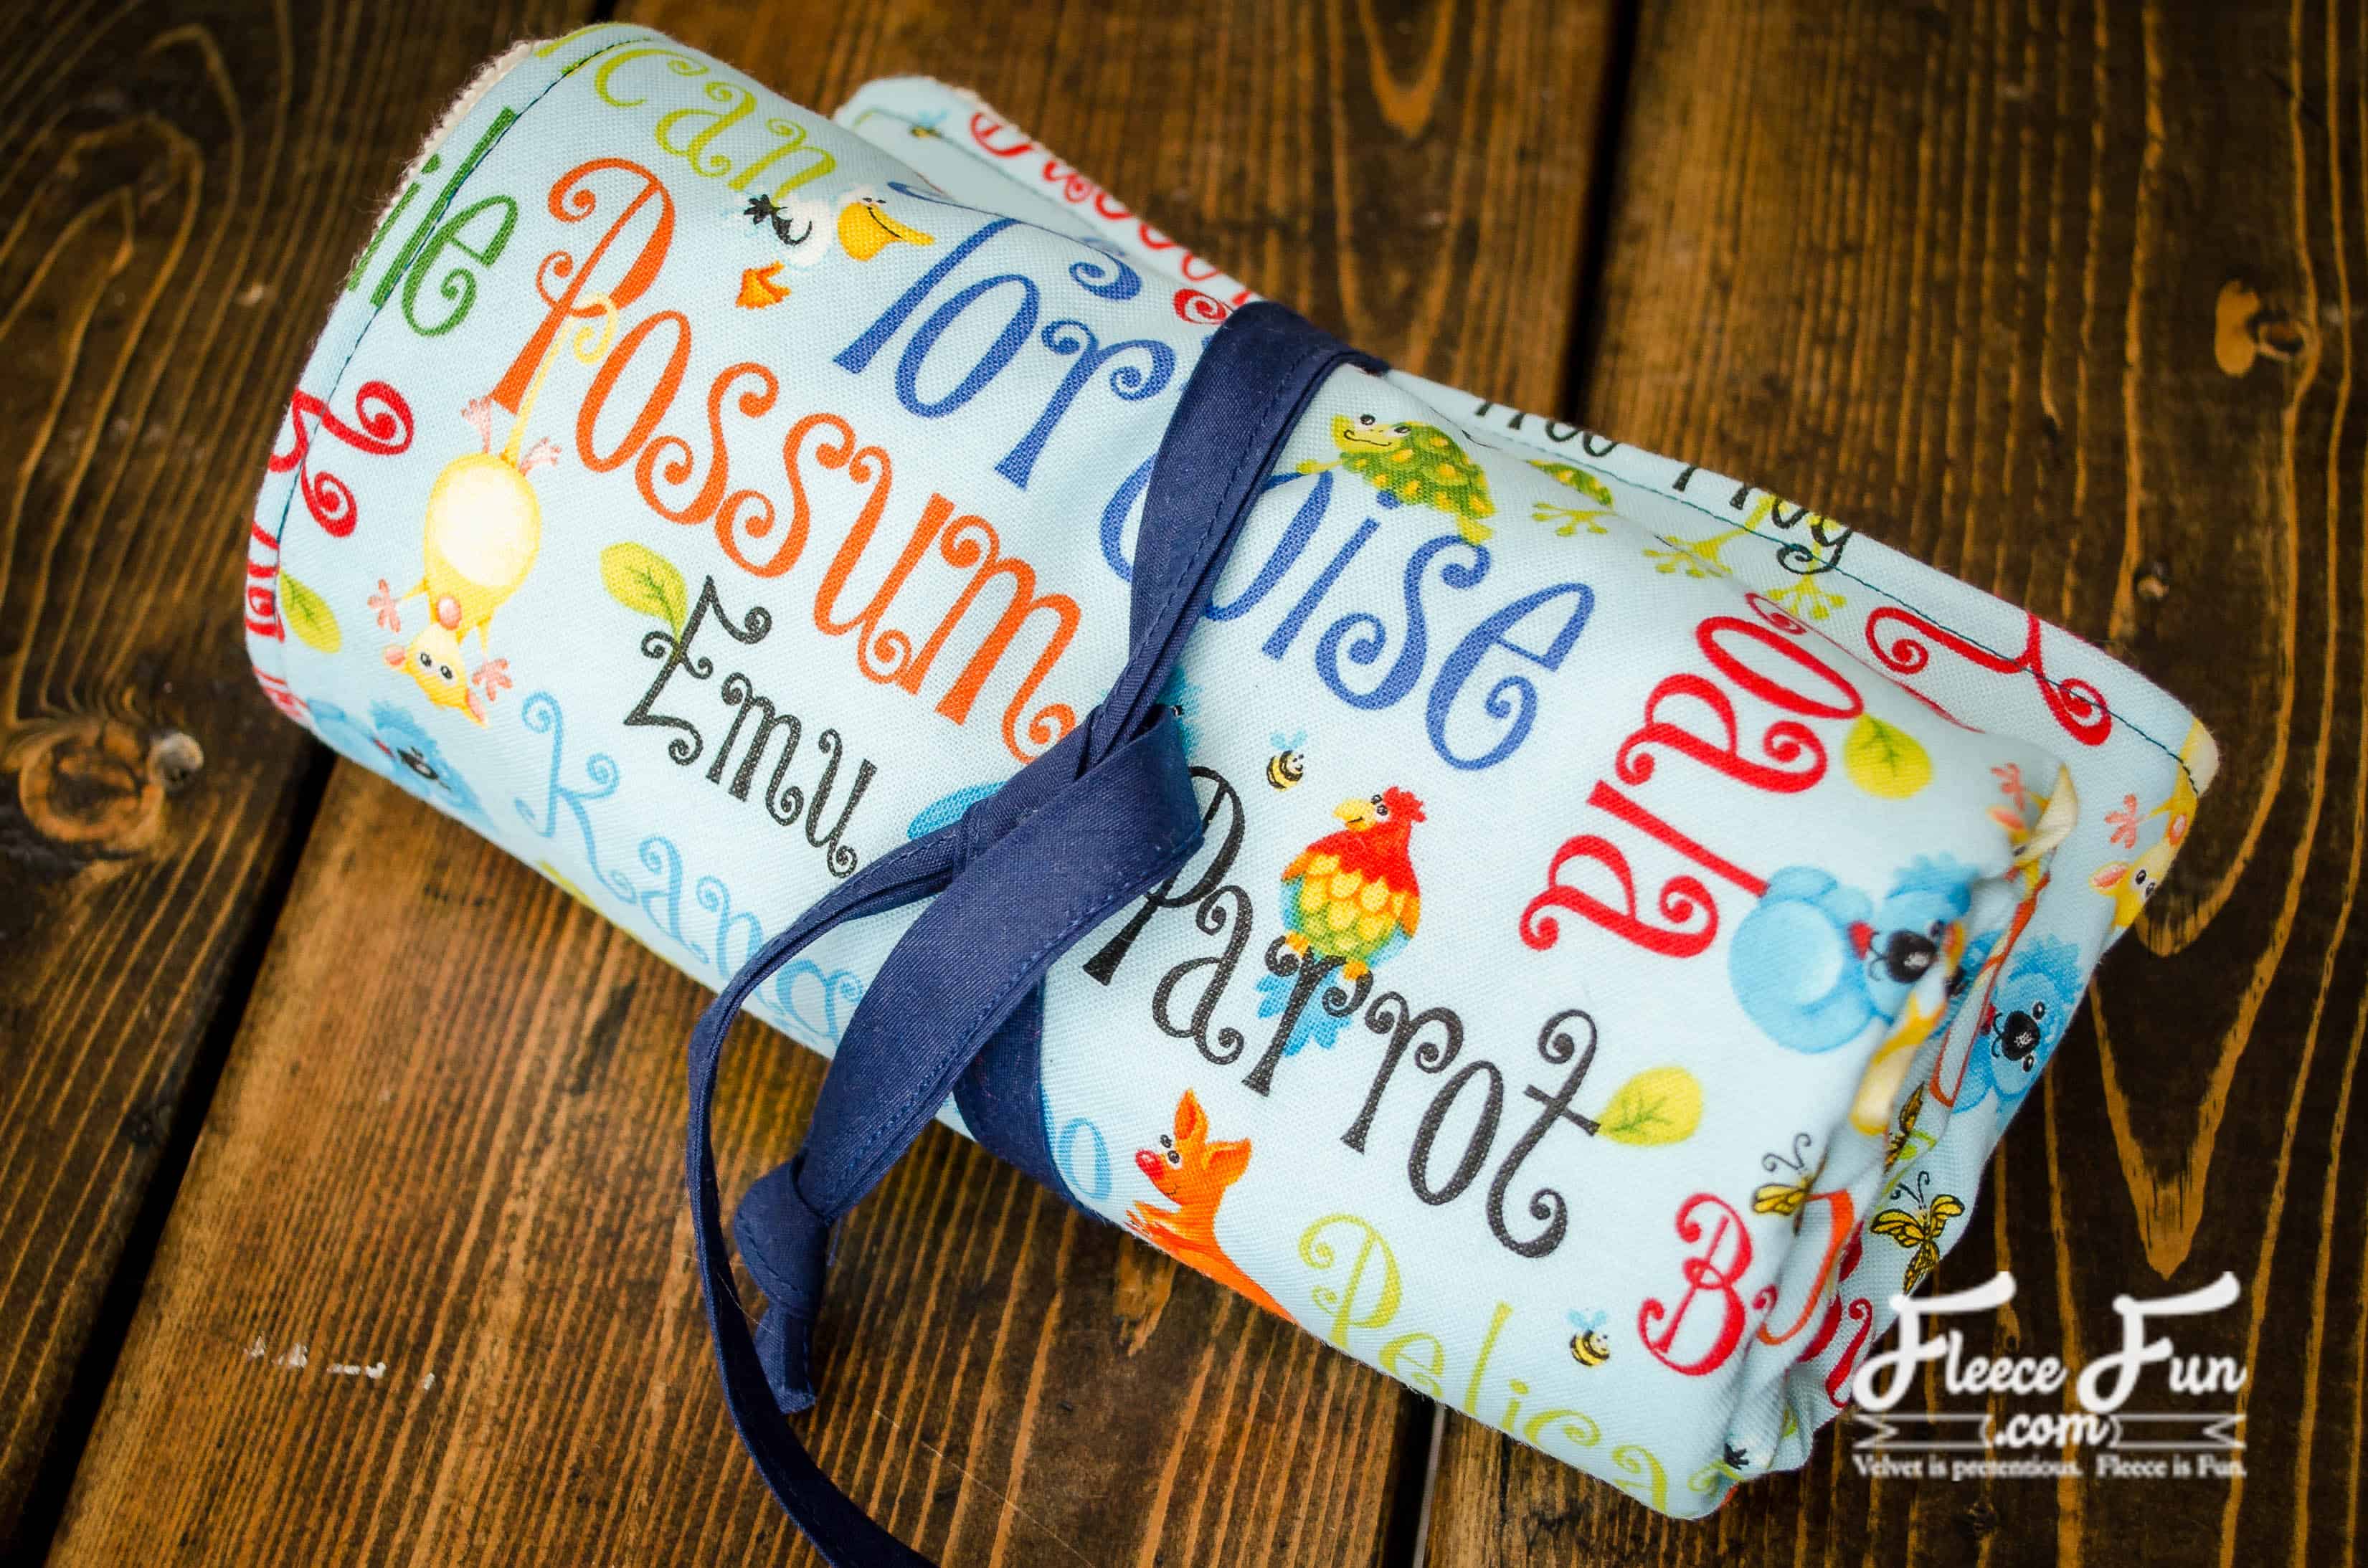
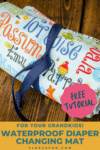
I added bias tape ties to the change mat so that if it gets dirty, it can simply be rolled up, tied in place, and tossed back in the diaper bag to take home and wash.

Finally, I added a small triangular pocket to the front side. Use it to store a wipes case, some diaper cream, or even a spare diaper.
YOU WILL NEED:
- fat quarter of quilting cotton (or 1/3 yard)
- 1/3 yard PUL (polyurethane laminate) or other waterproof material
- 1/3 terry cloth (or reuse a hand towel)
- 24″ double fold bias tape or ribbon
- Cut
- 21″ x 15″ out of EACH quilting cotton, terry cloth, and PUL
- 7.5″ square out of quilting cotton
- Sewing Essentials (pins, scissors, etc.)
Waterproof diaper changing mat tutorial:
Step 1 – Begin to Sew
You will need to assemble the pattern. For instructions on how to assemble the sewing pattern click here.
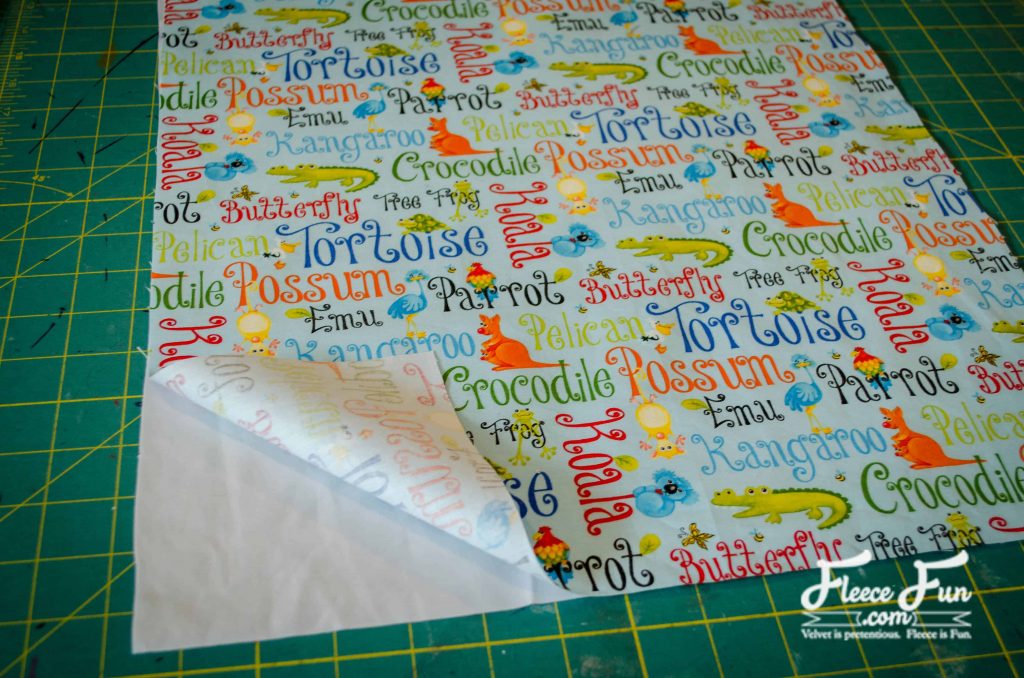
Place PUL with the waterproof (shiny) side up. Place quilting cotton on top, right side up.
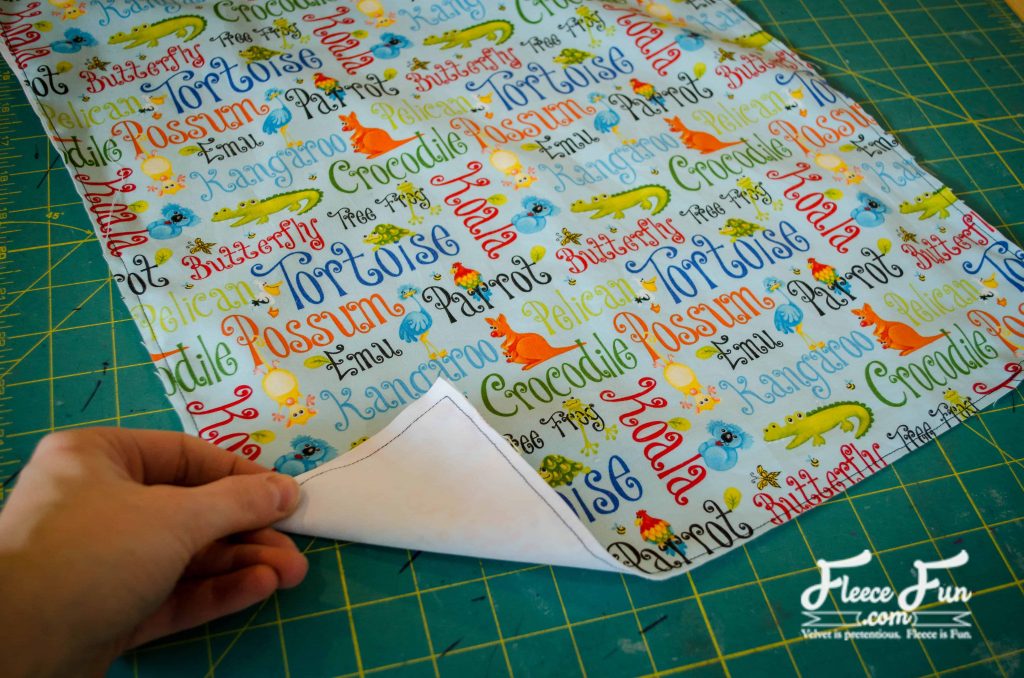
Pin together and baste 1/4″ away from the raw edge.
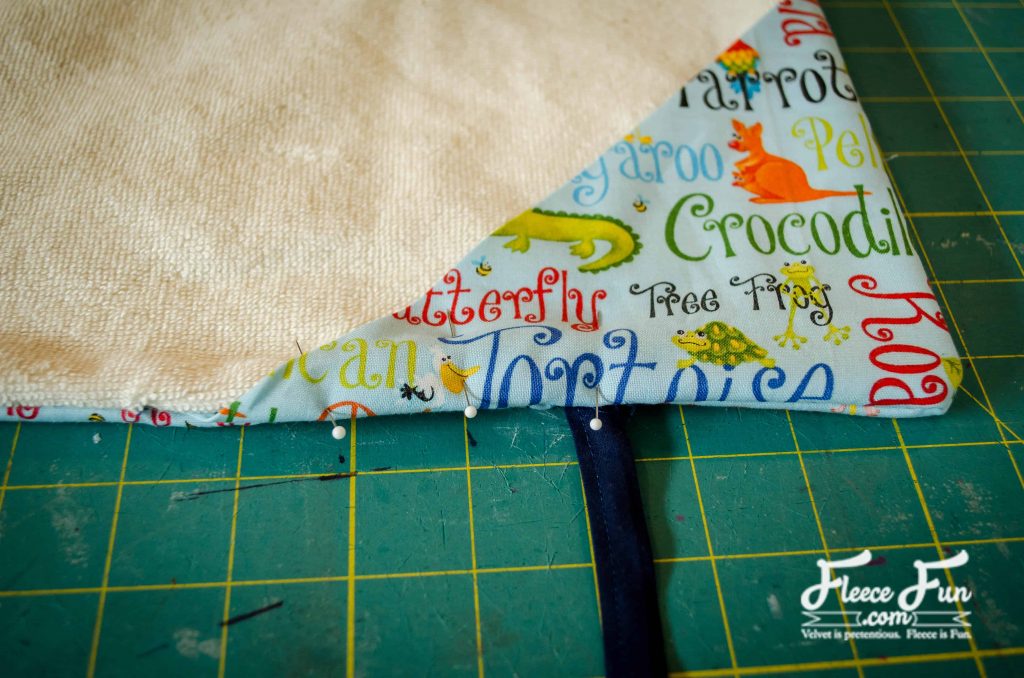
Step 2 – Make the Corner Pocket
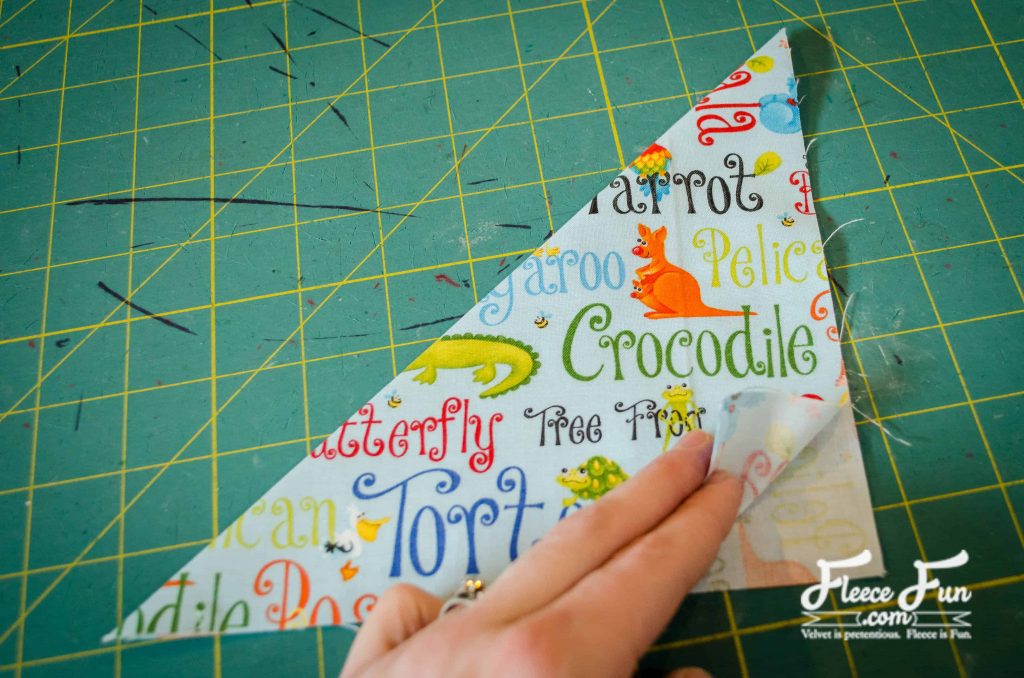
Fold quilting cotton in half, wrong sides together, along the diagonal to form a triangle and press.
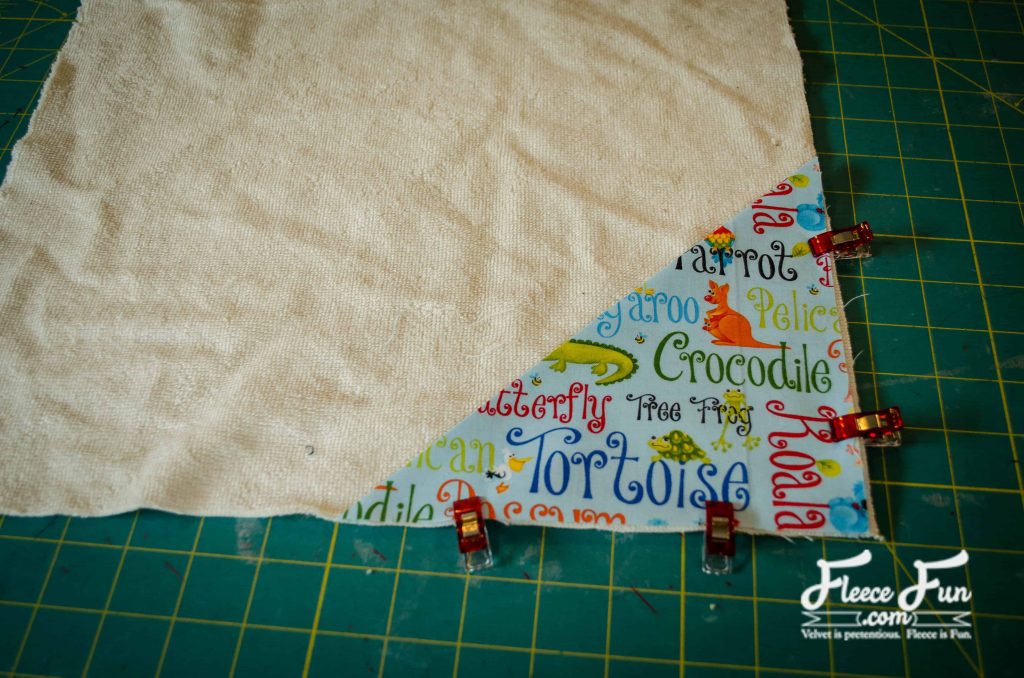
Pin the triangle to a lower corner of the terry cloth.
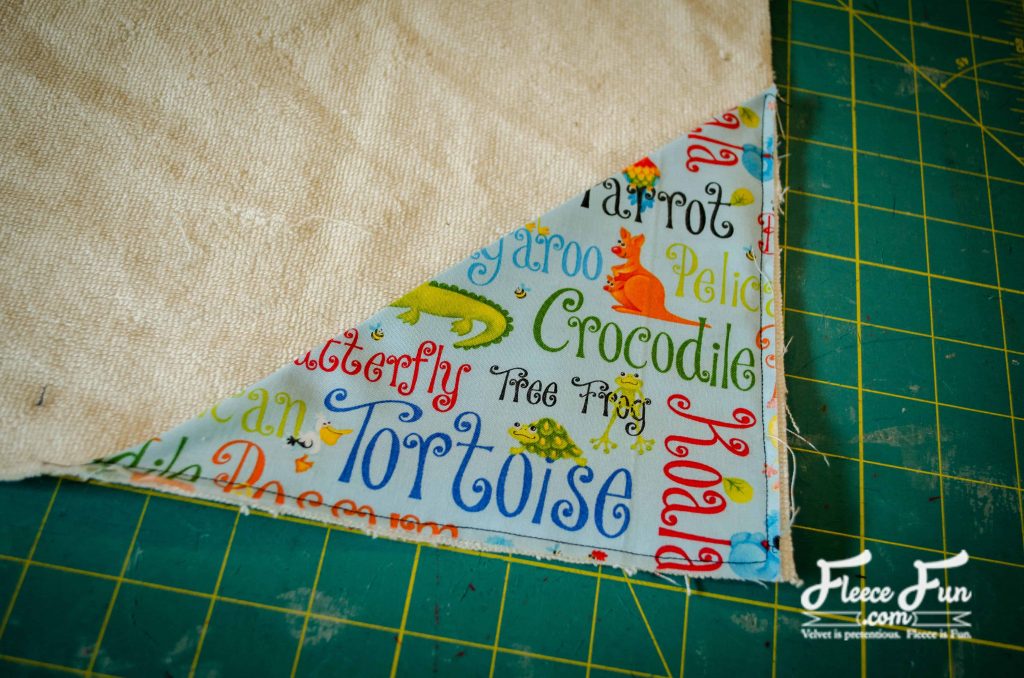
Baste the triangle in place with a 1/4″ seam allowance. Next is adding ties to the Waterproof Diaper Changing Mat.
Step 3 – Add the Ties
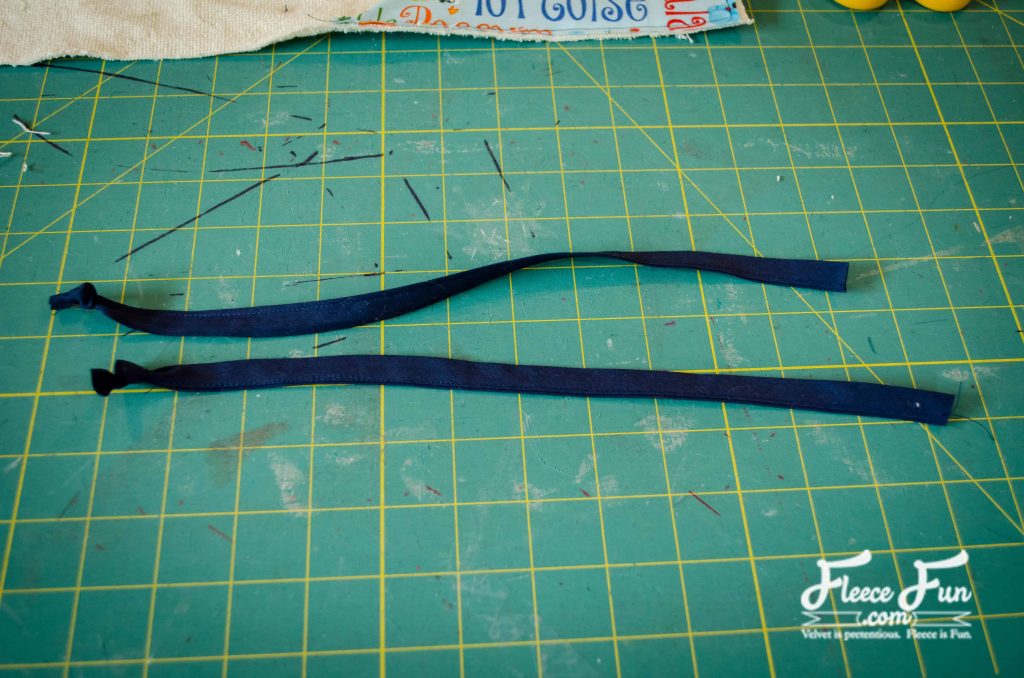
If you are using bias tape, stitch the long edge closed. Cut in half and knot two of the ends. If you are using ribbon, you can heat seal the ends with a lighter instead.
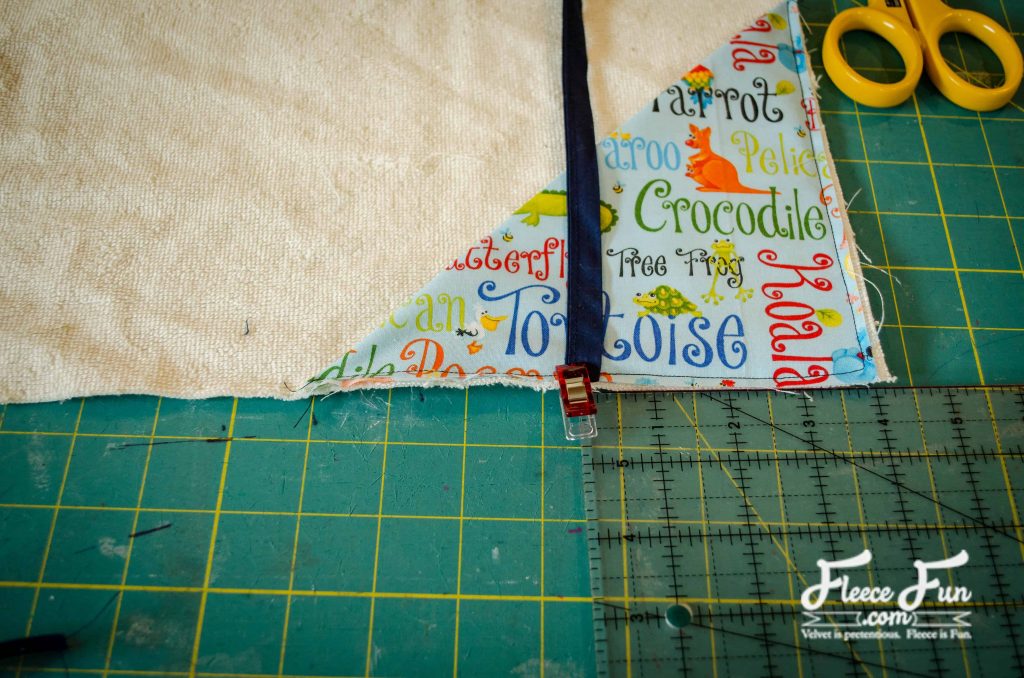
Pin the un-knotted end 4″ from the corner on both the top and the bottom.
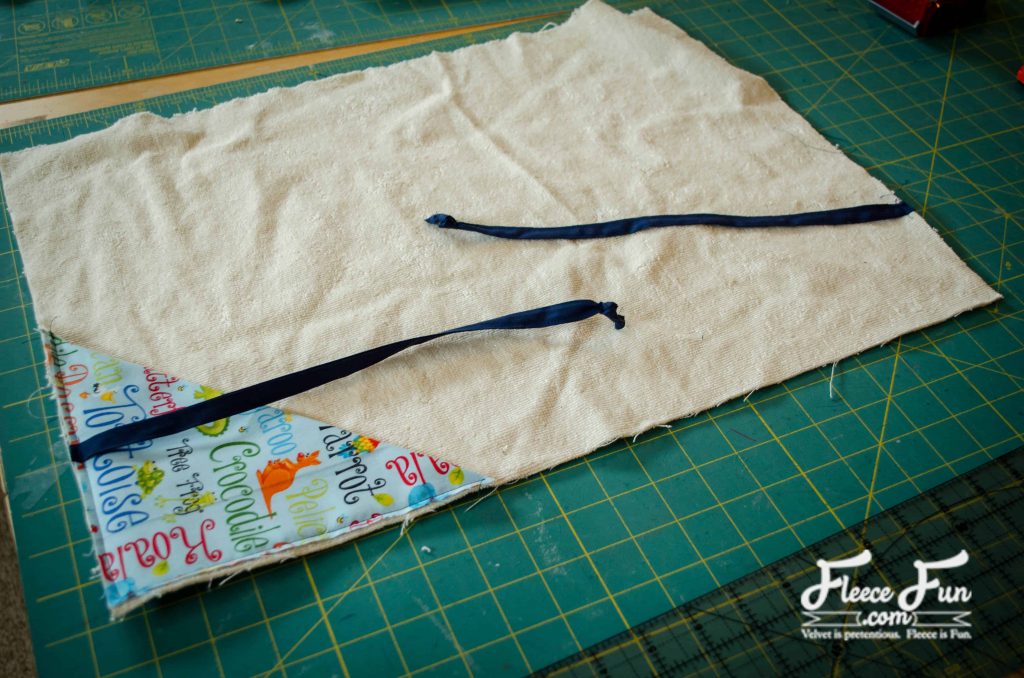
Baste the ties into place.
Step 4 – Finish the Waterproof diaper changing mat
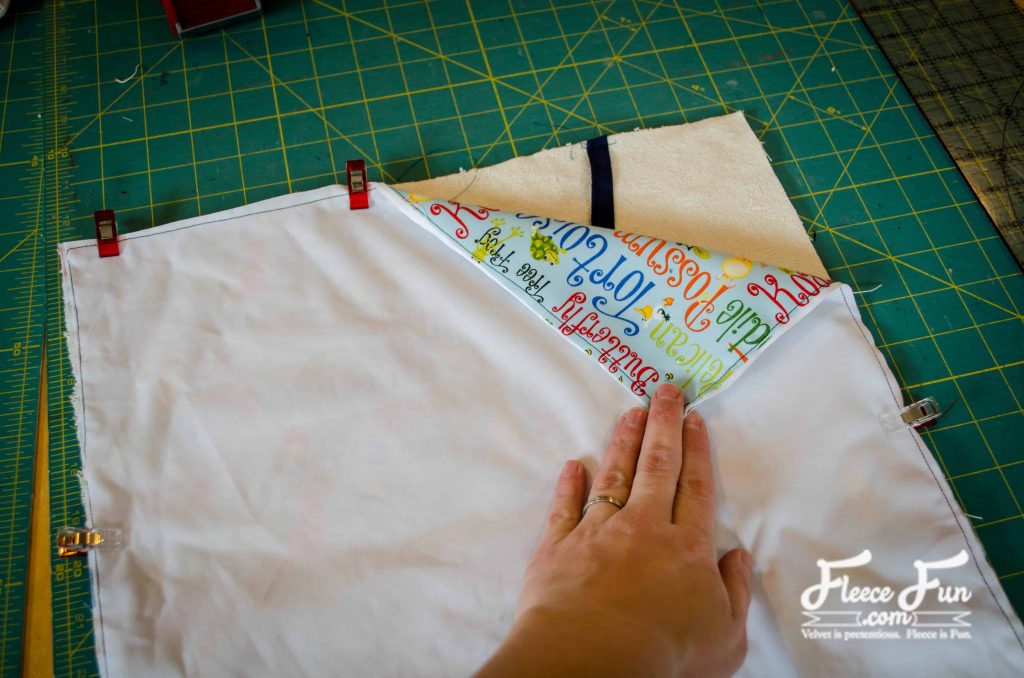
Place the quilting cotton/PUL layer on top of the terry cloth, right sides facing, and pin around the outside perimeter.
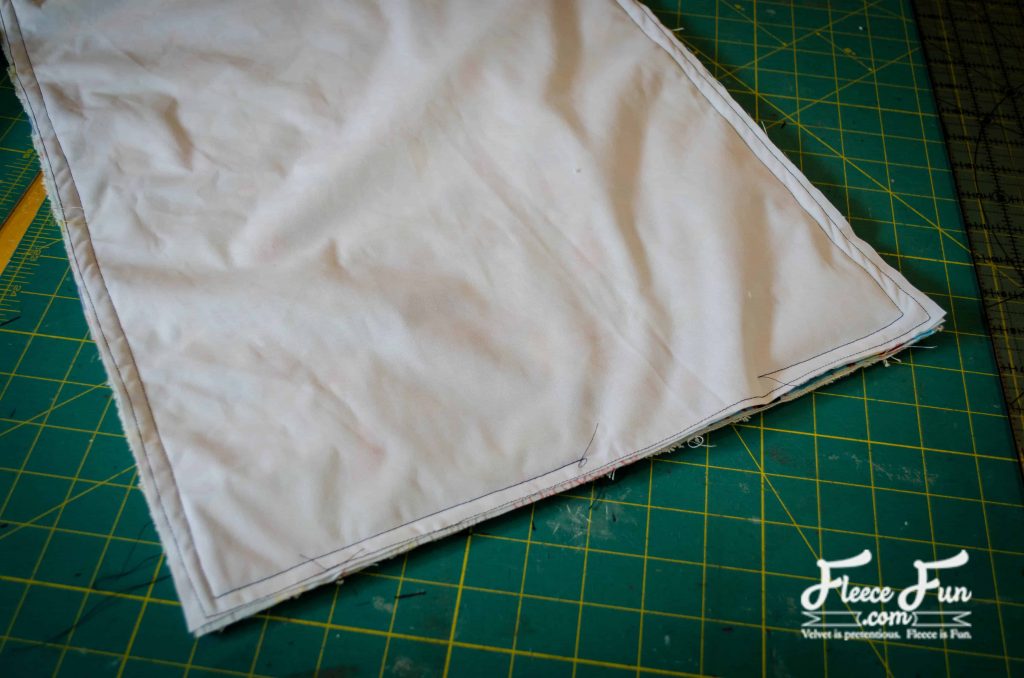
Stitch using a 1/2″ seam allowance. Leave a 3″ opening for turning along one edge.
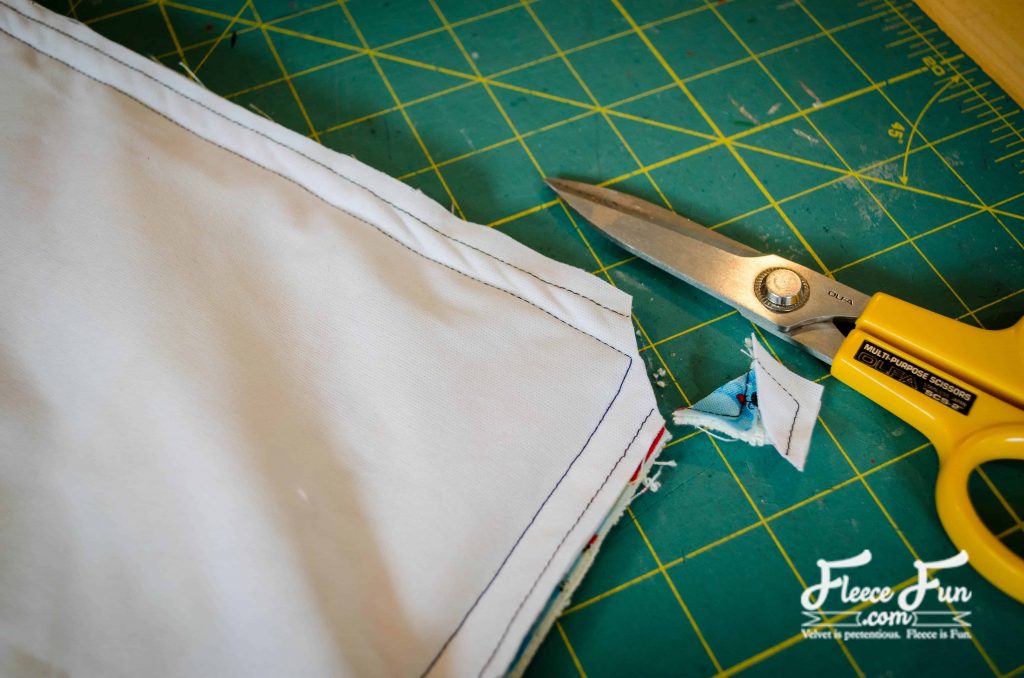
Clip the corners of the Diaper Changing Mat.
Turn right sides out through the opening and press. Pin the opening closed.

Topstitch around the perimeter, closing the opening at the same time, with a 1/8″ seam allowance.
You Might like these Baby Clothing and Accessories:
- How to Make a Baby T-Shirt Tutorial (Free Pattern)
- Baby Knit Sundress Tutorial (Free Pattern)
- Baby Hat with Chin Strap (Free Pattern)
- How to Make a Baby Busy Tag Blanket
- How to Make a Child Cape or Car Seat Poncho (Free Pattern)
- Easy Crochet Edge for Baby Blanket
- Free Diaper Bag Tutorial
- 7 Tips for a Perfect Printable Fabric Transfer
like this Waterproof diaper changing mat? see More Adorable Baby Projects!:
- Baby Bib Tutorial – A Handmade Gift Idea by Ula from Lulu Celeste
- Baby Car Seat Cover or Tent with Window How-To
- Easy Block Pillow Tutorial
- Monster Finger Puppets Tutorial
- Pumpkin Finger Puppet Tutorial
