
Burp Cloth Pattern (Free) with Video Tutorial
This content contains affiliate links or sponsored elements, read our Disclosure Policy.
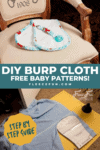
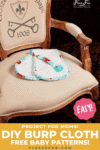

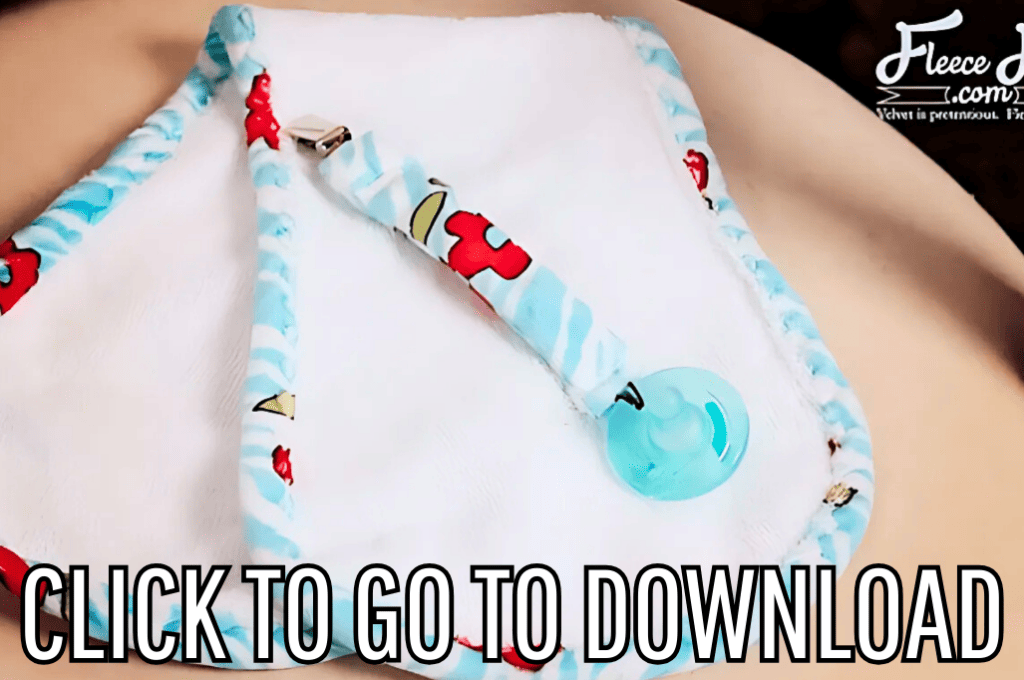
Free Sewing Pattern: This free baby burp cloth pattern is shaped to easily fit the shoulder while giving maximum coverage. The soft material is nice for baby and had a wonderful boutique feel. Plus there is a step by step video to make it easy.

This free baby burp cloth pattern is long, different and have a great shape that stays on the shoulder. I love the feeling of cuddle terry but you can also upcycle an old towel using this burp cloth tutorial. This nice long burp cloth is perfect for cleaning up baby’s messes and keep clothing clean.
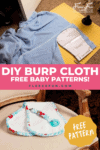
The video tutorial is also great for teaching you how to do machine binding! The minky binding on this burp cloth is soft and a great way to nicely finish the edge of the terry cloth.
YOU WILL NEED:
- 1/2 yard cuddle Terry
- 1/4 yard cuddle fabric
- Thread
- Jersey ballpoint needle
- walking foot
- scissors
- rotary cutter, ruler, mat
- Sewing Essentials (scissors, pins, etc.)
- The Burp Cloth Pattern. Get it here!
Free baby burp cloth pattern video tutorial here – full picture tutorial below:

Baby Burp Cloth Pattern Tutorial
step 1 – Cut out the free pattern
Assemble the free baby burp cloth pattern. You can find assembly directions on this page.
Place the burp cloth pattern on the fold and cut 1.
Repeat if you desire to make more than one burp cloth. (I recommend making several in one sitting)

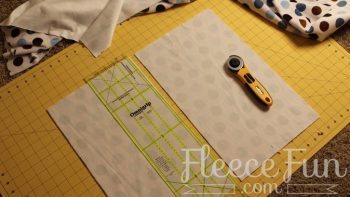
Cut 2 inch strips to equal 64″ you most likely will need to sew strips together.
step 2 – Make Binding
For more detailed information on how to bind please see the video for the burp cloth pattern above.
Sew the strips together as needed. Join strips by laying two strips together (right sides together).
Check to make sure that the nap of the fleece is the same direction on the binding. Sew together at a 45 degree angle.
Trim off the seam allowance.
This is how the binding should look from the right side of the fabric.
step 3 – Add the binding to the edge of the burp cloth
Pin the binding to one side.
Starting a couple of inches from the end, using a straight stitch with a .5 inch seam allowance sew on. Right sides of fabric together.
Once you make it back to where you began sew the binding all the way around so it is up against where you started. Sew across the two strips to bring them together ( see video).
Then flip the binding the the other side,
fold under a half inch and sew onto other side using a serpentine stitch. Now, you’re finished.
Download the baby burp cloth pattern here, tutorial below.
You can get a free copy of Adobe reader here. By downloading you are agreeing to pattern terms of use. Click the picture below and fill out the form to download the .pdf !
You Might Also Like (click to go to):

More Baby Bibs and Burp Cloths Patterns:
- Bib with Pocket Tutorial
- Muslin Baby Bib Pattern and Tutorial
- Baby Bib Tutorial – A Handmade Gift Idea by Ula from Lulu Celeste
- Towel Bibs for Babies – Bandana Style Ultimate DIY
- Easy Baby Burp Cloth Tutorial
- How to Make a Pacifier Clip
Adorable Baby Projects!:
- Traditional Basic Fleece Baby Car Seat Cover or Tent Tutorial (DIY)
- 7 Tips for a Perfect Printable Fabric Transfer
- Reindeer Softie
- My Little Pony Inspired Stick Ponies
- DIY Nursery Wall Hanging – Lovely Rainbow with Cloud
More fun tutorials You Might Like!
- Make a Leather Journal – Handmade Gift DIY
- Easy Lavender Lemon Salt Body Scrub
- Easy Sleep Mask Tutorial – Free Pattern
- Make Holiday Homemade Lotion
- Homemade Body Cream Recipe – Handmade Gift Idea
- Make Holiday Foot Scrub – Handmade Gift Idea
- Easy Sweet Homemade Lip Gloss
- Holiday Foaming Soap Tutorial – Handmade Gift Idea
Burp Cloth Pattern (Free) and Tutorial
Equipment
- Sewing Machine
- Scissors
- Walking Foot (optional but nice to have)
- Sewing Essentials (Pins, seam ripper, etc.)
- Jersey Ball Point Needle
- Rotary Cutter, Ruler and Mat
Materials
- 1/2 yards Terry Cloth
- 1/2 yards Minky Fabric
- 1 spool Thread
Instructions
- Download the Free pdf pattern of the baby burp cloth

- Place the pattern of the burp cloth on the fold and cut out. (It's easy to make several at once)

- Now it's time to cut out the minky for the binding. Cut strips that are 2" wide by 64". You will need to sew strips together to make it the correct length.

- Add the minky binding to the terry cloth section of the contoured burp cloth. Using a 1/2 seam allowance sew on one side.
- Then fold over binding and top stitch down to the other side.
- See detailed instructions and video above for clarification

This pattern is perfect for terry cloth. Just follow the pattern. The most important part of working with terry cloth is finishing the edge properly so it doesn’t fray or unravel.
Absorbent, washable fabrics are best. Terry cloth is wonderful for catching messes and wiping up spills. Flannel is another good choice as it absorbs moisture easily.
The best burp cloths absorb messes, can be washed many times over ans provide adequate coverage on the shoulder to keep the care giver’s clothes tidy. All things that this free sewing pattern provides.
As a mother of four I found that having 7 to 10 burp cloths sufficient. I keep two in the diaper bag and have and others to rotate through. With this amount I find I have enough to keep things tidy without too much laundry.
where do you find the cuddle terry?
Hi Debbie,
I used Shannon Fabrics cuddle terry you can find it online or at your local independent fabric shop.
such a great post. I like it.
This is a great tutorial! I’m going to make one for myself!