Chevron Scarf Pattern
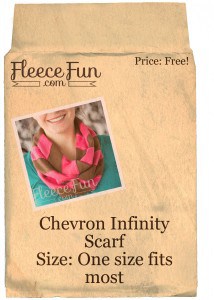
This chevron scarf pattern has a lot of possibilities!  You can make an infinity scarf with a trendy chevron pattern! Learn the process on how to make a chevron and apply it to other projects.
Materials you will Need:
A printed out version of this pattern.
Jersey Ball point needle
1/3 yard jersey knit color 1 and 1/2 yard jersey knit in color 2
Sewing Essentials (scissors, pins, etc.)
Rotary Cutter, ruler and Mat
Download the free pattern here.
Video tutorial here, written below:

Chevron Scarf Pattern
Step 1 – Print the pattern and cut out pieces
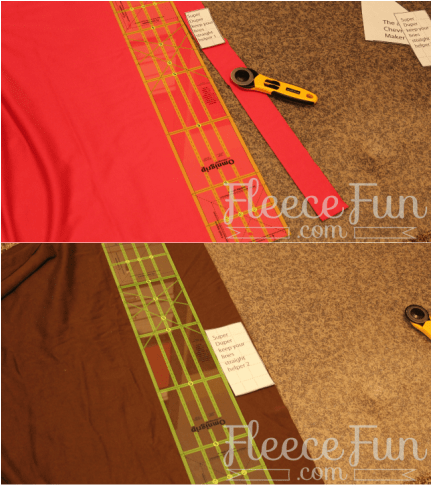 Print up the pattern. The pattern is to scale so no assembly is needed. You will have three pattern pieces.
Be sure to wash and dry the jersey knit before you begin to cut and sew.
With color 1 (pink the example) – take the Super duper keep your lines straight helper 1 and set it on folded cloth. Using the width as a guide cut a strip of fabric the width of “super helper 1” . Place the helper at the bottom and the top of your ruler to make sure you line is straight – cut 5 strips of cloth. (strips will be 2 inches wide by approx 54 inches long)
With color 2 (brown in the example) – take the Super duper keep your lines straight helper 2 and set it on folded cloth. Using the width as a guide cut a strip of fabric the width of “super helper 2” . Place the helper at the bottom and the top of your ruler to make sure you line is straight – cut 5 strips of cloth. (strips will be 3 inches wide by approx 54 inches long)
Step 2- Sew together the strips.
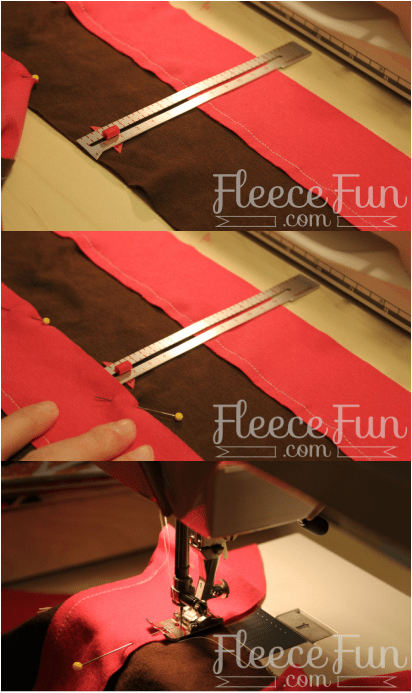 Basically you are going to build your own striped pattern. Placing color 1 (pink) on top of color two (brown) (so wrong side to right side) have the fabric overlap .5 inches. Pin. Then top stitch .25 inches away from edge of color 1 the length of the strips. Repeat until all the strips are sewn together.
Tip: Use contrasting thread to make the top stitching pop and add character to your scarf.
Step 3 – Cut up all your hard work
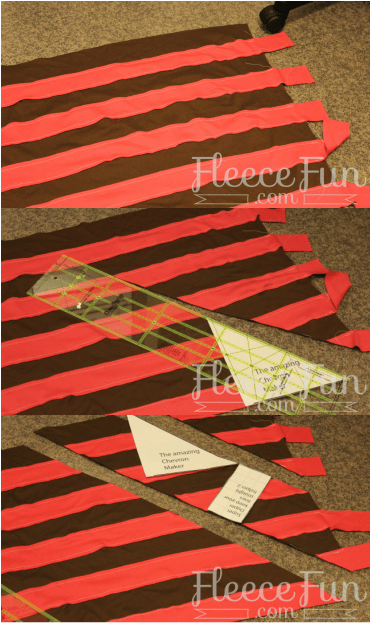 Yup. That’s right time to slice through that pretty fabric you just made. Read through this step a couple times and make sure you understand before proceeding!
Using the “Amazing Chevron maker” and Super line straightener 2″ plus your ruler, and rotary cutter you will make the strips you need to make the chevron look.
Place the Amazing chevron maker on the bottom of the fabric Line up the ruler with the angle of the Triangle and cut. Then using the height of the super straightener 2 to measure the width of the cut (see picture) and using the angle cut the fabric again to make the stripe of fabric. Cut 2 more strips at this angle.
3b – Continue to cut
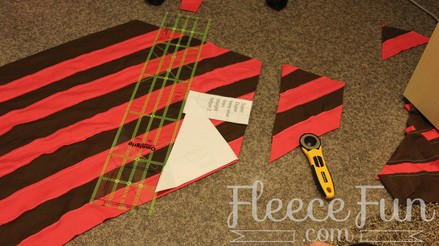 Then flip triangle over (words are facing down (touching the mat) and cut 3 strips using this same method.
It’s the cloth meeting at the two angles that makes the pattern.
I will warn you I have no perfect method here – this will require independent thinking on your part!
Step 4 – Layout the scarf
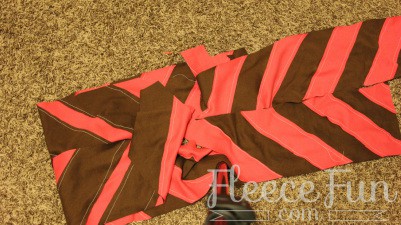 Taking the piece you cut, layout the scarf. You will need to trim colors to get the pattern to line up perfectly. Lay the whole thing out and try strips in different places to get the most out of your scarf.
See that lovely chevron pattern coming into place?
Step 5 – Assemble the scarf
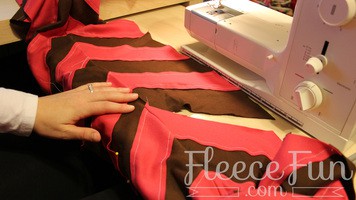
Step 6- Begin to assemble the chevron
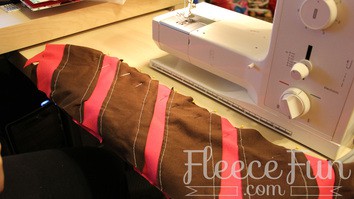 Pin together (right sides together) to make the chevron pattern first sew one side then the together using a .25 seam allowance. So you have a long tube. Turn right side out.
Step 7 – Finishing
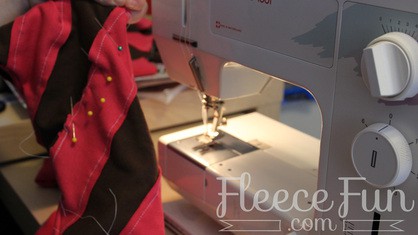 Linking up the end of the scarf to the beginning, top stitch closed what you can using the machine, then using a needle and thread blind hand top stitch the gap closed – taking care to only get the top layers and not the other side of the scarf.
More Fleece Scarf Tutorials:
- The Lucet Scarf (cute braided scarf)
- The shirred scarf
- The Fast Fashion scarf (warmth meets a feminine touch)
- The Charmed to meet you Scarf (scrunched scarf)
- Fleece Scarf with Fur Pockets
- Candy stripe scrunch scarf
- Color Block Scarf
- Saturday Morning Scarf; Fleece and Jersey knit combine for the perfect scarf)
- Bow Infinity Wrap
- Want to learn how to Hand Stamp your Scarves?
- You can see all of the Scarf Tutorials Here


Thanks for the cute tutorial! I can’t wait to get my scarf finished. I am a little confused about some of the assembly steps though (I can’t get the video to load on my mac). Can you clarify for me? In step 5 are you sewing the long edges together or the shorter strips to make the long strips? The picture looks like you might have sewn the long edge first then the shorter strips so I’m a bit confused by the “sew all the strips you can” comment. And in step 6, are you sewing both long edges together? Thanks so much!
Lisa,
All of my videos are also on yourtube – here is the scarf http://youtu.be/QXz771MWLPQ. See if this helps.
– Angel
So I have a question regarding #3 and #3b. Does this step, of cutting the angled strips, use up the original piece that was all sewed together? I’m trying to picture this step in my head, and I’m not having much luck.
Yes you are cutting up the fabric you just sewed together.
Thank you for sharing this awesome idea. I found a nice fleece coat pattern (Simplicity 1540) I will try to make for my daughter as a gift and this scarf will compliment it very well. Thank you so much.
hi there could i do this in fleece as i have loads of scraps which i would like to use up thanks
Yes krissie fleece will work!