Make a Duvet Cover (Easy!)
This content contains affiliate links or sponsored elements, read our Disclosure Policy.

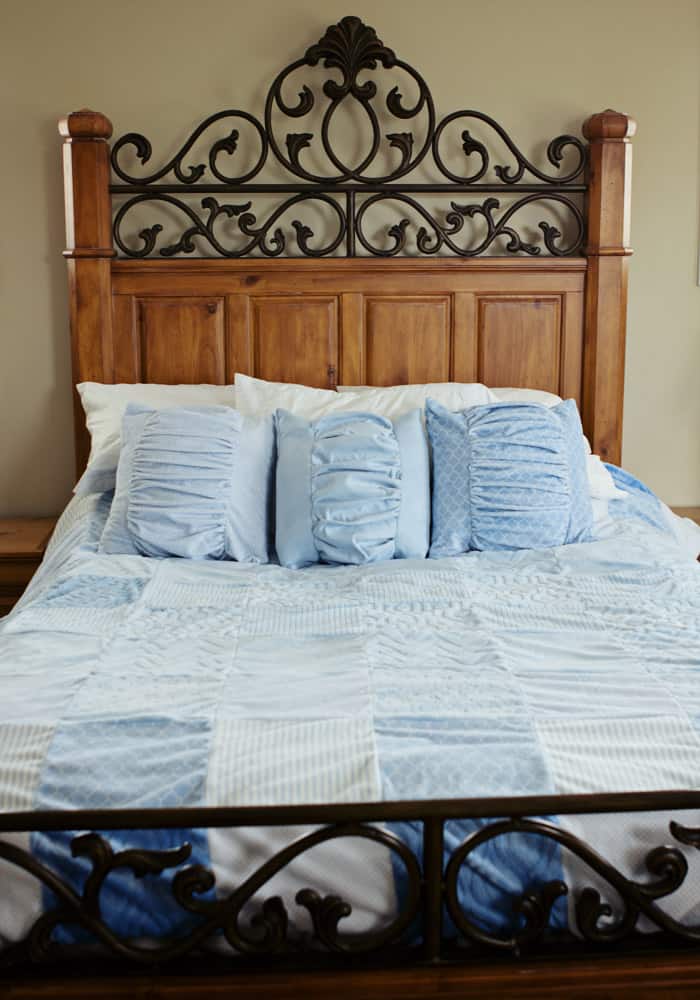
You can make a duvet cover with this easy to follow tutorial. This tutorial is sponsored by Shannon Fabrics. This cover is made from Shannon Fabric’s cuddle fabric and features their new 90 inch wide cuddle fabric (no seams down the middle of your blanket!).
This duvet cover is easy to put together and adds instant warmth to a blanket ( perfect for the colder months).
If you’re never sewn on cuddle (minky) fabric before be sure to check out my tips for sewing on cuddle fabric.
For this project you will need the following for a Queen size:
5 Packages of Baby Blue Moon Cuddle Cake Kits
2 7/8 yards of 90 inch wide cuddle
2 yards of 1/2 inch ribbon
Thread
Walking foot
Stretch needle
Rotary Cutter, ruler and mat
Sewing Essentials (pins, scissors, etc.)
Video Tutorial Here, Written Below:

Step 1 – Design the top
Please read through all the directions before beginning this tutorial.

I wanted my Duvet cover to have some personality so I used baby blue moon cuddle kits to give the top of my duvet cover a varied look.
Open up on of the cuddle kits and decide how you want each row to look, how each row will look next to each other. Be sure to have the overall design concept figured out before you begin sewing.

For a Queen size cover I’m making it 90 by 90 inches so I will make 10 rows that are 10 blocks long (10 by 10) with a.5 inch seam allowance will make the top 90 by 90.
Lay out your rows – make sure that cuddle fabric is all laying in the same direction.
Step 2 – Begin to sew the rows

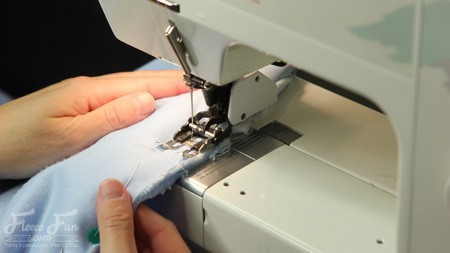
Pin blocks, right sides together and sew, using a .5 inch seam allowance. Sew all the block in the row together and repeat for each row.

Continue until all 10 rows are sewn.
 Step 3 – Sew the rows together


Begin to sew the rows together. With right sides together pin and sew two rows together, using a .5 inc h seam allowance.

Continue to build by adding a row at a time and sewing, until all 10 rows are sew together. Set aside.

Note: The fabric will begin to get heavy, be sure that it’s not pulling to much on the needle.
Step 4 – Prep the back

Cut the back so it’s 90 inches wide by 90 inches long. Set aside.
Step 5 – Prep gap ties

With the remainder of 90 inch cuddle fabric cut 2 strips that are 4 inches wide and 21 inches long.

Take each strip and fold in half lengthwise (so it’s 21 inches by 2 inches wide) pin ends and sew the ends using a .5 inch seam allowance.

Turn right side out.

Take ribbon and cut it into 12 inch strips.
Finish the ends of the ribbon with a match to prevent fraying ( use caution).

Pin 3 ribbons at intervals along each of the strips of cuddle just sewn.

Sew ribbon ends on using a zig zag stitch. Set aside.
Step 6 – Sew the Back to the front

With right sides together, pin the back and the front together.

Be sure to leave a 20 Inch gap at the bottom for turning and the tie strips.
Using a .5 inch seam allowance (and a walking foot) sew back the front together, leaving the turning gap.
Note; You will be dealing with a LOT of cloth. Be sure that the weight of the fabric isn’t tugging on the needle. Also be sure that fabric doesn’t get bunched up under the needle ruining your seam. Take you time with this step – it’s just sewing a straight seam – but there are a lot of things that can trip you up.
Step 7 –Add the gap ties
Almost there!

Take the two gap ties from earlier and pin one on either side of the turning gap, the side with the ribbon should be touching the right side of the duvet, sew using a .5 inch seam allowance.
Trim your threads.

Turn right side out, stuff your duvet in, and tie the gap shut with the ribbons.
You’re finished!
More Fleece Blanket Tutorials:
- Hooded Fleece Blanket DIY (Child and Adult)
- No Sew Blanket Tutorial (with flannel!)
- How to Make a No Sew Tie Quilt
- How to Make a No Sew Fleece Tie Blanket (better method with templates!)
- Stitch ‘n flip quilt
- Rag quilt (Easy Beginner’s Guide)
- How to crochet the edge of a Fleece Blanket
- Fleece Blanket with a Satin Binding
- Self Binding Fleece Blanket
- Fleece Ribbon Throw
- How to use the Tie Blanket Ruler!
- You can see all of the blanket tutorials here
Additional Fleece Sewing Projects:
- Bow Ear Warmer Headband
- Fleece Scarf with Pockets
- Red Riding Hood Cape
- Washable Duster
- Warm Mittens
- Easy Fleece Blanket
- Quick Sew Hobo
- Child’s Fleece Robe
- Child’s Fleece Pants